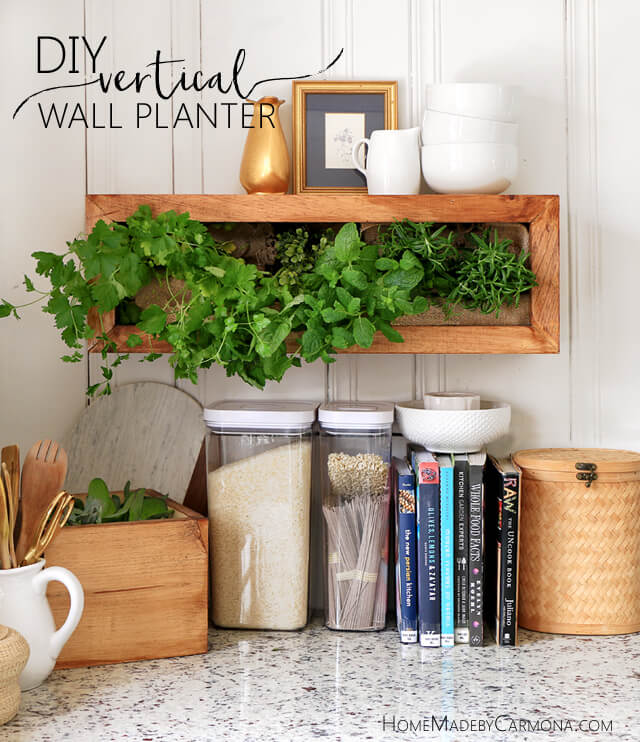
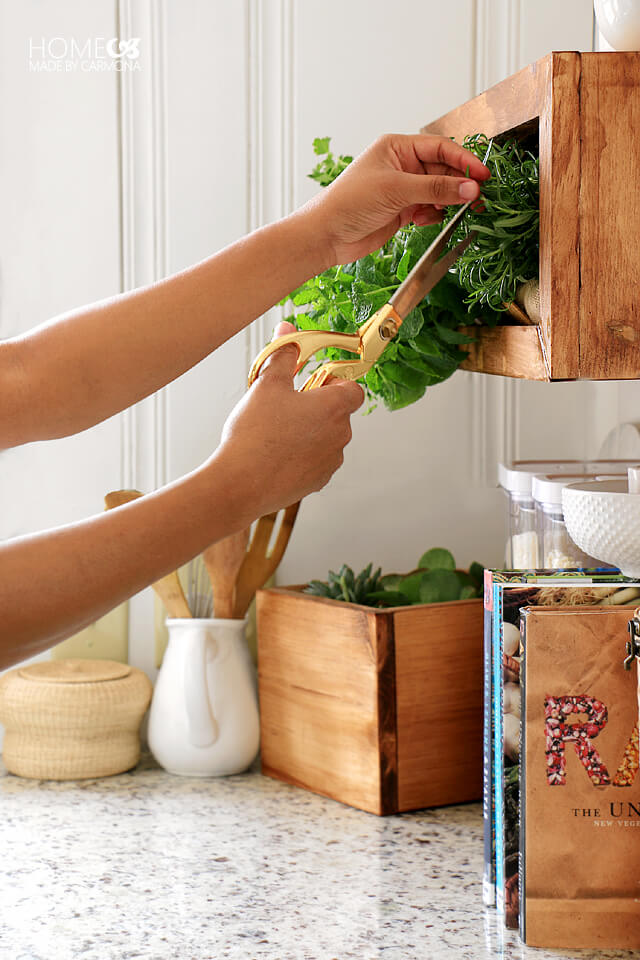
A vertical wall planter is an amazing way to enjoy fresh herbs in your kitchen year-round.
I love adding the idea of having an indoor herb garden, and a vertical wall garden takes up less room than planter pots on the countertop.
Plus, you can turn this planter into a floating shelf to display and store items!
This project is awesomely sponsored by RYOBI! Affiliate links below.
If herbs aren’t your thing, you could make it a succulent garden, which would look amazing as wall decor in any room.
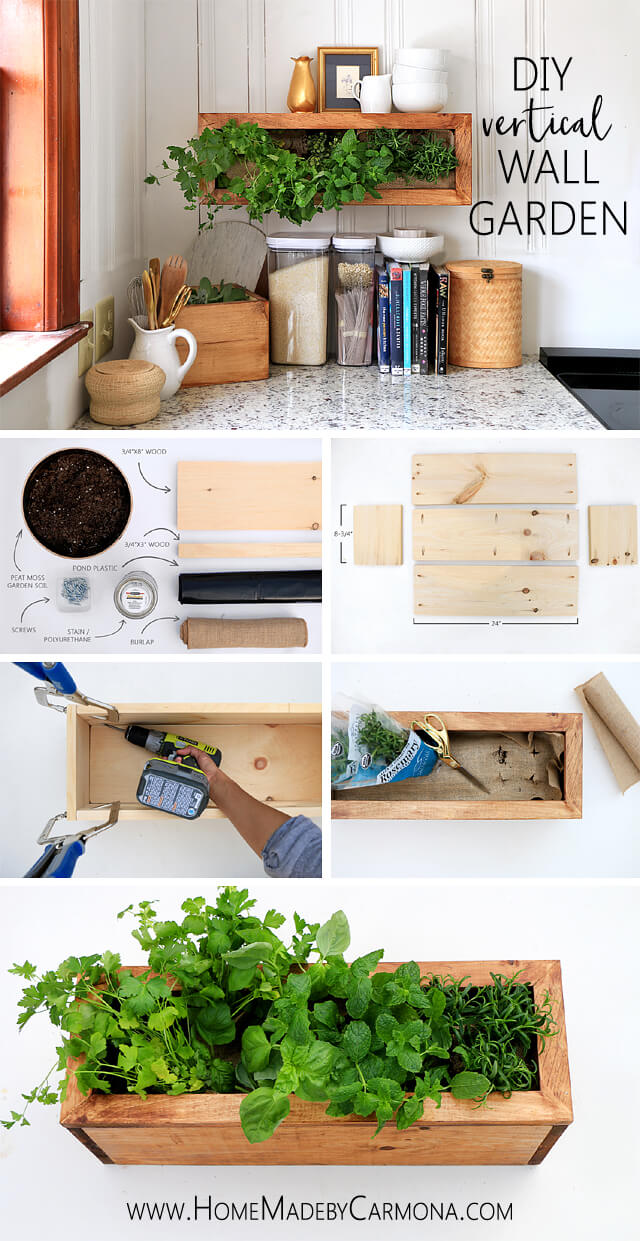
I wanted to fill a kitchen wall with vertical wall planters, so I popped online to take a peek at where I could buy a set of lovely vertical planter pots, only to discover (much to my frugal heart’s dismay) that they weren’t quite in my budget. So an easy scrap wood project was the perfect solution to my vertical garden plans!
Here’s What You’ll Need:
It is a relatively easy tutorial if you are comfortable with a miter saw and a few pocket holes (which are very easy to learn). You could probably knock this bad boy out within an hour, not including the wait for glue or stain to dry, of course.

- 1″x8″x8′ Common board (which is actually 3/4″ thick)
- 1″x2″x8′ Common board
- Waterproof food-safe plastic
- Burlap
- 1.5″ Kreg pocket hole screws
- Wood stain of choice
- Garden soil
1. Cut The Wood To Size
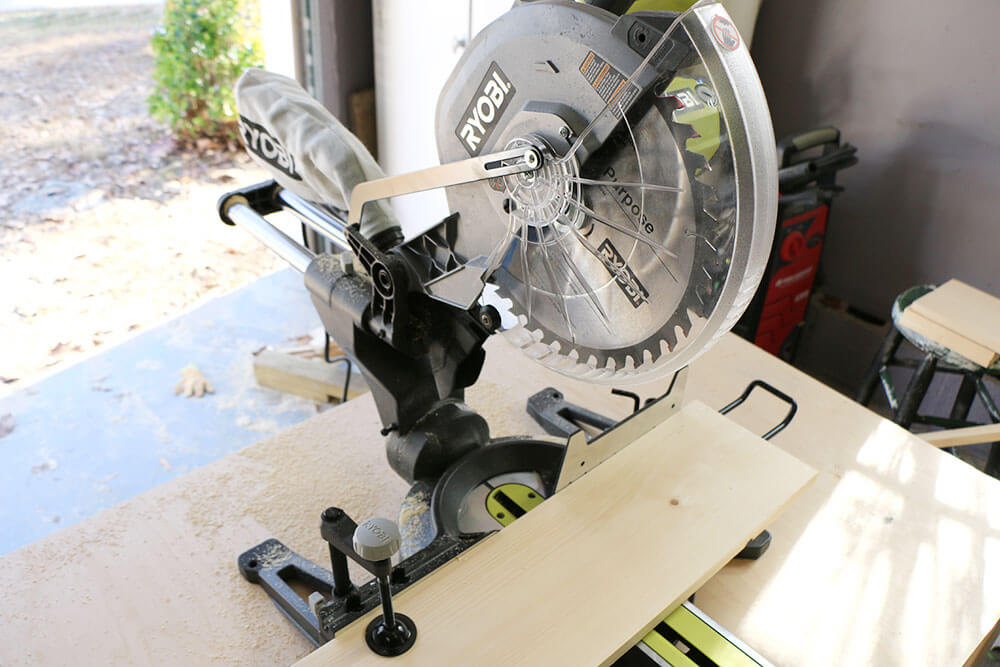
You can use a jig saw, table saw, circular saw, or miter saw. However, the best saw for this project is a miter saw that can handle 10 inches across. You’ll also use the miter saw for the angled trim cuts later.
I recommend getting a RYOBI 12″ sliding miter saw which has the best versatility for a variety of projects and wood sizes. Learn which tools I recommend for beginners here.
Cut the 1″x8″ board into 3 pieces 24-inches each. Then two smaller pieces at 8-3/4-inches. We’ll cut the trim pieces later.
2. Drill Pocket Holes
Pocket holes are the pre-drilled holes you will drive 1-1/2″ screws through. This will make for much stronger joinery and hide the holes so they can’t be seen in your final product. As heavy as planter boxes can get when filled with soil, they need to be a sturdy build.

Use a Kreg Jig to drill pocket holes using the image below for the general location of the pocket holes. Just be sure the ones near the edges are more than an inch from the edge.

Don’t have a pocket hole jig? You’ll use wood glue along the joints, and clamps to hold the pieces in place. Once the glue is dry, you’ll drill a small pilot hole at each joining edge and screw the pieces together. Then skip to step 4.
3. Assemble The Planter
Use 1-1/2″ pocket hole screws to assemble your planter.
Place the base piece with pocket holes facing down, and the long sides with pocket holes facing inside. Use pocket hole clamps to secure the 24″ sides to the 8-3/4″ sides.

Next, screw the pieces together through the drilled pocket holes.
After all four sides are screwed together, gently flip the planter upside down and screw the base in place.

This is a good time to add some mounting brackets on the back. If you plan to use your planter as a floating shelf, go with a set of heavy-duty French cleats. Otherwise, heavy-duty D-ring picture hangers or keyhole hangers are an option.
4. Add The Trim
Next, you’ll measure and cut some trim edges. Measure from edge to edge to ensure you cut a perfectly sized trim piece. You can choose a 45-degree angle or a straight edge.
It will be a lot easier to staple the plastic in place before actually securing the trim, so pause here and move to step 5 before nailing down the trim.

5. Place Plastic & Secure Trim In Place
Position a couple layers of plastic on the inside of your planter to make it water-friendly. Cut the plastic to the right size, and staple in place along the inside edge.

Now you can place that trim along the outside edge and nail it in place.

6. Stain Or Paint Your Wall Planter
Stain or paint the wood to your desired shade and let it dry completely.

7. Add Soil & Burlap
Fill the planter with moistened potting soil. Pour the soil into a pot and slowly add water, allowing the soil to absorb the water before adding any more. You want it to be moist, not water-logged. Then tuck some burlap over top of the soil and cut slits to fit small plants. The burlap will help hold the plants in place until the roots spread and help keep things in place.
Plant your favorite herbs, cut-and-come-again kitchen greens like lettuce, or succulents!

Care & Watering
Because this is on its side, you’re probably wondering how to water your planter without spilling water everywhere. Use a watering bulb pressed into the soil to water. This allows the soil to absorb the amount needed without overwatering. Remember, there are no drainage holes, so you don’t want excess water, which can lead to root rot.
This is why we moistened the soil before planting. It ensured there were no dry spots that would struggle to absorb water. You’ll want to water regularly before the soil dries completely or becomes hard.
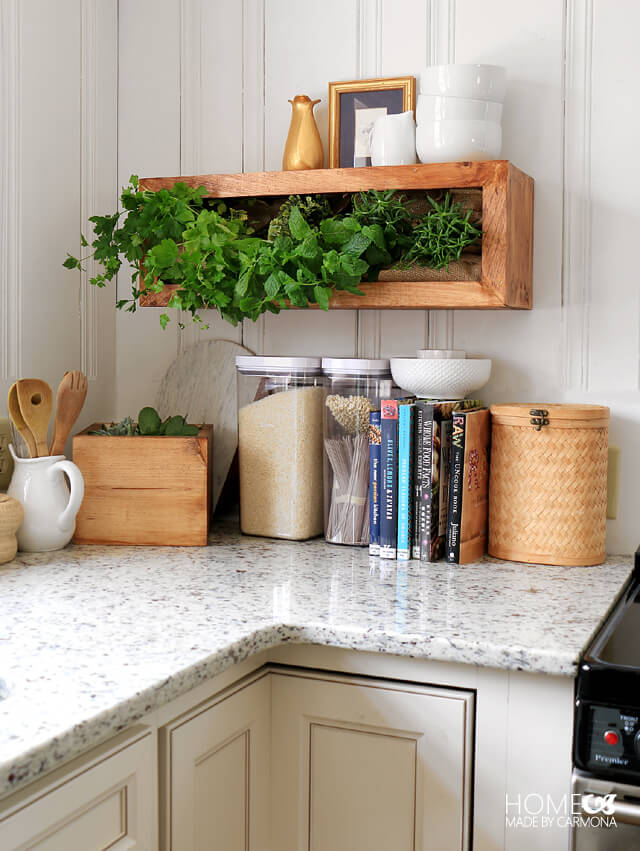
Let me know how you like your vertical wall planter! I’m only finished making one at the moment, but I have every intention of making several of varying sizes to create my own vertical herb gardens! Wouldn’t that be amazing?
It’s a simple DIY with a huge impact. Especially if you don’t have a lot of space for a traditional garden or limited space for planters. Hang these near a kitchen door or window and fill a bare wall.
Shop, Get Inspired, & Pin For Later!
Check out my Pinterest board all about incredible hanging planters, vertical wall gardens, and other DIY wall planter ideas.
And if you don’t have time for a DIY wall planter project, SHOP my affiliate storefront for wall planters here. Create a plant wall that looks amazing!
*Special thanks to RYOBI! They are an amazing sponsor to work with and I adore their tools (serious love affair here)! I have been provided compensation and/or product for this project/post, however all ideas, plans, projects, and opinions are my own.
Like This? You’ll Love These!
No green thumb? Learn how to make a decorative faux succulent planter here! | If you love gardening and houseplants check out that page here | Build a custom holder for your plant pots here | Try your hand at a different material and make DIY concrete planters | Learn how to make decorative metal planter holders | Here’s how to keep your plants watered on a long vacation | Discover creative planter pots that make a statement | 7 ways to get cheap or practically free plants | Make an outdoor hanging kitchen garden | Grow an avocado from seed




Whoops! Thanks for letting me know! The link should be fixed now. 😉
Hey Ursula! What a great idea! I love nature, and being able to add it to my home, even though it’s freezing around here, is an amazing thought. This will definitely be my next project. I bet the hubby will love to help. Thank you so much for the post!
Thank you Kelly! Good luck with your project!