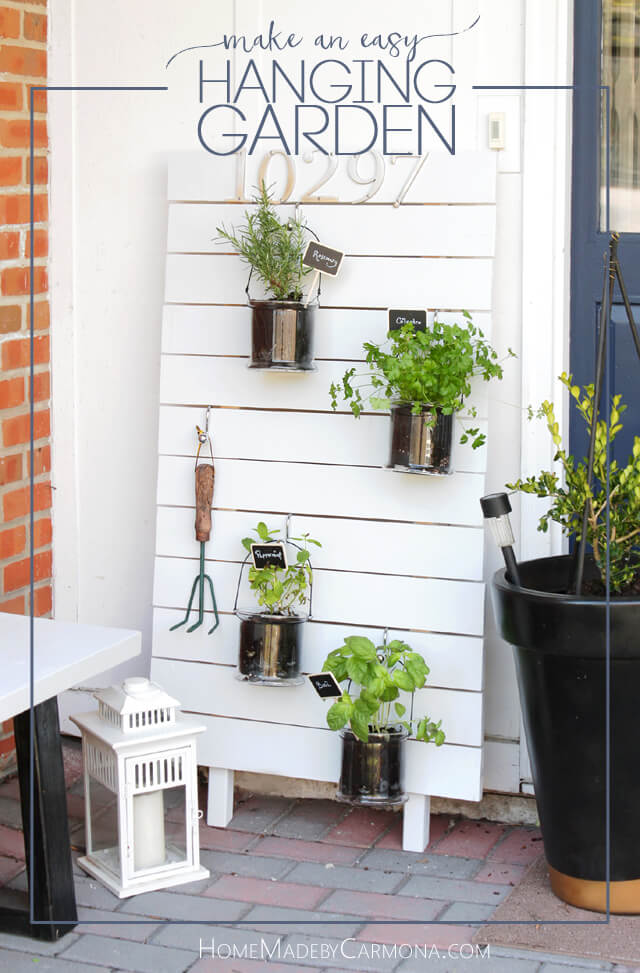
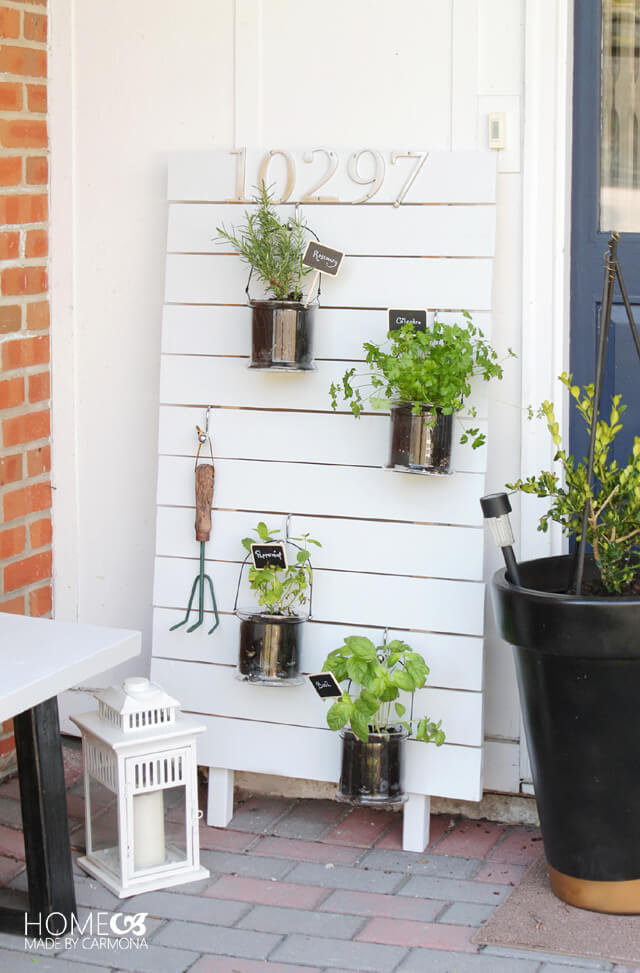
This fantastic little vertical hanging garden project is perfect for beginner builders (and cost under $30!!), and the ideal solution if you don’t have much room to grow a kitchen garden (apartment dwellers take note!), or you need the ability to bring your plants indoors when Jack Frost comes calling.
Here’s What You’ll Need
Hanging Frame
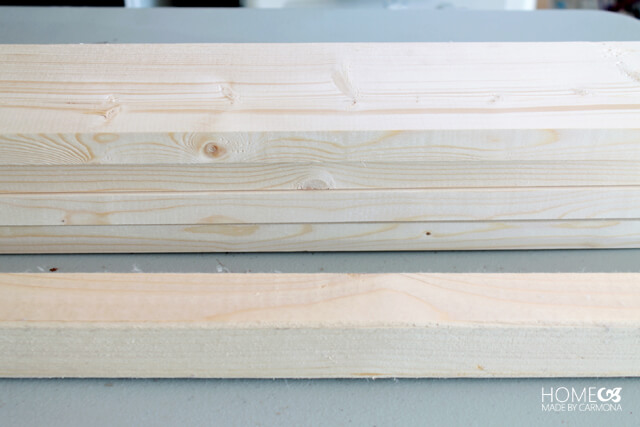
- 4 – 1″x4″x72″ common board wood
- 1 – 2″x2″x96″ wood furring strip
- 2.5″ nails
- Paint or Stain of choice
- Clear outdoor polyurethane sealant
- Shower curtain ‘S’ hooks
Glass Garden Planters
- Glass candle holder jar, with handle
- River rock
- Garden Soil
- Kitchen garden plants of choice
- Chalkboard wedding stakes
Cut Boards & Sand Smooth
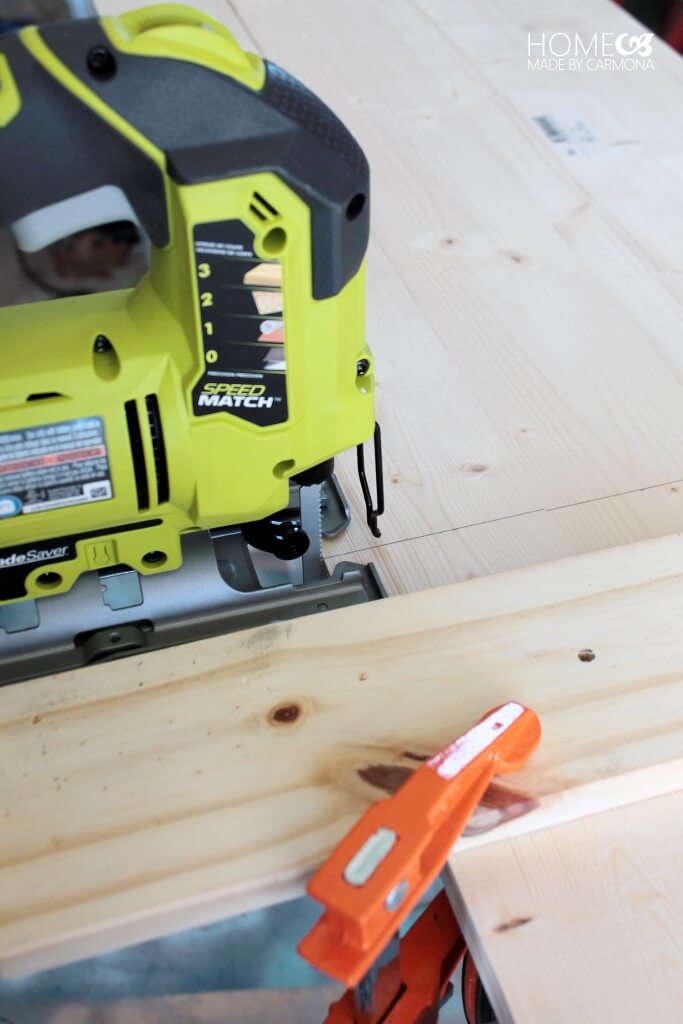
You’ll need to cut your 1″x4″x72″ common boards into thirds. You can use whichever saw you own to get the job done, I’m using my new RYOBI orbital jig saw, or you can have them pre-cut the pieces at the hardware store. All four 1″x4″x72″ pieces will be cut down to 24″ slats.
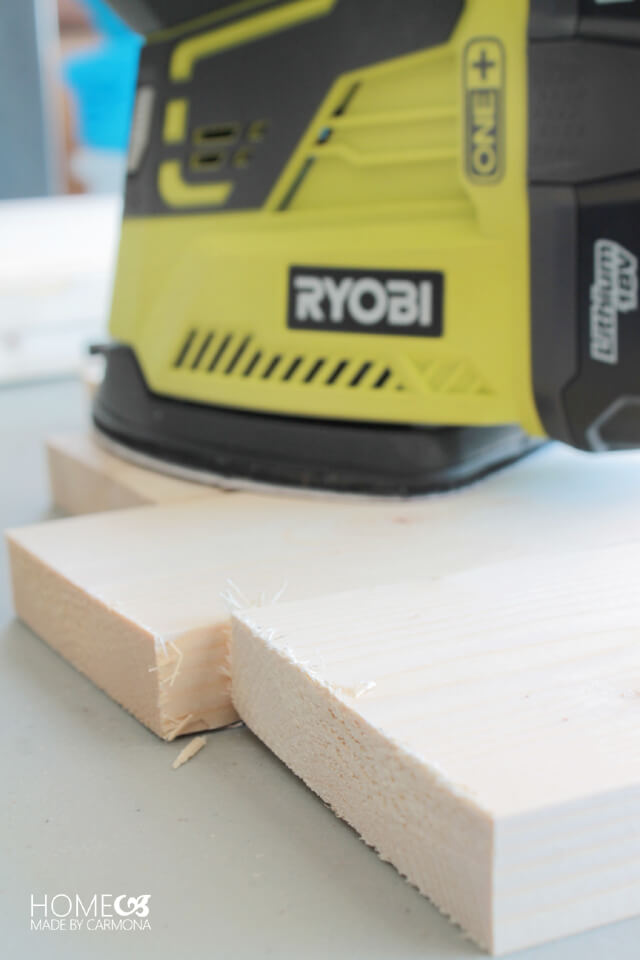
Give those cut edges a good sanding. If you bought the cheapest wood choice (like I did), you may even want to smooth out the finish where the wood that will face forward. It took me about 8 minutes to quickly just round out the rough edges with my One+ Corner Cat Finish Sander, and I didn’t bother too much with the rest.
Position & Space The Wooden Slats
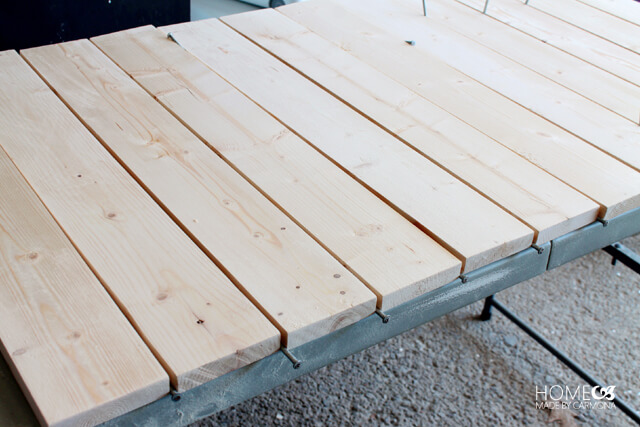
Line up all your now 24″ wood slats side by side on a flat even surface. You’ll want to use large nails (or your shower curtain ‘S’ hooks) to create an even gap between each slat. Don’t just create the space and remove the nail/hook…leave it there, placed between the boards as you work.
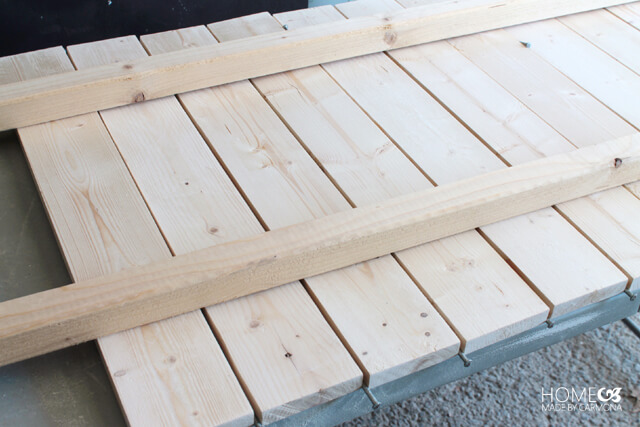
Cut your one 2″x2″x96″ wood furring strip directly in half. Now you’ll have two 48″ strips to lay across your 24″ slats. You can just eye ball it, and make sure they are approximately 3 or 4 inches from the outside edges on either side. The top of the strips should sit flush with the first slat (or recess slightly behind it), and the bottom should overhang (to become the legs).
Nail The Slats In Place
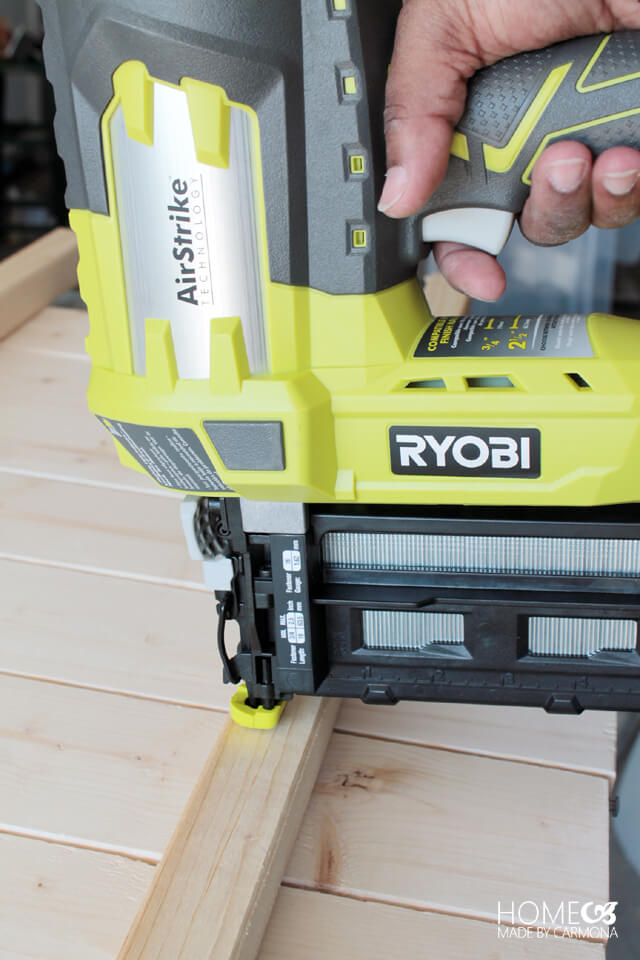
Now each slat is ready to be nailed to the two strips from behind (so the nails won’t show). That means you need 2.5″ nails that can go through the 2″x2″x48″ furring strip, into the 24″ wood slats. My One+ Cordless Finish Nailer will make fast work of it…I knocked it out in 3-5 minutes, much faster than doing it by hand. Just be sure you stagger the nails and do two nails per slat per side. It ensures a nice sturdy garden frame.
Paint Or Stain Your Hanging Garden
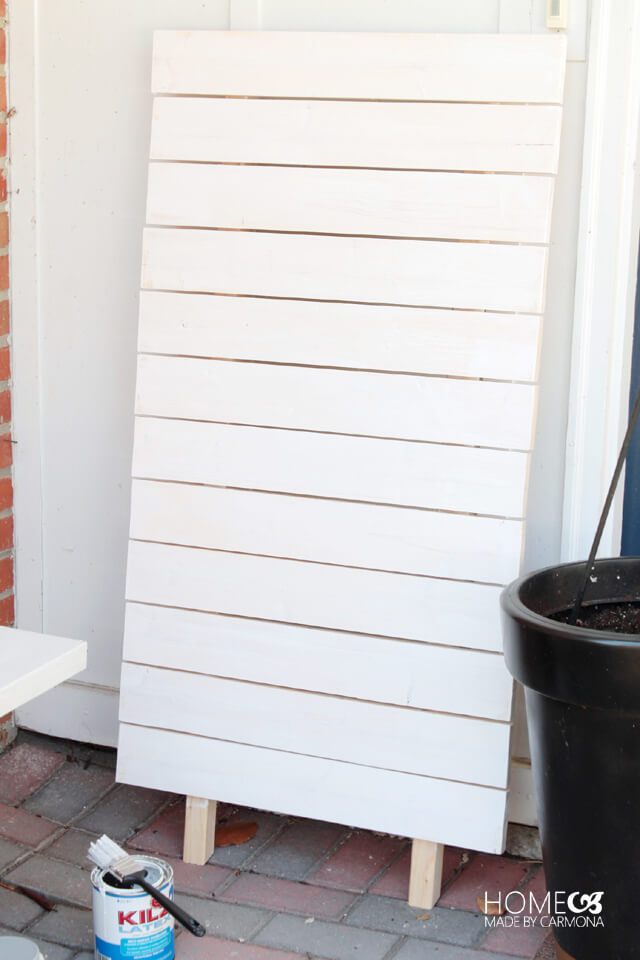
This is what it looks like when you are done. See how the feet hang out at the bottom? If you wanted to, you could cut those furring strips with a 10 degree angle on the foot bottoms (before nailing them down), since the frame leans against a wall. Not necessary, but kind of a nice extra detail if desired.
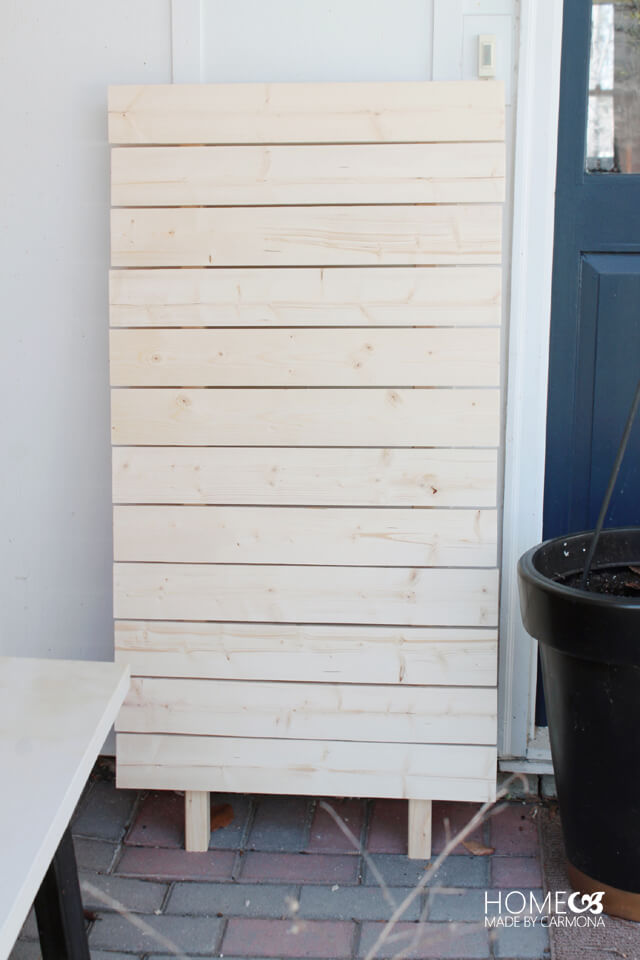
It is ready to receive your choice of paint or stain. If you choose to paint it, you may want to start with a stain blocking primer. I always do when I’m using scrap wood, pallet wood, or bought the cheapest wood type possible.
End with a polyurethane to protect the finish after your paint/stain dries. Remember, water will likely be spilled down the side of this, so protect the wood from warping, and other water damage with a good sealing all around.
Hang Some ‘S’ Hooks
‘S’ hook shower curtains, or these types with the little bulbs at the end are inexpensive, kind of decorative, and perfect for a project like this.
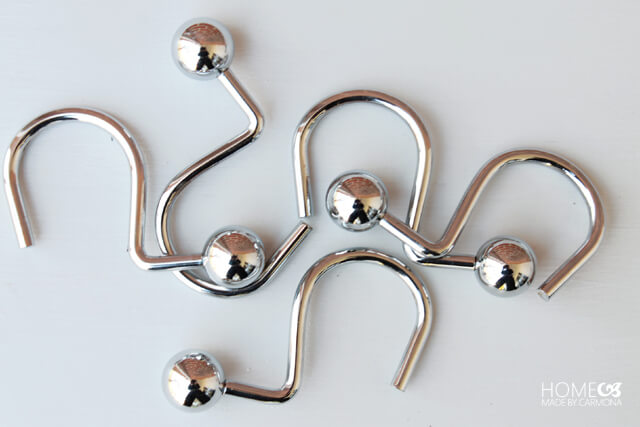
Just hook them through the gap in the wooden slats where you want to hang your glass planters and garden tools.
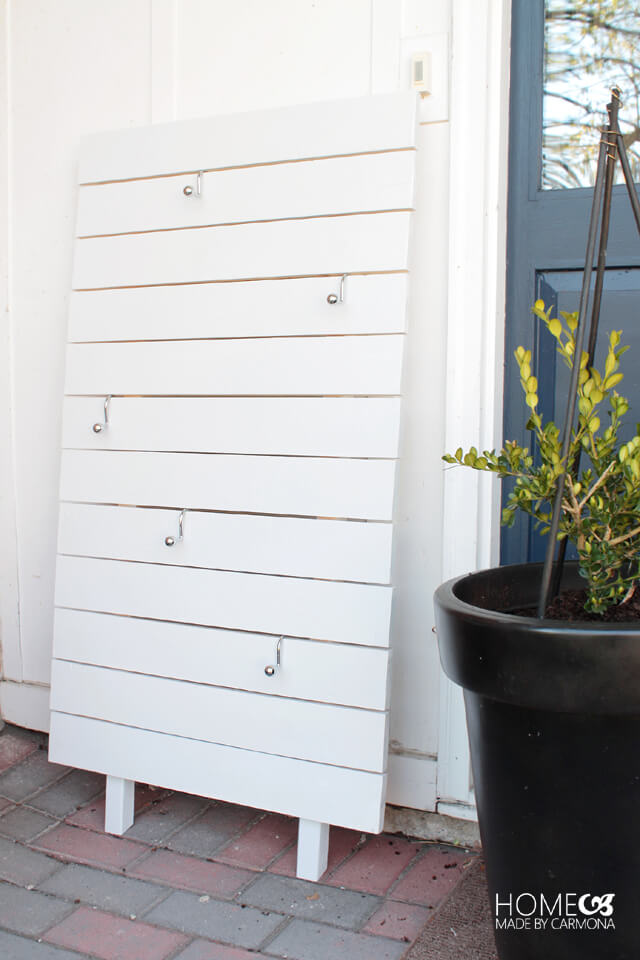
Plant Herbs In Planters With Handles
Ready to plant your herbs and kitchen garden? Besides these materials below, you will also need a little bag of garden soil.
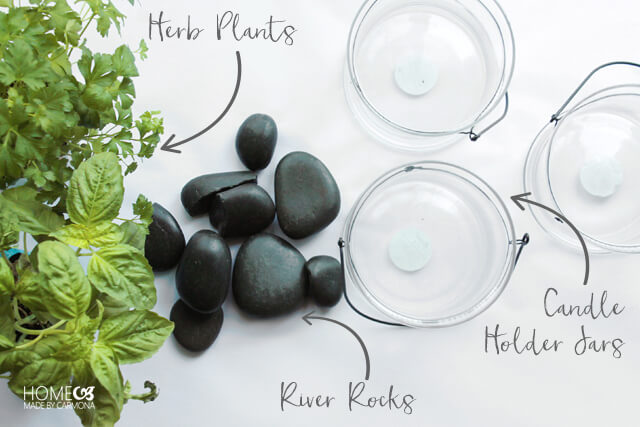
Place the river rocks at the bottom of the jar, this isn’t just pretty and attractive, it also helps you know how much water the plant has, and helps with drainage and aeration since these jars don’t have drainage holes in the bottom.
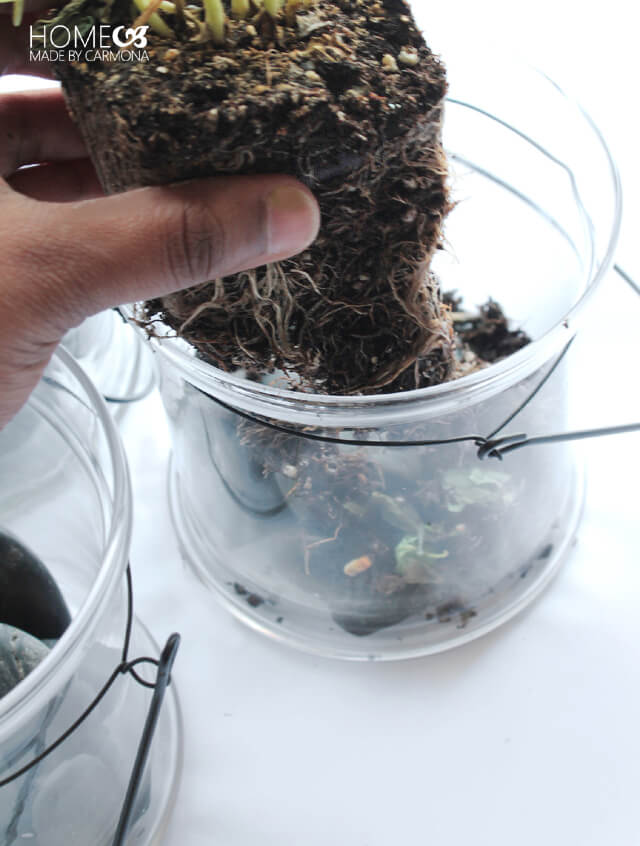
Break up the roots, add a little garden soil on top of the river rocks, and plant your herbs right in the jar. You may need to press the garden soil into the sides.
Create Cute Plant Tags
Here comes the fun part! Well, I love all things labeled, so for me it is the fun part! These little chalkboard stakes are the cutest, and a fine point chalk pen makes it easy to erase and change it and use it again next year.
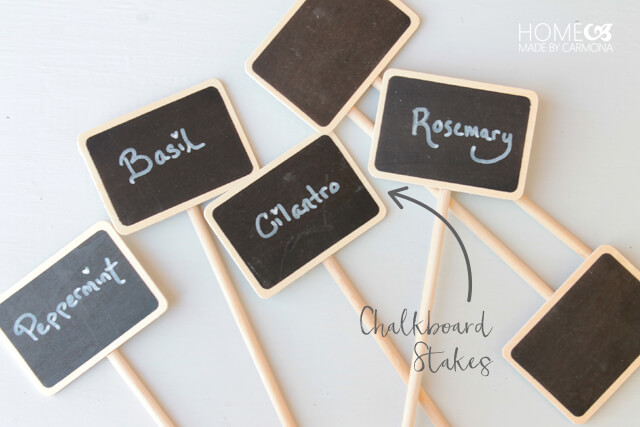
Isn’t that just adorable?
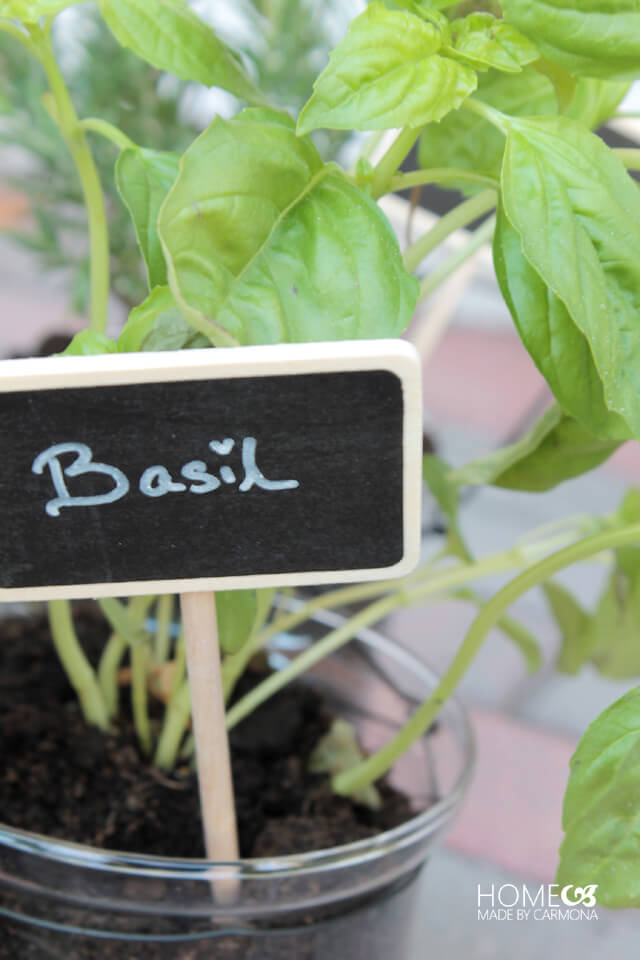
Enjoy Your Little Herb Garden!
Hang the plants from the shower curtain hooks, and presto! Vertical hanging kitchen garden!
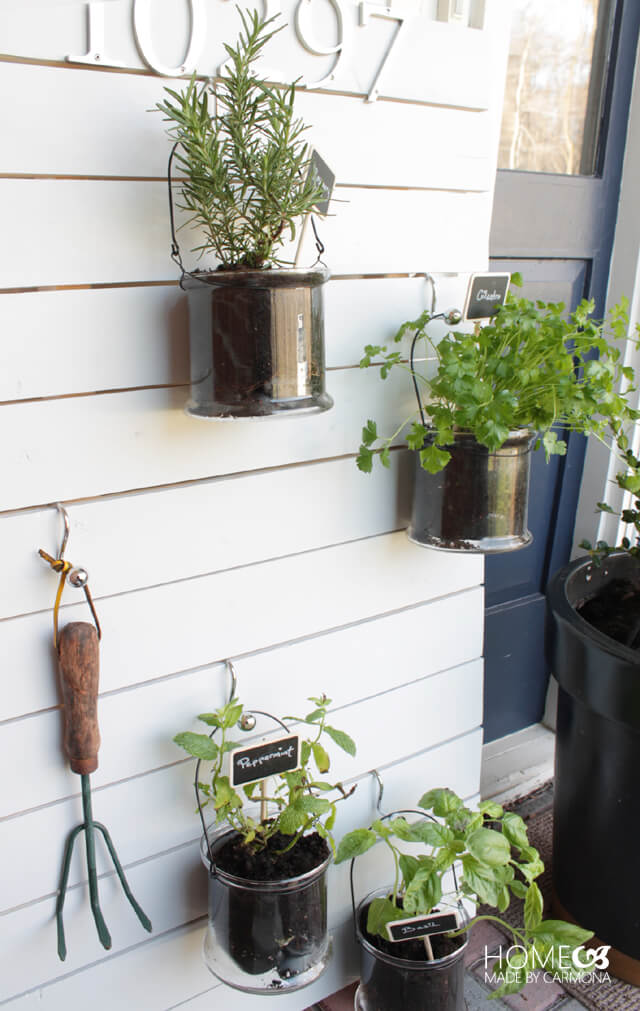
Add your house numbers and put it by the front door for a really cute (and practical) porch garden, or you can put letters and make funny sayings, etc.
When frost (or a surprise blizzard) comes out of nowhere, just bring your plants indoors for the night. Who says you can’t have a garden early in the year?
*A big thank you to RYOBI for gifting me these One+ Power Tools. All opinions, recommendations, and projects are my own (cuz that’s just how I roll).
Like This? You’ll Love These!
RELATED GARDEN + PLANT POSTS: Make the perfect spring garden | Tips for starting seeds indoors | Build a DIY greenhouse from recycled windows | Make a DIY herb kitchen garden shelf | Sprout an avocado pit easily | Get inspired by 15 classy garden ideas | Here’s how to keep plants watered on a long trip |


I absolutely love this idea!!! Pinning!