Learn how to create the ultimate cloffice aka closet office!
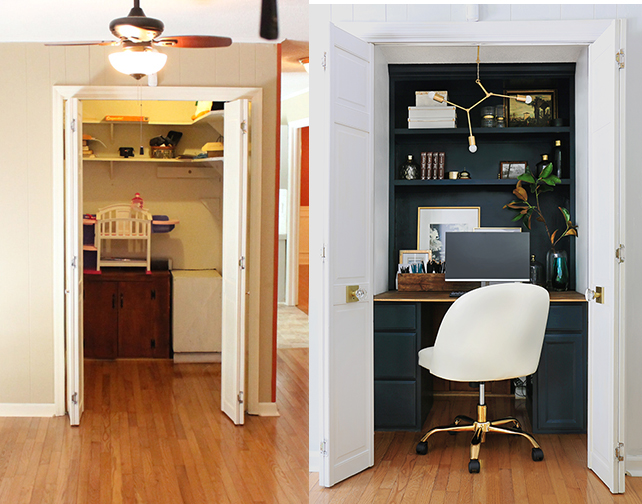
I adore this little closet office nook, especially compared to what it use to be. This closet before became a ‘catch all’ for junk… it just wasn’t the best use of the space, and I hate to waste any square footage.
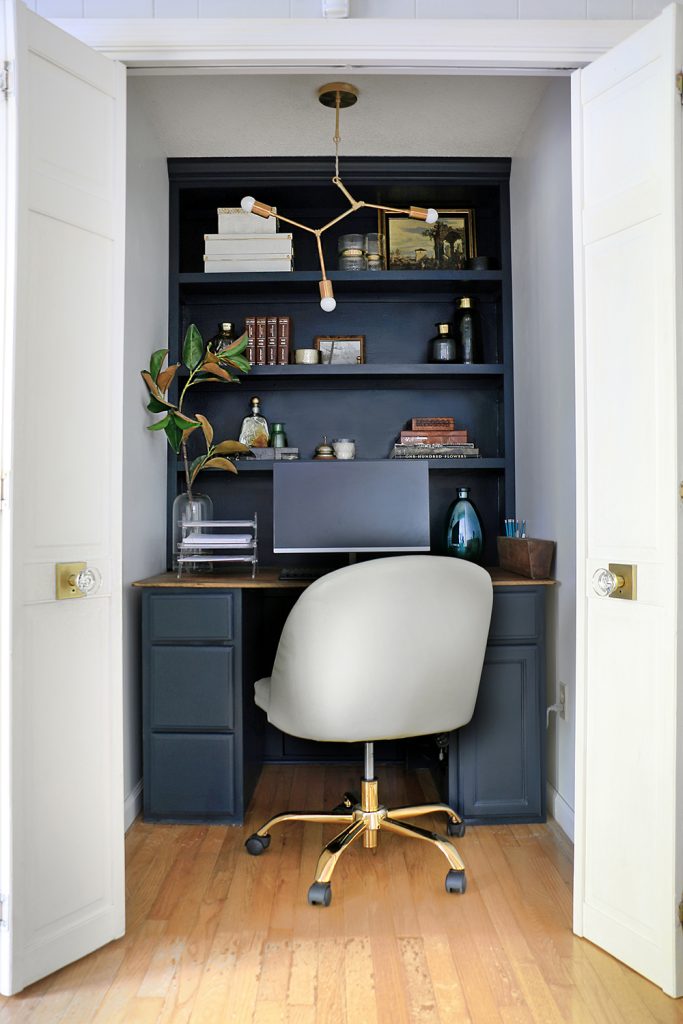
Today I’m sharing how to turn a closet into an office nook, including an easy hack to create custom bookshelf built-ins above the desk, and how to decorate your cloffice!
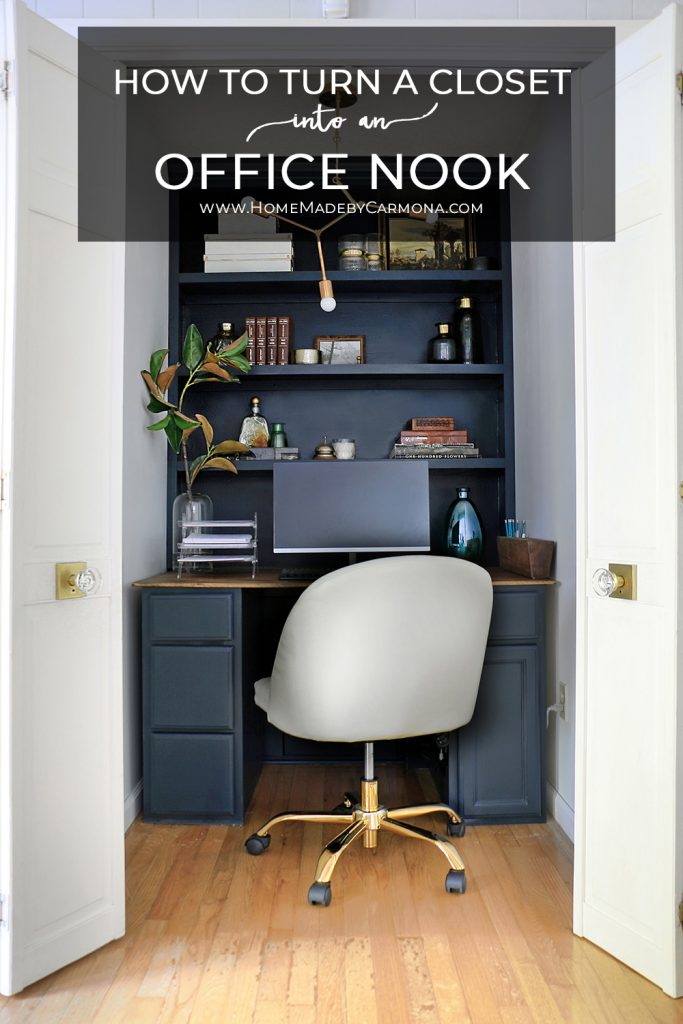
This little closet office nook opens up to my family room, so I love that we can close the doors and hide any office mess away. However it is an attractive enough little nook, that we usually keep the doors thrown wide open.
This space, and the adjacent room made for quite the dramatic ‘before and after’. Definitely pop over to my blog post here to check it out…
Watch The How-To Tutorial Here (Video):
Watch the tutorial here, and then scroll down to get a few extra details and tips to help you along the process!
Materials & Cut List
For this project you’ll need a 1/2″ sheet of plywood (8’x4′), and several pieces of 1″x2″ select pine.
The amount of each item you’ll need depends on how big your closet is, and how many shelves you want to add. My closet measures 53″ wide, and I needed four 12′ pieces of 1″x2″ select pine.
Shelves: 1/2” Plywood
-11-1/2” x closet length
Shelf Support: 1”x2” Select Pine
(per shelf)
-(1) closet length
-(2) 10-3/4”
Shelf Front Trim: 1”x2” Select Pine
-closet length, minus 3”
Vertical Side Trim: 1”x2” Select Pine
-(2) height from ceiling to desk
Crown Molding: (optional)
-closet length
Details/Tips You Might Need Along The Way
Now that you have watched the video tutorial above (if you haven’t, please do!), here are a few details to help you along the process.
For those who were wondering, the paint color I chose is ‘Winter Way’ by Behr, and the dimensions of my closet are 53″x64″ (much deeper than needed).
TIP: A small space or shallow closet space will do! But if you have a walk in closet, or a deep closet like I do, make your workspace at the back of the closet so that the shelves and desktop are only as deep as you need them. If the desktop is too deep, it is hard to reach anything! Place just enough extra space that you can recess office supplies like a home printer behind your computer monitor.
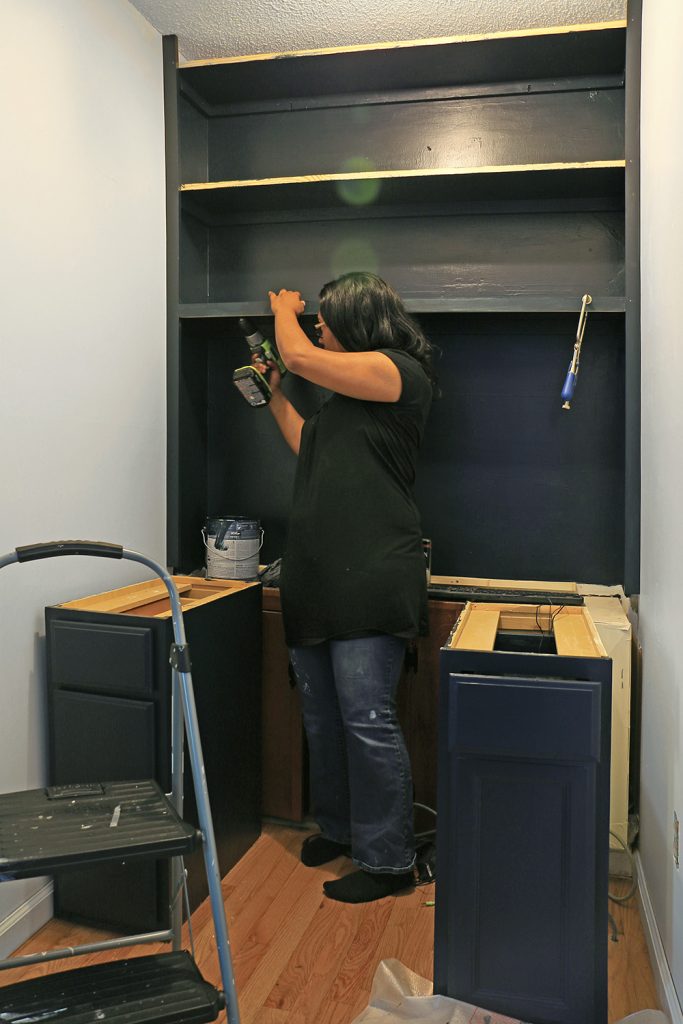
Adding Built-In Office Shelves (The Easy Cheap Way)
Shelving will make the most of that vertical space in your closet office!
By now you realize that the “bookshelf” part of the office is just 1×2″ wood attached to studs, and plywood shelves secured on the wall. It is trimmed out to look like a full bookshelf built-in. This is a cheap and easy way to build sturdy wall shelves and save on material.

If you paint the walls at the back of the closet, and add trim, it will look just like a real bookshelf built-in with a backing and all! But it is just painted to look like there is a backing…you’ll use way less wood than if you were doing a full build.
Add Trim & Crown Molding To Look Like A Built-In
The key is, once you are done installing the shelf supports, add two vertical pieces of trim (1″x”2 select pine) to the sides by nailing them into the 10-3/4″ shelf support overhang. Install the vertical trim from ceiling down to where the desktop will start.
Now you can add the trim to the front of each shelf using pocket holes drilled into the front of each plywood shelf. If you don’t have the tools to make pocket holes, you can nail the trim in place through the front with finishing nails, you’ll just have to fill nail holes. And for an extra added sophistication, put a piece of crown molding along the top.
TIP: If you have a reach-in closet instead of a walk-in closet, save space by placing the first shelf high enough that the computer monitor can fit underneath the first shelf.
Finally, add crown molding along the top shelf. Note that the top piece of plywood is only there to act as a place to nail on the crown molding and for that built in effect.
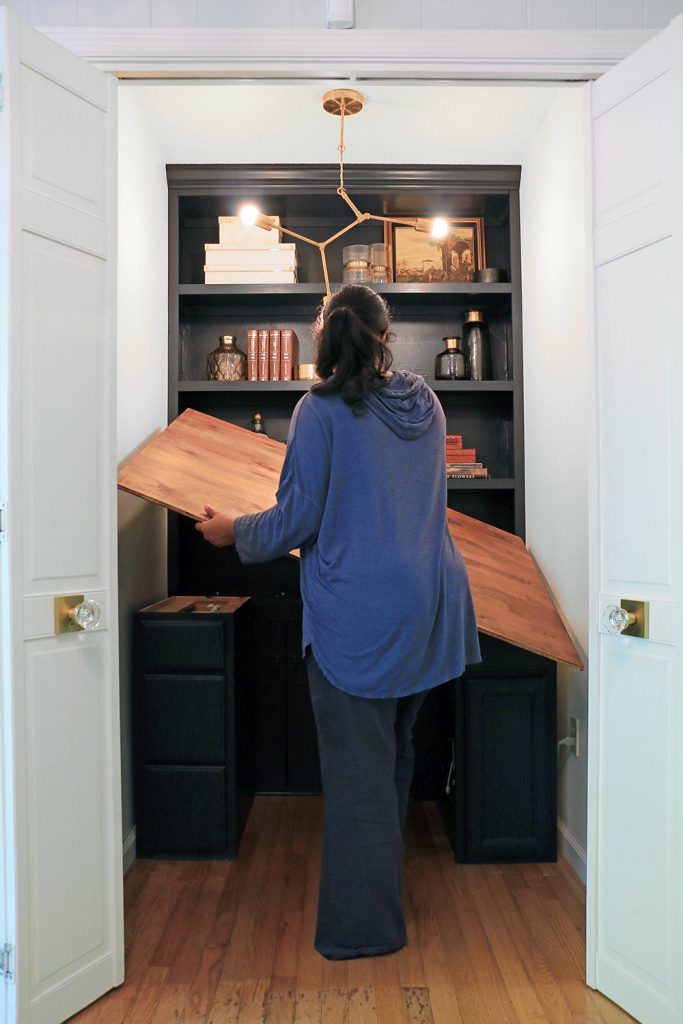
Creating A Desktop
The desktop is just a piece of 1/2″ plywood cut to the width of the closet, and the desired depth. Just remember to extend the plywood all the way to the back of the wall and under the shelves.
I placed the desk top on two salvaged kitchen drawer sets. You could also use cubbies, or build your own cabinets using these plans here.
How To Organize The Closet Office
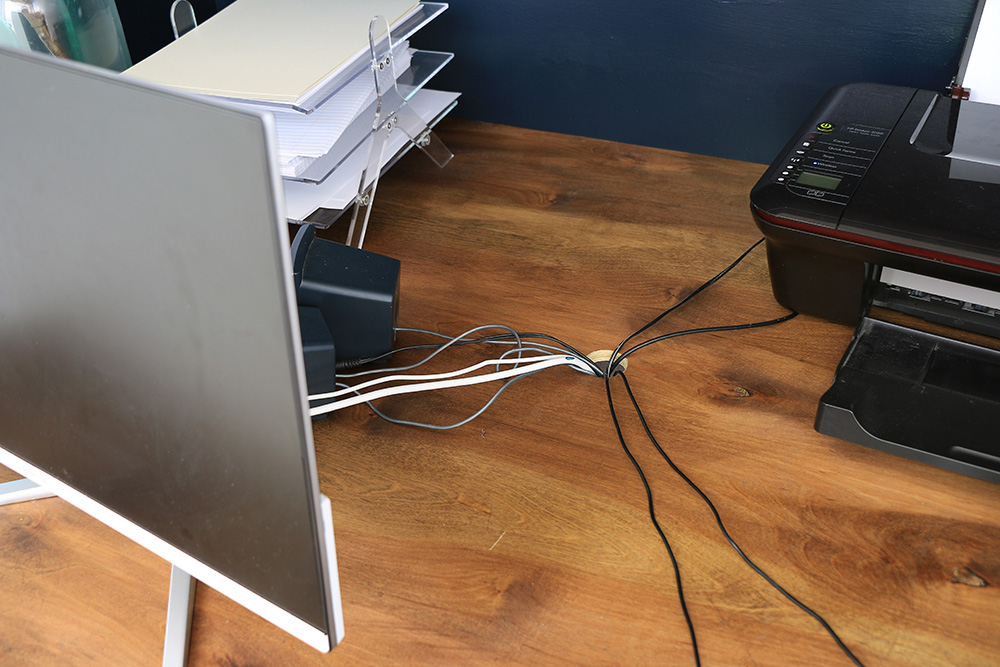
You’ll need space to wrangle those cords, and keep your closet storage space tidy!
Drill a hole behind where your monitor will sit. Be sure to make the hole large enough for plug ends.
I salvaged these two cabinet units off the side of the road years ago. But cabinet bases are the perfect heavy duty choice for a desk in your office.
The cabinet with door serves as the perfect place to hide your PC / computer tower, and keep it off your desktop (unless you only use a laptop).
Cut a hole in the side of the cabinet for the computer tower vent properly.
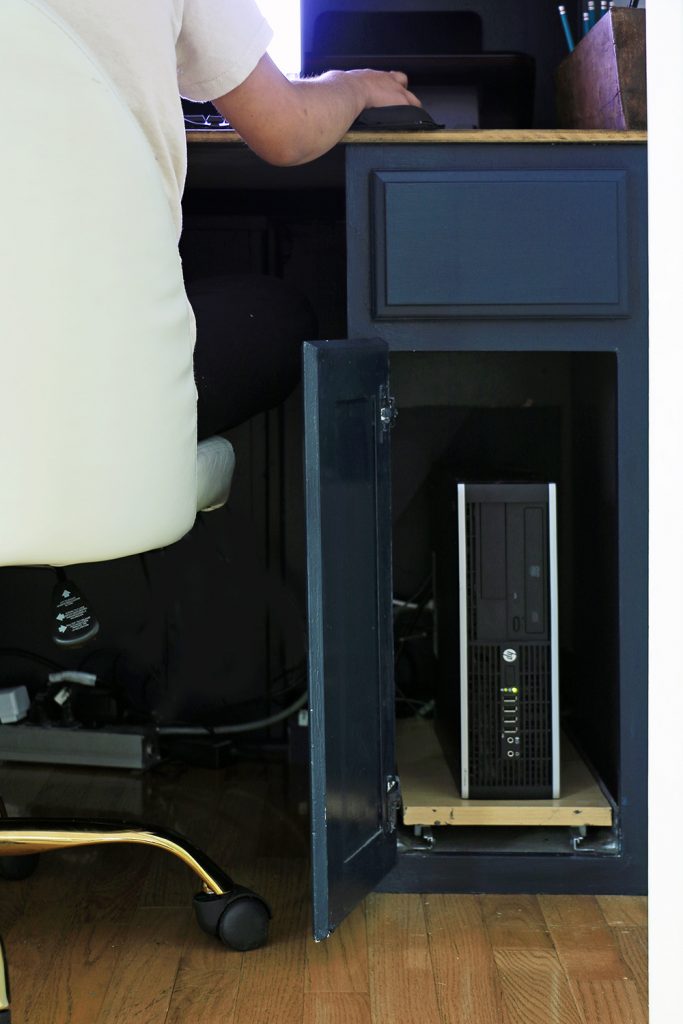
Use a jigsaw to make the opening a bit more decorative. This is what it looks like before I tuck all the wires and plug inside the cabinet behind the computer tower. You will want to use a few hooks along the back and side of the cabinet to run the cords along the back out of sight.
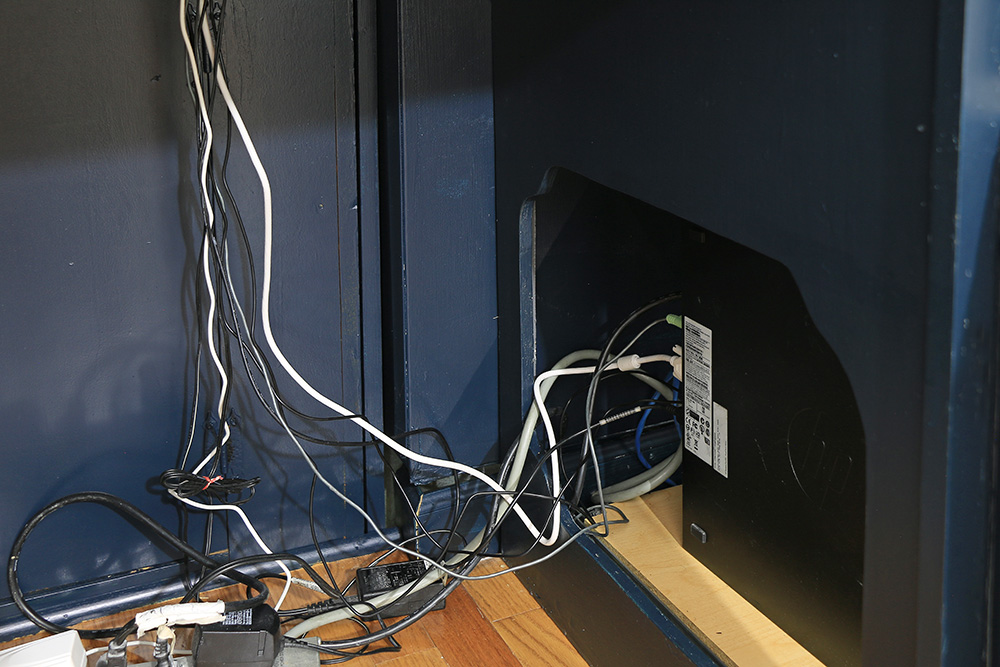
Organize office essentials as if they will be on display. Use attractive bins, boxes, or baskets to hide less attractive accessories and tame any clutter.
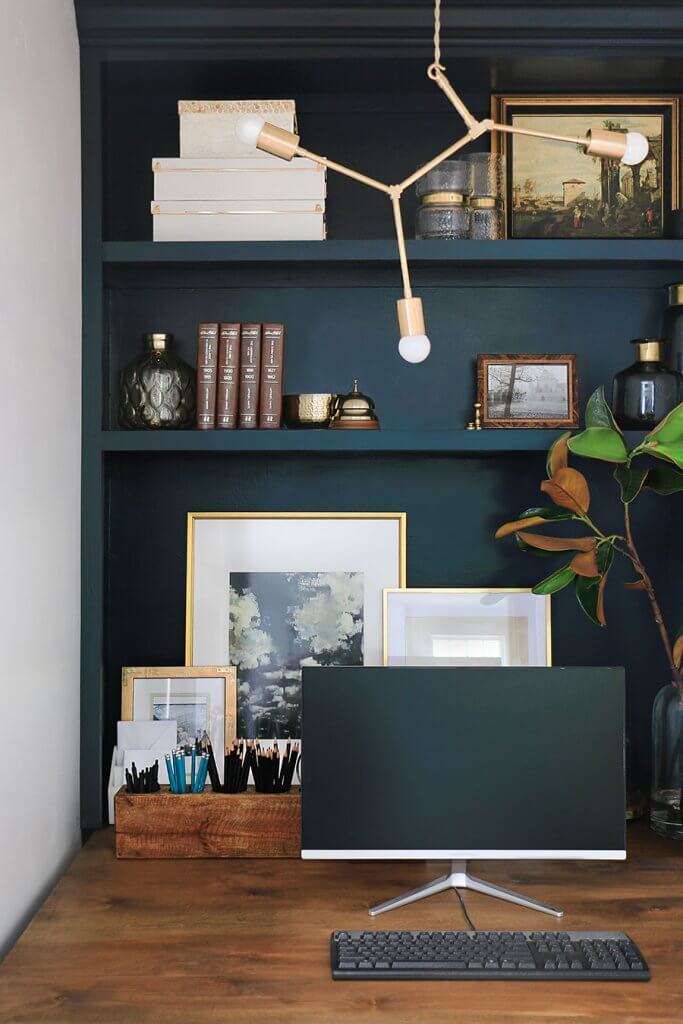
Decorating The Office
Your home office should be as attractive as it is practical! Remember, while the office setup might be a necessity while working from home, guests will see it whenever the doors are open.
TIP: Add personality and decor to make the space your own! Use a pop of color on your built-ins and desk base, or try wallpaper at the back of the closet instead of paint.

My favorite decorating tricks and closet office ideas:
- Group items on the shelves with staggered height for visual interest
- Store office items in attractive organizers
- Light up the closet with a show-stopping light fixture or pendant
- Create ambiance by recessing puck lights or strip lights along the hidden edge of under the shelves
- Add decorative knobs to the closet doors
Shop My Closet Office/ Sources
- Paint Color: ‘Winter’s Way’ by Behr
- Gold Light Fixture
- Closet Glass Door Knobs: Schlage (Hobson, non-turning, Collins trim, in satin brass)
- Office Chair
- All glass vases: At Home stores
- Wooden pencil holder: Home Goods
- Storage boxes: Target
- Decorative closet knobs
This little closet to office combo took a mostly unused closet, and gave us the home office space we desperately needed. This closet makeover took just a couple days and looks stunning as part of my family room!
Like This? You’ll Love These!
Get some inspiration for your office with these inspiring office built in ideas.
Custom make cute storage tins to store your office supplies in style and take up less space.
Make your kids their own “home office” by building them a simple coloring desk.
Keep your desk organized with a stylish desk organizer.


I really like your idea. I am all for closet offices! I see you posted the grayish color paint, but what color and type paint did you use for the white portion? Thanks.
It is just Behr’s Ultra Pure White… 😉
I can’t access the video, there doesn’t seem to be a link? I’m planning on doing this in a closet for my home office space but wanted to watch it first.
It is embedded into the post, but if you can’t seem to view it there, it is also here on YouTube: https://youtu.be/I20C6u1kAIA
Good luck with your home office!! I have no doubt you will love it when it’s done!
Here from Thistlewood. This is wonderful! As someone who lives in a small house, I appreciate space-saving ideas like this.
Love it! Great tips. 🙂
This was so cool and such a good idea! It came out great, a true inspiration!
Allie of
http://www.allienyc.com