*This Post is awesomely sponsored by The Home Depot! Woop woop! Affiliate links contained below.
It has been a dream of mine to have a greenhouse in the midst of a beautiful garden for as long as I can remember. It all started as a kid when my dad built me a playhouse in the middle of my own personal little ‘secret garden’ plot in our yard.
Building a DIY greenhouse and surrounding garden is the stuff my dreams are made of, and I’m SO excited to partner with The Home Depot to turn this dream into a reality!
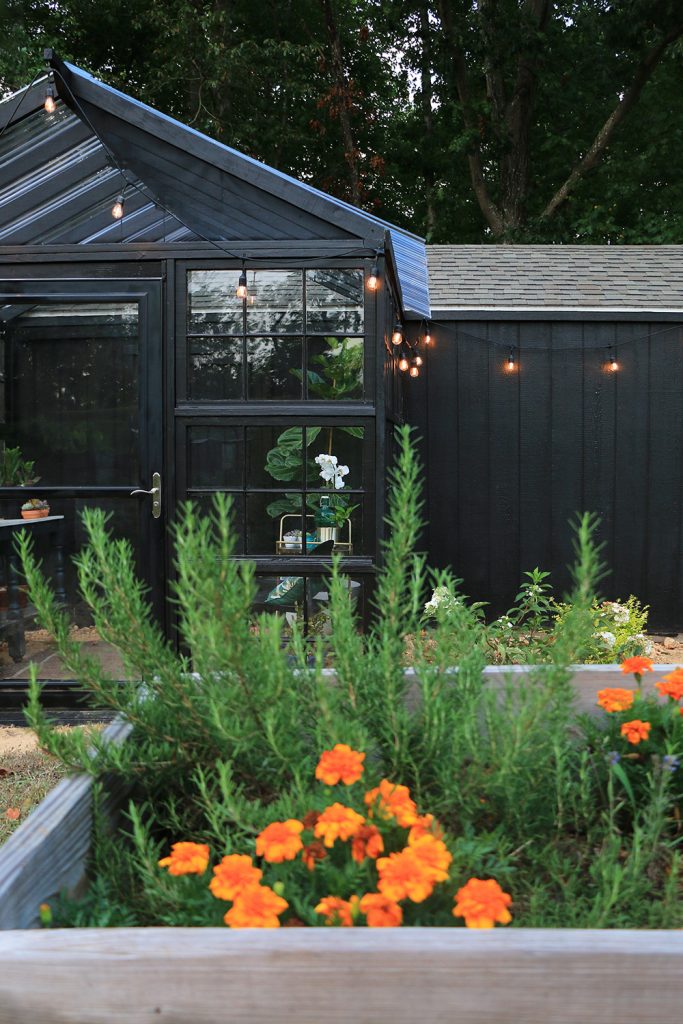
It’s crazy to think that 2 weeks ago the greenhouse was just an idea and a plan. While the garden will take a bit more time and intentional care to cultivate, it is all coming together beautifully!
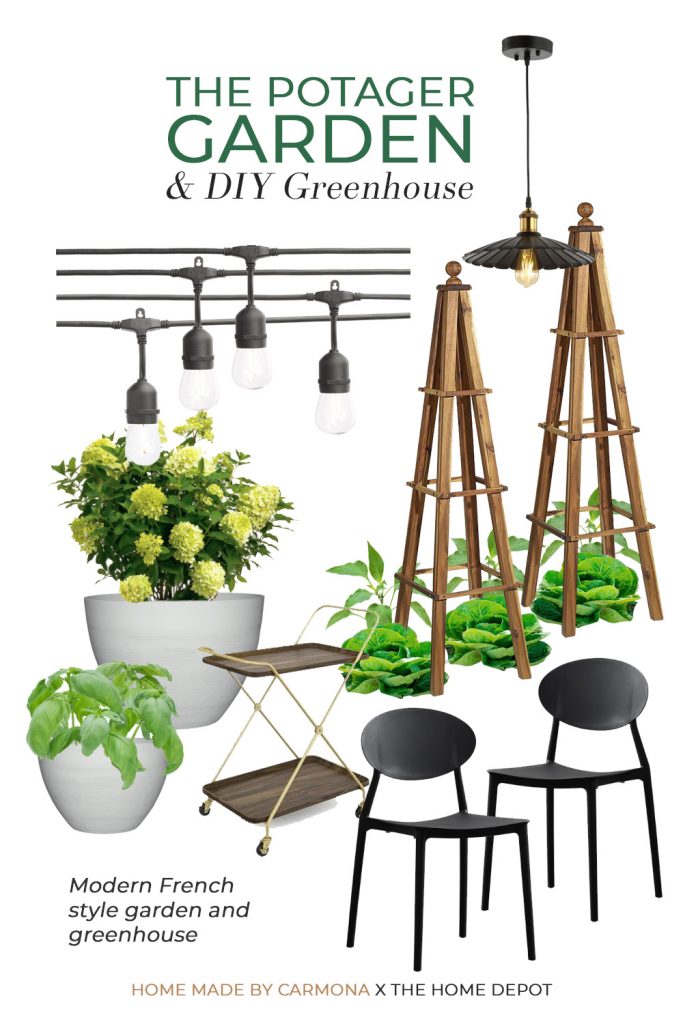
My intention for the garden is to mimic it after the style of the long admired French potager (pronounced po·ta·jé ) garden, and an added greenhouse seems . Potager gardens are kitchen gardens with a mixture of flowers, herbs, and vegetables intermingled. They are as ornamental as they are produce filled, and have all the perks of companion planting to ward off insects and produce the tastiest crops.
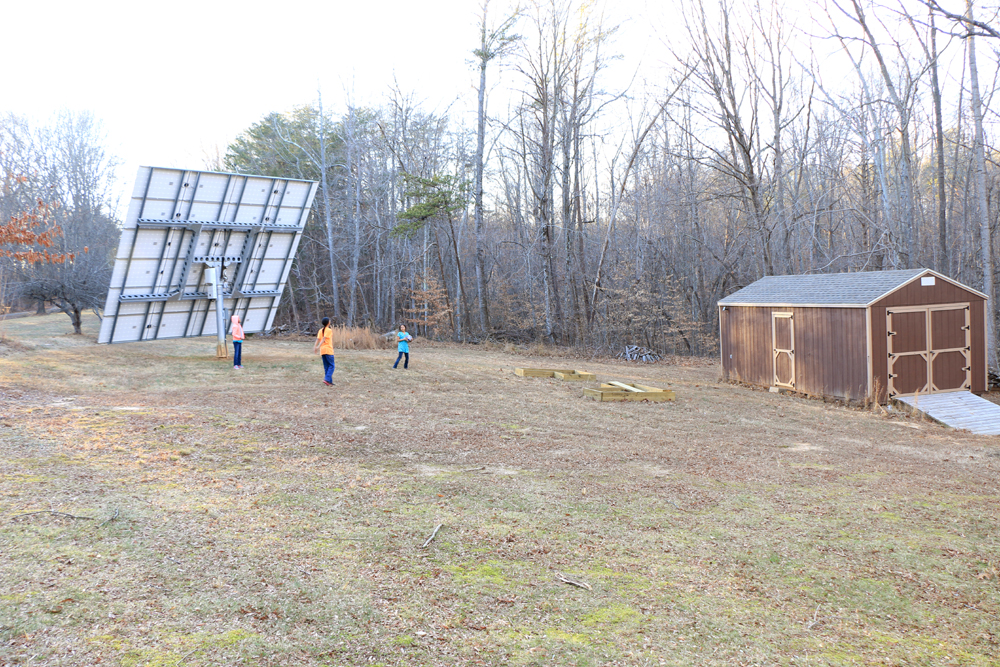
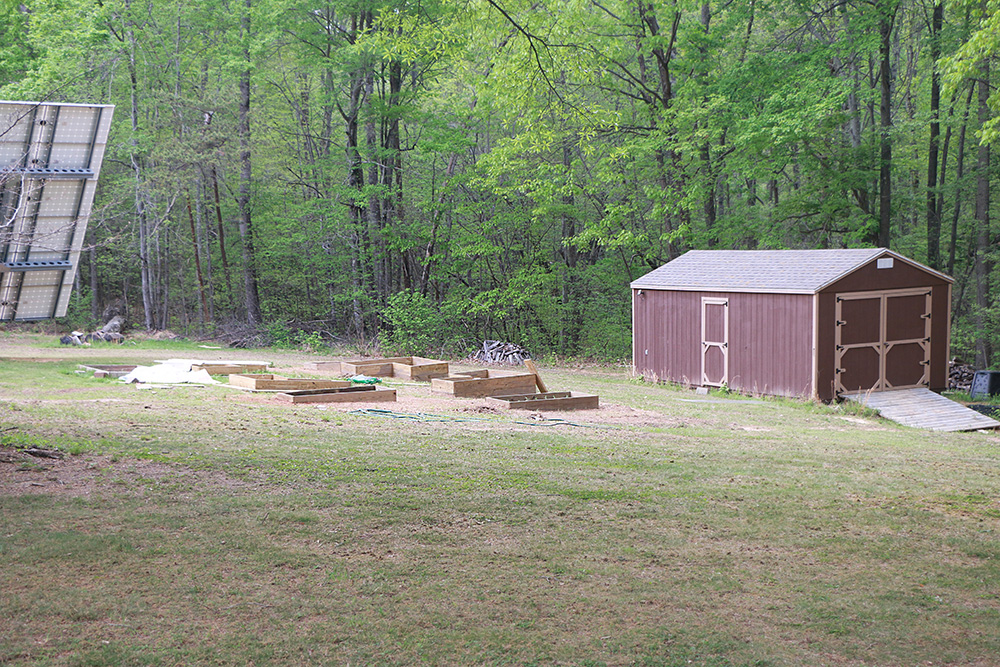
The Garden + Shed Before
My 16 acre property is mostly wooded, and the open areas all have gentle rolling acres. Which means there aren’t a lot of flat areas for gardening. The spot I ultimately chose has an bit of a slope to it, but I plan to use that to my advantage as the rest of the front yard slops toward it, which means natural water collection. It is also near the solar panel, so I know it receives the necessary amount of sun, and the garden shed being nearby is very practical.
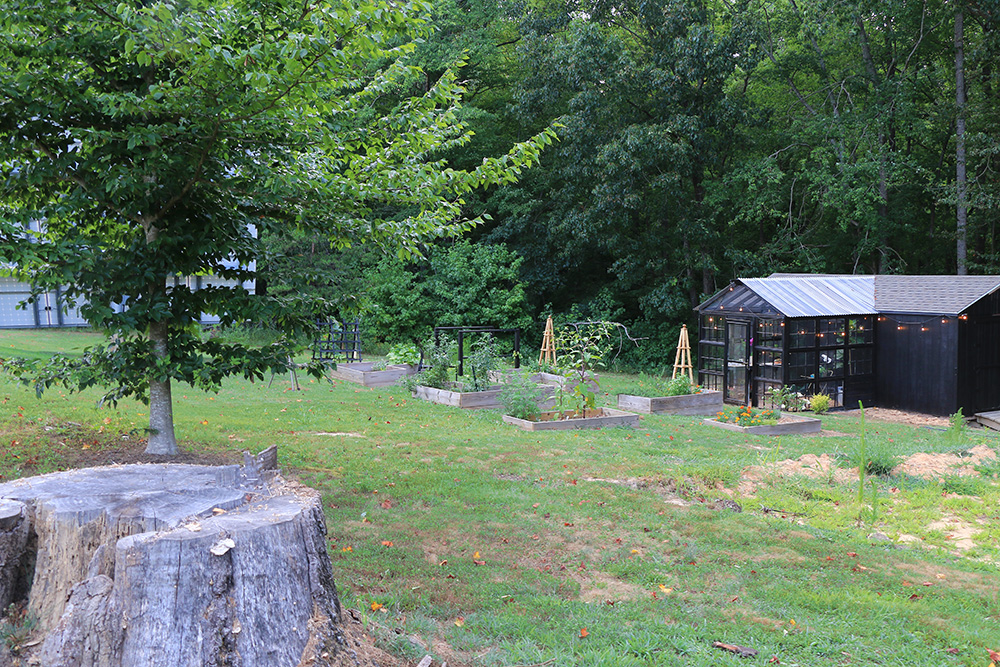
I chose to build the greenhouse out of recycled windows to keep this project budget friendly, and building it onto the existing shed also helped with that goal. It meant less windows and supplies are required since the shed serves as that fourth wall.
The shed also has electricity running to it, which I would tap into for the greenhouse to have lighting, and later on a fan to help vent it.
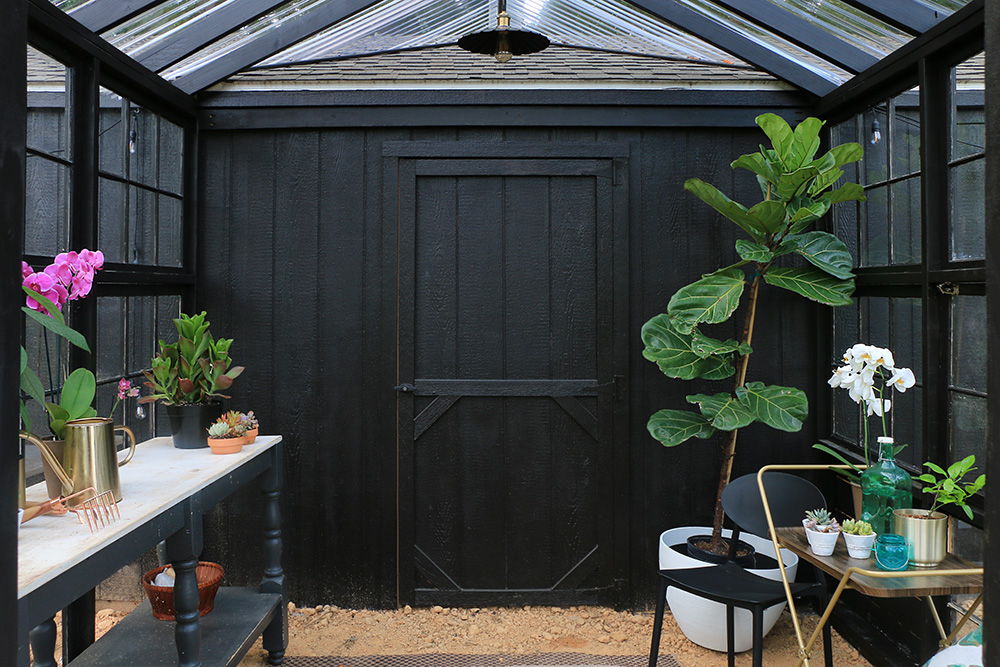
How To Build A DIY Greenhouse With Recycled Windows [VIDEO]
Materials Used (Just Under $1,000)
- (22) 36″x27-1/4″ Recycled windows + Recycled storm door ($200)
- (16) 2″x4″x10′ Pressure treated board (wall frame)
- (14) 2″x4″x8′ Pressure treated board (roof rafters)
- (1) 2″x6″x12′ Pressure treated board (roof main beam)
- (2) 1″x4″x10′ Pressure treated board (roof fascia)
- (31) 4″x8″x16 Concrete blocks
- (1 small bag) Concrete
- (7) 26″x12′ Polycarbonate roofing panel (clear)
- (3) 4′ Polycarbonate roof ridge cap
- (2 boxes) Fastener with seal (designed to screw onto Polycarbonate material…keeps water out)
- (1) 2″ Composite trim head screw (to attach windows)
- (1 box) 2″ Nails (outdoor construction sinkers)
- (2 boxes) 2-1/2″ Kreg screws (blue ceramic plated)
- 5 gallon bucket exterior paint: Behr “Blackout” (to paint both shed and greenhouse)
Building Raised Beds & Terracing
Because my land has a bit of a slope to it, it made the most sense to build raised beds and terrace them to counteract the slope.
These beds are made from non-toxic pressure treated wood…which as I understand, the process to pressure treat is different now than it was back in the day, so it’s perfectly safe for plants.
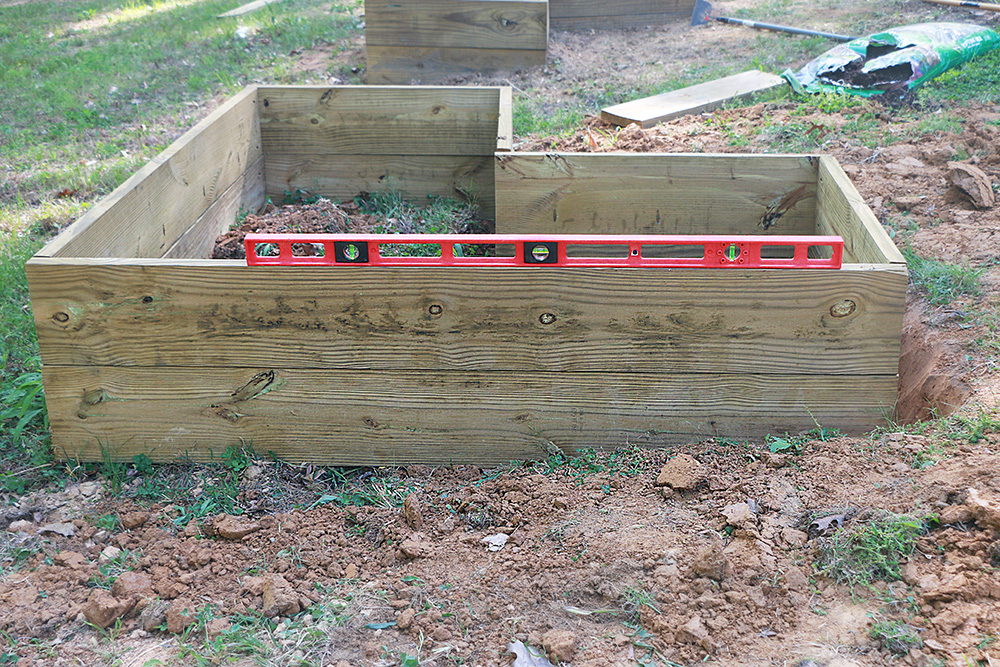
I had the kids place cardboard at the bottom of the raised beds, then filled a third of the bed with rich compost-like soil from the woods as well as a bit of our natural clay soil a third of the way full.
On top of that we added some garden soil from The Home Depot, and a good inch of wood chips. I opted for a layer of moisture absorbing chips, and then a layer of cedar chips on top to help repel insects.
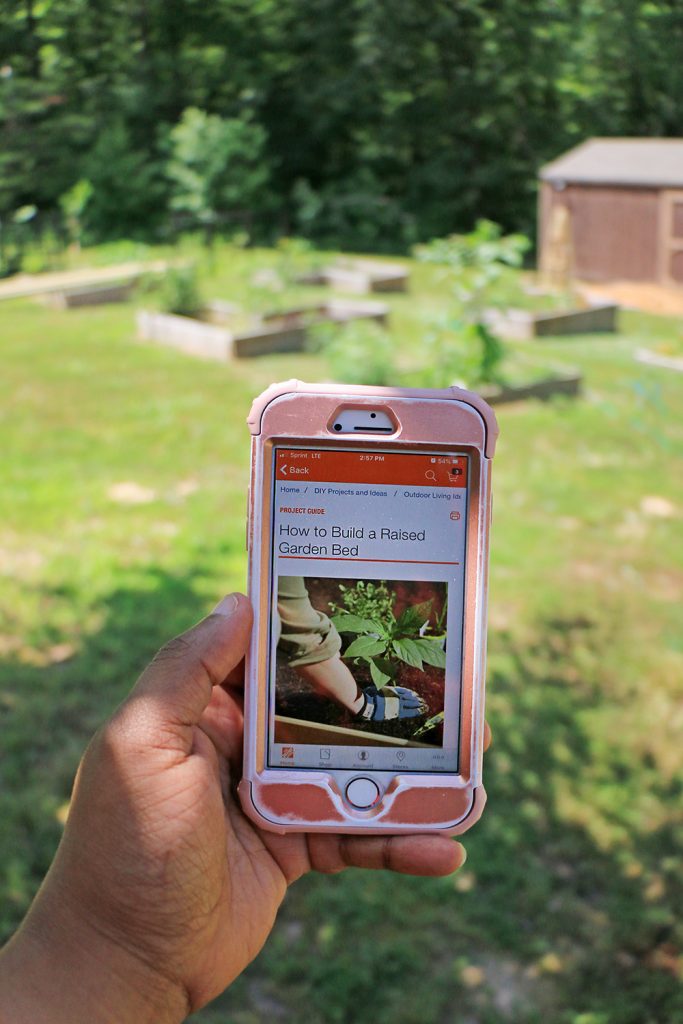
The Home Depot makes know-how for these kinds of projects a breeze with their handy dandy how-to guides found via the mobile app and website. I referenced the How To Build A Raised Garden Bed guide to help me figure out exactly how I wanted to build my beds.
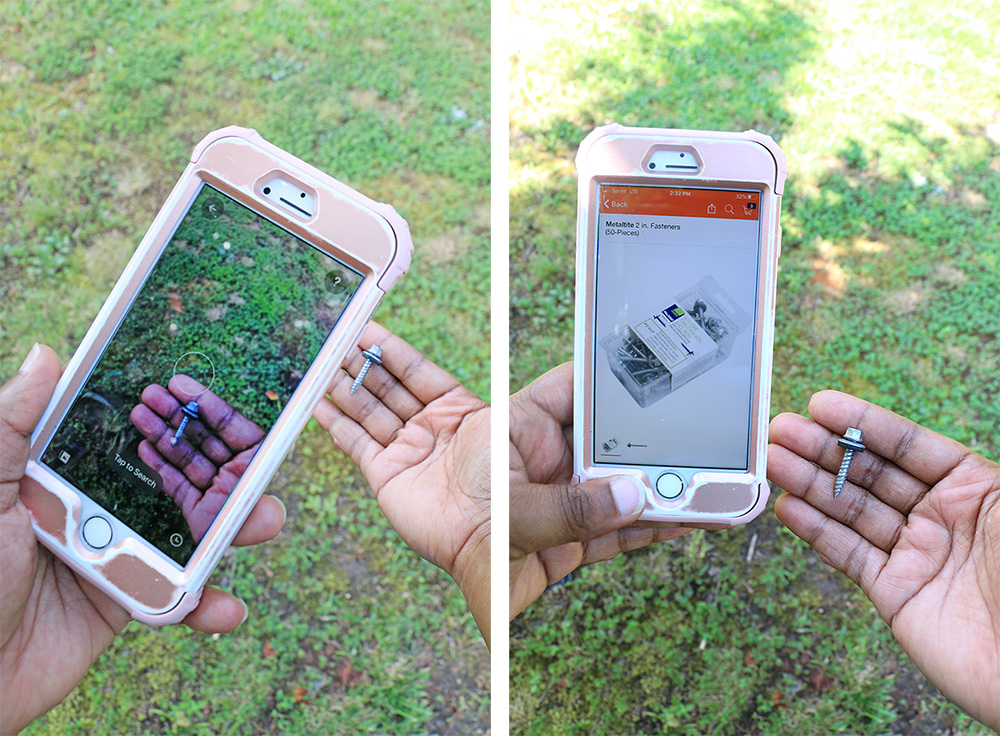
Plus the image search capability in The Home Depot mobile app means if you need a particular part for your project, but aren’t sure what it’s called, just snap a picture and it will find it for you!! It will even tell you where in the store you can find it…how cool is that?
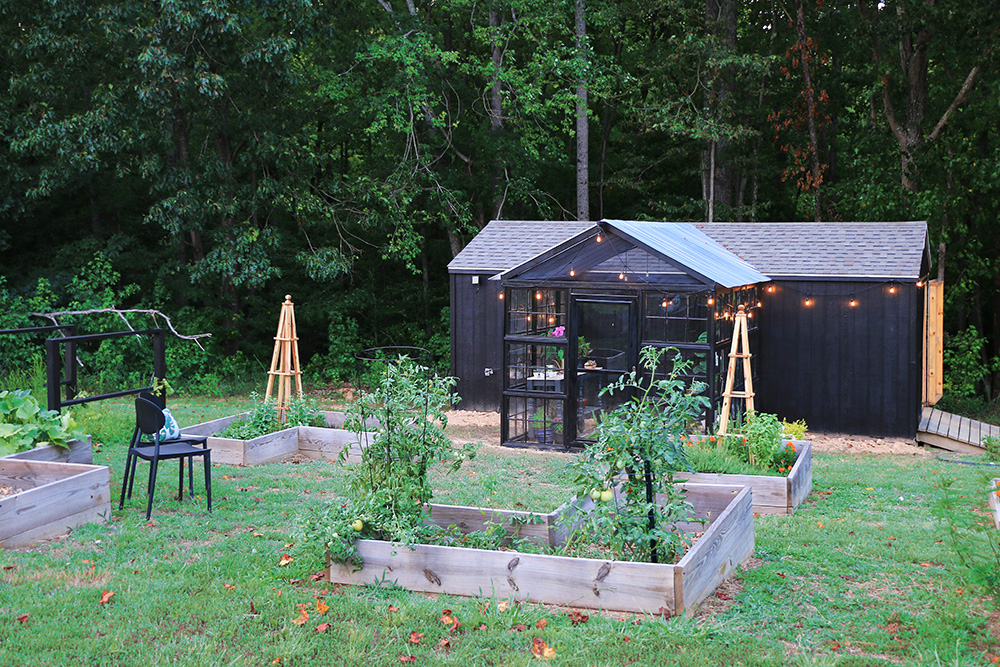
The end result is pretty marvelous! It’s both practical when working with an incline, raises it for an easier working condition, and it looks fantastic!
Some beds are double height (at the lowest point), and some are single wood height.
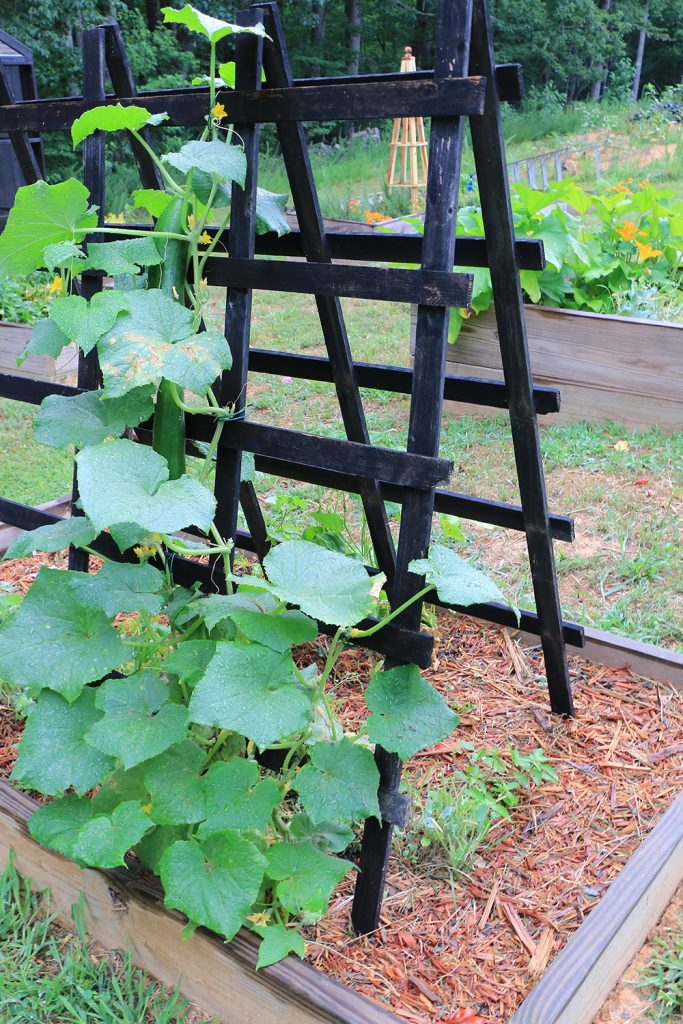
Decorating The Garden & Greenhouse
Decorating a garden area or greenhouse can follow many of the same principles as when decorating the indoors.
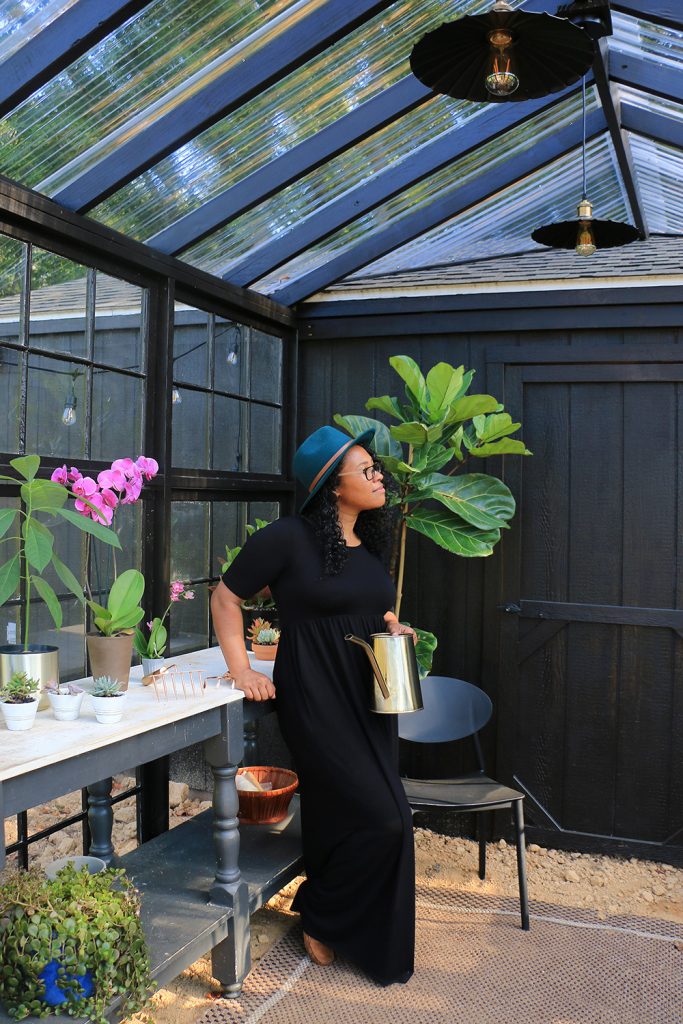
Create cozy charming living spaces and seating areas, like I did with these incredibly stylish Westlake Armless Plastic outdoor chairs. I ordered a set of four from The Home Depot online and had them shipped directly to my door. They are perfect for the greenhouse and a couple to keep outdoors, because when they get dirty I can just hose these plastic chairs down!
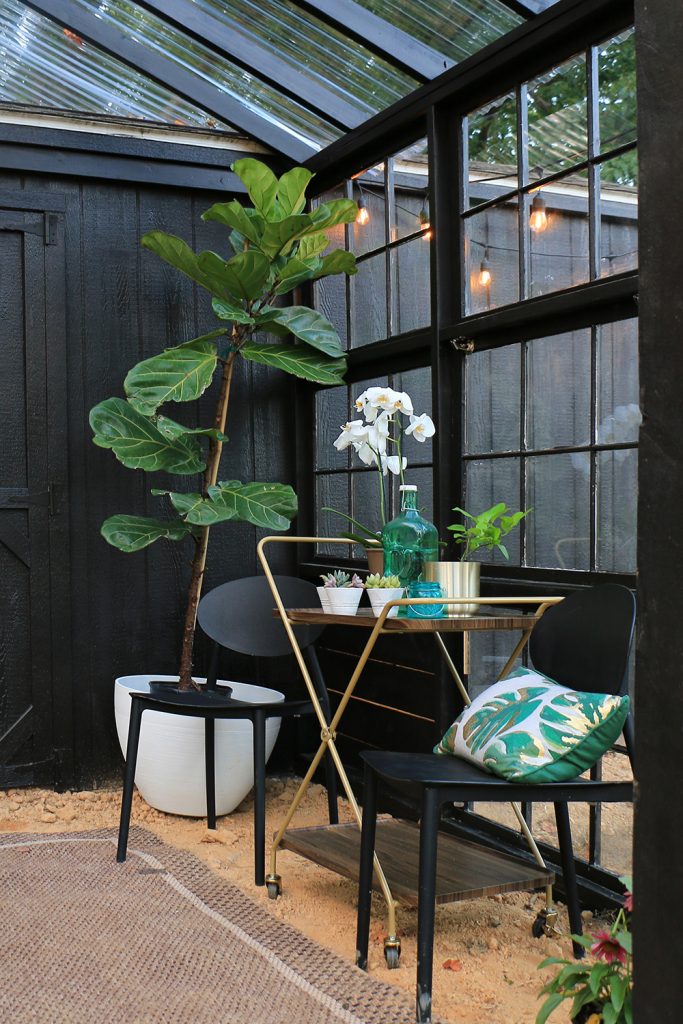
Using a retro styled Rolling Serving Cart made for the perfect side-table in the greenhouse, as well as a pretty plant holder.
Lighting is everything! Yes, even in the outdoor spaces. I’m completely smitten with these Black/Brass LED Pendants in the greenhouse. It gives it such a charming cafe vibe.
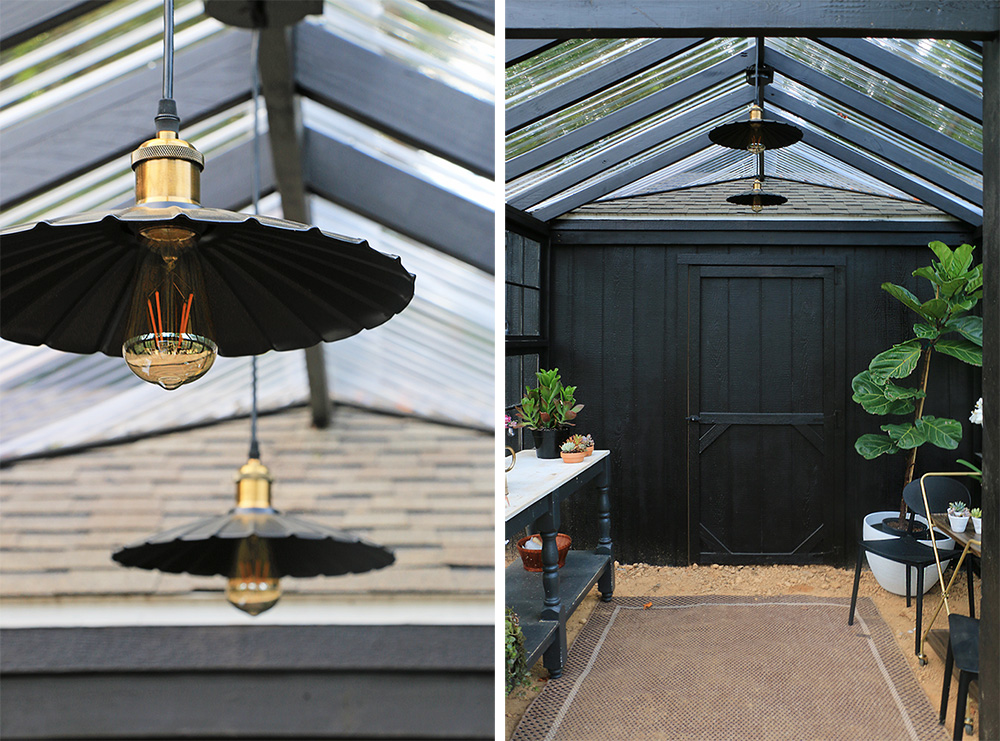
Not to mention the lovely Outdoor string lights that make outdoors perfectly dreamy!
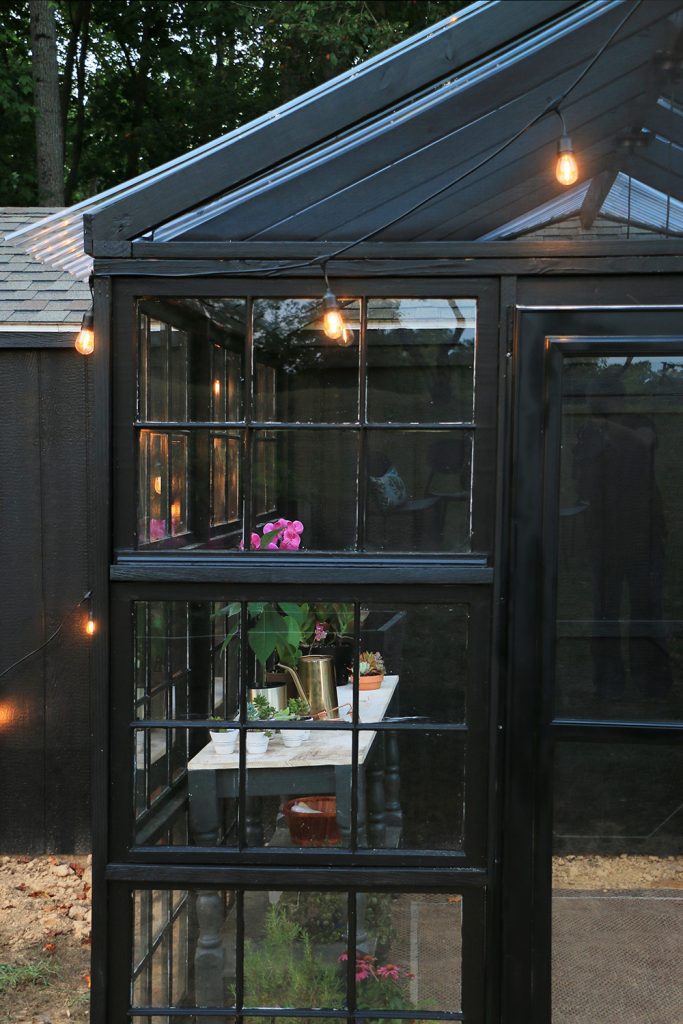
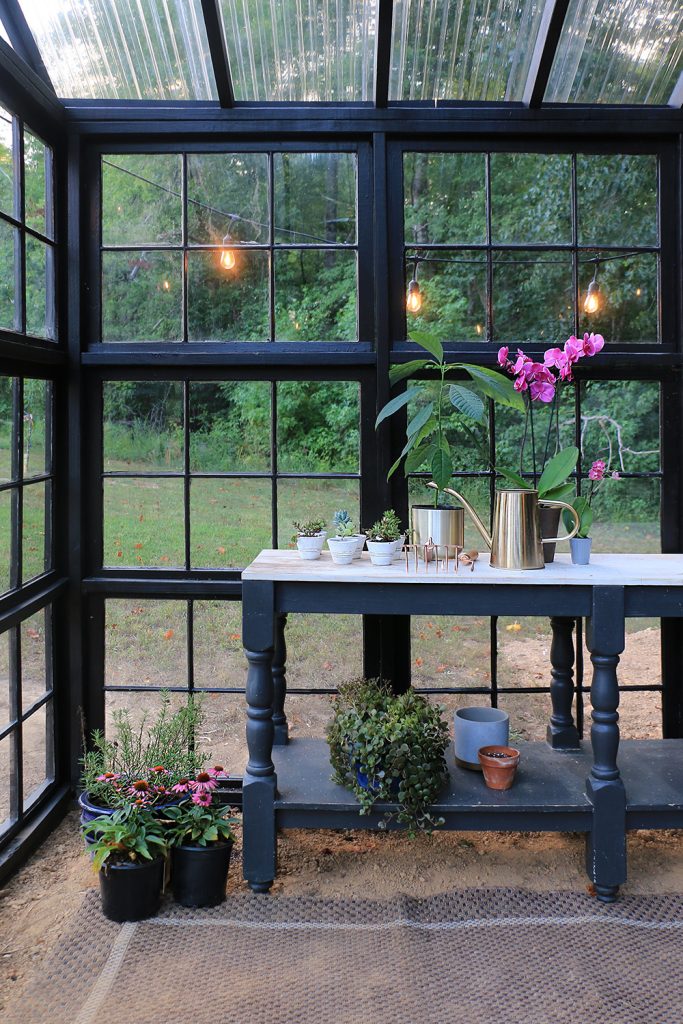
I had a chance to use The Home Depot’s curbside pickup option for all my indoor greenhouse accessories, and it was amazing! I never had to leave the safety and cool of my air-conditioned car.
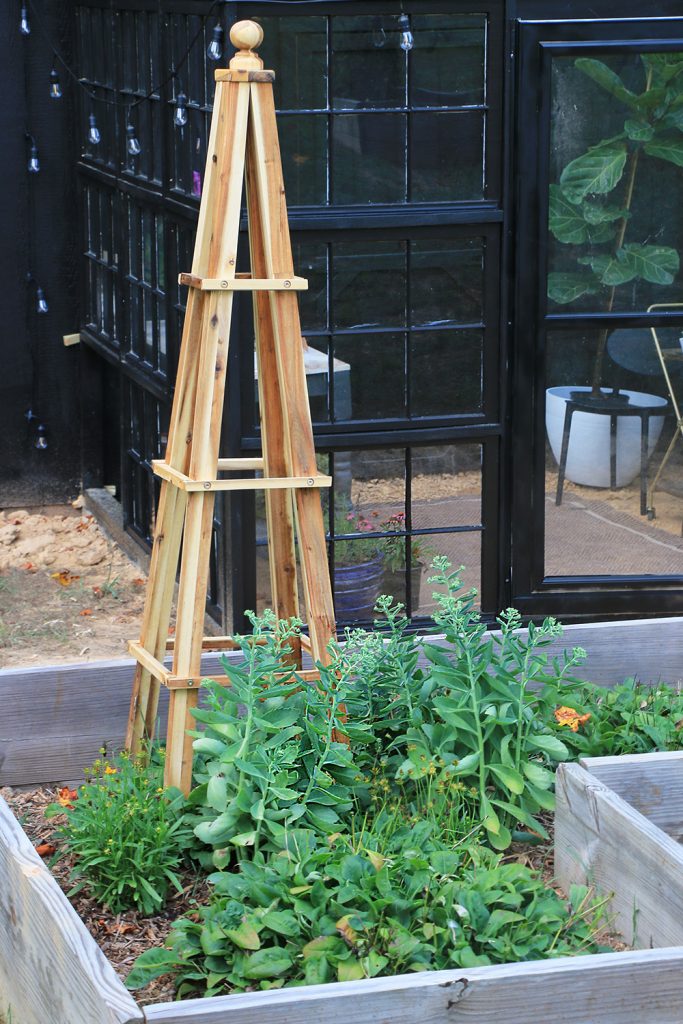
My last outdoor decorating tip, always try to vertical with your decor! In this case, that meant incorporating structural elements into my garden like these Acacia Wood Obelisk’s. It just adds a bit of an architectural structure, while being useful for those plants that need a little more support!
I have several future projects for the greenhouse and garden, but those will have to happen as I have time.
One project I hope to do once the weather cools a bit, is create a herringbone brick floor. Oh I’ll still leave some space for growing directly into the ground inside the greenhouse, but how lovely would that brick be along the middle walkway?
Tackling Projects These Days…
My family is spending a lot more time at home these days, and tackling a project like this now just made sense as we spend more time enjoying our own home.
I was incredibly pleased to have a variety of different options like shipping direct to my door, curbside pickup, and even pick-up lockers to help make obtaining supplies for my projects easy and safe.
I hope you guys are inspired to take on those projects you’ve been dreaming about, and make home a beautiful place for you and your family!

- Westlake Black Armless Plastic Outdoor Chairs
- Retro 2-Tray Rolling Serving Cart in Brass
- Lotus Black/Brass LED Pendant
- Acacia Wood Obelisk
- Outdoor String Lights
*I acknowledge that The Home Depot is partnering with me to participate in The Doer Project. As a part of the Program, I am receiving compensation in the form of products and services, for the purpose of promoting The Home Depot. All expressed opinions and experiences are my own words. My post complies with the Word Of Mouth Marketing Association (WOMMA) Ethics Code and applicable Federal Trade Commission guidelines.
Learn how to create a DIY Herb garden perfect for urban settings, whether you have loads of space or just a little…
Like This? You’ll Love These!
RELATED GARDEN + PLANT POSTS: Create a beautiful garden with this inspiration! | Create a self-watering container garden | Sprout an avocado from a pit! | Learn how to build a vertical wall planter |



Hi there, do you mind sharing the Weigh and Height your greenhouse measures out.
It is about 9ftx10ft, the windows are 36-inches.
Hi! I am in the process of putting on my polycarbonate. Couple of quick questions. Did you use the foam pcs for the poly sheets? And is the front of your greenhouse open at the top? I can’t tell from the pics. Thank you!
I intended to use the foam filler for the poly sheet ends, but my store did not have them in the correct shape, so I did not. But it is a good thing to do. The front is open, but screen mesh is stapled across the front. Then in winter I put a layer of farm-grade plastic over the screen. One day I plan to cut some poly (that isn’t corrugated) to size that can be bolted over the screen in winter.
I love love this! Do you have better details on how you attached the green house to the shed at the roof? I have a similar shed I would love to use it as the back wall like this
Beautiful !!!! What size is the greenhouse?
Hi. I am building my own greenhouse out of recycled windows that I rescued from a sunporch renovation. Can you share more about how you built the walls and attached the windows? Do you have any pictures of that? Do your windows open at all? Now that it has been a year, anything you would change or do differently?
Love, love, love the black!!
Thanks for any additional info and help.
Can you share more details on how you enclosed the 2 ends of your roof? Looks like on the front you might have used polycarbonate clear panel or glass in triangular shape?
Sure! Actually, I staple window screen across the fron for the summer, and in the winter I place plastic sheeting across it. This allows the extra ventilation it requires in the summer months. But you could certainly put poly roofing over the front if you wanted to.
If you look at a picture of the inside of the greenhouse, you’ll notice that the backside of the greenhouse roof attaches directly to the shed roof to create a gable and valley roof design. Or imagine a dormer window on top of a roof…it’s the same roof type where two opposite gables meet. 😉 Hope that helps!
I never usually comment, but your aesthetic, creativity and resourcefulness is inspiring. Too many people buy something new to avoid having to use their brains. To take something junky and make it unique and charming not only takes smarts it takes heart… using less virgin resources in this age of global warming shows that you care about this planet and the survival of humanity! Thank you for giving a damn in such a graceful way.
Gorgeous! You go girls!
Did you build your planting table too? Would love to see how you did it or know where you got it! Thanks 🙂
Yes I did! You can get more details on this build here: https://homemadebycarmona.com/diy-rustic-buffet-table/
Oh Ursula you are indeed my shero!!! Well done girl. Well done!
I don’t know why I’m constantly amazed by you, but I am. You are umm, let’s see I’ve used AMAZING over and over, so… Dang I’ve used INCREDIBLE too. Awesom__x nope use last time. I’m running out of superlatives to adequately described you. So I’ll have to make on up as none of them do you justice. UNTOPABLYITESTABLINGADING. THERE just for marvelous YOU. KEEP ON DOING YOUR MAGIC. LOVE IT. 😍
Absolutely beautiful! I followed along on Instagram and was fascinated by the process! Fantastic job!
I am in LOVE with your gorgeous greenhouse!!! Thank you for sharing! Did you make the potting table as well?
This is SUCH a beautiful beautiful project Ursula! Potager gardens and black greenhouses are my absolute FAVE and I’m so excited you have one as part of your home landscape now. It’s just so dreamy. Happy gardening friend.