[tooltip text=”Special thanks to Kreg and Build Something for sponsoring this post! Let’s just say I’m a fan…”]This post is awesomely powered by Kreg![/tooltip]
Since we moved into our new house two months ago, I’ve had picture frames, vases, and dishes sitting atop TV trays the corner of my dining room, and it was driving me crazy! Sooner or later, one of my kids, or maybe my little one-year-old nephew would inevitably bump into the TV tray and in series of unfortunate events end up with a pile of broken dishes and frames…so not safe, not good. It is definitely time for a more permanent solution to my dining room storage issue.
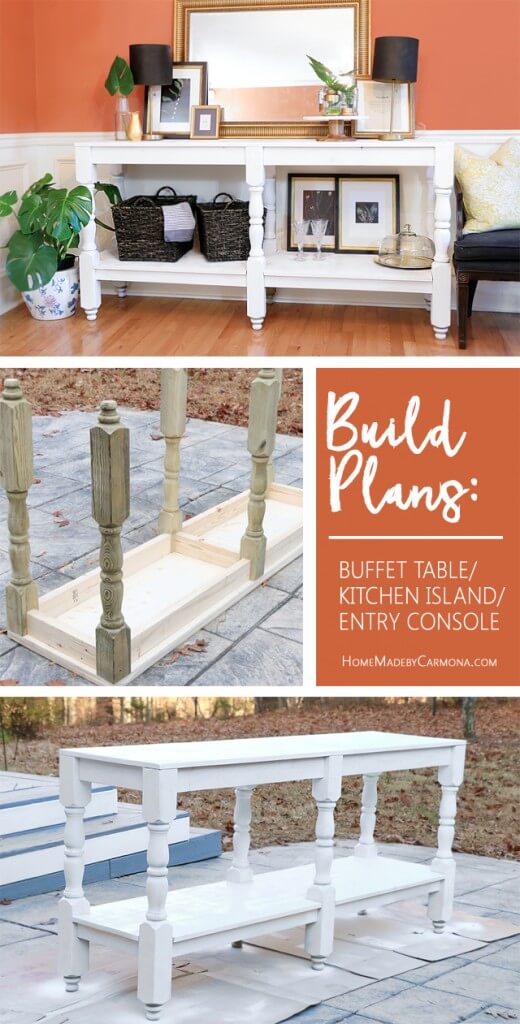
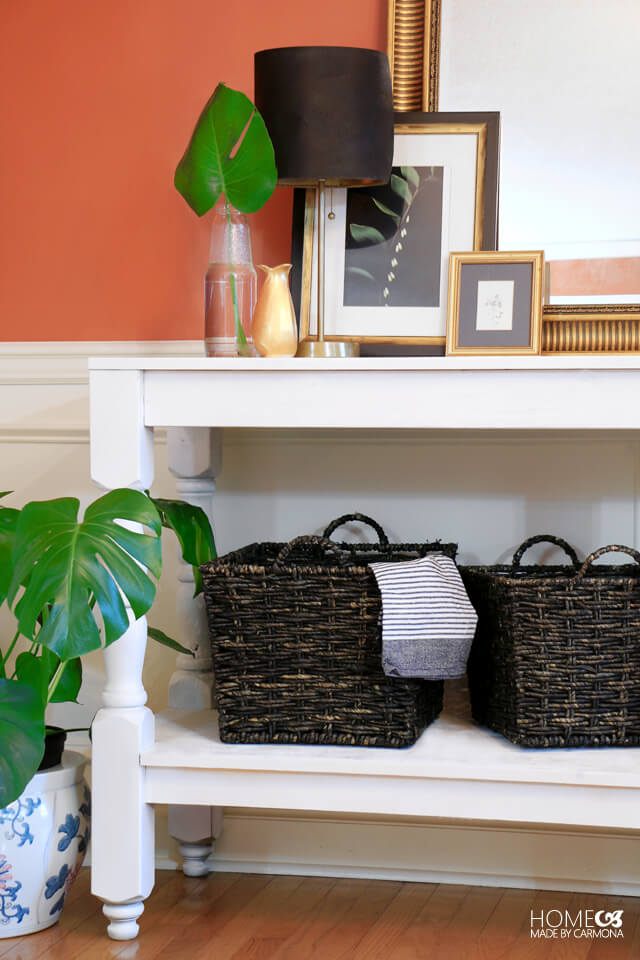
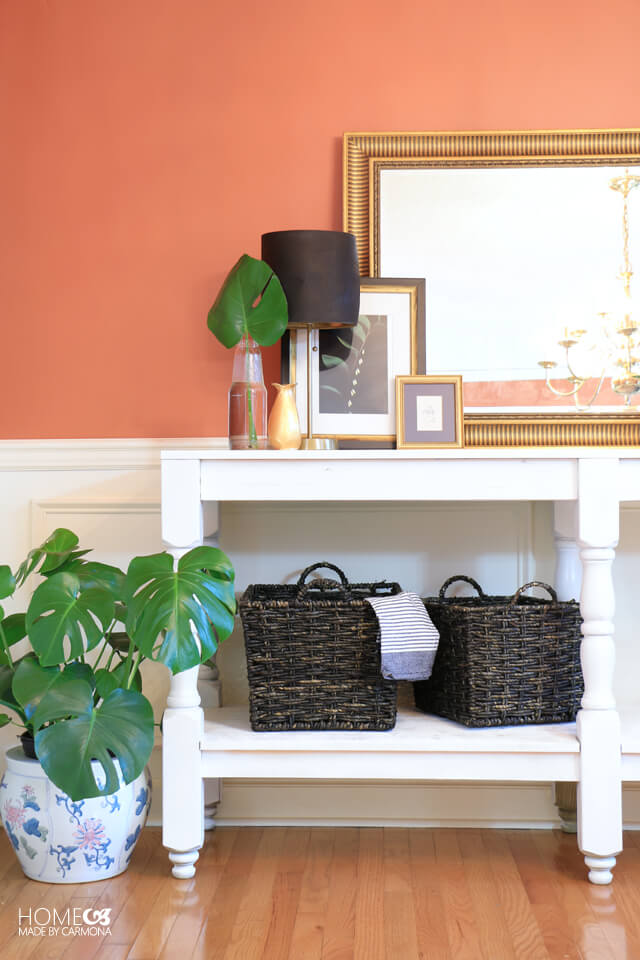
Today I’m building a buffet table for my dining room. Not only the perfect storage solution, but a great place to put the desserts during my dinner parties!
As you know, each month I’ve had the privilege of partnering with Kreg on their awesome website BuildSomething.com, which serves as the perfect platform to upload/store/share my build plans in a way that is easy for you to follow. Plus you can find, create, and keep your own favorite build plans! So I’m uploading the plans to make this cute Rustic Buffet Table.
Woohoo! Saved from trying to learn carving on the fly. That might not have gone well…
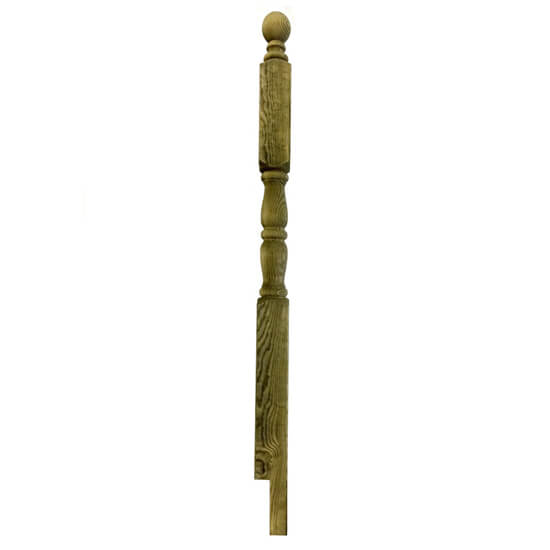
I think of this project as “easy”, but I suppose it really is more of an intermediate skill level. I say easy, because I’m a sucker for any project that uses some pre-purchased parts (like with these legs). By the way, I was originally going to buy pretty stair posts as legs, which were all wrapped up in plastic and would have cost $30 a piece. But I just couldn’t justify the cost (hey, built furniture to be at least half the price to buy it in stores!), and just when I was about to give up and make my own legs, I spotted some super rough-around-the-edges outdoor deck posts for $11 a piece! Woohoo! Saved from trying to learn carving on the fly. 😀 That might not have gone well…
Moral of the story: Look high and low at the hardware store for alternate solutions that are cheaper but just as good!
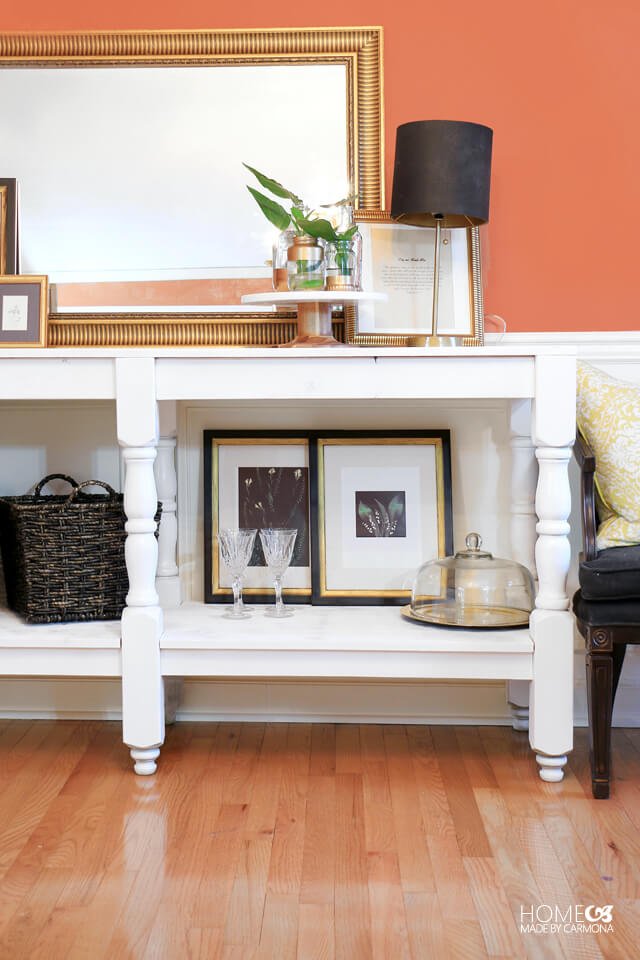
This bad boy is super sturdy, and I may even decide to move it into the kitchen as an island in the future. We’ll see.
However you decide to use it, as a buffet table, an island, an entryway console table…it will last so much longer than anything you could buy in a store. You’ll be able to pass this furniture piece down to your kids, and grandkids, and great grand kids!
Ha! Hopefully your descendants have the same style you do…just kidding.
What space would you use this piece of furniture in?
[/col2]
[/col3]
*Thank you to Kreg for sponsoring this project! I have been compensated for sharing my build plans, but the ideas, plans, and everything else in this post is my own.
[go_portfolio id=”diy_gallery”]




What a cute project! Do you know the dimensions? LxWXH?
Hey, I love the table what did you cut the legs with, do you think Lowes would cut the spheres off.
I am a DIY from N.C.
It certainly can’t hurt to ask! Or you could use a jig saw, or a miter saw to cut it off.
Hi! Did you swap out the feet of the leg? I almost used the same deck post for my kitchen island, but the feet were spheres, which unfortunately didn’t work. How did you find feet or post that are pictured in the photo? Hope that makes sense 🤪
Ah yes…just cut off the spheres right where they connect! 🙂
Ursula, This is so gorgeous! ❤ So of course I did a Google image search for white entry console table and look what pops up. lol I feel like you’re my DIY BFF in my head. I’ve been looking for something just like this for months! I just need mine with 2 drawers. If you make one for me, I’ll pay you. lol I live in NC too 😂 ps. I’m serious 🙈
Thank you Alfreda! Well now DIY BFF’s have to actually DIY together. LOL! While I would never dare build something for anyone else yet (until my skills feel more solid), I TOTALLY need someone who will come build stuff alongside me. If you ever go up to Greensboro’s direction, let me know girl!
LOL! I’m totally down! I’m in Raleigh so it’s only 1.5 hrs away. And don’t sell yourself short…the pieces you make are beautiful. I wish I had your skills. I’ll email you so we can plan a get together 😉
Aaaawesome!
The orangy wall colour looks fantastic. What is it exactly?