*This post is awesomely sponsored by The Home Depot! Affiliate links below.
What do-it-yourselfer wouldn’t want an amazing workshop studio to accomplish all their handy projects and crafty endeavors? A magical place with all our tools and materials easily accessible and beautifully organized.
Well I, for one, have always dreamed of having my own garage workshop studio, and I’m partnering with The Home Depot to bring that dream to life!
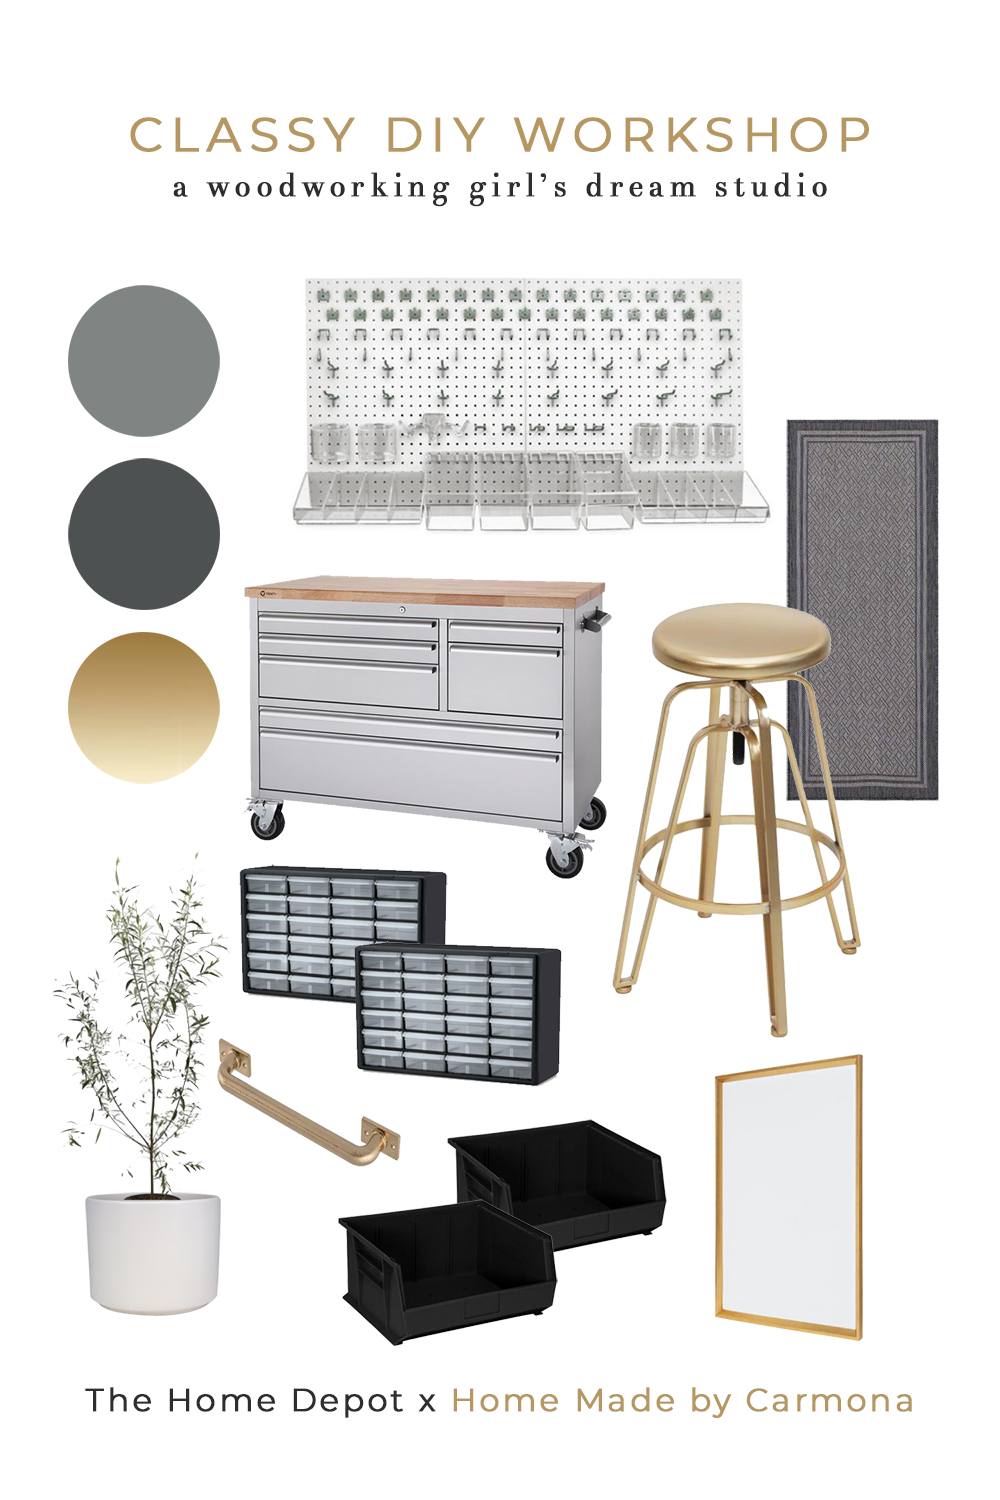
Sometimes it’s easy for creative people to end up with a messy workspace. Then we find ourselves buying materials we already own but couldn’t find in the jungle that we call a workshop.
Today, I’ll be bringing all you fellow DIYers tips to create your own classy DIYers workshop with all the organization needed. All while sharing my own amazing garage workshop transformation!
You are handy, so if you have a bit of space, you just need the vision and a few ideas to get you started.
The Garage Before
I’m grateful to have a garage space to bring my projects to life. In past homes I haven’t been quite as lucky, but made do with smaller spaces. Yes, my cars have never been able to park in here. But who are we kidding? The garage became a bit of a catch-all and they couldn’t have parked in here anyway…
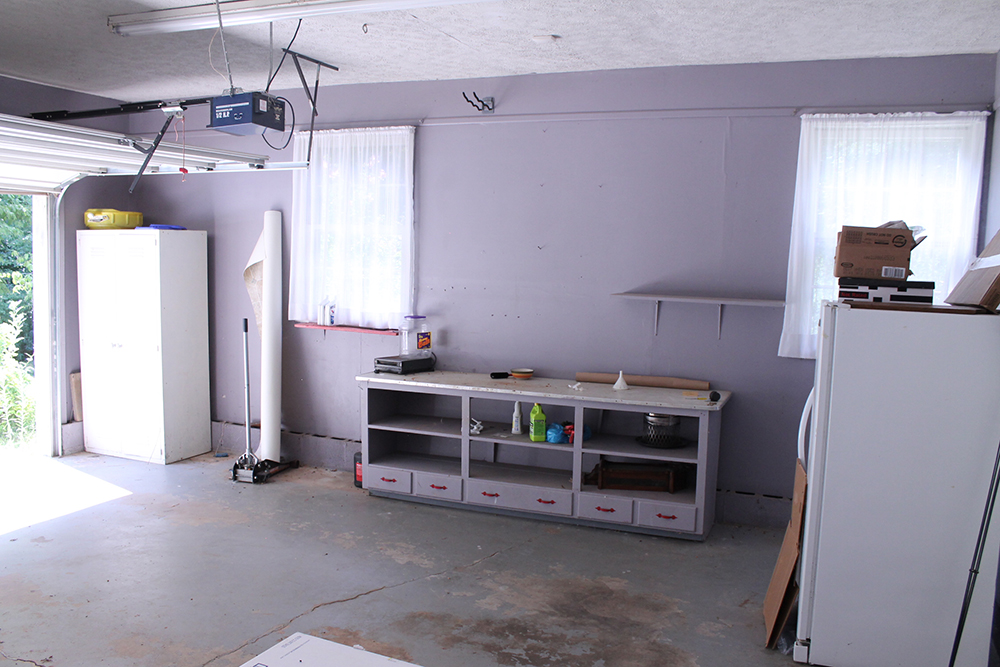
Now I’m going to show you my garage at it’s worse…brace yourself.
This cautionary tale is what can happen when you don’t know where to put things.
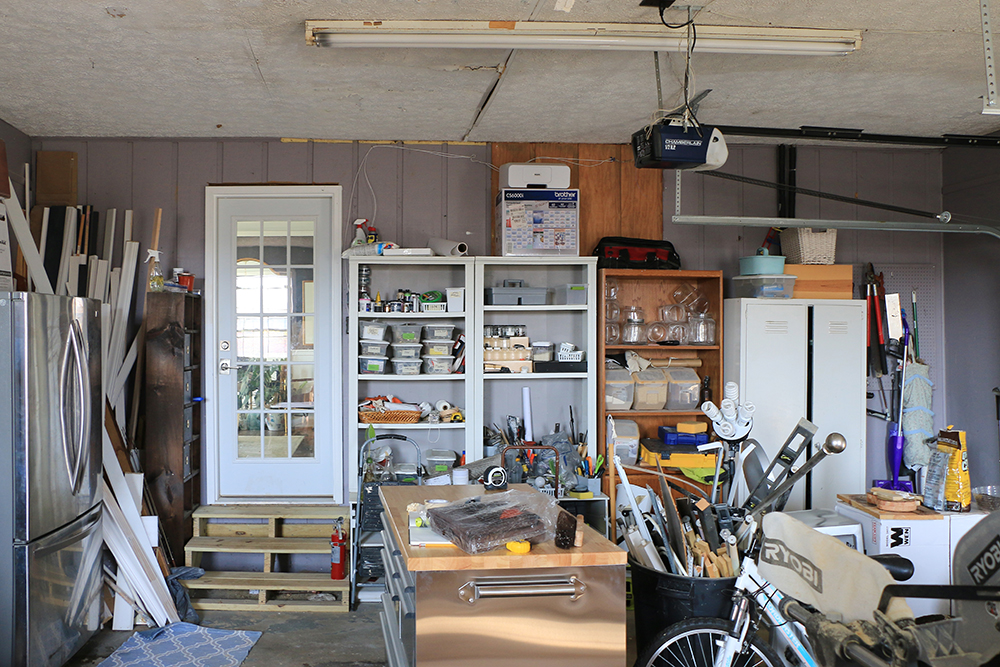
So how did my garage get to this horribly messy point? Well, a series of unfortunate events really… After a sudden basement flooding incident, we quickly dumped a bunch of things in the garage, and it had to hold my DIY supplies as well as become miscellaneous storage.
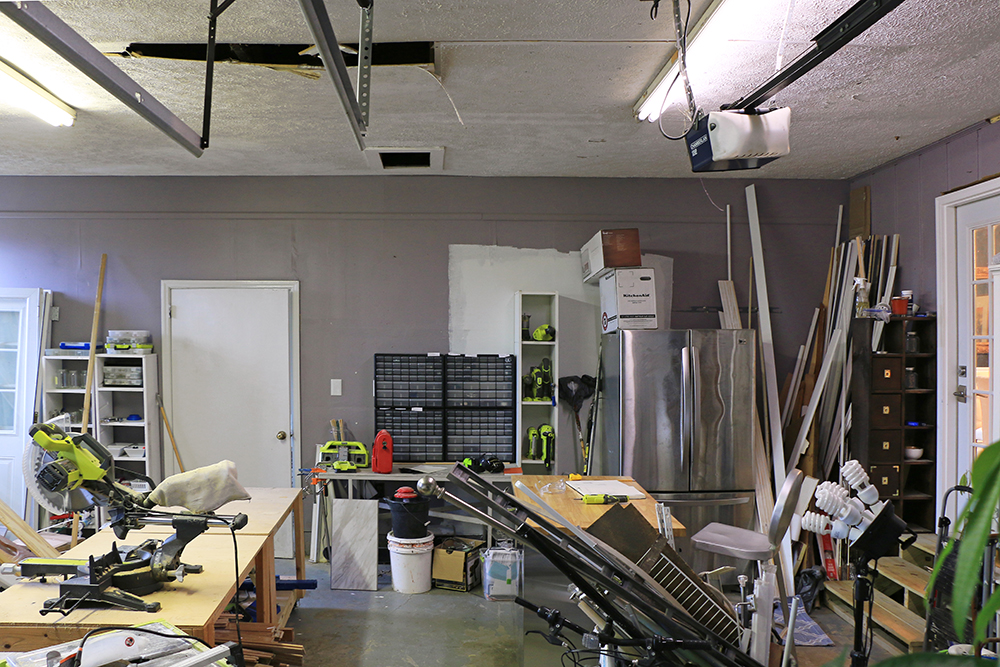
From there it just got worse… sure there were periods of cleaning and organizing, but it was hard to make real improvement without a proper place for each item.
Improving The Space
What does your workshop need most? For many of us using a garage, basement, or outbuilding, we have a few considerations: heating & cooling, insulation, lighting, and ventilation. I started with some basic repair work, and then factored those important items in.
Patching & Repair Work
Start by creating a clean slate by patching and painting ceilings, flooring, as well as the four walls.
My own ceiling was caving in due to a roof leak and drywall had to be replaced.
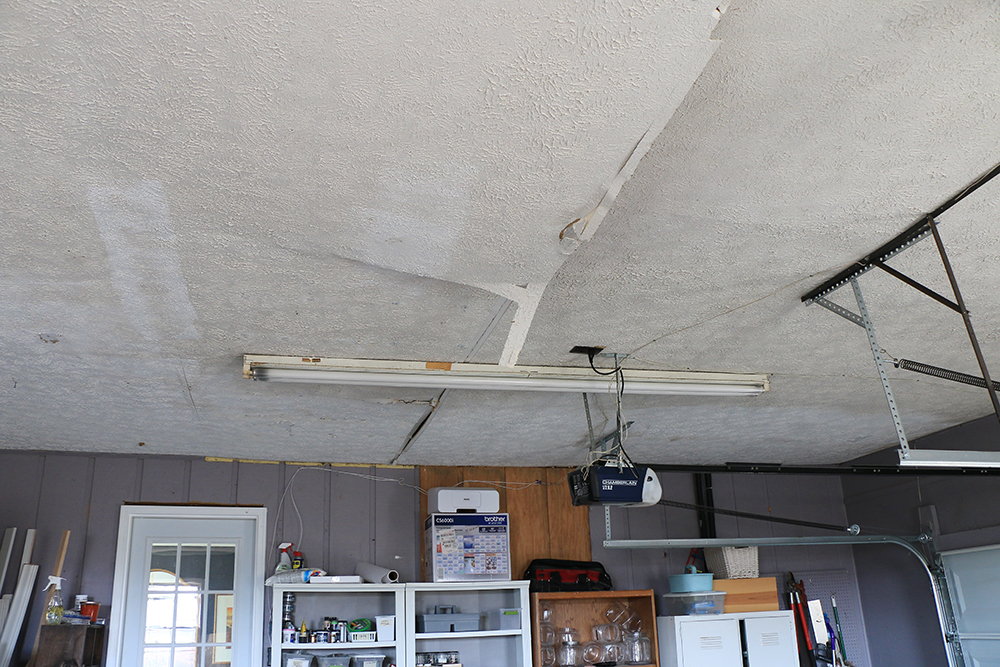
For all the patching and repair work, a drywall sander makes quick work of this task. Unfortunately, I don’t own a drywall sander, and have no intention of owning one.
Thankfully The Home Depot’s tool rental always comes to the rescue! This magical rental center in my local store has saved me a ton of money over the years with their competitive rental rates. So don’t worry if you don’t have to tool to get the job done, you can rent one in a pinch!
It’s easy to rent, I only needed an ID and was in and out in minutes. Plus you can rent for various periods of time! I thought a day would do, but was able to call in when an extra day was required.
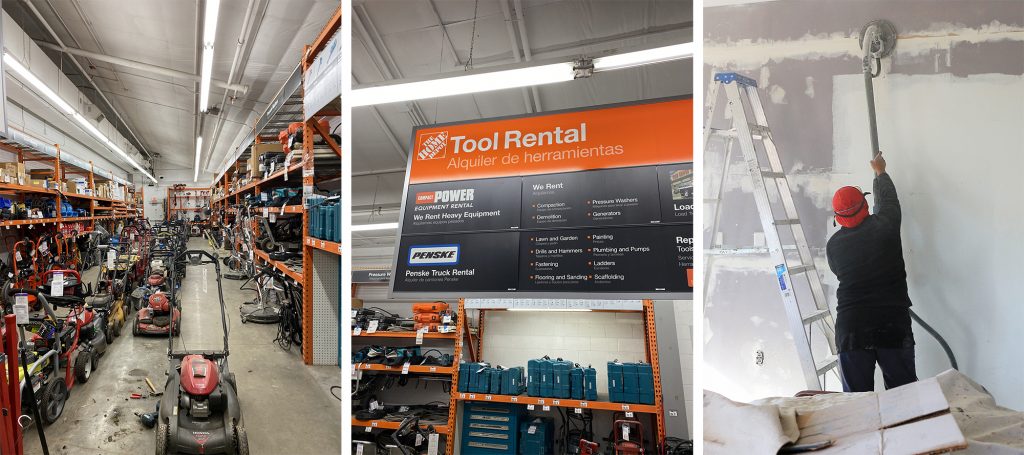
And by the way, the tool rental center is a great option if you want to try out a new tool type before buying! If you are worried about learning how to use the tool, the rental desk can give you a quick run-down, and you can also use The Home Depot’s handy Hardware & Tool Guides. You’ll find a ton of usage guides for a variety of different tools…which makes it perfect for those first-time tool rentals, or first-time purchases.
Insulation, Heating, & Cooling
Most workshop spaces have less than desirable conditions when it comes to the climate. But we can take the edge off the heat in the summer and the cold in the winter with proper insulation in our workshops!
Insulate the garage door with the help of this how-to guide from The Home Depot, and learn about insulation R-values here. I immediately noticed a difference after insulating my garage!
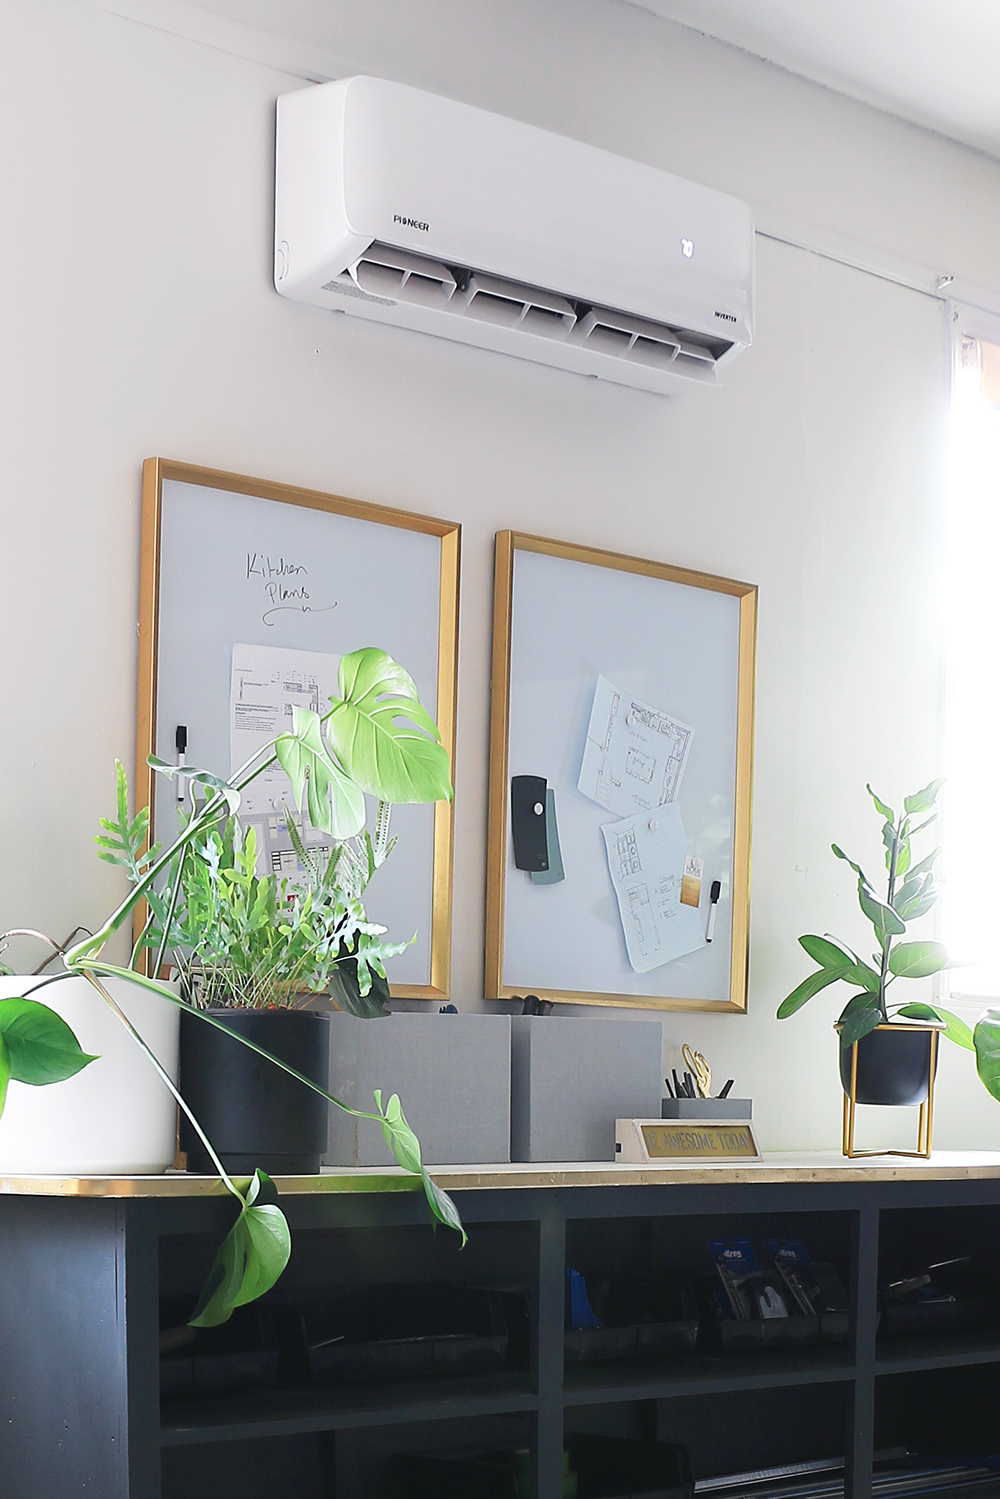
A mini split air conditioning and heat pump unit was the ideal next step to take complete control of my workspace climate. The Home Depot even has guides on ‘How To Install a Mini Split’ , or do like I did and schedule The Home Depot to handle the entire installation for you.
Safety & Ventilation
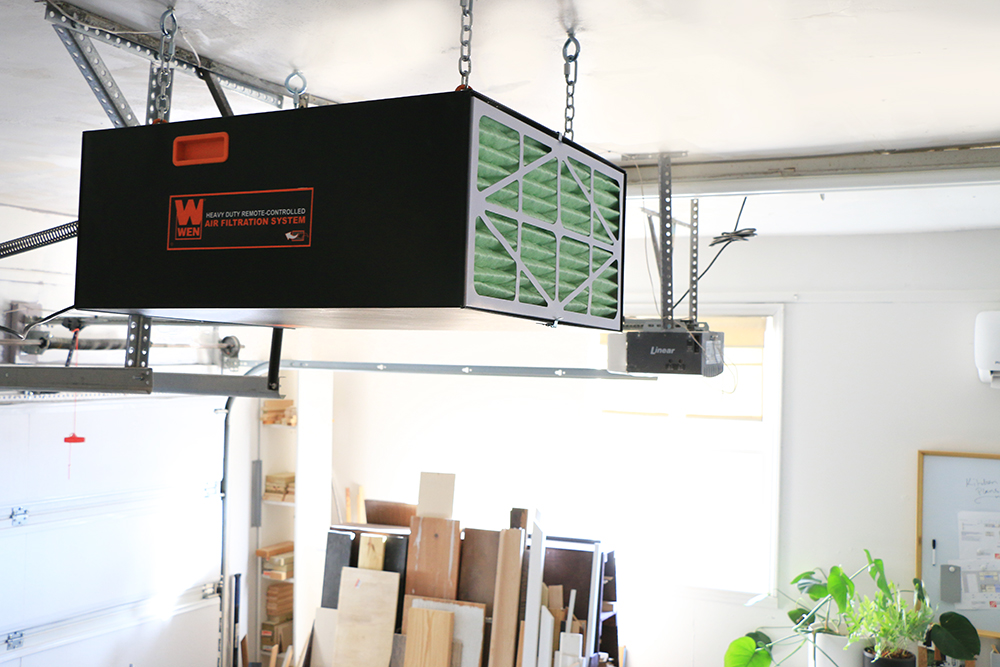
Creating a safe working environment is always top of my list. There are a variety of different ways to eliminate sawdust and other work related particles.
My new air ventilation system didn’t break the bank, but provides that extra added health security so I’m not inhaling particles every day.
Organization: Storage You Buy
Organization is KEY to the ideal workshop, and The Home Depot has the guide you need to Garage Storage Ideas here.
There is storage you build, and storage you buy, and each has their perks! Here are the choices I went with that were well worth the investment:
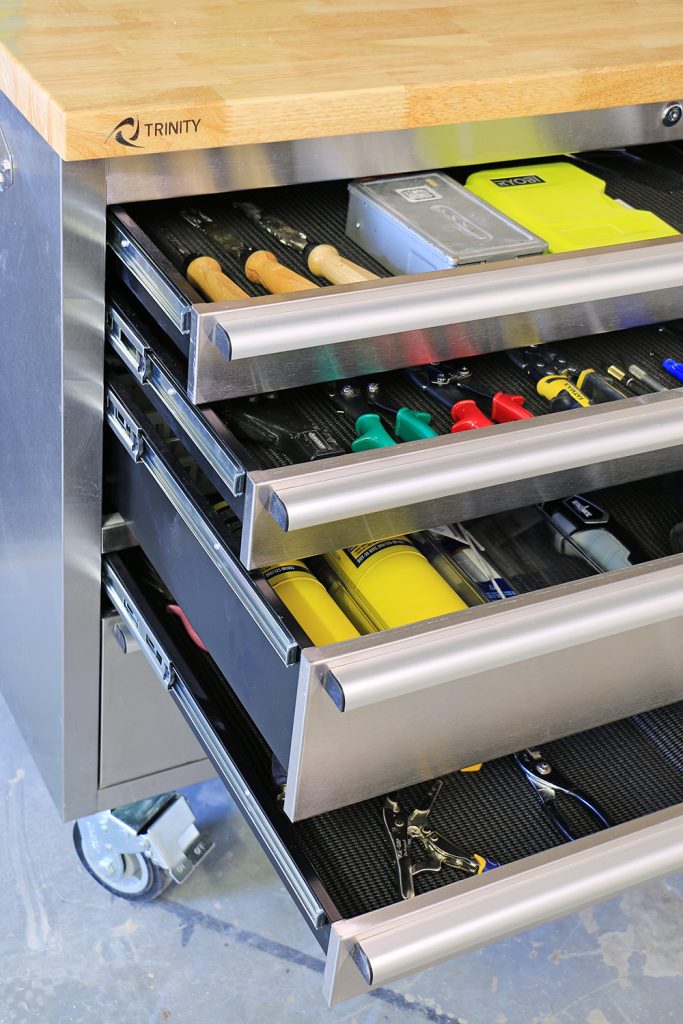
Stainless Steel Workbench
I love a great workbench for it’s double duty as storage. This stainless steel workbench is as stylish as it is handy.
Each drawer has been set aside for a different function.
Storage Bins:
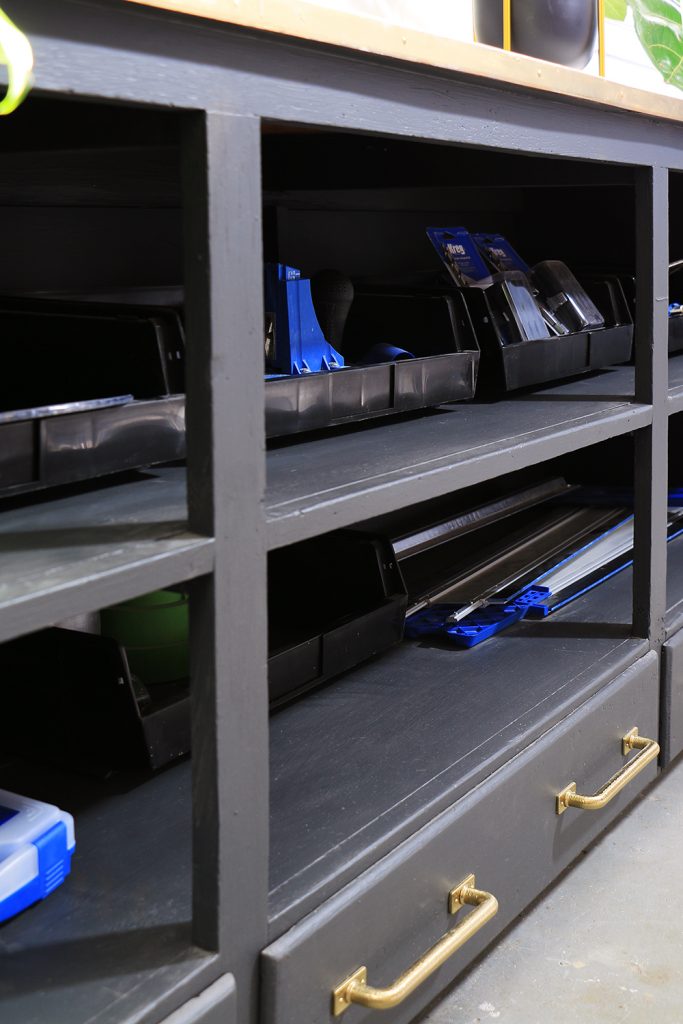
Carefully measure your shelves or storage unit to optimize how many storage bins you can fit. Plastic storage bins come in a variety of sizes by how many gallons they store, and I opted for the 7.9 gallon size.
Small Parts Storage:
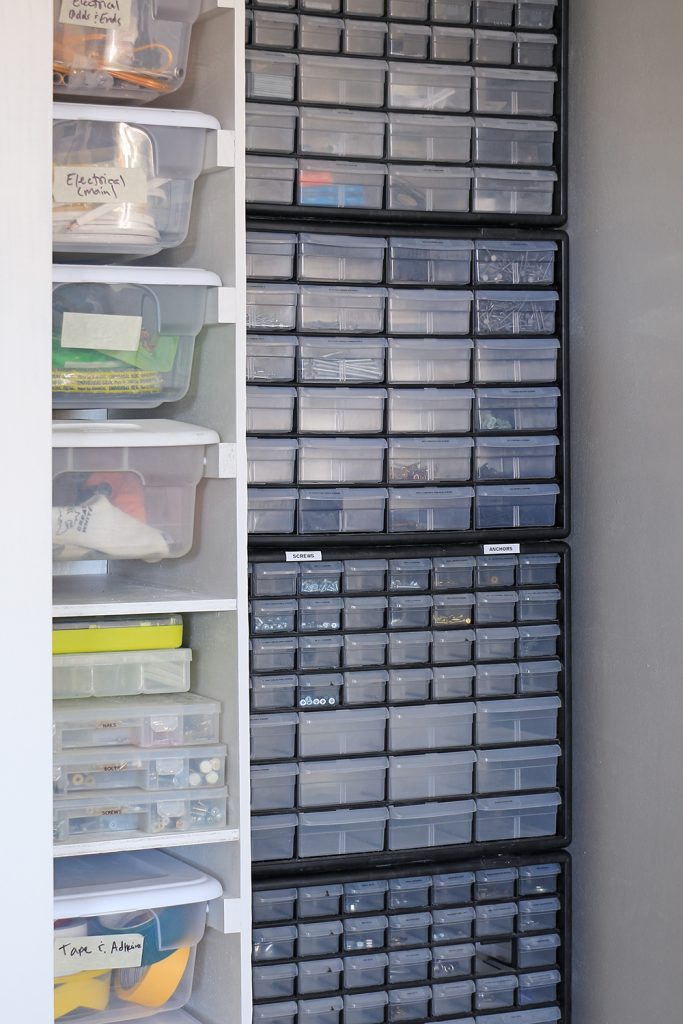
While every workshop’s needs differ, one thing every space could use is storage for small parts. Those miscellaneous bits and bobs should be easily found without having to rummage.
Small part organizers like these can be hung on a wall or stacked on a workbench.
Organization: Storage You Build
It is important to tailor your storage to meet your precise needs. Sometimes building custom storage solutions means less wasted space. You can design it to handle the wood sizes you buy most, the tools you use most, and fit perfectly in your workshop no matter it’s size.
Custom Cabinet Storage
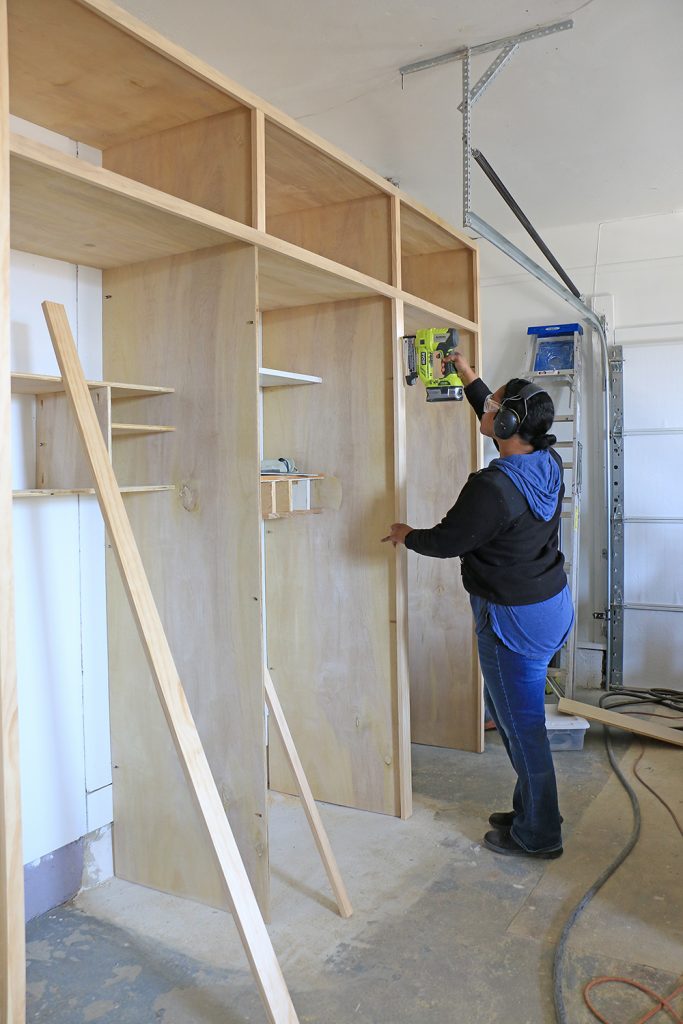
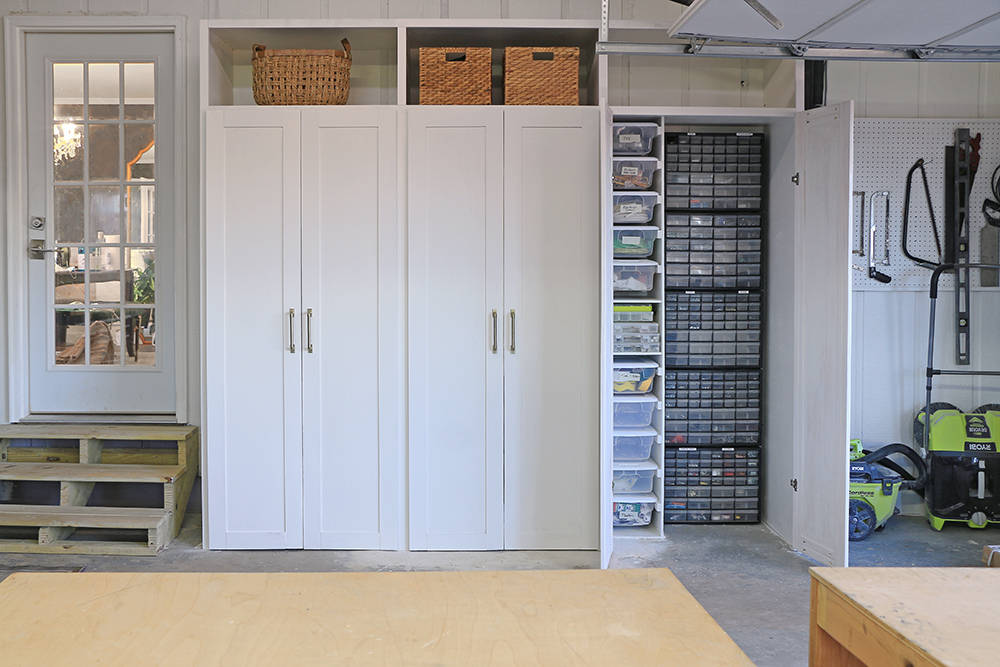
I used a Sande plywood (also known as Sandeply) to build custom cabinets. It has a beautiful smooth finish, and it is cheaper than birch or other finished options. It is softer than other plywood options, but is perfect for my workshop cabinets.
DIY Wood Cart
You’ve probably seen many do-it-yourself wood and tool storage floating around the web. It only takes a quick Google search to find tons of plans and options, so I won’t bother reinvent the wheel.
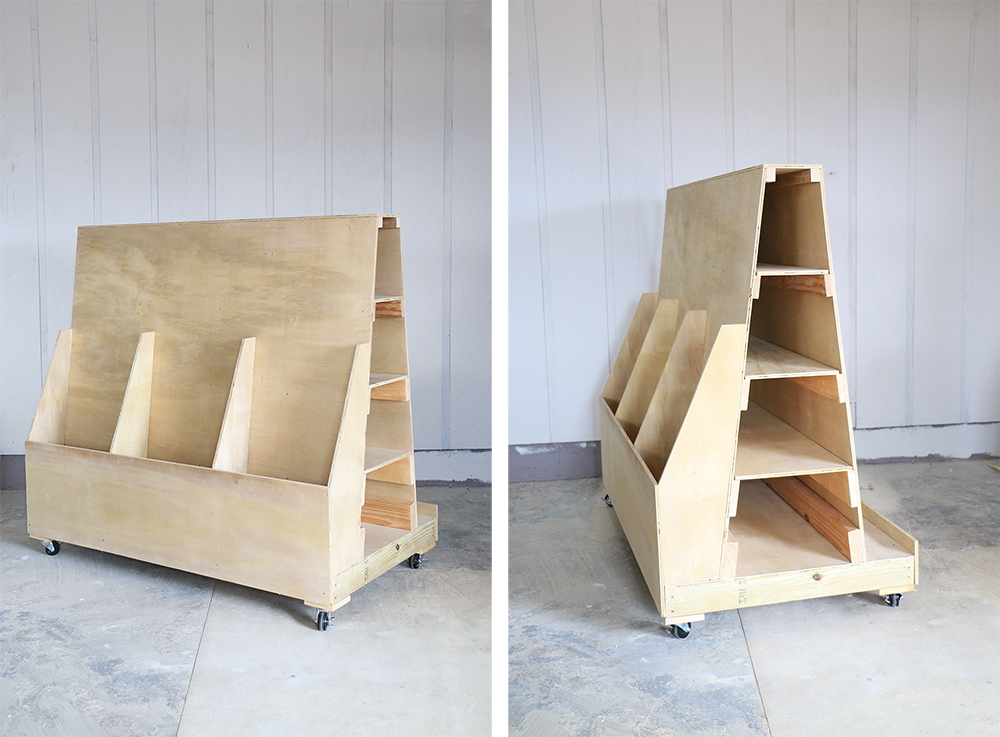
Instead I looked at a few images and decided to pull features I needed from each, then determined what size would work best for my own garage. Sometimes bigger isn’t better, so carefully map out your workshop space before building the storage unit.
Lumber Rack / Wall Cleats
Go vertical with your storage! Don’t waste valuable ceiling or wall space if you have it.
You can purchase awesome lumber racks, but because I wanted length rather than height on my lumber racks to store moulding, I decided to build my own.
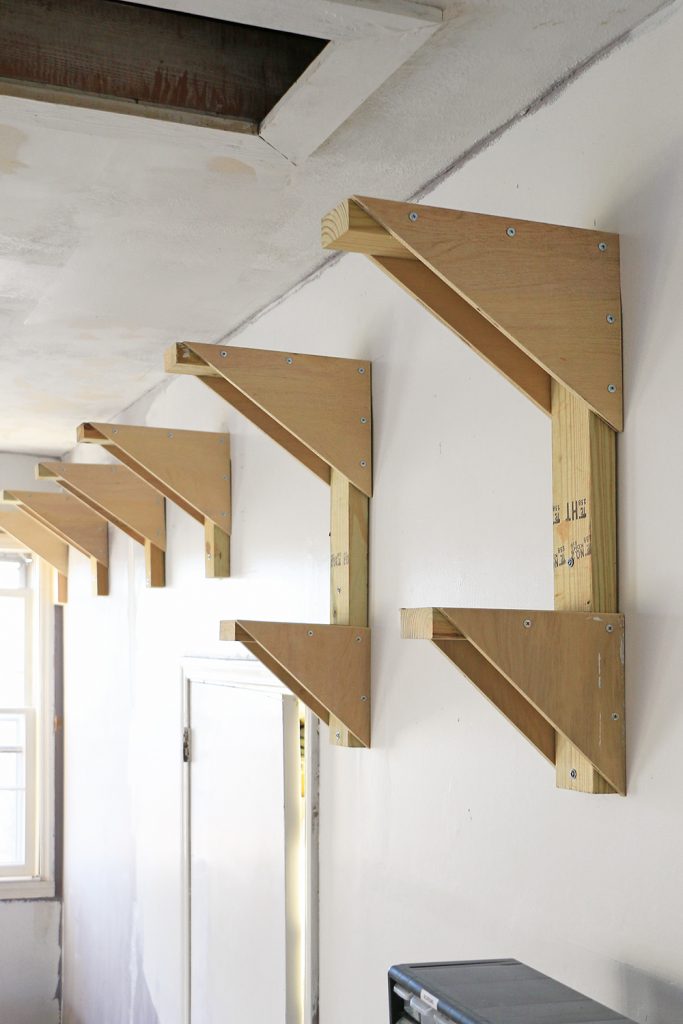
Building something like a wood cart, or the lumber rack doesn’t have to be a complicated process. More of a “wing it” DIY project. But it is well worth the effort!
As Stylish As It Is Practical: The Reveal
I hope you enjoy this tour of my classy garage workshop! I’m a firm believer you can make a space as beautiful as it is practical.
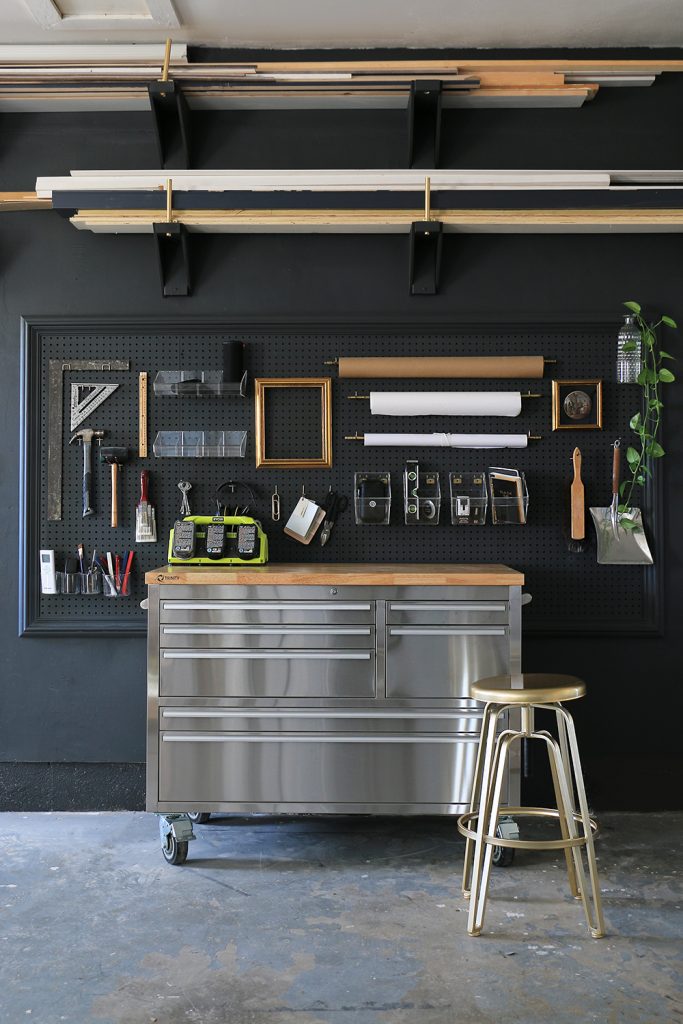
Thankfully, once we moved all the basement items back after it dried out from the flooding incident, I had much more room to work with.
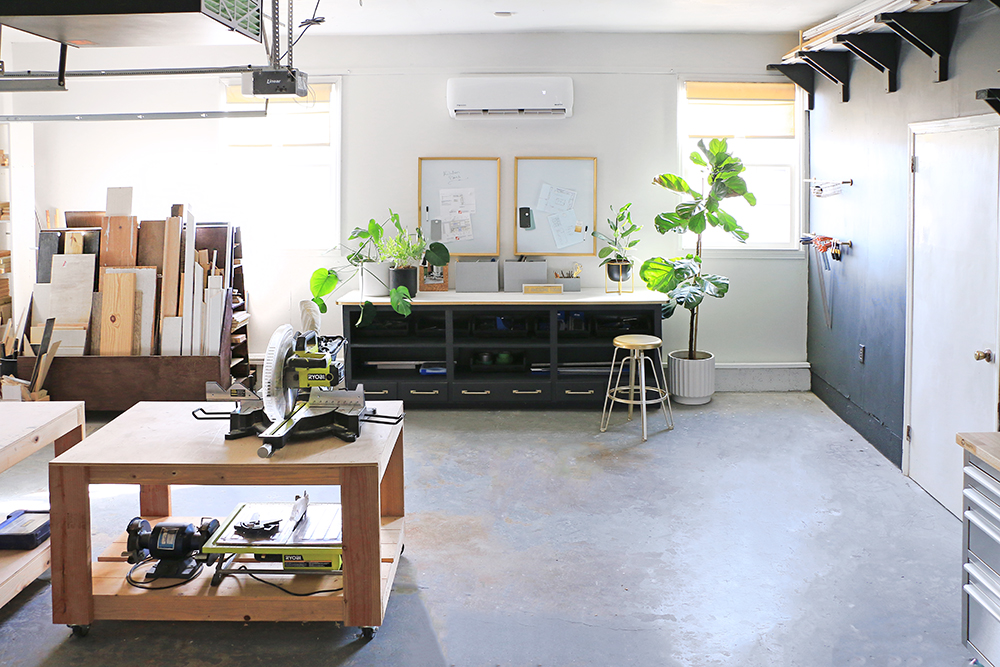
Very pinpointed storage was obviously the key here. Adequate organization for my wood, tools, and those miscellaneous items I never know what to do with was high priority.
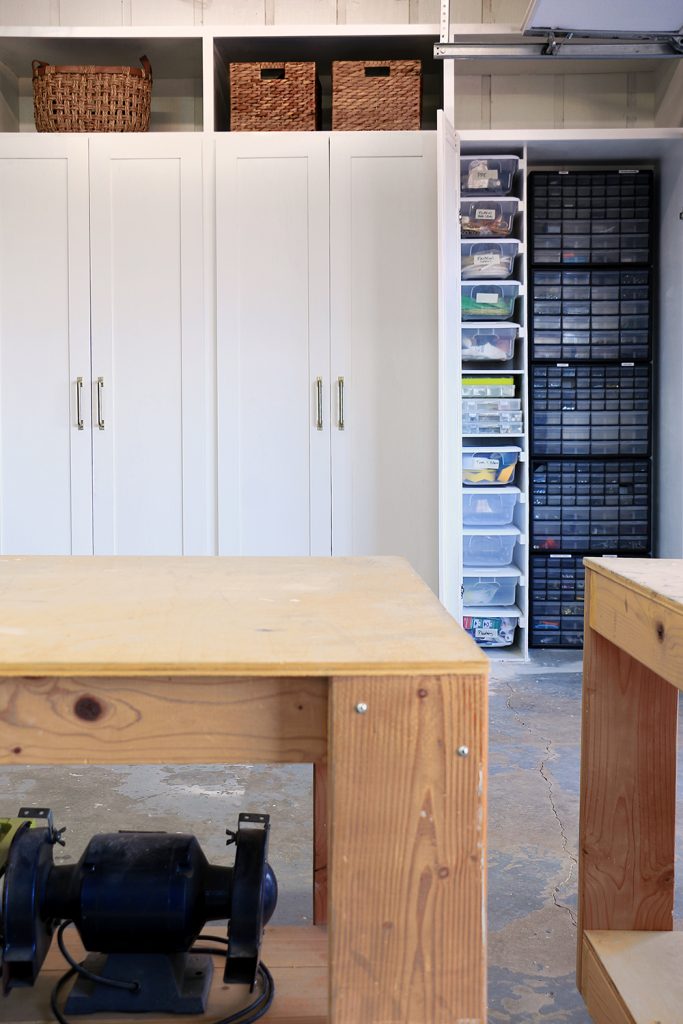
While some of my stored items are hidden behind closed doors, others are stylishly worked into the space.
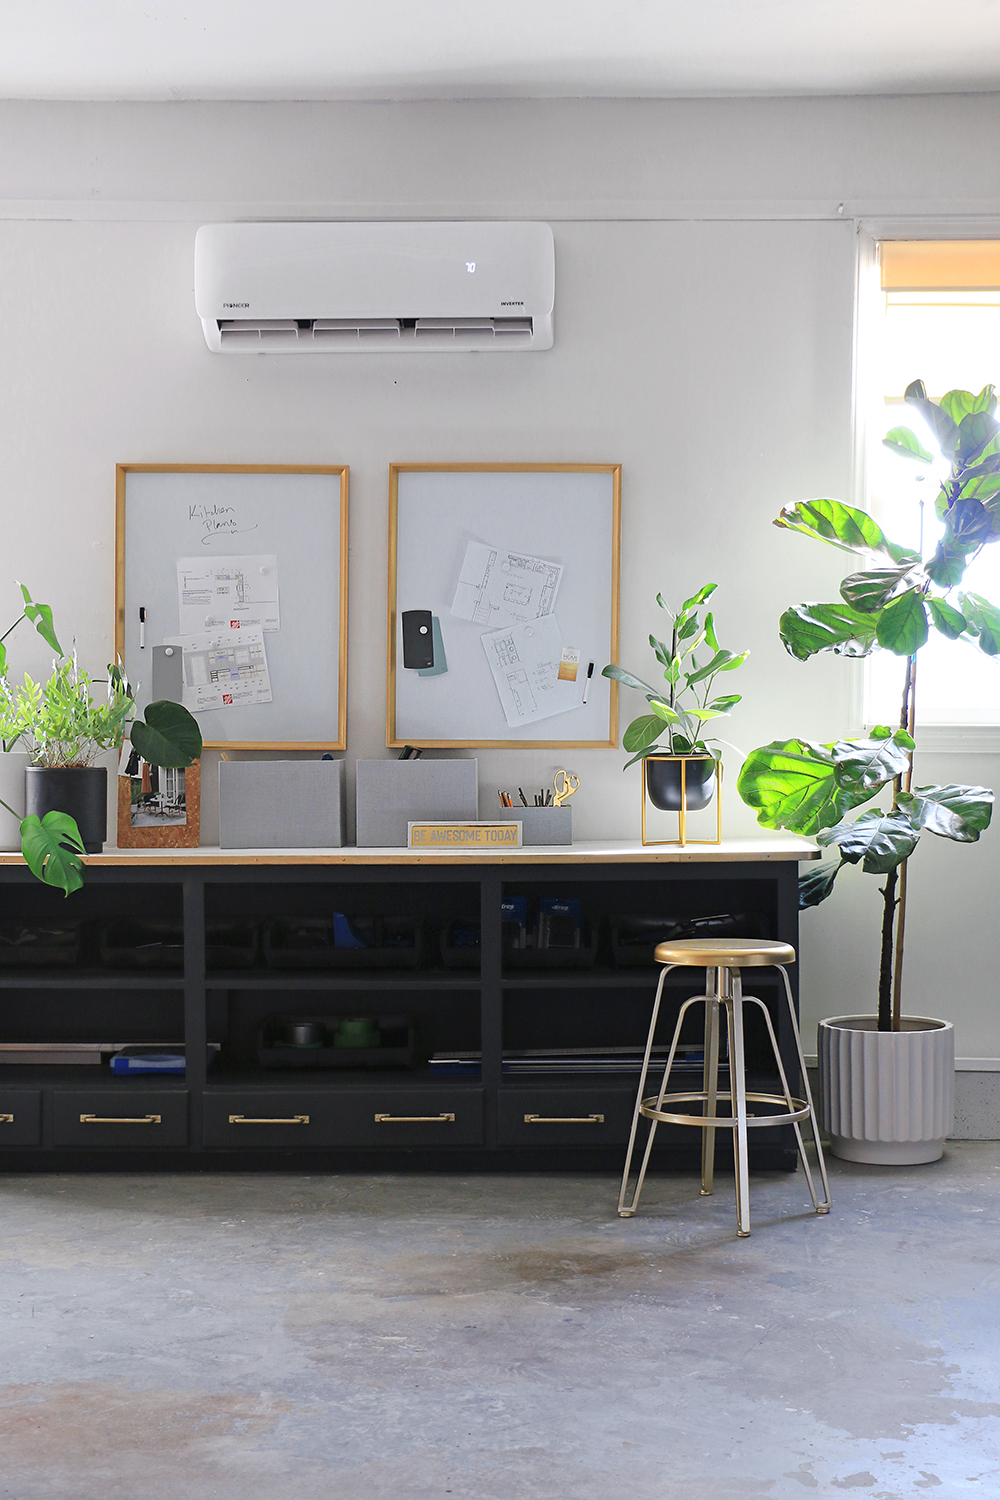
Isn’t it amazing what a bit of paint can do? The existing drawer/shelf unit got a fresh new look with paint and new drawer pulls.
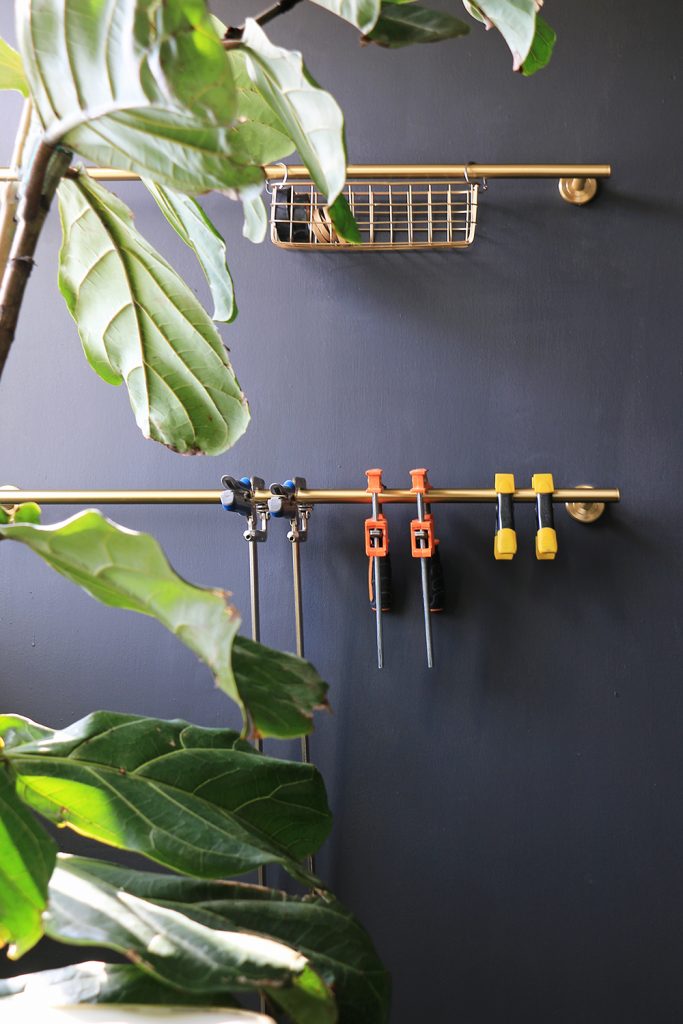
Every aspect of the design and storage was carefully calculated to accommodate how I work. Even if my project stash grows, the space is designed to fit those needs.
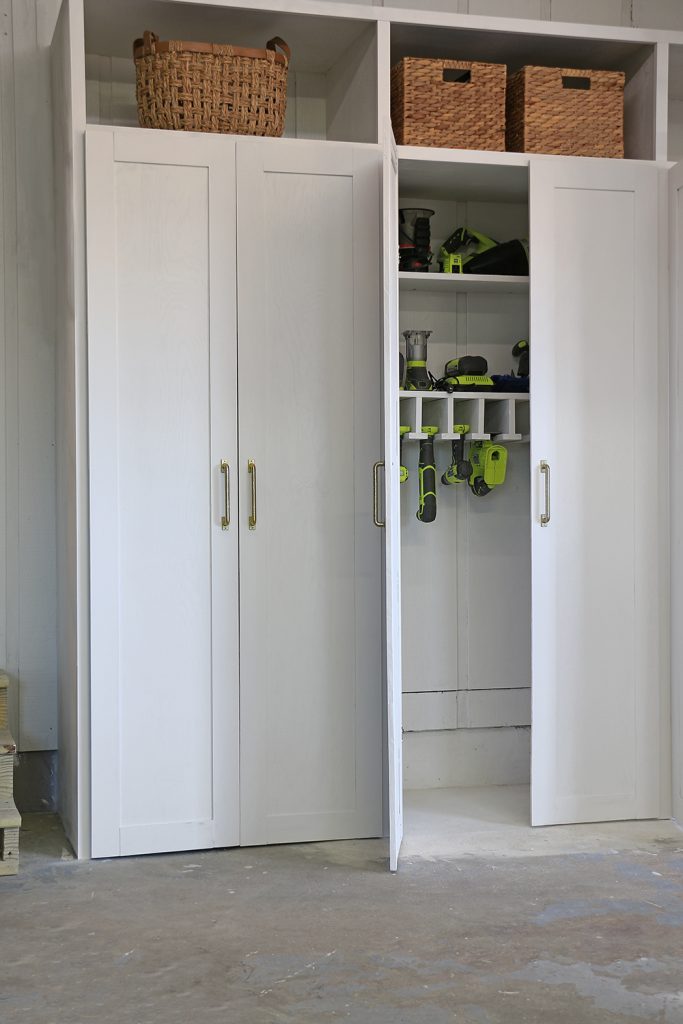
That being said, the workshop studio is still not completely done. I have many small improvements I hope to make over the years (like the floor!). But for now, this is a HUGE leap in improvement from what the space was before. Even on it’s cleanest day it was never this organized or stylish.
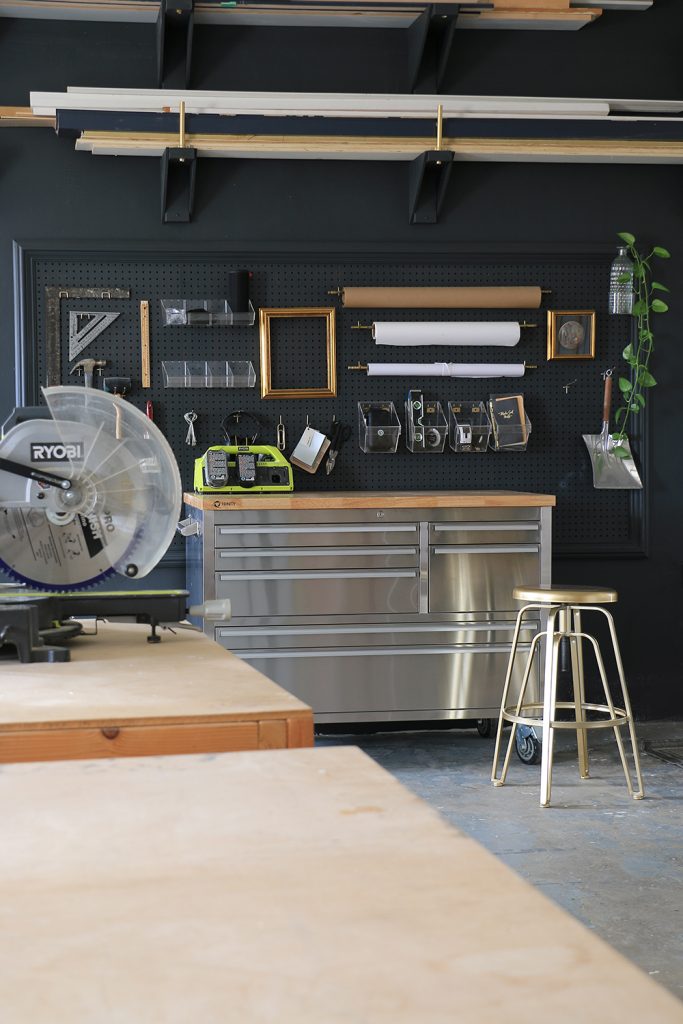
If you have created clever storage solutions for your workshop, I’d love to see! Share it with me and my friends at the Home Depot over on Instagram, and don’t forget to tag us!
Shop Sources
- Feature Wall Color: BEHR Satin Black PPU26-01
- Ceiling and other wall color: BEHR White 52
- Air Filtration System
- Mini Split Air Conditioner & Heat Pump
- AC/Heat Pump Mounting Pad
- Pegboard Kit
- Towel Bar (AKA Clamp Bar)
- Magnetic Dry Erase Memo Board
- 7.2 Gal Black Storage Bin
- 6-1/2″ Satin Brass Drawer Pull
- Swivel Adjustable-Height Gold Bar Stool
- Small Parts Organizer
- Stainless Steel Workbench
- Garage Door Insulation
- Indoor/Outdoor Rug Runner
- White Ceramic Planter
- Sande Plywood (for cabinet build)
*This post and project is sponsored by The Home Depot. All thoughts, opinions, and projects are my own.
Like This? You’ll Love These!
Top 10 scrap wood storage ideas for the workshop | Build custom work benches for your workshop with this tutorial |


Hi, it looks awesome, i saw your lumber rack and was looking for something like this to make like floating shelves, how long are yours? I want then to be at 20-22” from the wall out, and that can hold the weight of around -100 putting like 3 of those in a 9’ concrete wall. Will it be possible with this design of lumber rack?
Where did you get the doors for your garage cabinets?
I built them using tongue-and-groove wood as the rail and stile of the cabinet, and 1/4″ wood as the center panel.
Great ideas! Are there any step by step instructions for any of these? I’d love instructions for those cabinets.
I would love to be able to do something like this but for a sewing room. Recently had a design company give me a quote. It was almost 8000 for one wall design.
Certainly not affordable on a retired fixed income.
Whoa, that is a hefty price tag. Building your own custom built-ins are considerably cheaper, but if you can’t, I have also done a sewing room (see it here) using cheap stock cabinets that I dressed up.
Amazing! It looks like you can actually get something done!