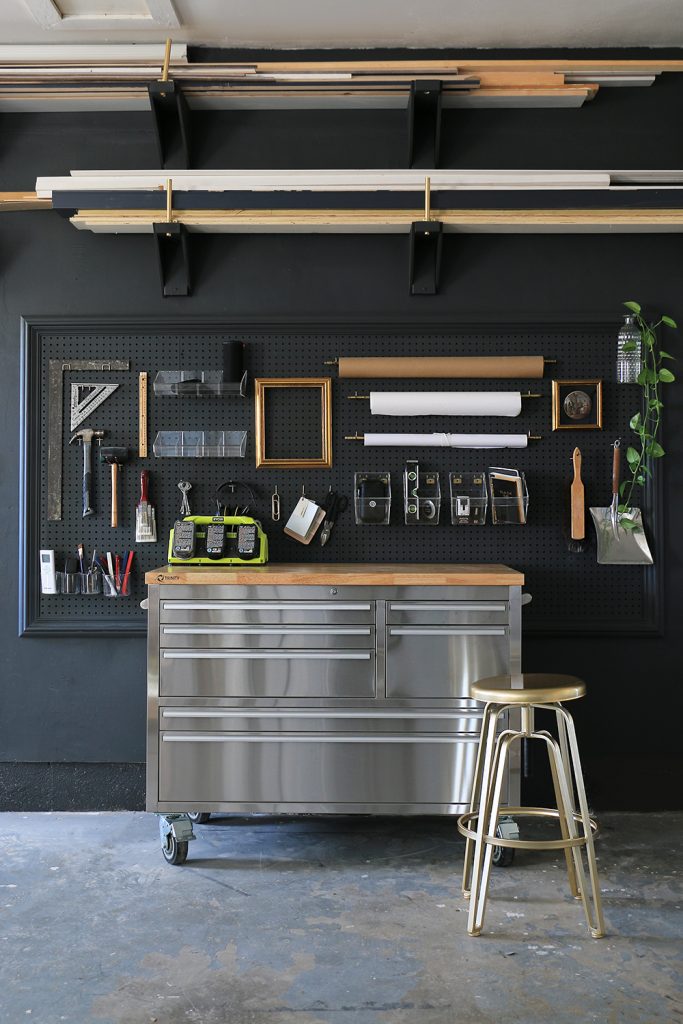
There are lots of great ways to organize and store that scrap wood and lumber so it doesn’t take over your workshop (and it’s easy to locate). We’re sharing the top 10 lumber organization solutions!
Every DIYer and builder likes to save and store scrap wood for future projects. Hey, we’ve spent big bucks on that wood, and wasting it is a hard pill to swallow, so we carefully squirrel away any piece we think has merit.

1. Lumber Wall Racks & Cleats
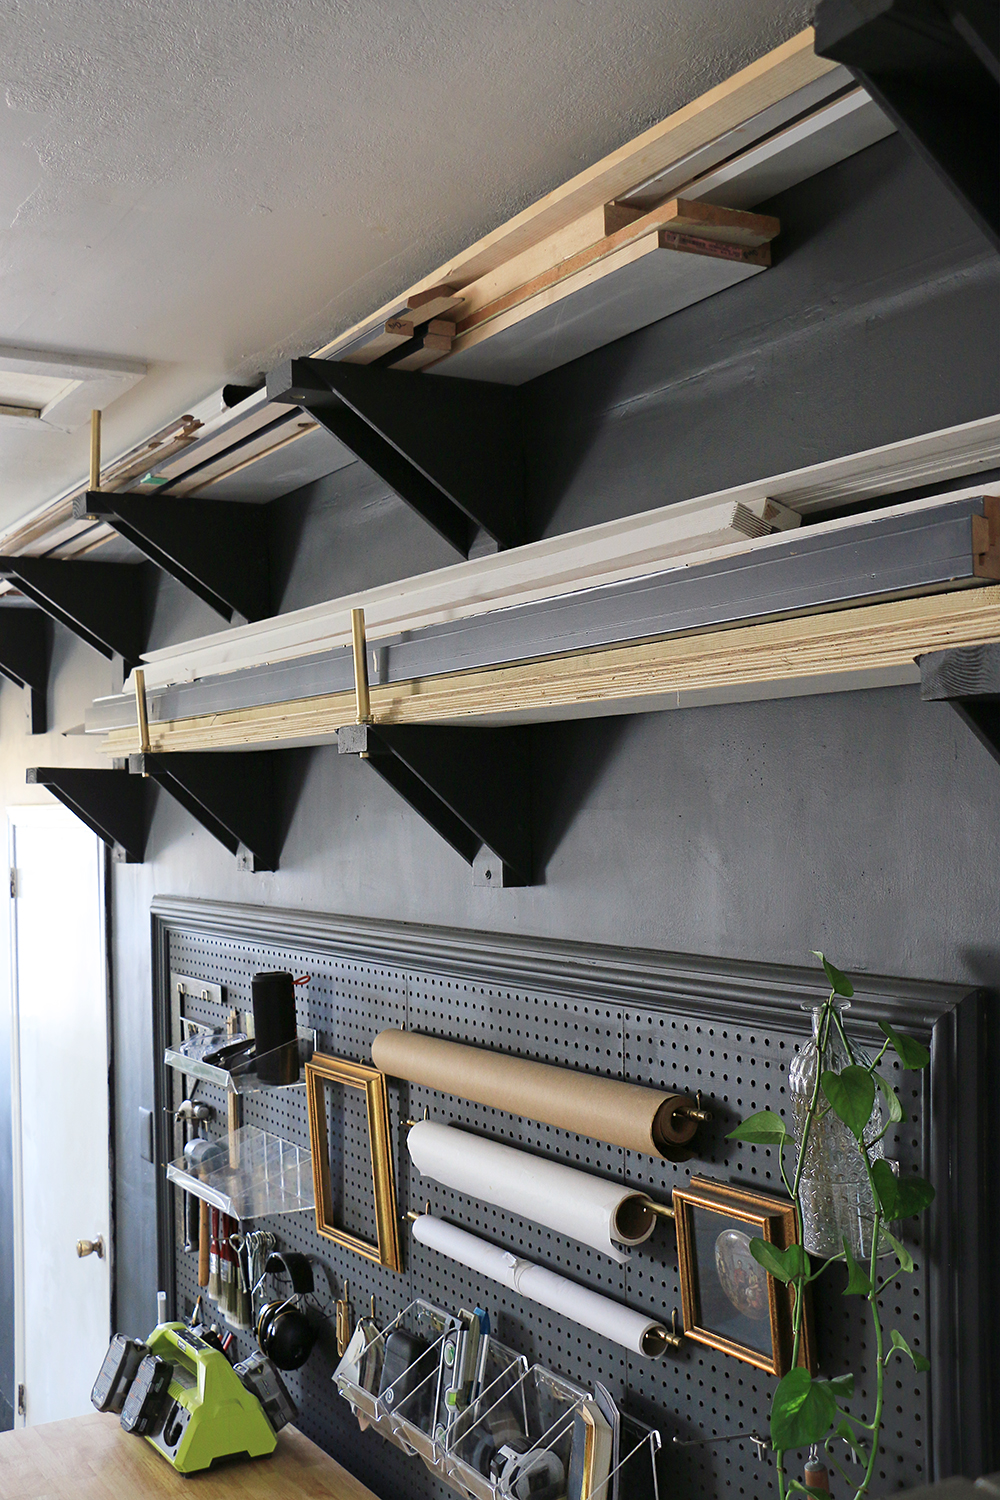
Go vertical with wall storage when floor space is at a premium. Purchase heavy-duty steel lumber racks like these ones, or make your own DIY lumber rack cleats!
These are perfect for long pieces of wood like molding, long boards, etc.

The perk of building your own DIY lumber storage rack is the ability to customize its size, spacing, and weight it carries. Plus, you can paint it to blend with the design of your workshop!

SHOP: (Affiliate link) Bora Wall Storage Racks>>
2. Rolling Scrap Wood Storage Cart
A simple plywood storage cart can store a lot of wood in different sizes. If you are intentional about how you build your DIY lumber cart, it can carry a sheet of plywood on the back, smaller scraps in the front, and longer boards through the middle.
The middle of the storage system is wider at the bottom to accommodate a wider board and smaller at the top, perfect for thin wood scraps and molding. The entire lumber storage cart is on heavy-duty caster wheels so that it can be moved for easy access to the front or back.

3. Lumber Scrap Bins
Use smaller storage units as a supplement to more extensive lumber storage options. There are many excellent solutions to organize the smaller pieces of your scrap wood pile.
Collecting the various sizes and types of scrap pieces can be as simple as a row of small trash cans. Or build a tall wall-mounted shelf to store small scraps, without taking up too much space.
Dedicate storage bins for small plywood scraps instead of taking precious space on the scrap wood cart meant for taller scrap boards.

4. Vertical Lumber Storage
If you have tall ceilings, a vertical lumber organizer might be the best lumber storage solution for you.
Think of how hardware stores organize their longer pieces. Create vertical dividers and add a chain that hooks across the bottom and top of each opening to secure the wood. Vertical racks are best for storing boards 12-inches wide or less.

5. Horizontal Lumber Storage
The difference between vertical storage and horizontal storage depends more on the space you have. If you have tall ceilings, vertical wood storage will take up less space in your workshop. But if you have plenty of long open wall space in lieu of tall ceilings, you may decide to employ horizontal racks.
6. Store Wood In Exposed Wall-Studs, Beams, Or Tubes
If your workshop has exposed ceiling beams or wall studs, create storage areas to slide wood in and out.
Strap PVC pipe (or cement-forming tubes) to the ceiling as a wood storage insert.

7. Overhead Garage Racks & Lifts
A smaller workshop might not have space along the walls but can use ceiling space. Create a system that allows you to hoist and store wood above you!
Use an overhead garage storage rack (typically employed for bins) if your ceilings are high enough.
A heavy-duty storage platform with a lift allows you to lower and raise a storage rack for easy access. Plus, where a typical overhead storage rack takes up ceiling space, this lift is flexible for regular-height ceilings.

8. Store Plywood Sheets Taut
The main thing you want to avoid with large 8×4 sheets of plywood is allowing it to sag.
Create a low-profile platformed area to slide sheets of plywood beneath. Then, turn this platform area into a step-up work area.
Or strap full sheet plywood against the wall using tension tightening lashing straps to avoid any sag.
9. Workbench Storage Solutions
If space is at a premium, don’t just build a DIY lumber storage cart, consider making it a storage workbench! It does double duty as storage and table-top workspace.
Custom build workbenches made specifically to store the lumber sizes you use most. Add casters to create a rolling storage workbench.

10. Store Wood Above Cabinets & Storage Shelves
If you have cabinets or storage shelves, leave space above for wood storage. This is a great spot for extra-long boards.
Add lumber rack rungs over the cabinets if there is extra wall space above for multiple layers of stacked boards.

Don’t Let The Pile Of Scrap Wood Takeover
A great storage solution is important, but if you don’t purge, that scrap pile may take over anyway! What is the best way to keep it in check? Be intentional to create build plans and a cut list that are efficient with wood use. Next, be realistic about how useful leftover pieces are. Keep the large pieces and scraps you know you can use on small projects, and let go of odd-shaped small ones.
If you have a small workshop, determine to follow these steps every time to keep your lumber center organized.
Even if storage space isn’t an issue, look for effective storage to keep your workshop tidy and track what you have.
Get a variety of lumber storage ideas via my Pinterest board here:
Like This? You’ll Love These!
Use up scrap wood and make these projects>> DIY Leather Door Wedge | DIY Modern iPhone Charging Station | Utensil Holder From Moulding | Cute DIY Wooden Trays | Kitchen Utensil Holder & Trivets |


Your workshop is so beautiful, and that rolling cart is BRILLIANT!!!!! Totally going to try making my own!
Thanks! It’s the little organizing things that make a big difference!