A simple and sleek little phone charging station from Restoration Hardware caught my eye while stalking my local RH store. It’s like walking into a candy store, well…if the candy was laced with gold. I have yet to be able to afford anything there, because even something as small as this lovely phone charger costs $79
After a brief examination I determined that I would have one! A bit of scrap 2×4’s, and maybe 15 minutes, and I was sure I could recreate this lovely little charging station!
Ready to make one with me? Here’s what you’ll need
- Scrap 2×4
- Router
- Power Saw
- Drill (optional)
- Sander/Sand Paper
- Furniture glide tacks
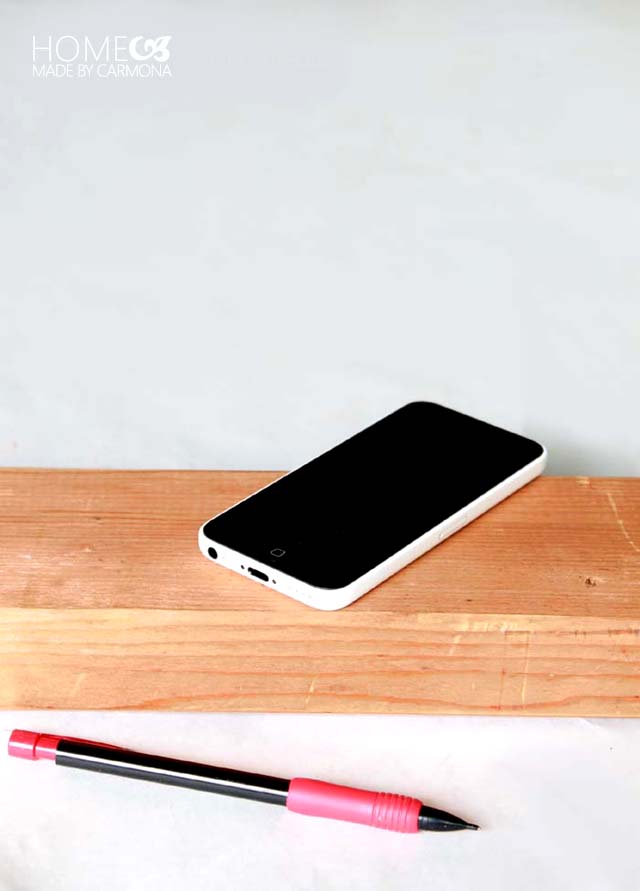
Choose a scrap 2×4 that is at least a foot or two long. It makes it easier if you have more surface area to use the router on later.
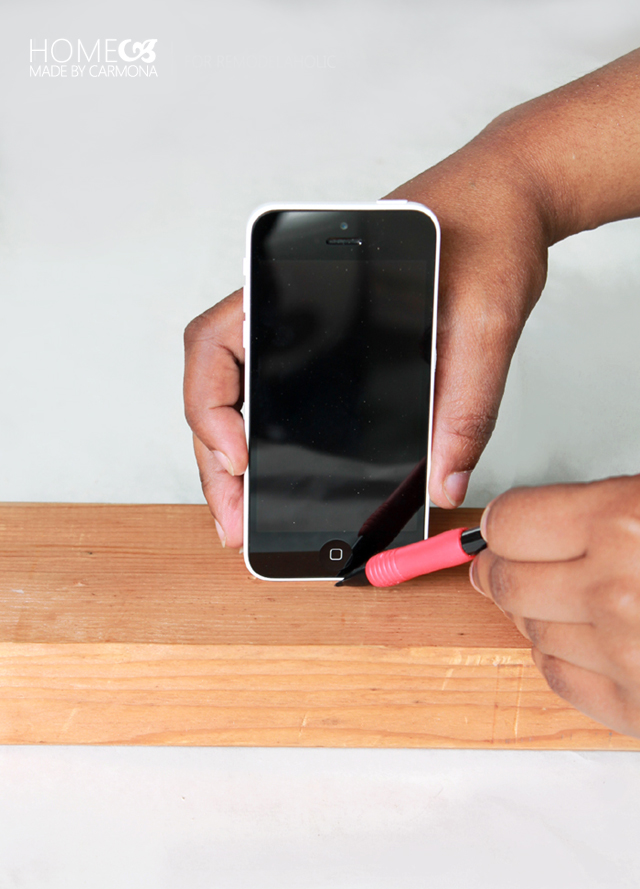
Trace the base of your cell phone onto your scrap 2×4 right near the center.
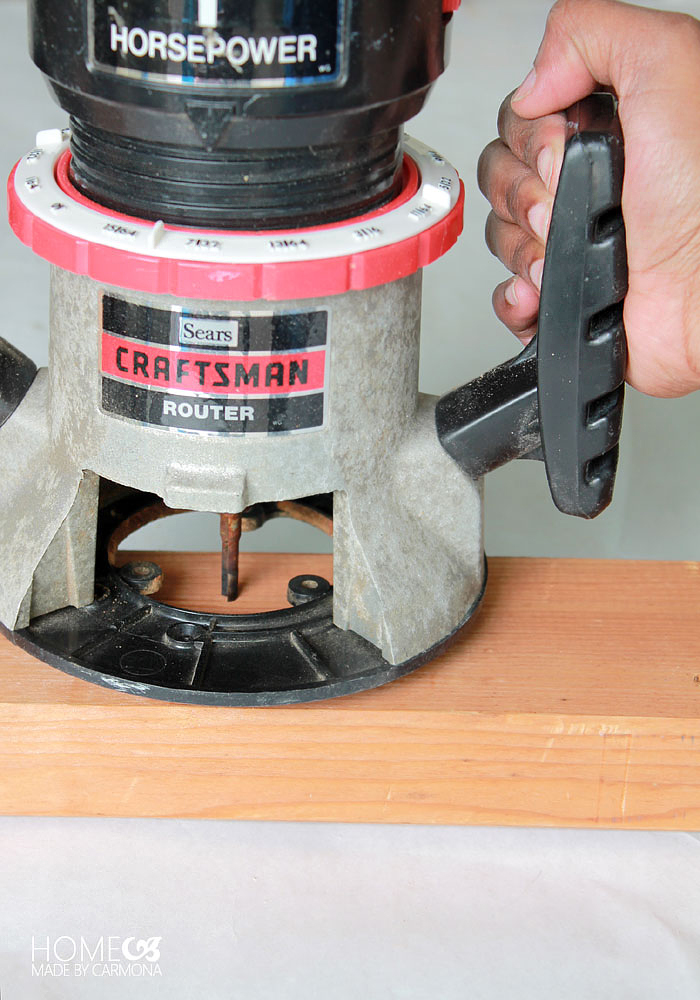
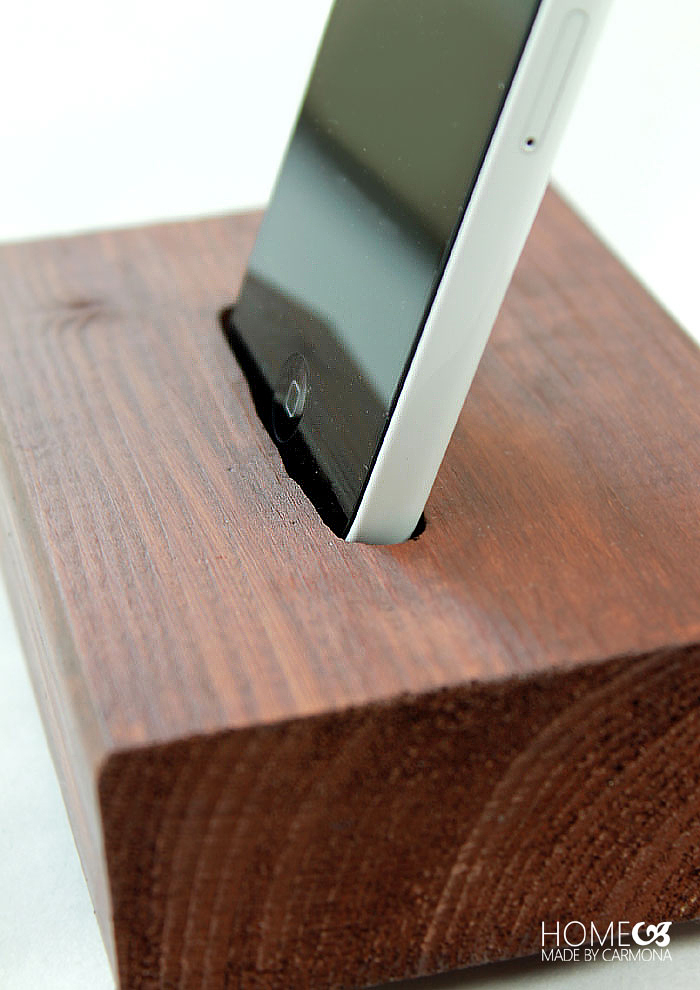
Use the router inside of the traced area, sunk to about 1/2 to 3/4 inch deep. It will require a few passes to route out an area thick enough to hold your phone.
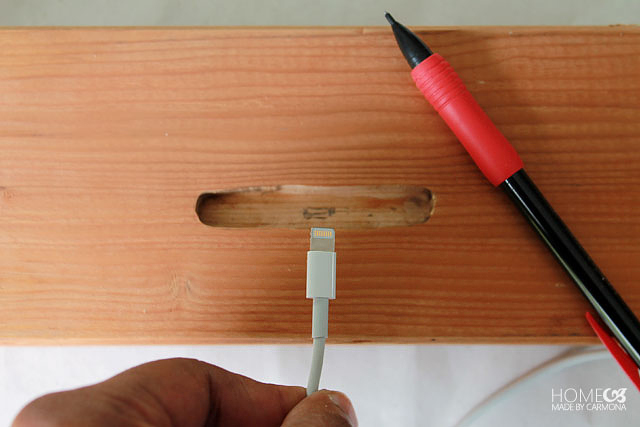
In the center of the routed section, mark where the head of the charger cord will feed through. It needs the be as wide around as the thickest part of the cord head.
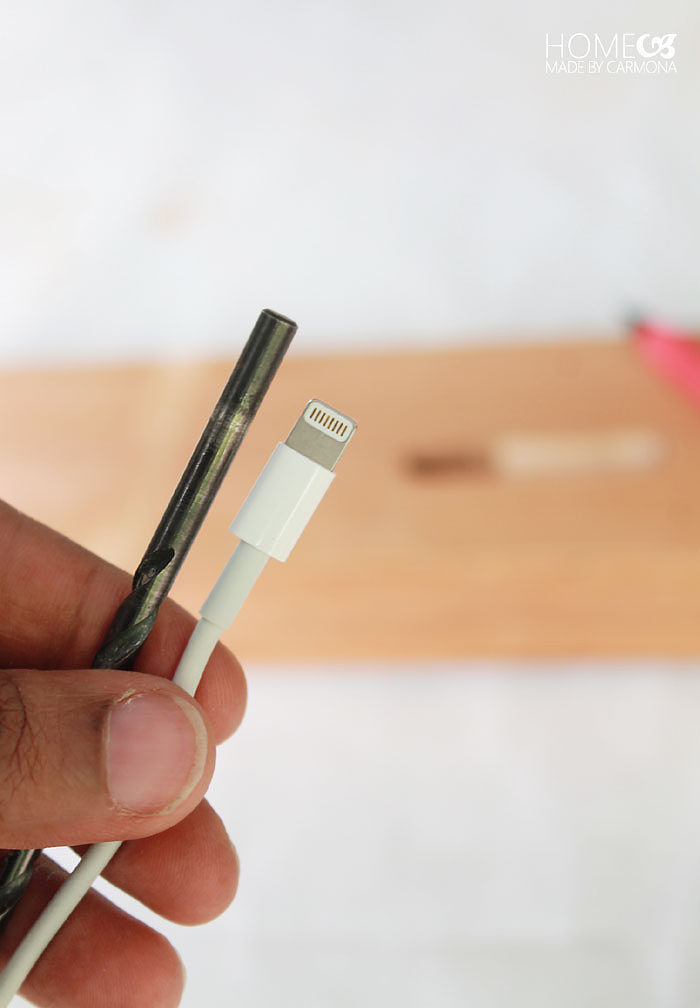
Choose a drill bit that is slightly thicker than your cord’s head.
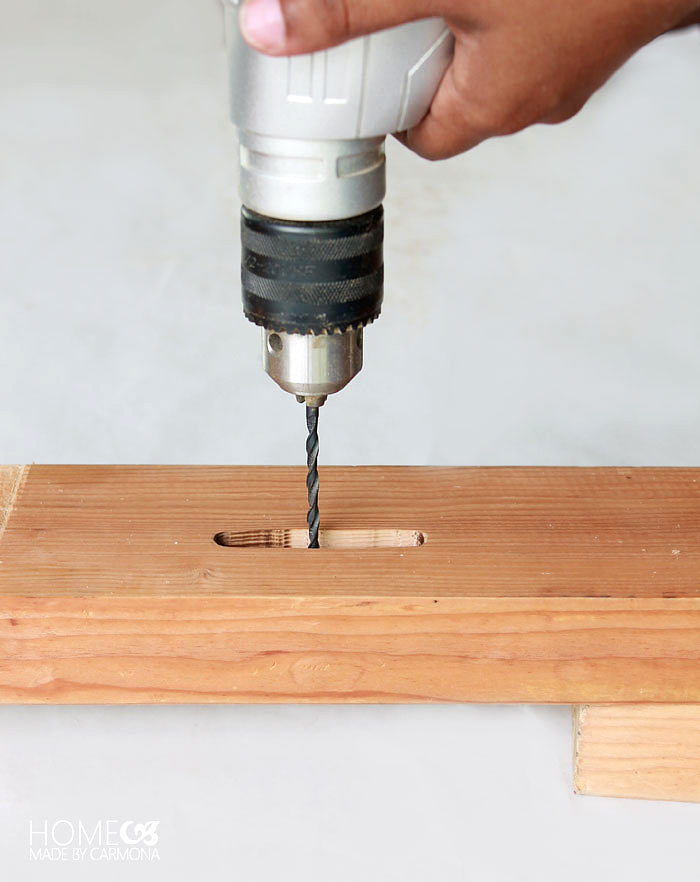
For this part you can choose to use a more adequate tool that will route out the area for the cord to feed through. Unfortunately I don’t own anything that will do that (not even my router can) so I’m using my drill.
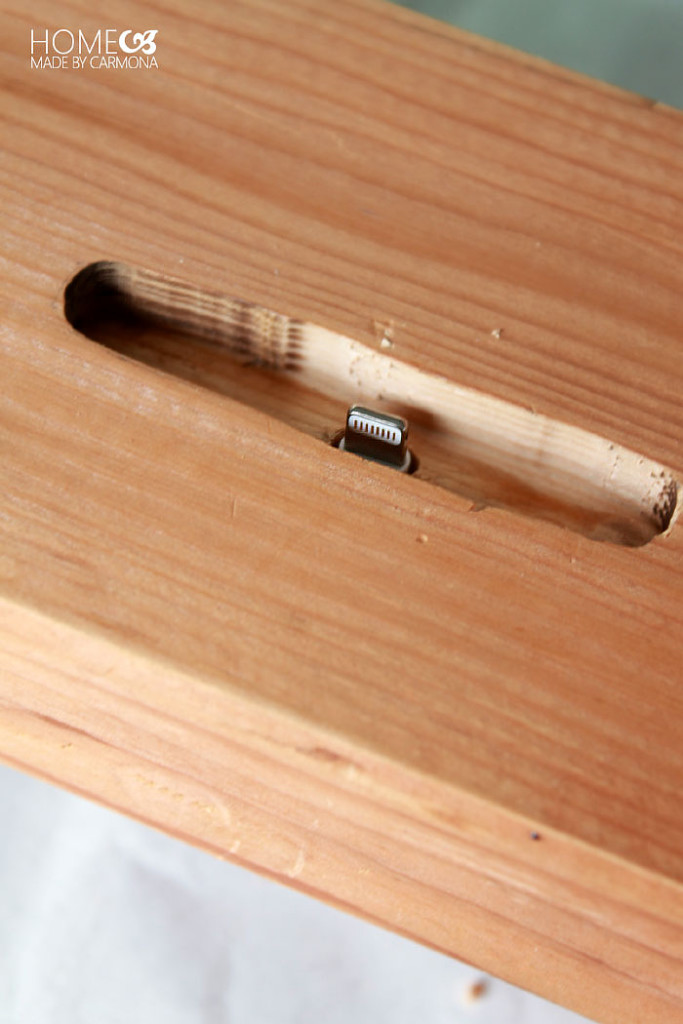
Drill through the cord head outline, all the way out the bottom end of the 2×4. Which means you will need to raise the 2×4 so you don’t drill into your work table. Drill holes side-by-side until the marked outline is just an oval hole.
The head of your cord should be able to fit snugly through it with the charger just out the top.
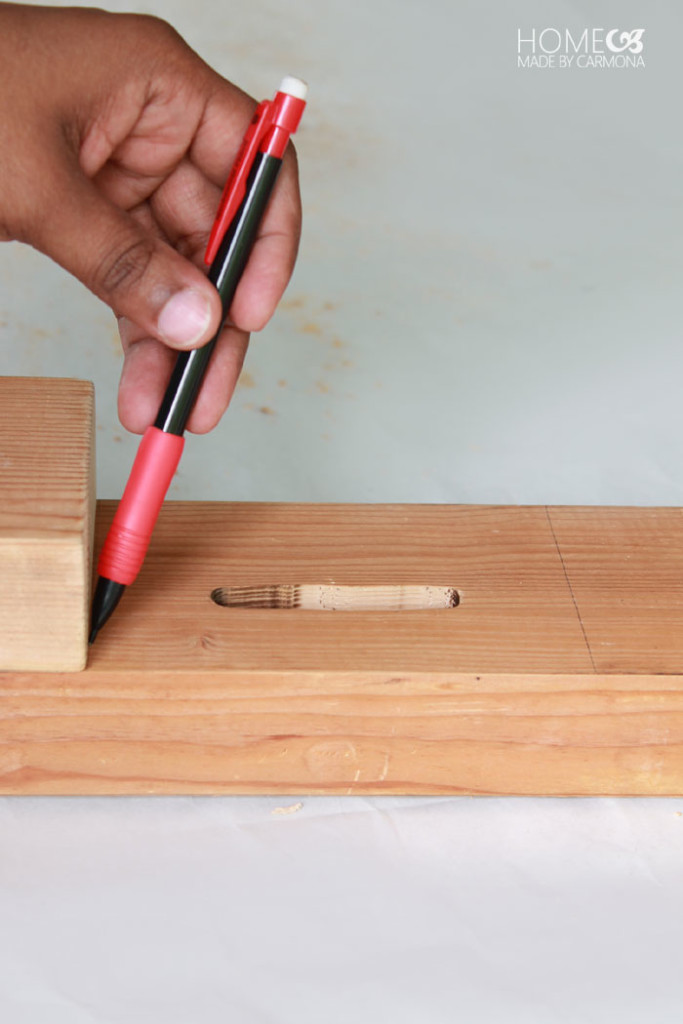
Now you are ready to mark either edge of the 2×4 and cut it to size! Consider how wide you want it to be…this is strictly a design choice. I pretty much eyeballed it, and used another piece of scrap wood to mark a straight line.
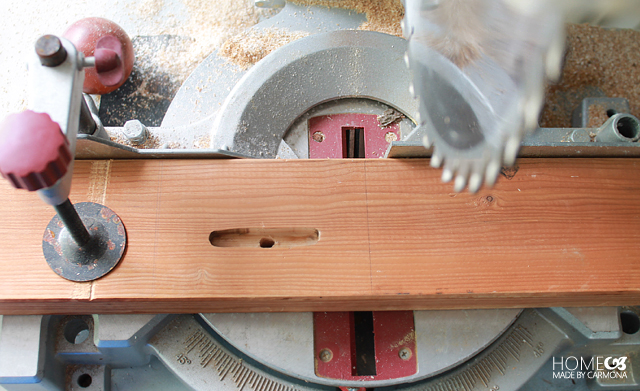
Use your power saw to get the job done. I’m using my miter saw. The blade you use will determine how smooth the edges are. Of course you’ll also be sanding it later.
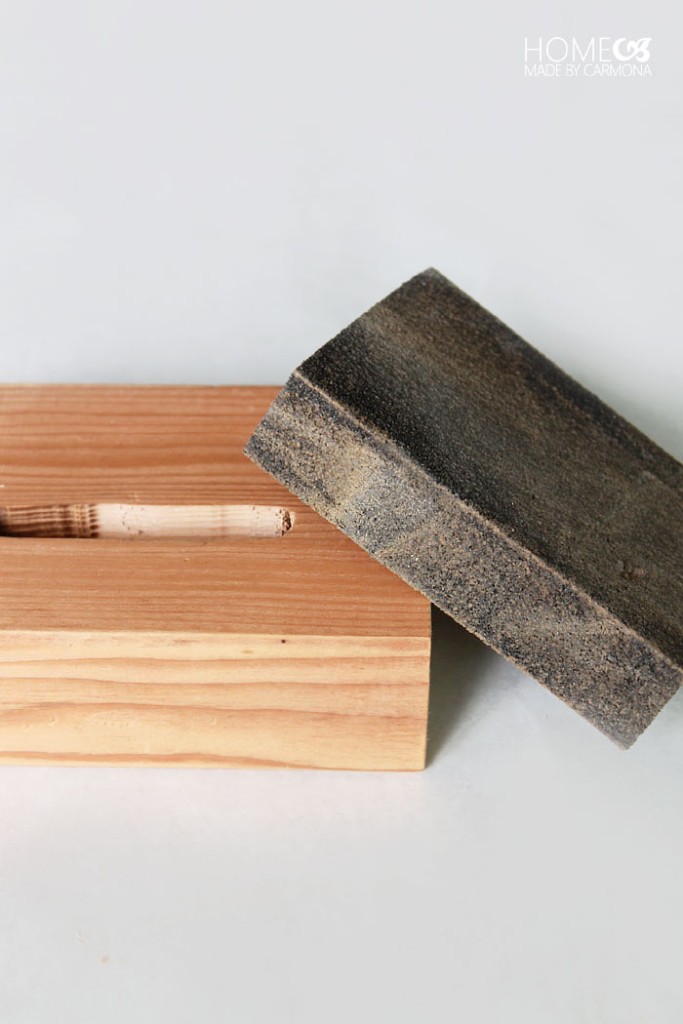
For a more rustic version, a bit of sandpaper will do the trick. If you want a more contemporary version, use a power sander to get very smooth edges and sides. You could even choose to round out the edges if you prefer that look!
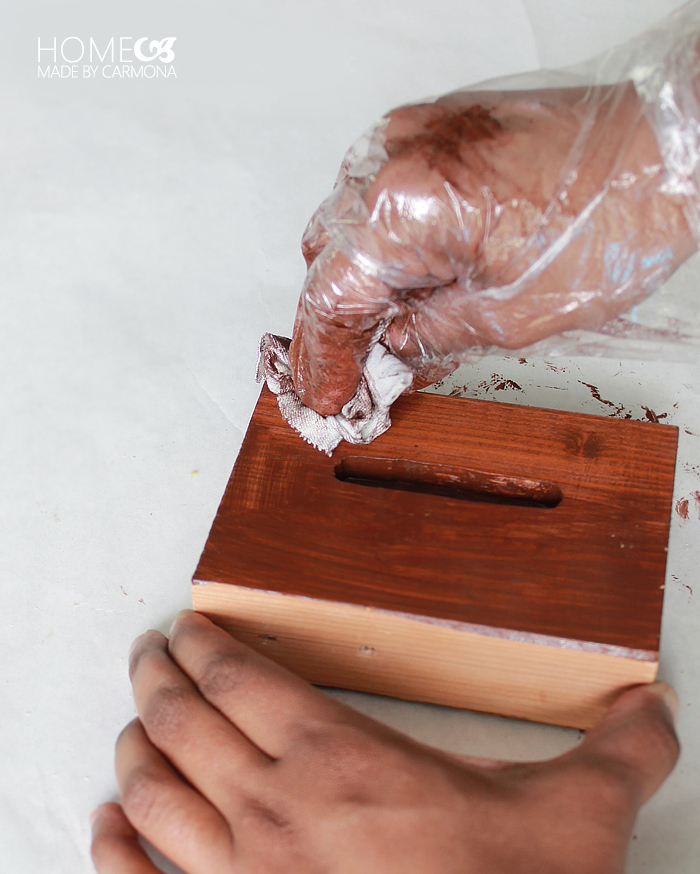
Now you are ready to stain or paint it! The original Restoration Hardware charging station came in a dark walnut stain, and in a white. They were both gorgeous!
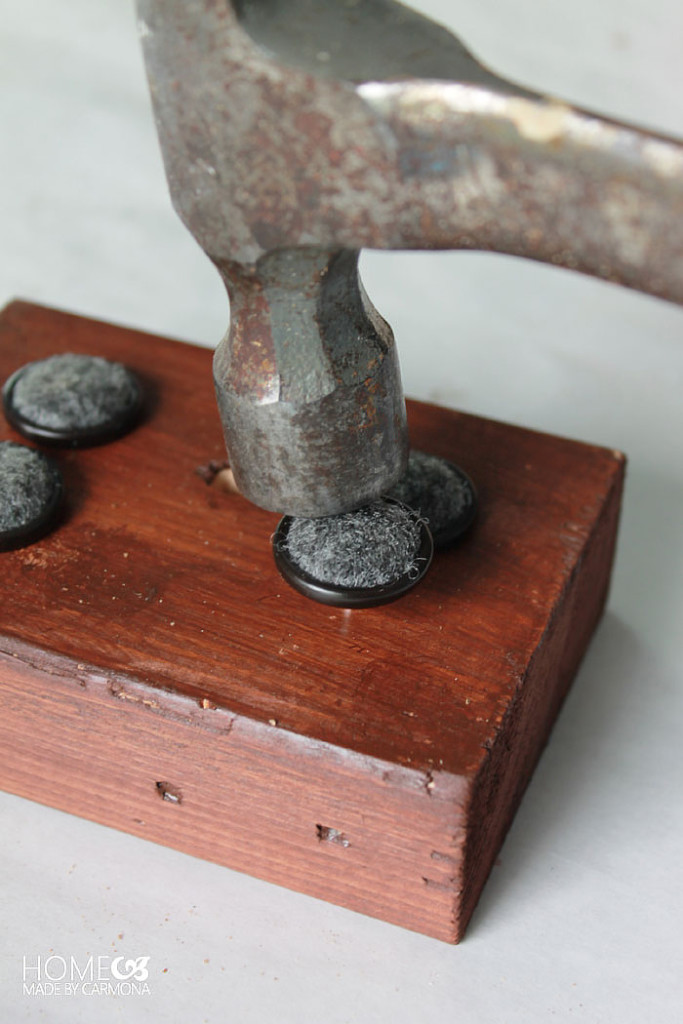
At the four middle quadrants of the bottom of your charging station, hammer in some furniture tack glides. They can be plastic or felt, just make sure they are less than half an inch high (1/4 inch is ideal). You don’t want to be able to see the tacks, just to have it raise the charger slightly. This is for the sake of style and function, so the cord can come out the bottom and be plugged in the wall.
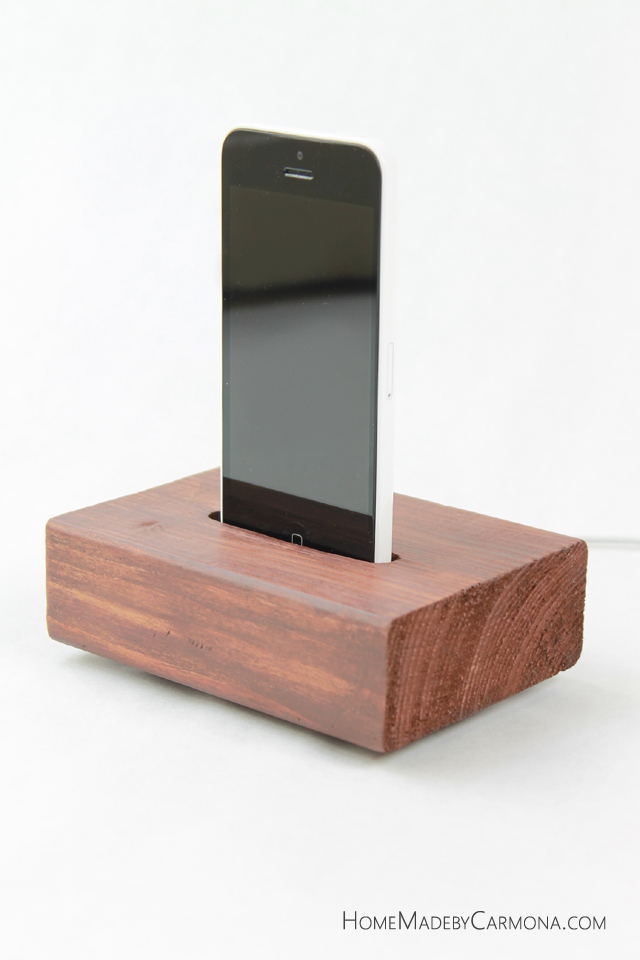
There you have it! Easy as pie (which isn’t really a good example since I still can’t make pie). 😀
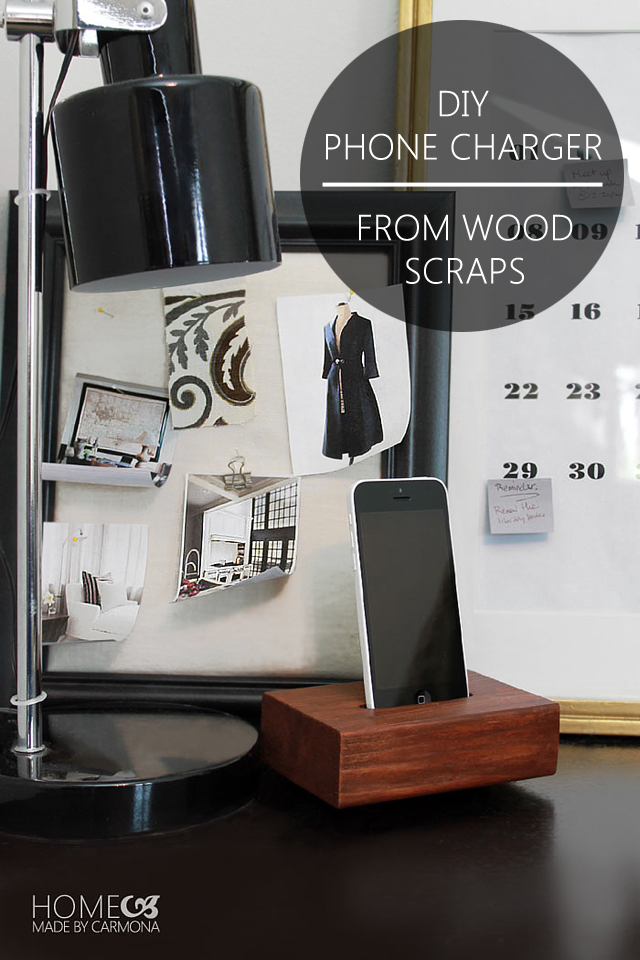
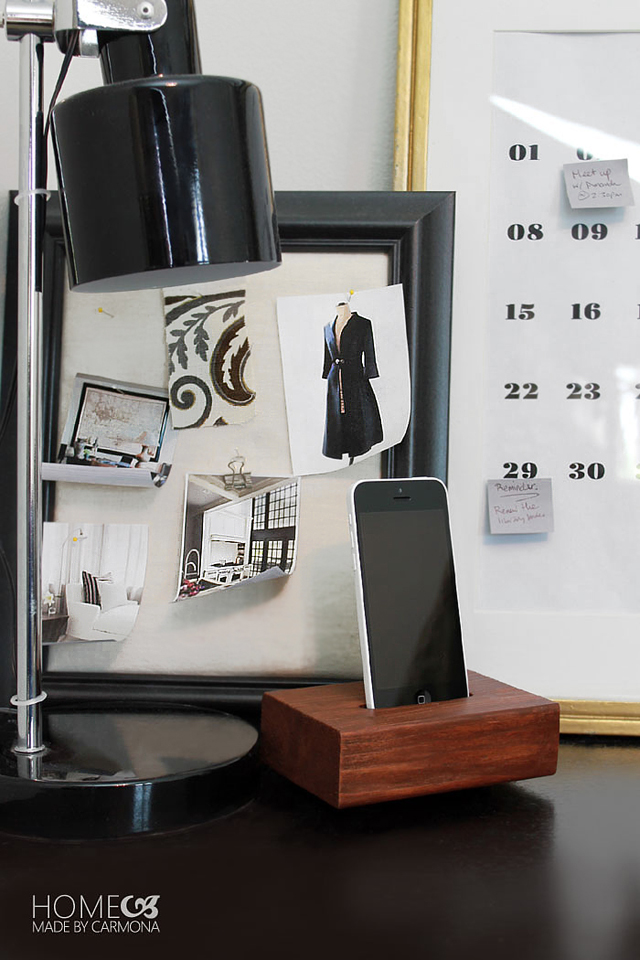
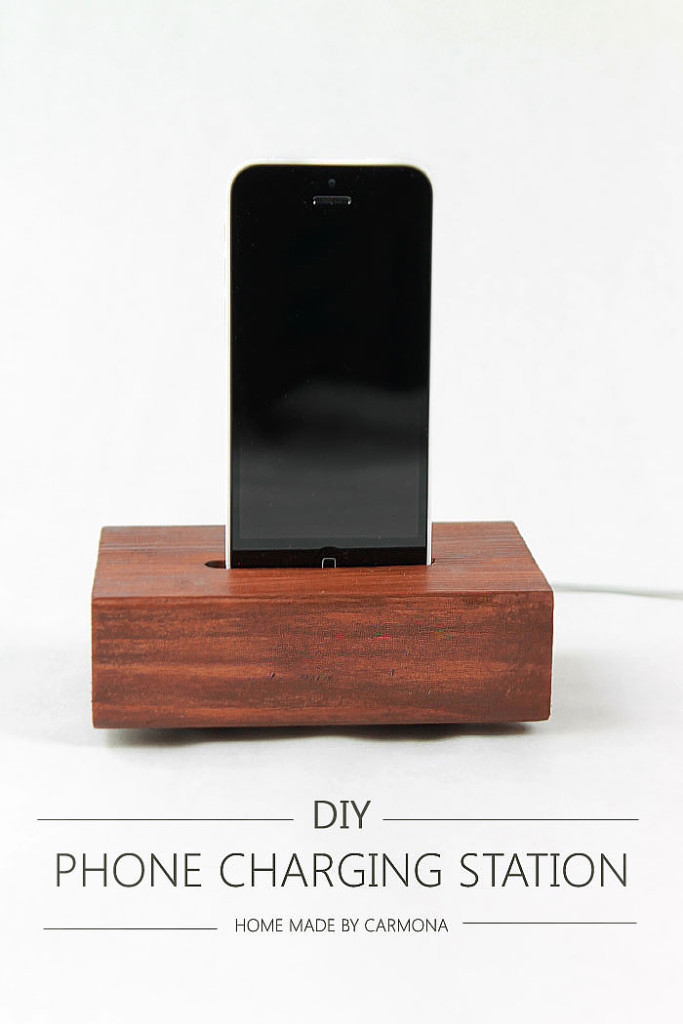
How sleek is this 2×4 phone charging station? It fits perfectly into my NY styled bedroom decor.
I don’t know why, but I like seeing the swirl of a saw cut into wood, I left mine a little rough around the edges. What about you? What style have you chosen for your charging station? Remember, you can customize this bad boy to be whatever you want. You could even make a multi-charging station with a section for more than one phone, an ipad, etc.
I’d love to see how you choose to customize yours!












Hi there . Thank huh for sharing this project. What brand/color stain did you use?
This is a Walnut stain!
Ursula, I just noticed that I made a small error in the comment about the modification. Instead of writing “centered on the larger hole for the screwdriver, into the routed hole for the phone,” I should have written ” “centered on the larger hole for the screwdriver, into the vertical cord hole for the phone.” Sorry for my mistake. Also, I used a finish color similar to yours, but a little darker stain which we happened to have. I also filled the ends with wood putty, then sanded it. I rounded the corners a little more than you did. Yours and ours look VERY MUCH alike. Anyway, it was a great project!
Clever! Thanks for sharing!!
Excellent example! I made two of them, and I included a modification for the cord. After I drilled and cut the vertical cord hole in the center of the routed hole, I also drilled a hole from the back side of the block into the routed cutout for the phone so that this hole would be centered on the side of the cord’s phone connector. I drilled it about half way through the block, and it was sized so that a screwdriver could be inserted. I had a small wood screw that I filed the thread end to make it flat or blunt instead of sharp. I then drilled a smaller hole sized just smaller than the screw threads, centered on the larger hole for the screwdriver, into the routed hole for the phone. With scissors, I cut out a small piece of aluminum and used Super Glue to bond it to the side of the charging cable’s phone connector end which was the correct side to enable the phone to connect properly since it wasn’t a USB C or Lightning connector. I then simply slid the cable from the bottom of the block into the vertical cord hole like you cut, made sure it was at the proper depth for the phone to connect, then tightened the screw with its flat end to snug the cable sufficiently to hold it in place without concern that it will be pushed down by the phone when it’s inserted. With this slightly altered design, you can replace the cable later and assure it will be adjusted properly and held in place to properly fit the phone. I can send some photos to you to post if that’s allowed.
I love this! Thanks for the detailed tutorial!
Nice project for sure! Great idea!
Lovely!!! One question thou, how did you get the power cord to stay in place?? What I mean is when you put the phone in/ on the plug what stops it from being pushed down?.
Thank you! You’ll want to make the hole just snug enough that you don’t have that problem. But if you have already built it, then you can just hold the head of the plug when you insert it into your phone, then pull the cord taught from the bottom.
Super cool Ursula!!! I love this and now am wishing I had these power tools. Pinning!
Thanks Stephanie! I’m so grateful for my poor rusty hand-me-down power tools! lol! I am eager for when I can add to my collection though.