You’ve seen angled wine racks and ‘V’ shaped chevron wine racks for easy storage. Now learn how to build your own rack to store anything from drink bottles, to food cans, to spray paint cannisters in your workshop.
*Sponsored by our friends at Minwax®
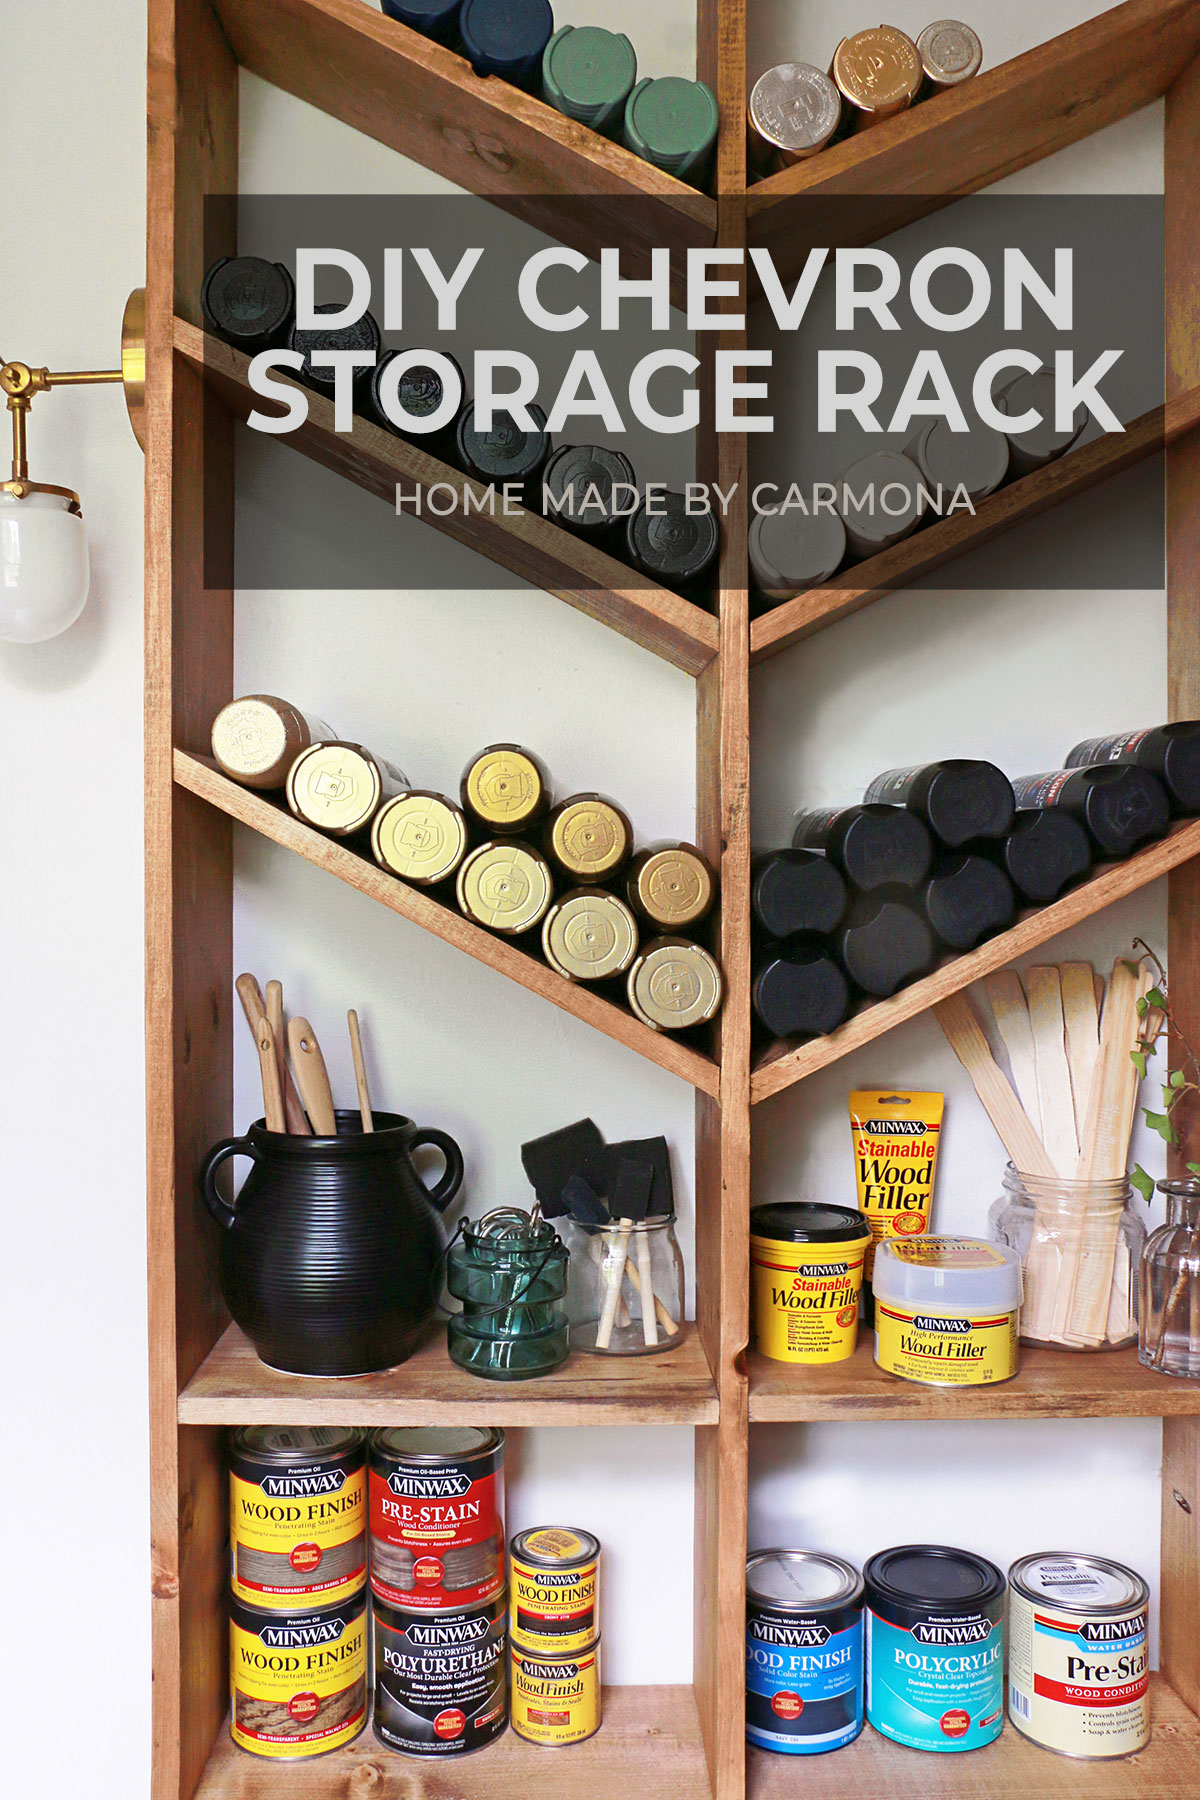
The beauty in making your own furniture is being able to truly customize it to your style and space. You can size it to precisely fit that little corner in your home without wasting precious space.
But the real fun will be in adding panache with your own design flair. Choose from one of hundreds of stunning colored stain from Minwax® to make it your own, or embrace sophisticated naturals with your preferred wood tone. Either way, it is individualized to you and your home!
Customizing Your DIY Storage Rack
The build is essentially a bookshelf, but with angled shelves at the top.
To customize the size, simply choose a different board width (typically found in 6″, 8″, 10″ and 12″), and cut the chevron-styled shelves to the desired length. Once the shelf is mostly assembled, measure the space between the angled shelves for your straight edge shelf size, then cut and attach. Measure the size needed for the shelf top, and attach that last. It is easier to measure and cut as you go to account for any imperfections.
You can also choose to make this a single angled storage rack if there isn’t room for a full chevron shelf, or chevrons aren’t your thing.
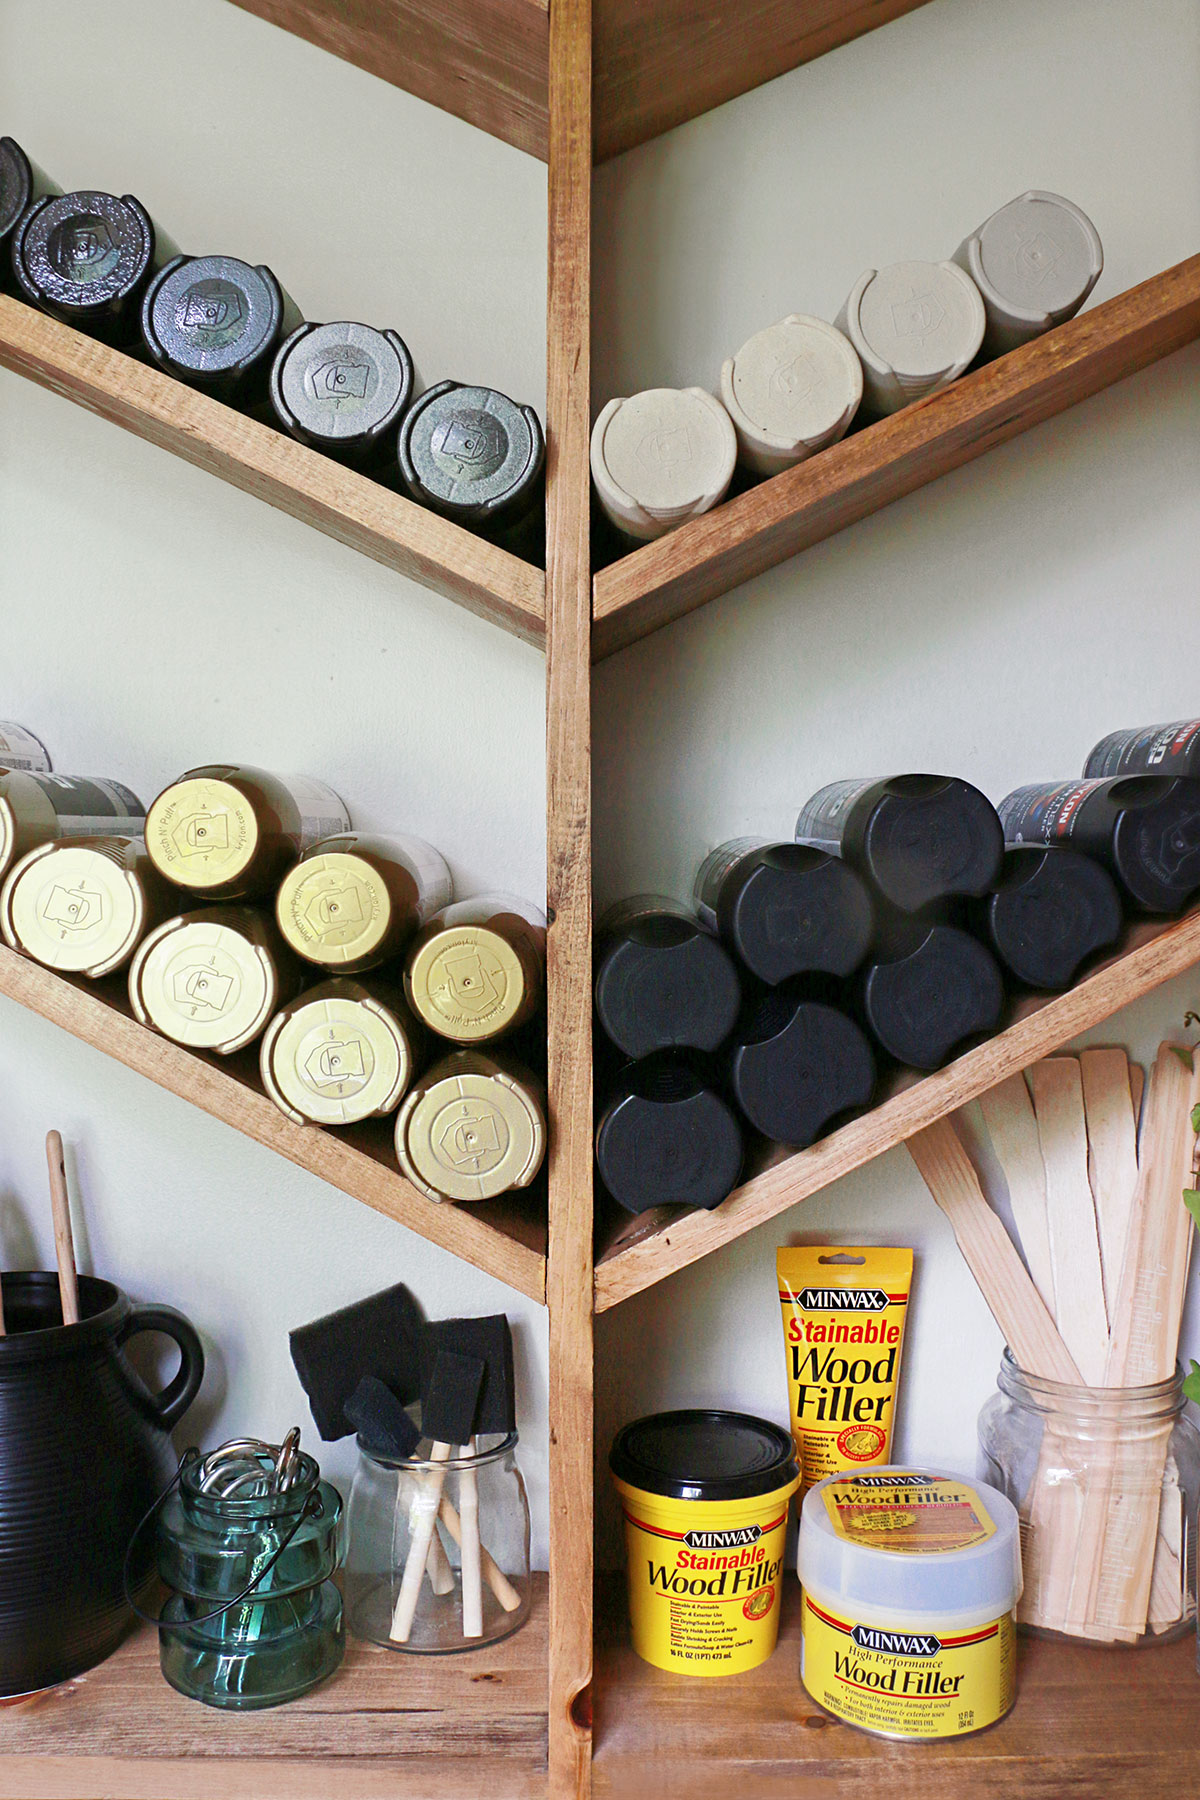
Materials & Cut List:
You’ll need 5 sheets of 1″x8″x8′ common wood boards. I am using the least expensive wood type available in my hardware store since my wooden wine rack will actually be used in my workshop as a spray paint organizer.
- (8) Chevron shelves: 1″x8″x17″ (with 30 degree bevel)
- (6) Straight edged shelves: 1″x8″x14-3/4″
- (3) Bookcase side panels: 1″x8″x96″
- (1) Top of bookcase: 1″x8″x32″
- Minwax Wood Finish Stain in Special Walnut 224
- Minwax Pre-Stain Wood Conditioner (oil based)
- Minwax Polyurethane Wood Finish (oil based)
Cut, Mark, Drill & Sand
Cut Wood With A Miter Saw: Cut shelf pieces to size using the cut list above. Only the 17″ chevron shelves should be cut with a 30 degree bevel. Both ends should contain the same beveled angle as shown below. All other shelves can be cut as a normal 90-degree straight edge.
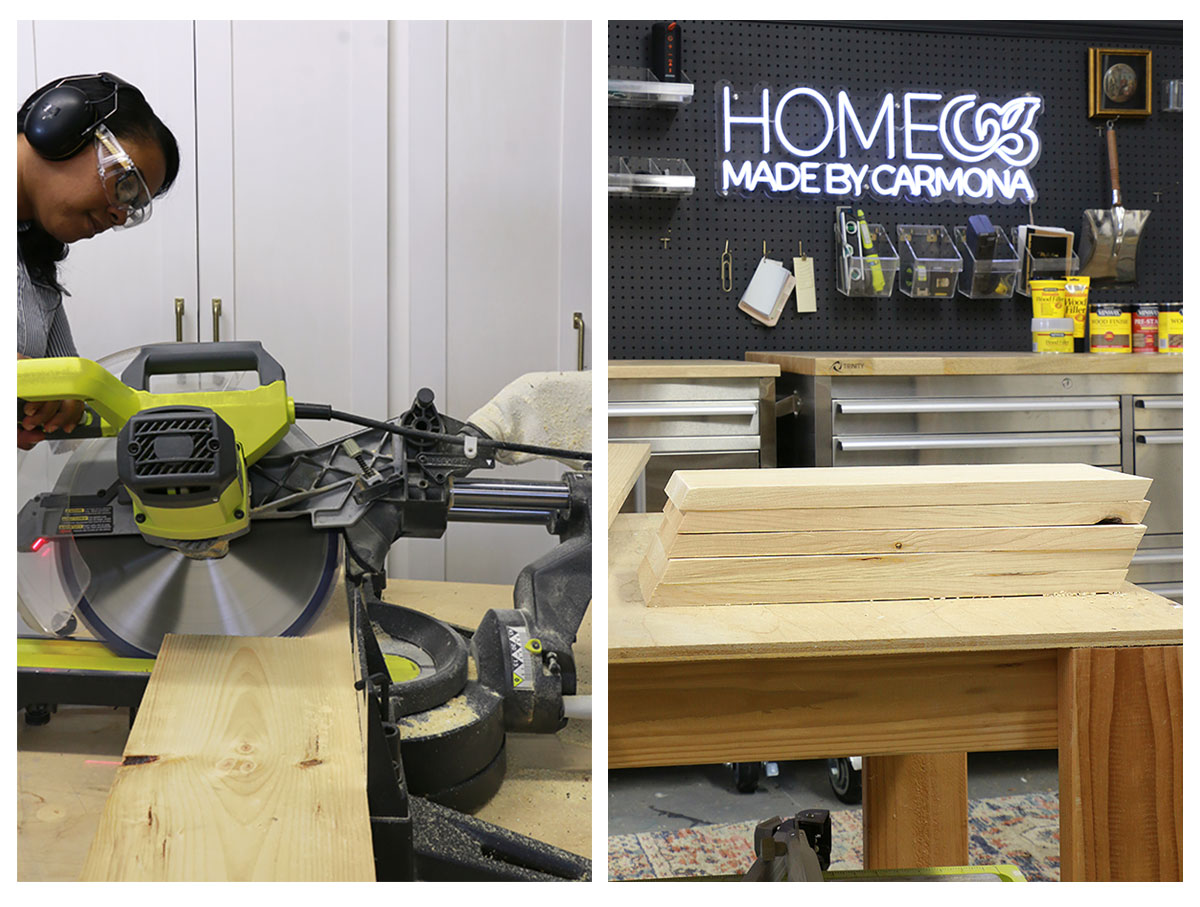
Dry Fit & Mark: Before drilling pocket holes, place each shelf between the side and middle panels of your bookcase for a dry fit. Mark where the holes will go, and be sure to stagger the holes that meet in the middle so the screws don’t hit each other.
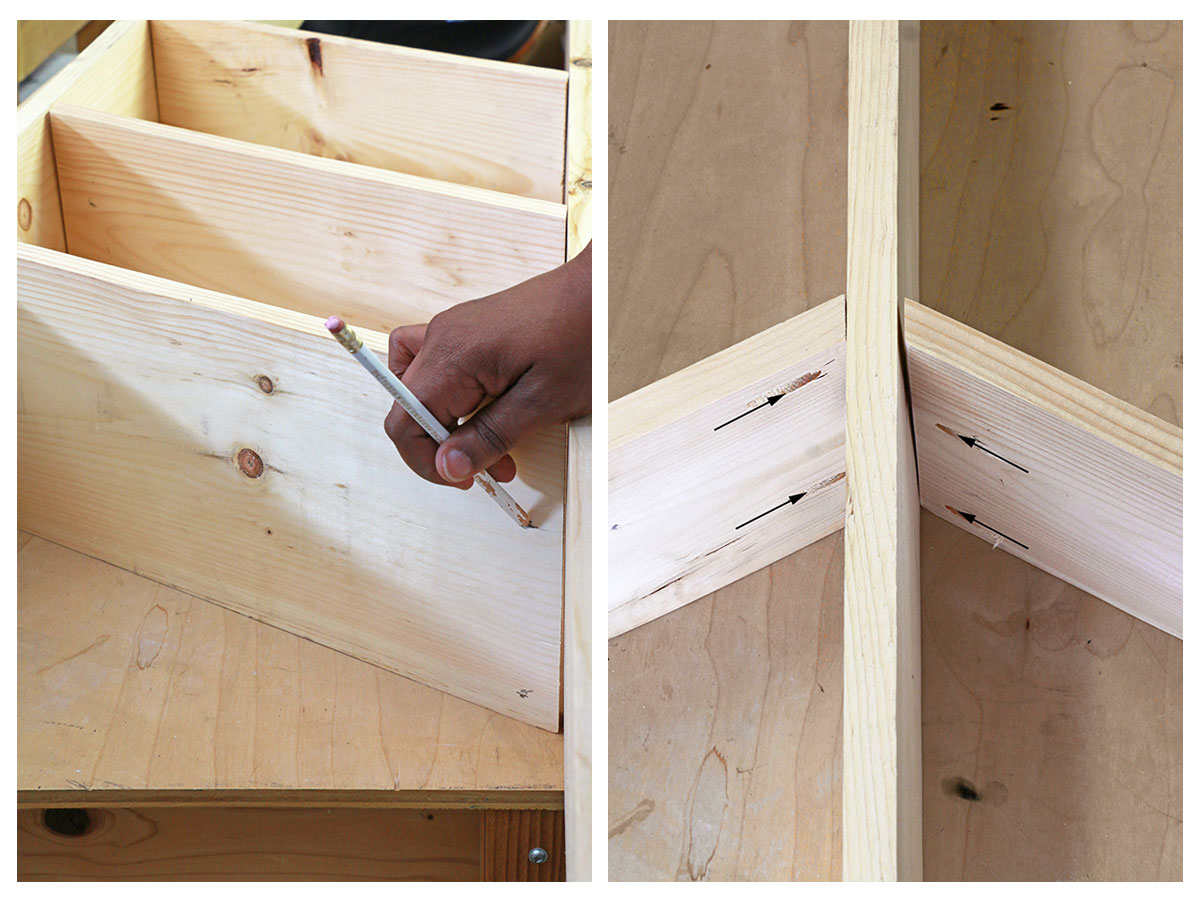
Drill Pocket Holes & Sand: Drill two pocket holes on both ends of each shelf (4 holes total). Sand any rough edges smooth.
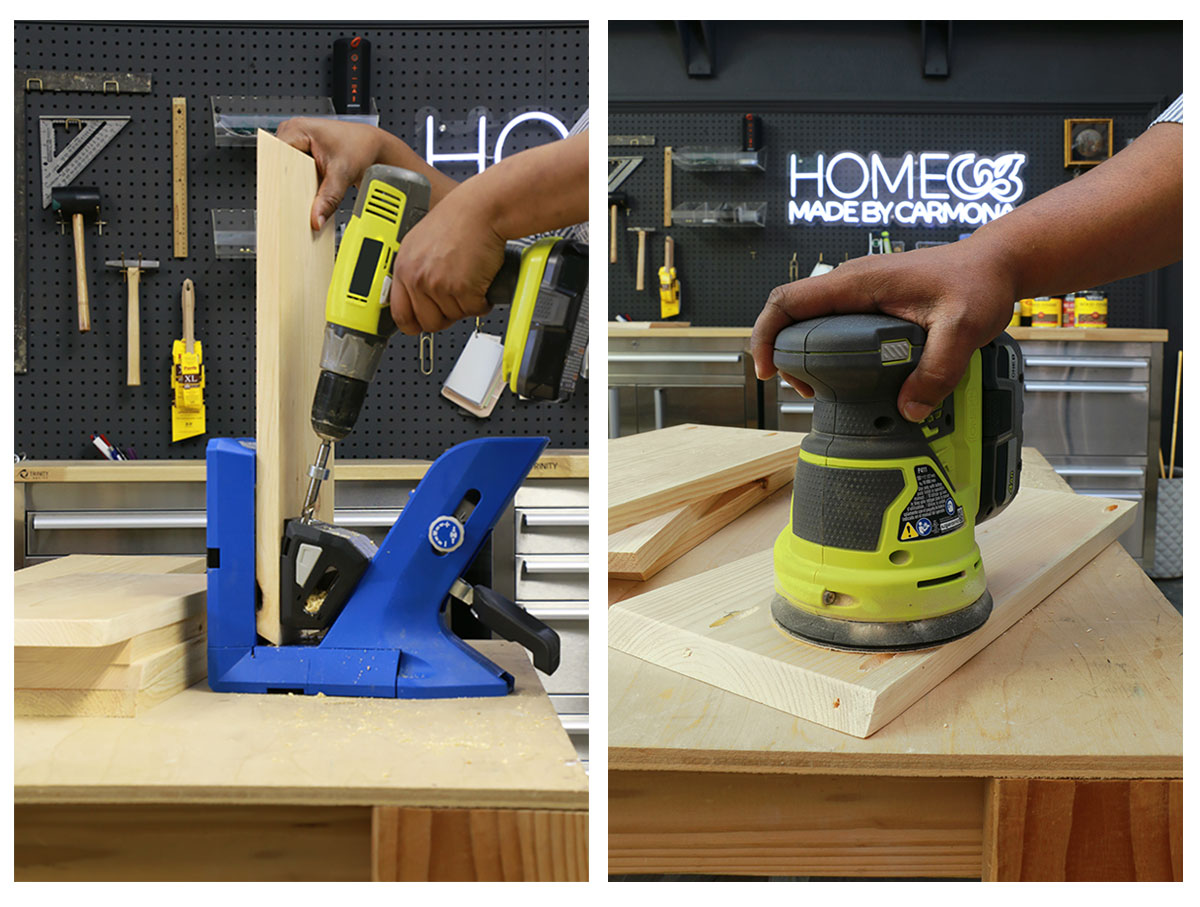
TIP: Drill the pocket holes on the chevron shelves so they all face upward. Items sitting on the shelves will hide the holes, or any imperfections if you choose to fill the holes. But place the drilled holes on the underside of the straight edge shelves so they cannot be easily seen.
Steps To Assemble The Storage Shelf
Mark the side panels & attach shelves: Measure and mark along both 8′ bookshelf side panels the desired space between each shelf. I spaced the top shelf 6-inches down, then each shelf after that 12-inches apart.
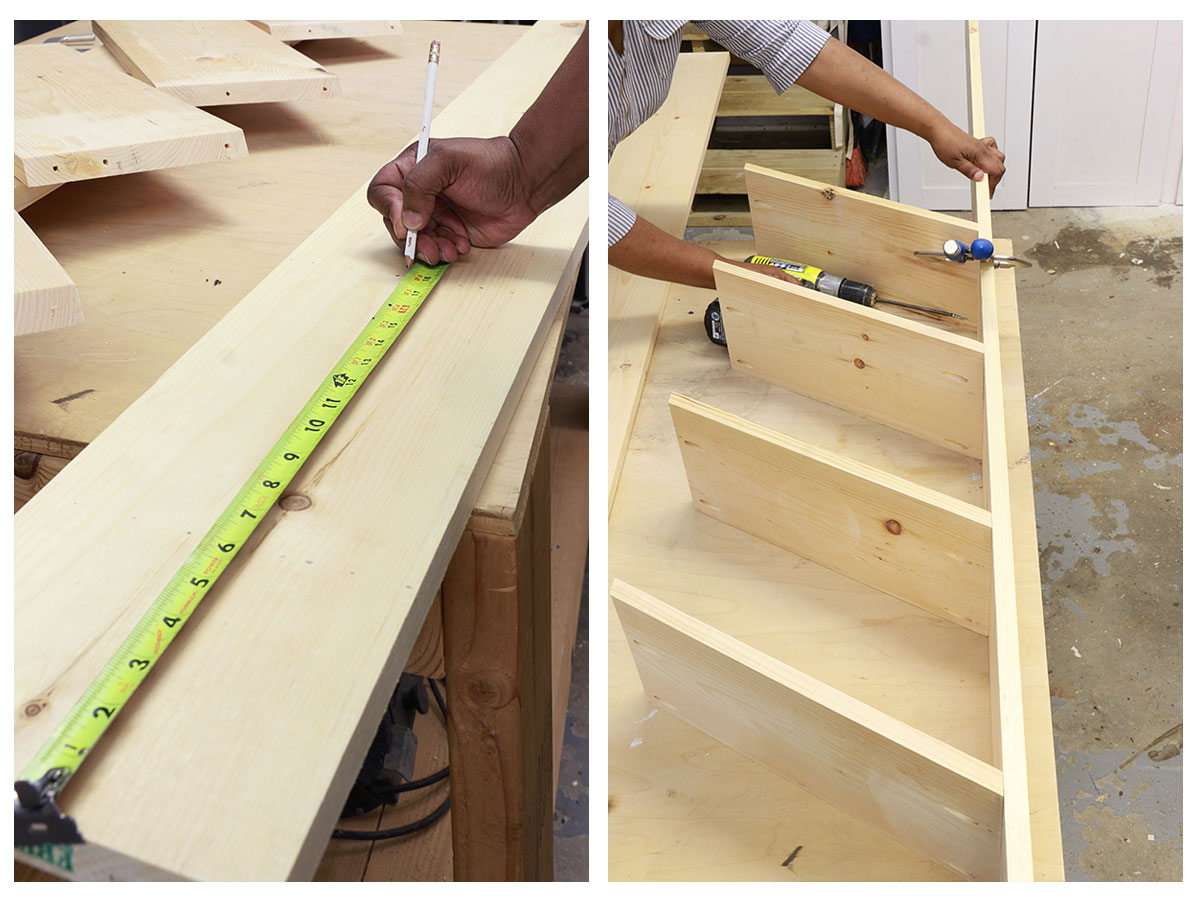
Place your angled shelves against one of the marked bookshelf side panels, and attach with wood screws through the pocket holes.
Attach the bookcase top and middle panel: Set the middle panel in place, and attach the bookcase top with screws, or a hammer and nails. Use a speed square or framing square to ensure the end and middle panels are perfect 90-degrees to the top panel.
Next attach the chevron shelves to the middle panel.
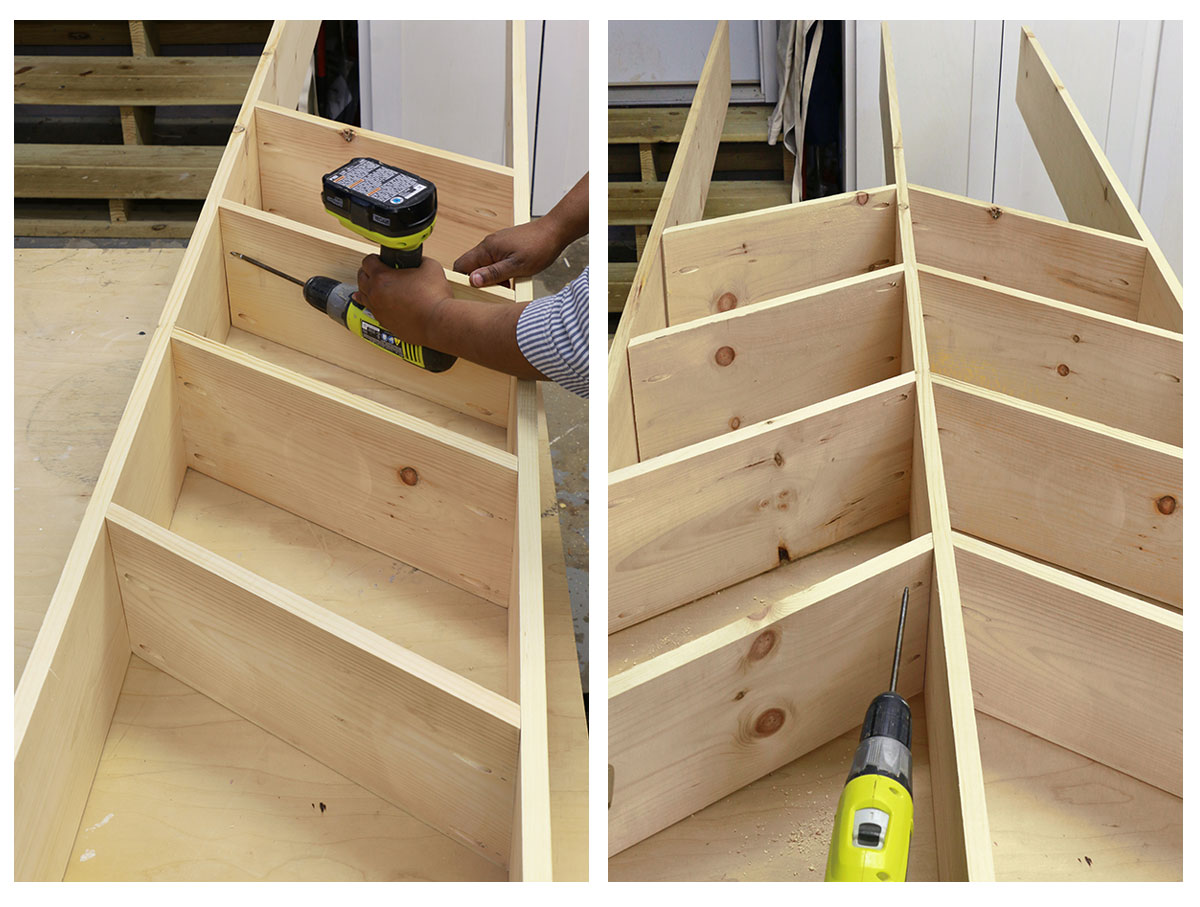
Attach the last angled shelves: It’s time to finally make that chevron design! Place the final angled shelves so they make that V-shaped chevron, and attach at the ‘V’ first.
IMPORTANT NOTE: When you screw into the middle shelf to make the ‘v’ it will slide lower as it tightens. Start 1/4″ higher so it will meet at the expected point.
Add the final end panel and attach to the bookshelf top before screwing in the chevron shelves.
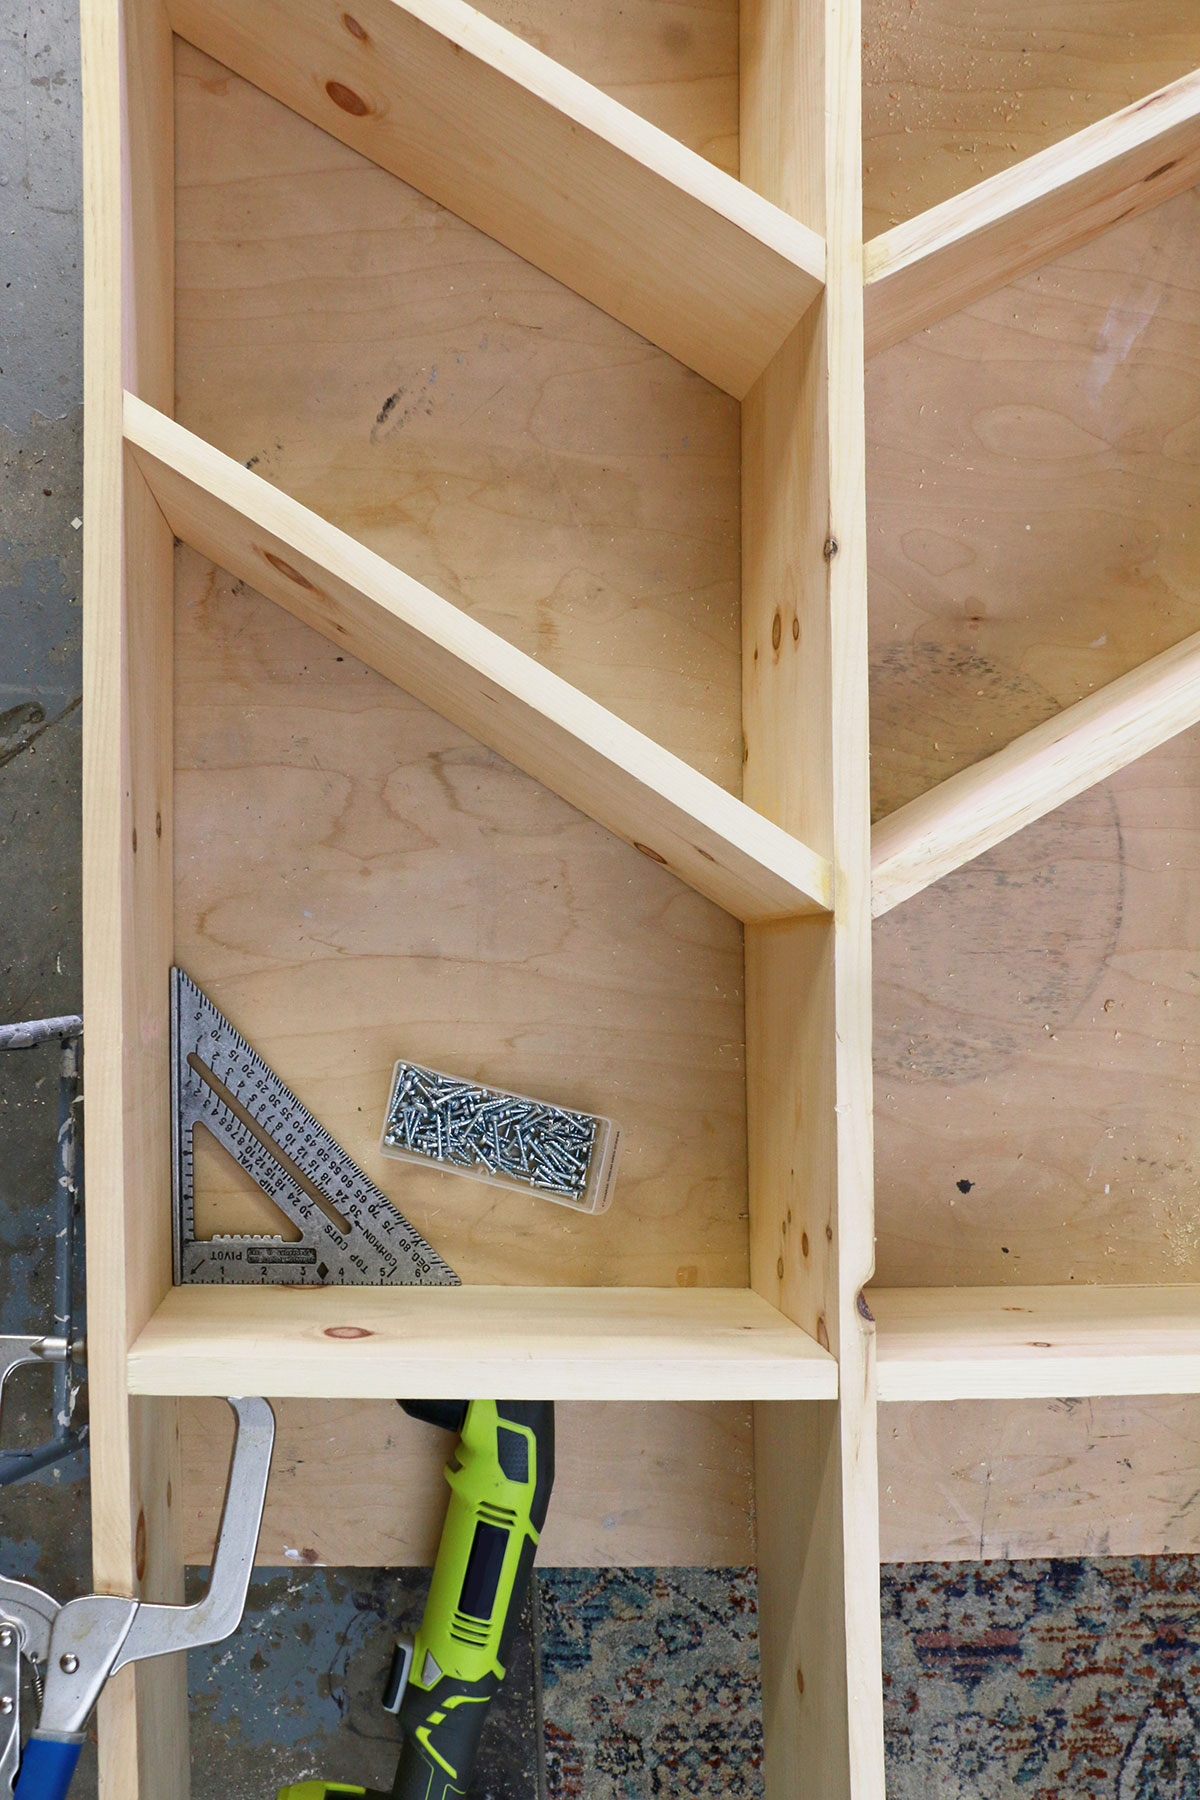
Attach bottom shelves: Finally, attach your straight edge shelves using a speed square to keep it level.
Optional Extra Steps
You can optionally use Minwax Stainable Wood Filler to fill pocket holes and any knots in the wood. Because my storage rack is a workshop piece I chose not to fill the holes, just stain them for a rustic style.
To make this a wall-mounted wine rack / storage rack, drill at least four pocket holes in the end panels. Two near the top, and two near the bottom where the screws can be sunk into the wall.
3-Steps To A Beautiful Finish
It’s time to beautify your bookcase! Use this 3-step system to ensure a perfect wood finish.
I’m using Minwax Wood Finish Stain in Special Walnut 224, but there are hundreds of gorgeous finishes! You can choose from a variety of colors (not just wood-look), select opacity, and shade. Check out the many unexpected colors Minwax has available here.
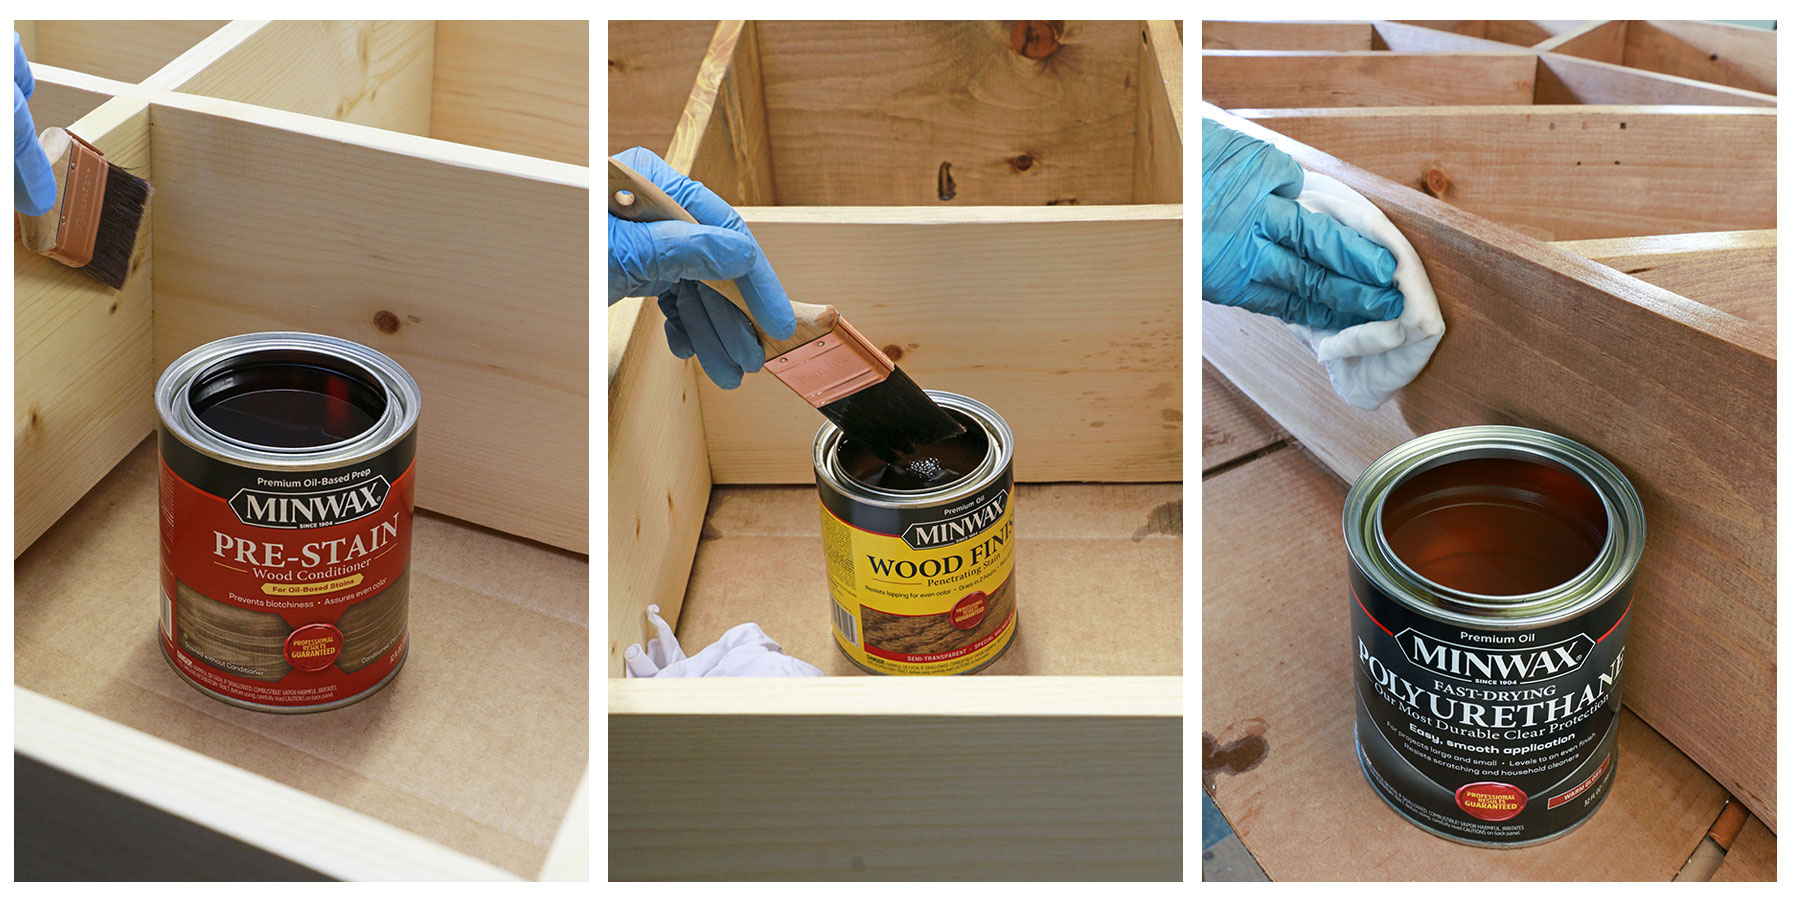
Prepare The Wood:
Start by lightly sanding with a medium-grit sandpaper (#120) and working your way to a finer grit (#220). Then wipe it down so there are no traces of saw dust.
Next, apply Minwax® Pre-Stain Wood Conditioner to prevent blotches or streaking. This important step will help the wood absorb the stain evenly, especially if you are using a soft wood like I am. Brush it on, leave it 5-10 minutes, and wipe off the excess.
NOTE: I am using all oil-based products. But if you are using one of Minwax’s water-based stains, you will need the water-based wood conditioner, and water-based protective finish.
Apply The Stain:
You can apply the stain using a bristle brush, a foam brush, or just a cloth! Apply to a small area at a time and wipe the excess off. For a darker hue, leave it on a few minutes longer.
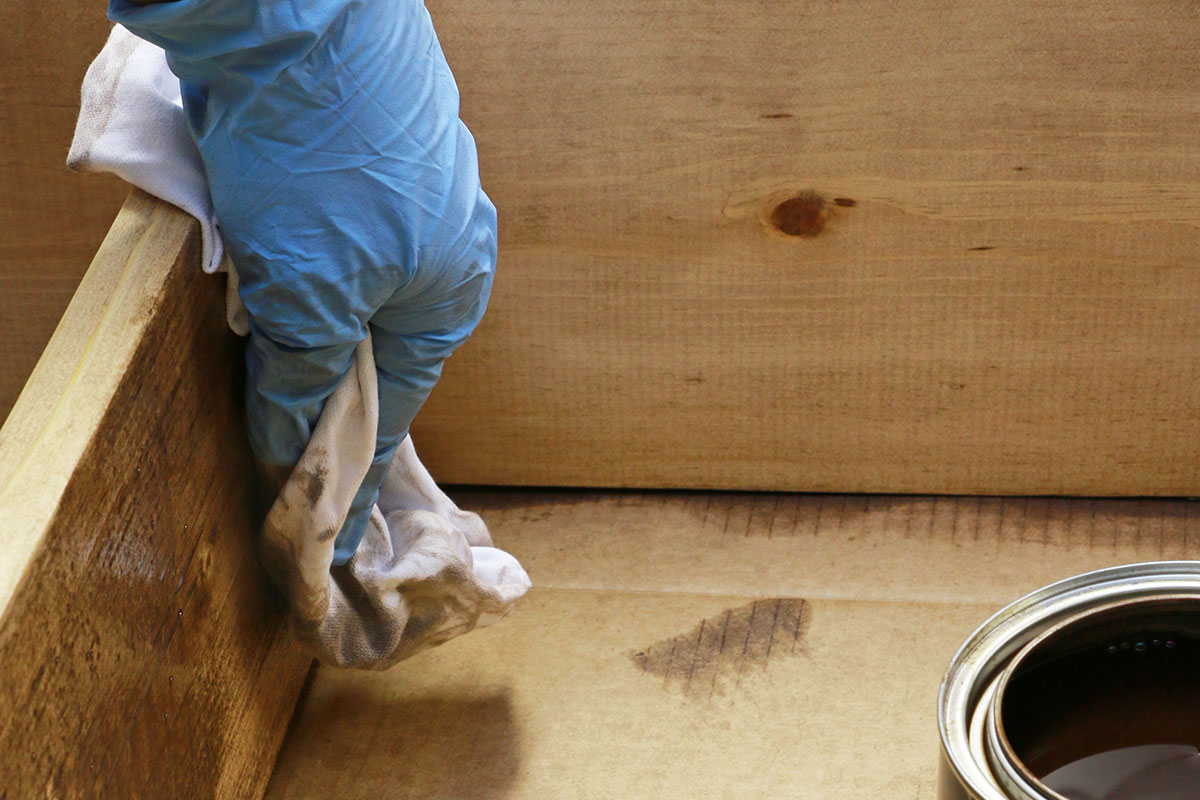
Protect Your Finish:
After the stain has dried completely, apply Minwax Polyurethane Wood Finish. A protective coat will keep your new wall-mounted modern wine rack looking beautiful!
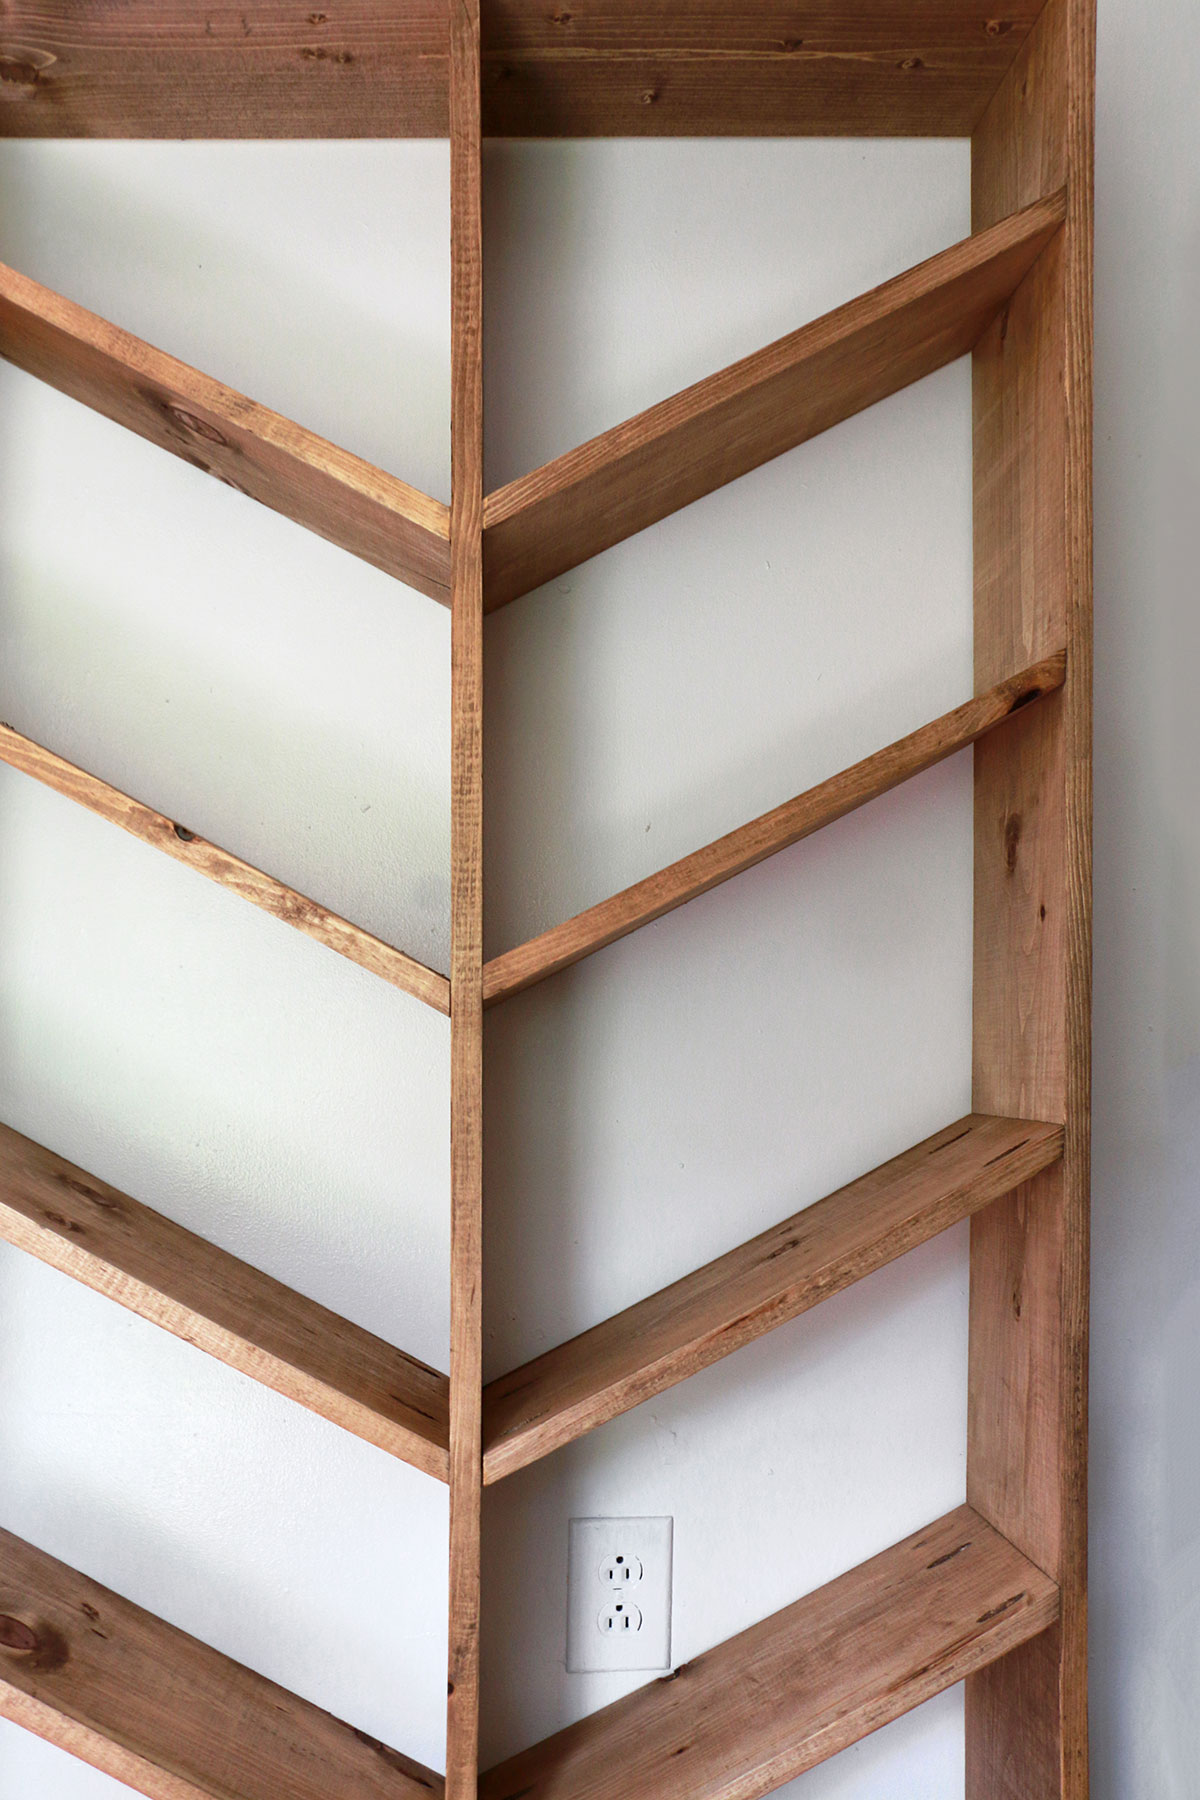
While this might be commonly considered a DIY wine rack, it doesn’t need to be used only for bottles of wine. We have a dry home and this beauty serves as a DIY spray paint storage rack in my workshop! It would accent a pantry as a food can organizer beautifully.
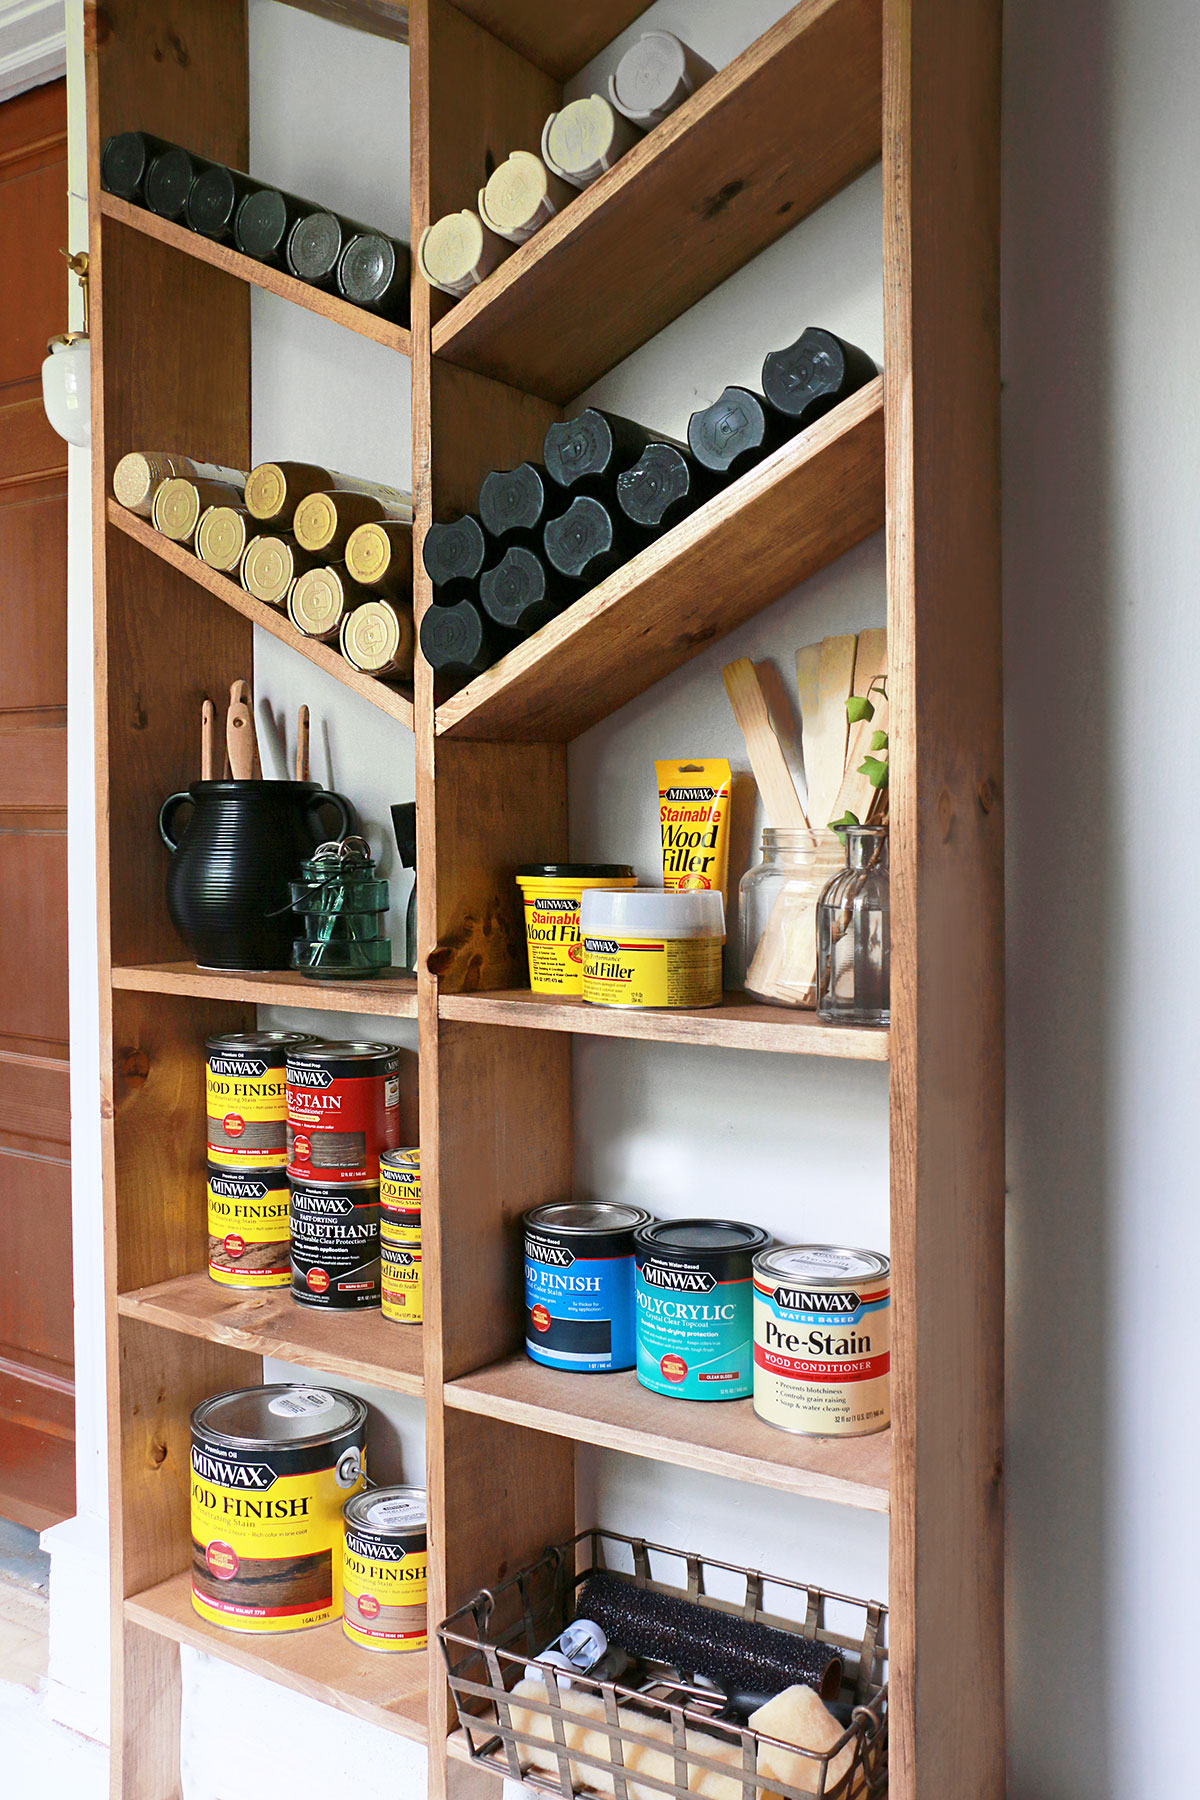
Now when I pull out one spray paint canister, the others roll down to take its place. Adding regular shelves to the bottom means I have a space to store wood stains, paints, and more… And all this without taking much space in the room.
Hey, just because it is a workshop doesn’t mean it can’t look great! Even the shelves you use should add to the décor the space, and these shelves certainly are a statement piece!
Like This? You’ll Love These!
9 Steps for refinishing furniture | Top tips for storing scrapwood | Learn how to build custom storage cabinets |





Leave a Reply