It’s week two of the six-week One Room Challenge, and I’m ready to make some custom sewing room drawers. Hey, what’s a sewing room without amazing fabric storage?
I don’t know about you, but week #1-#2 are usually full steam ahead, then there is a huge slowdown. Considering we are working on several rooms of my parent’s house for a one “house” challenge, the waves of work are never ending.
*This week’s One Room Challenge is sponsored by Schaub & Company, Kreg Jig, & RYOBI
In truth, we are working on several rooms of the house at once. However, the emphasis has been in the sewing room, and the whole family has been pitching in!
I put my mom and dad, my two sisters, and my brother to work to bring this entire ORC together. It’s going to be a race to the finish, but it feels amazing to have a team to work with. I’ll be spoiled after this…usually my projects are solo projects.
Stock Cabinets Get A Sophisticated New Look
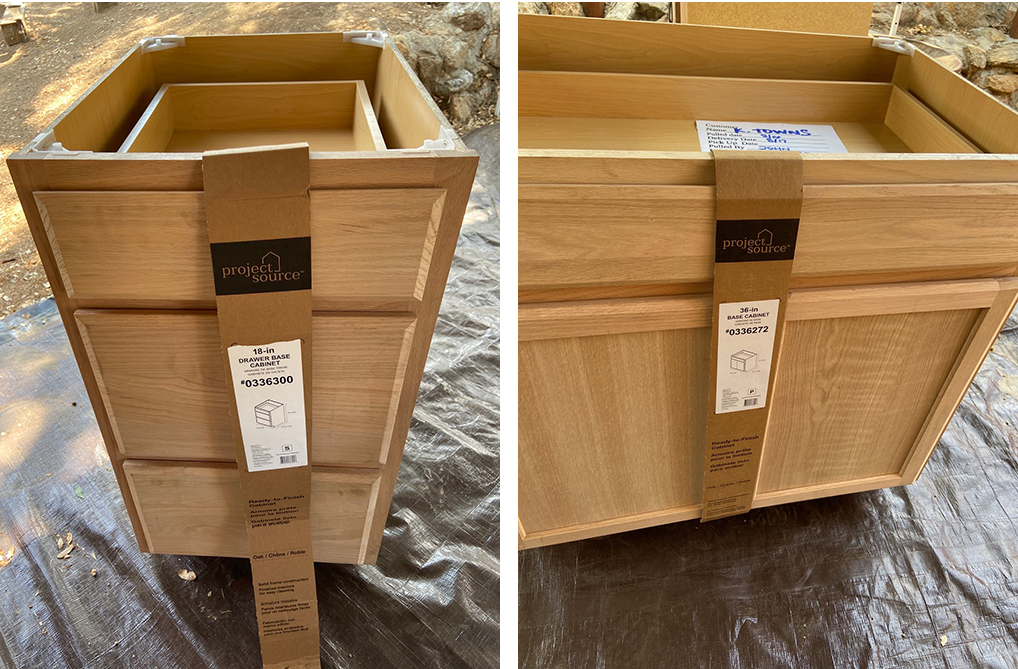
Last week I shared the addition of some stock cabinets in the sewing room, and the painting process.
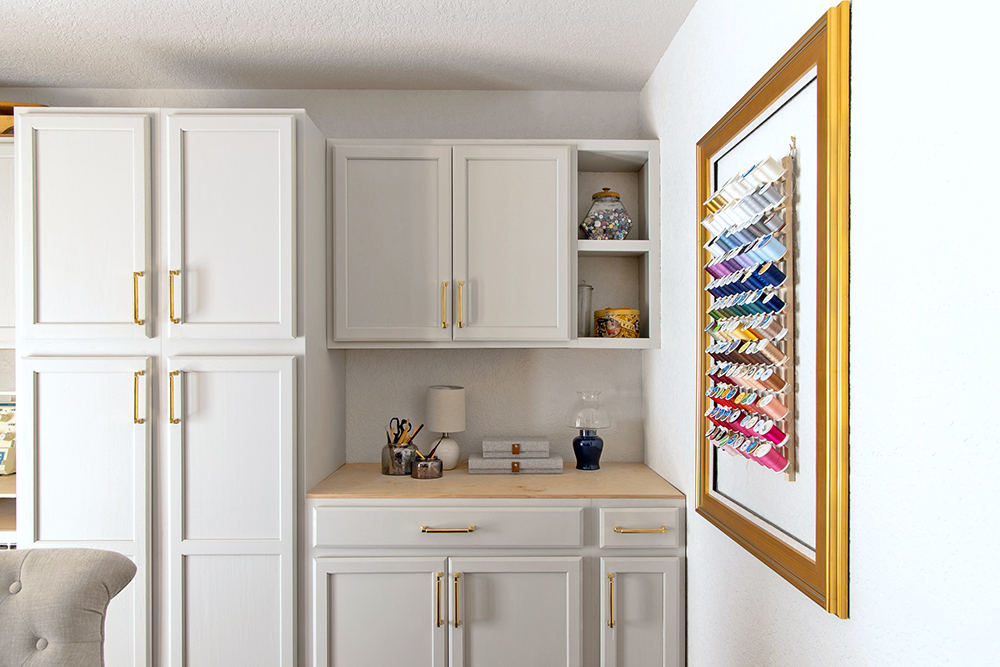
But I didn’t share these stunning 6″ unlacquered brass Haniburton pulls from Schaub & Company that elevated the cabinets immediately.
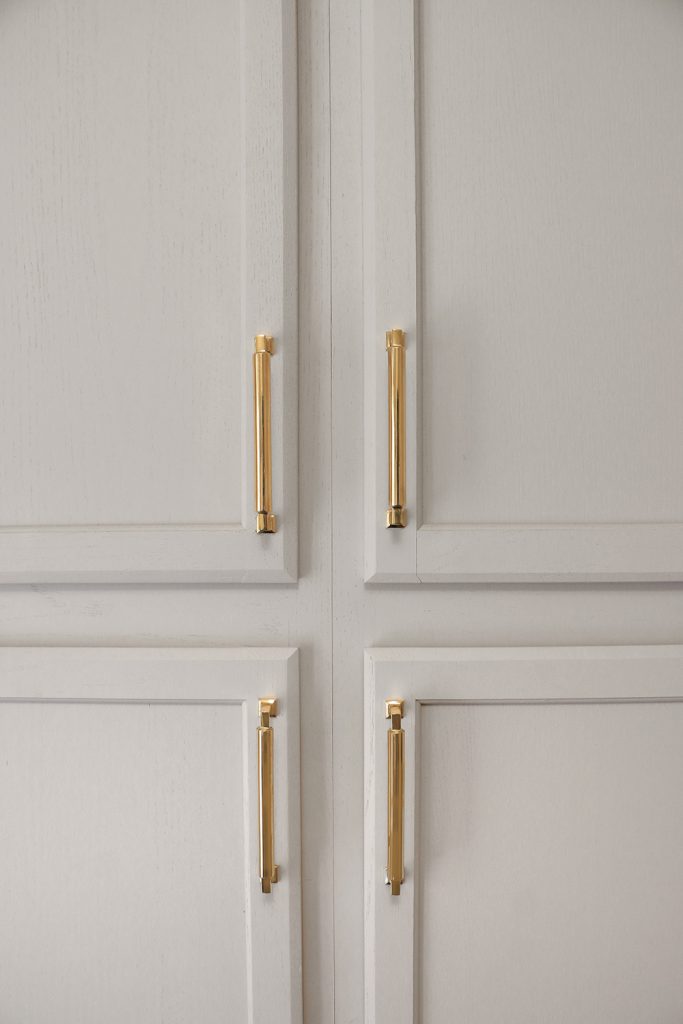
Don’t believe me? Well just take a look at these cabinets before paint… plain Jane right? If we installed them, and left it at that, the room would look dated.
And here they are after paint and installation, but without the cabinet pulls, or DIY shelves on either end of the uppers.
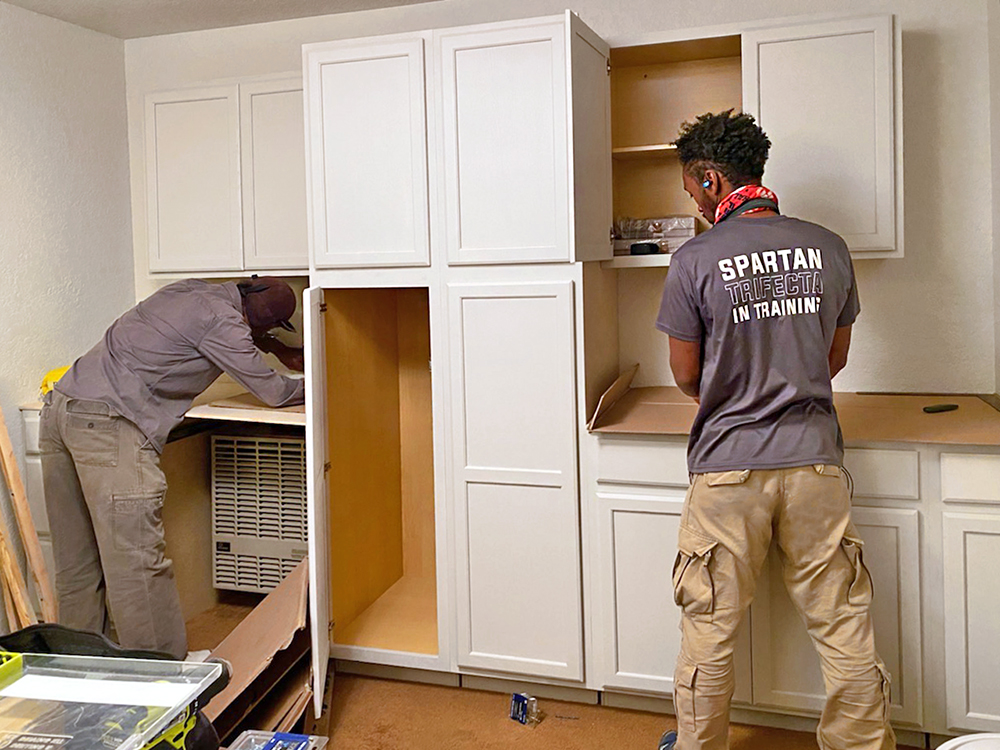
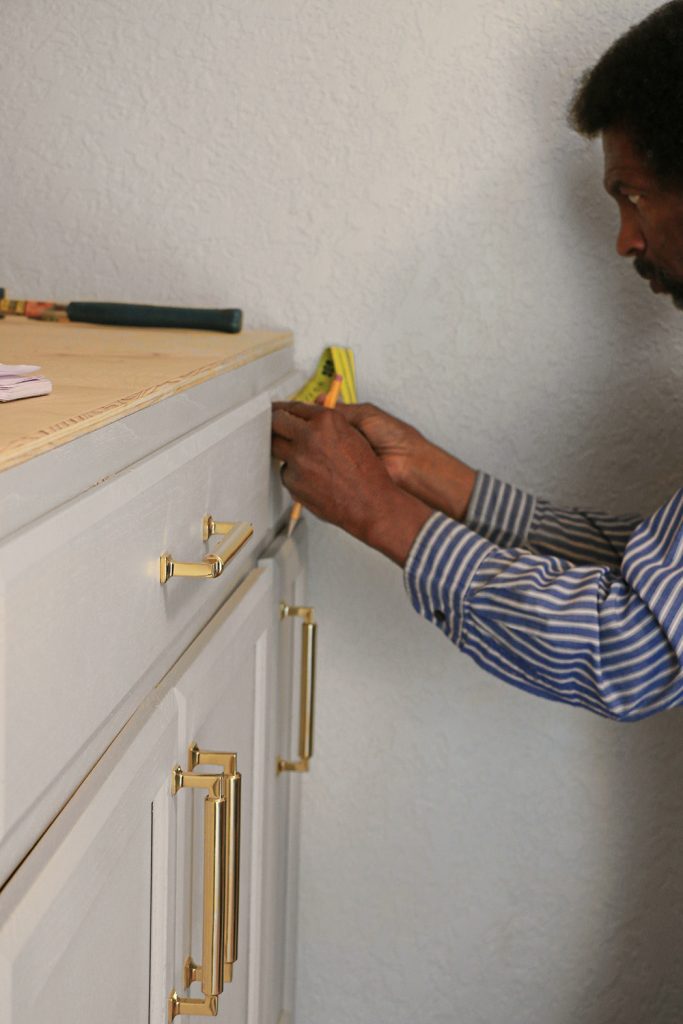
Even my dad commented on how surprised he was to see how much adding hardware elevated the design.
I used some awesome chalice knobs from Schaub & Company in my last One Room Challenge in my closet. So I know exactly how incredible their selection is, with so many finishes and quality pieces to choose from.
Ironically, I never used the chalice knobs on drawers in the closet. They were such a statement piece, that I used them as decorative wall hooks instead! Sometimes, you have to be willing to design outside the box.

Prepping The Inside of The Cabinets
Once the outside was beautiful, we moved to working on the inside of the stock cabinets.
Cheap stock cabinets don’t usually come with any bells or whistles, so you have to be willing to add them. The single shelf insert it comes with is not ideal storage, so installing cabinets is only half the battle.
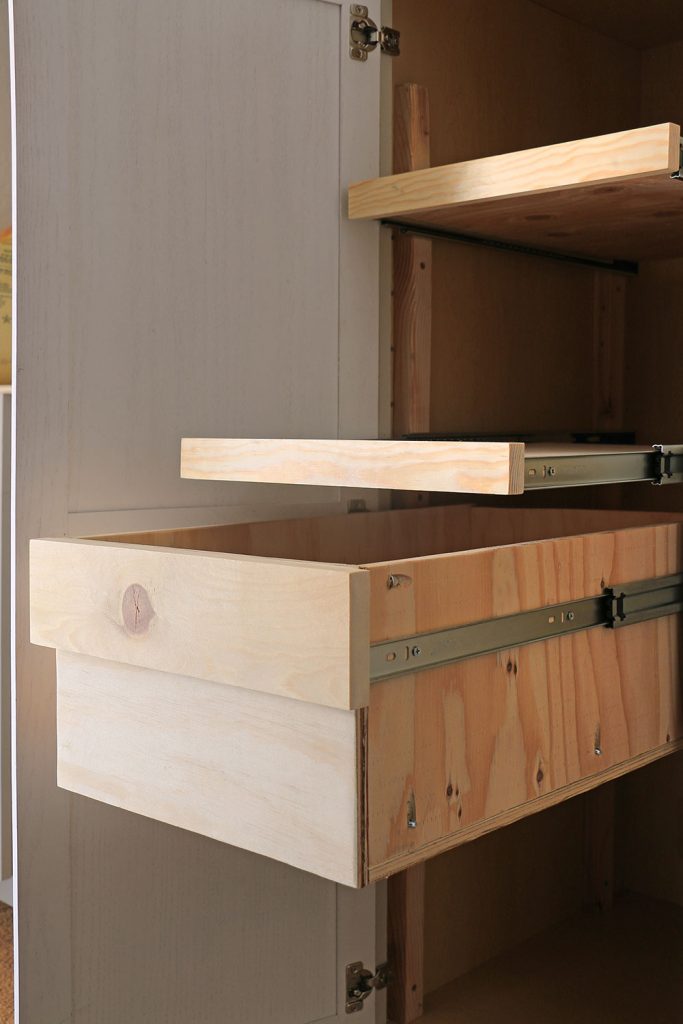
We attached two strips of scrap wood to each cabinet wall as a bump out to float the pullouts.
Then it is as simple as attaching some drawer slides, and cutting plywood to attach to the slides. I say simple, but in truth, it was a beast trying to fit inside the cabinets to do the work. It was very uncomfortable, and made a simple process a pain to execute.
Pocket Holes For The Win!
Pocket holes have always been my secret sauce behind making sturdy drawers and pullouts. This is the same technique I used in my living room to build pullout game storage.
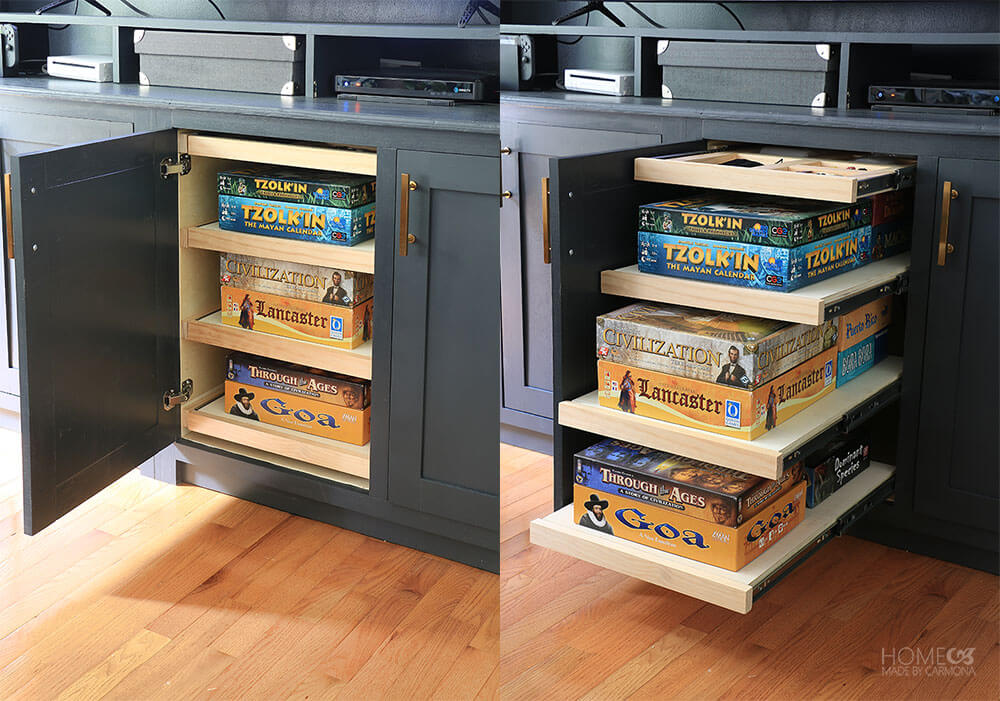
The front of the pullouts are a piece of 1″x2″ select pine that is secured from the underside with pocket holes.
The only difference between my living room pullouts versus the sewing room pullouts is placing the lip of the 1″x2″ overlapping on the top versus the bottom. FYI: we kept the unfinished side of the plywood facedown, the visible top side is sanded and smooth. We pre-drill pocket holes in the plywood before attaching drawer slides.
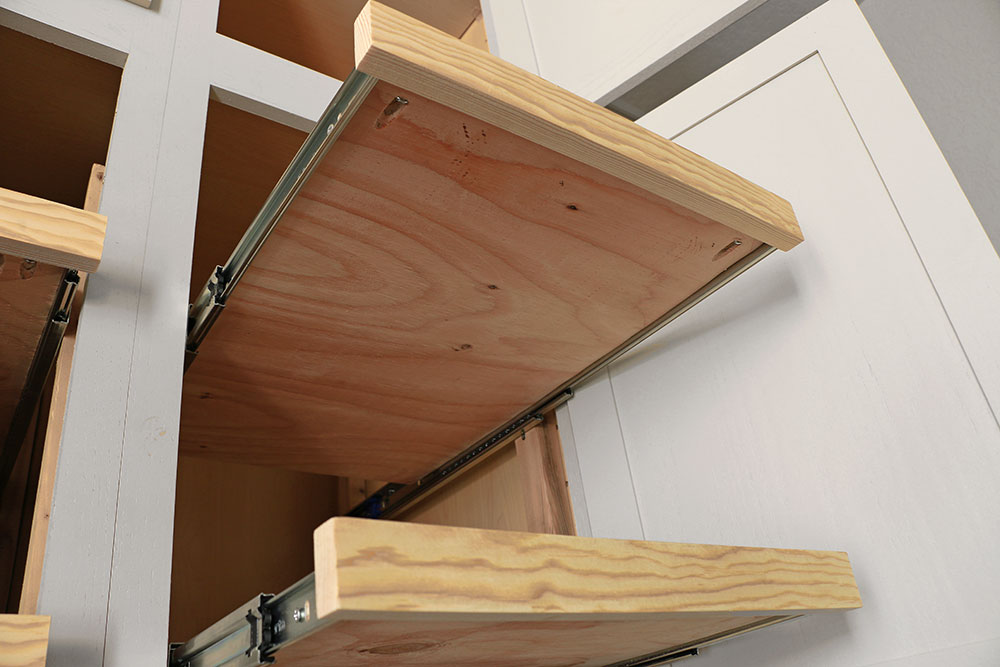
The drawers here in the sewing room are also a bit rustic, without a lot of fuss. Just simple plywood pieces screwed together using pocket holes, but they do the job and look great!
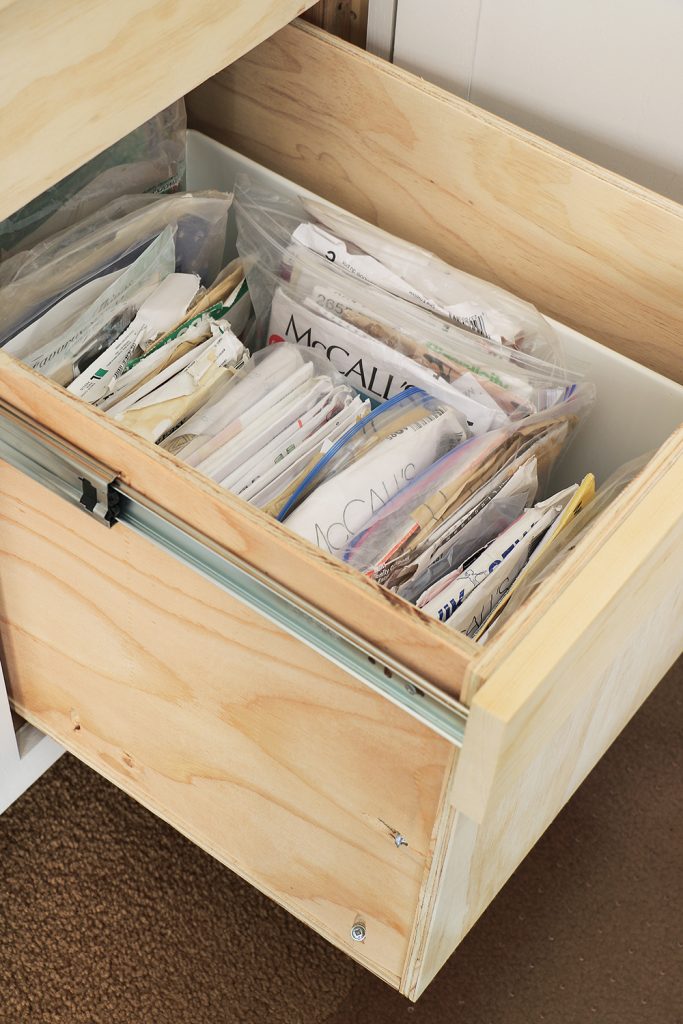
Pocket holes can be easily hidden from view by sinking them deep and filling the holes. In this case, we didn’t mind a less ‘finished’ look for our rustic drawers. But more importantly, pocket holes make for a sturdier hold, and an easier build.
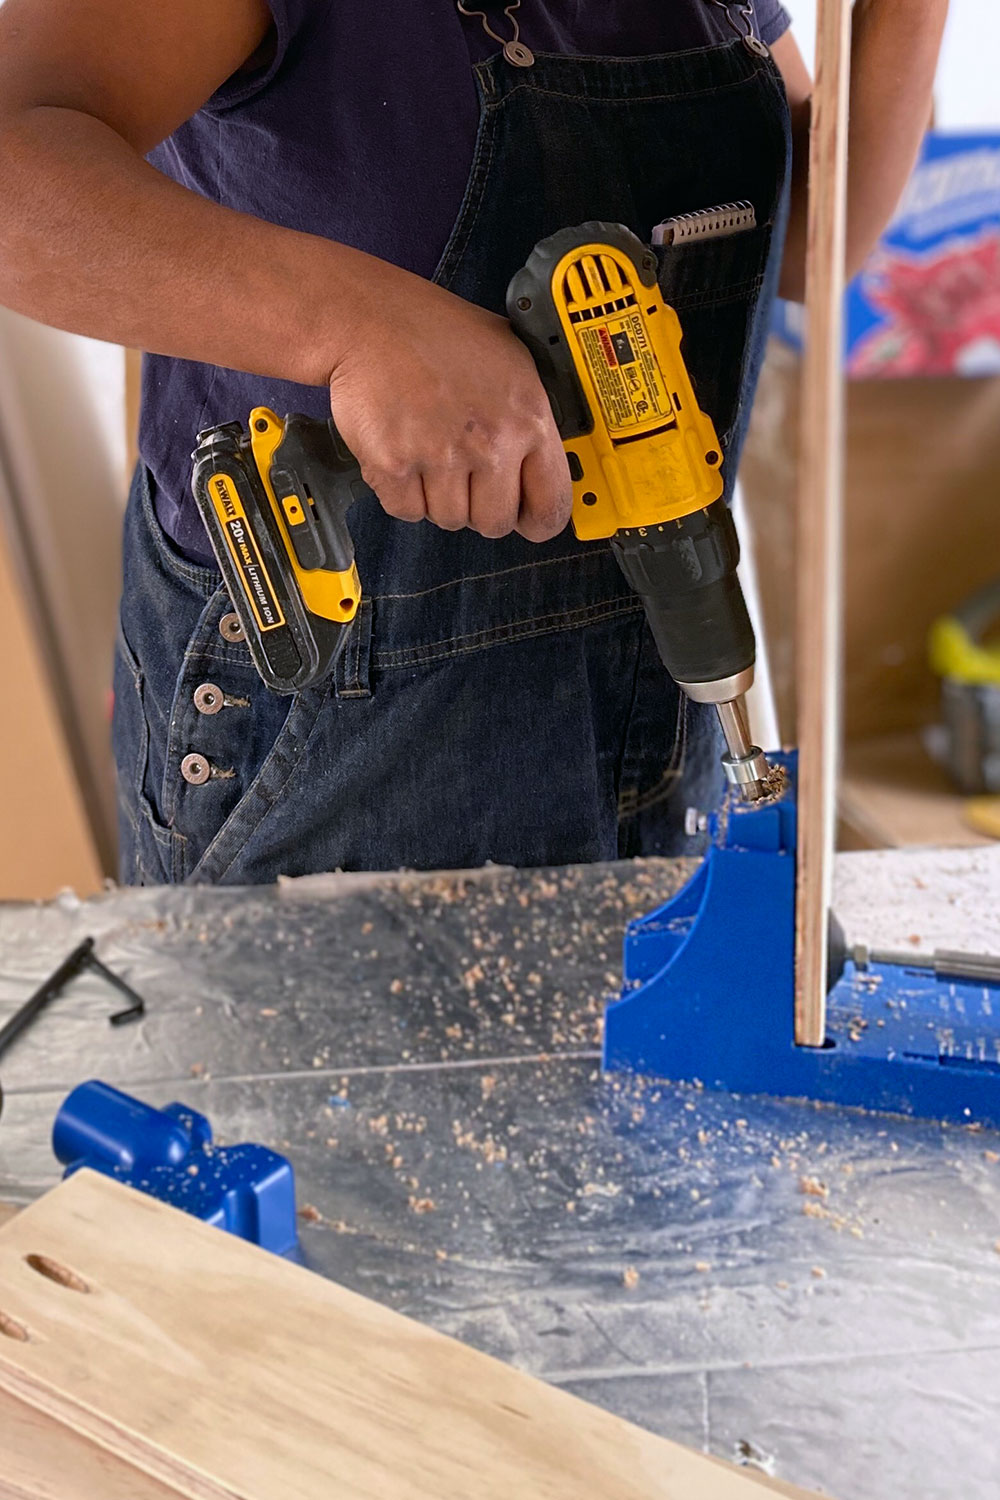
My Kreg Pocket-Hole Jig® K5 Master System has been my #1 secret weapon in building for a long time. So I was a worried about flying to California to do these builds without my Kreg Jig.
Thankfully, my friends at Kreg Tool gifted us the Kreg Pocket-Hole Jig® K4 Master System for this remote project! My dad and siblings were excited to get a crash coarse in all things pocket holes. Not to mention how over-the-moon dad is to have a new tool to play with.
Building Made Easier
I should also mention a couple other tools that made this project quicker and easier.
We used Kreg Tool’s Rip-Cut™ to cut the plywood into multiple strips (of the same size) without the effort of measuring and marking each time.
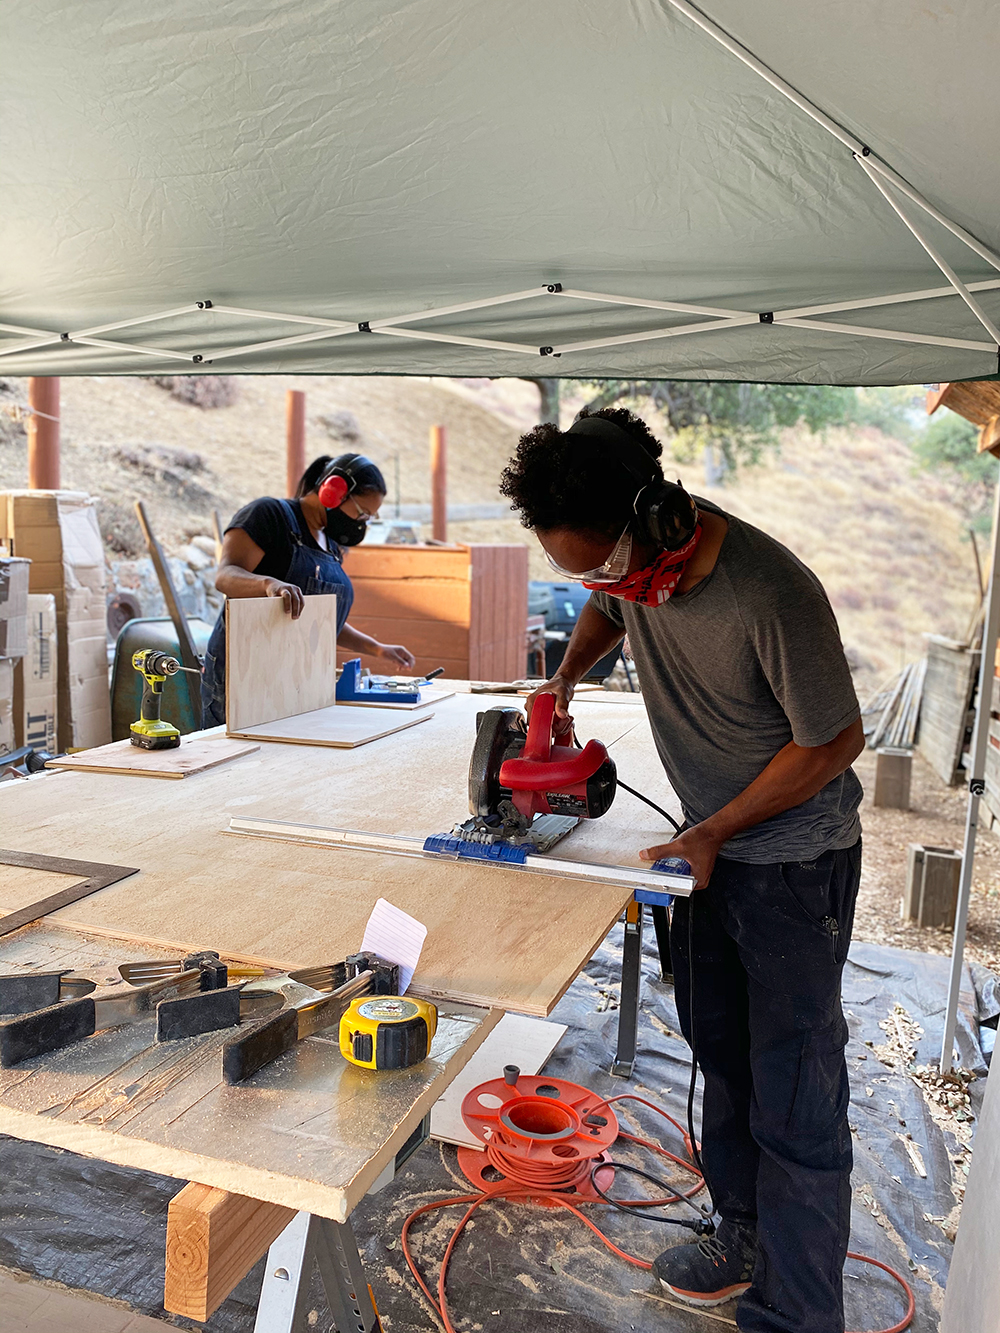
Then as one person ripped, the other used this amazing beast of a miter saw to cut it to length. Ryobi gifted their 12″ Sliding Compound Miter Saw, which can do finer work, or take on big projects!
I have one at home, and absolutely LOVE it! Beginner builders often ask what tools I would invest in. Definitely a Kreg Jig, and a Ryobi Miter Saw! I wish I had these tools from the very beginning, and they are hands-down, my favorite and most frequently used tools.
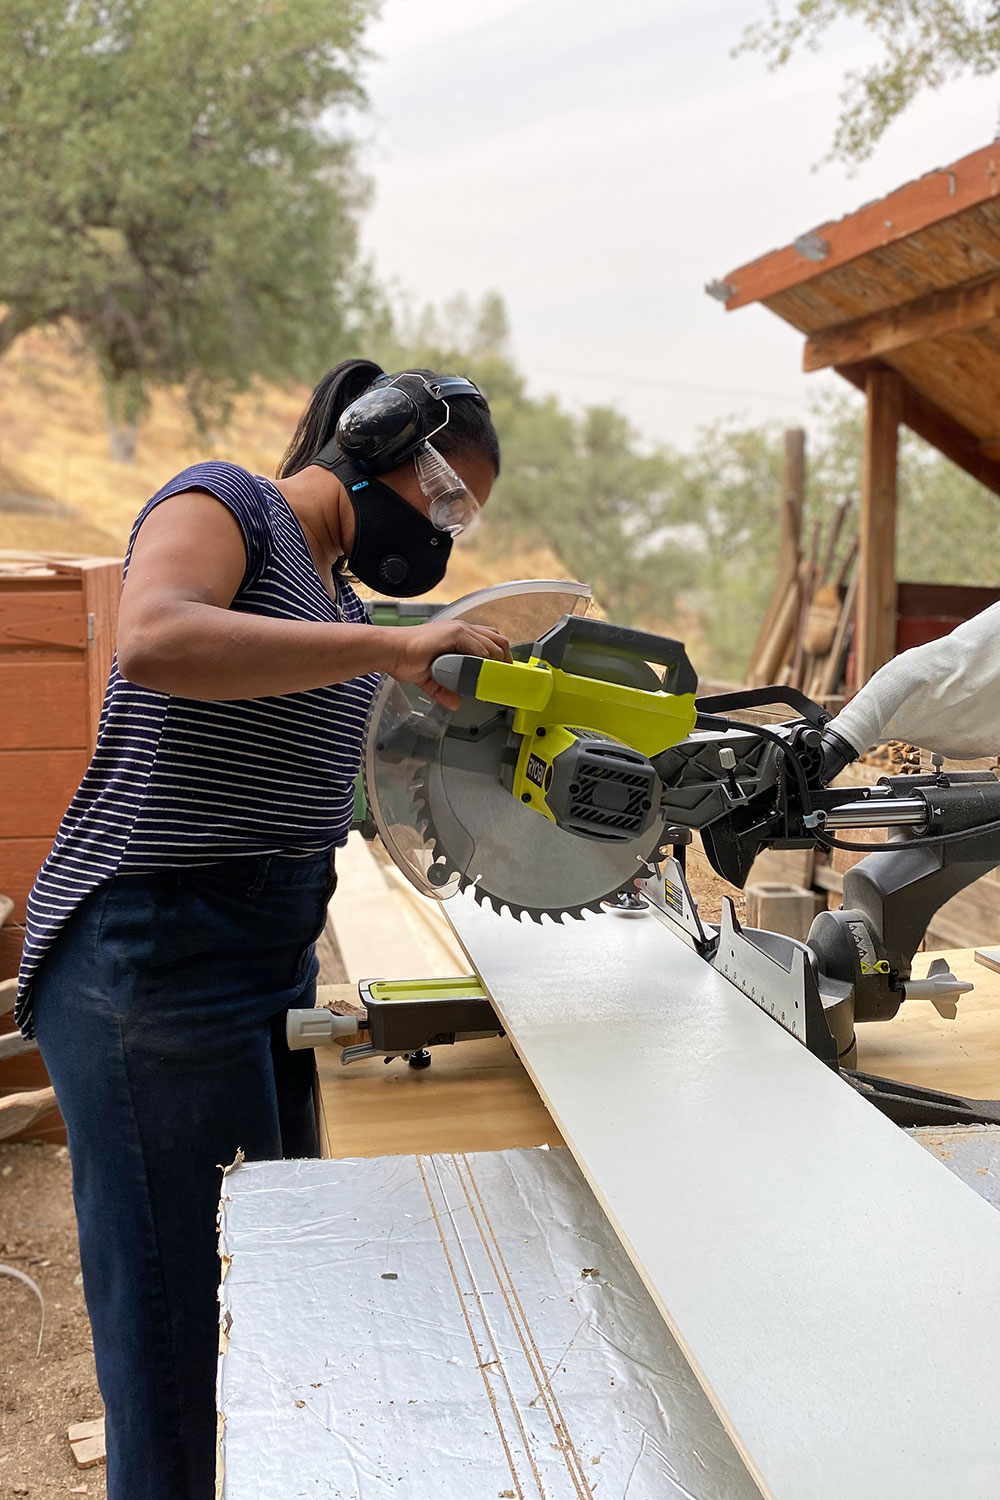
We did our best to “assembly line” this entire project. There were always two or three power tools going at the same time.
Still, this is going to be a close one! If you are following along via Instagram, you’ll notice we are also working on built-ins for the library. Some of these tasks naturally overlap. Hey, might as well cut wood for all the projects at the same time where possible!
Shop Supplies & Tools
- Unlacquered Brass Pulls: Schaub & Company
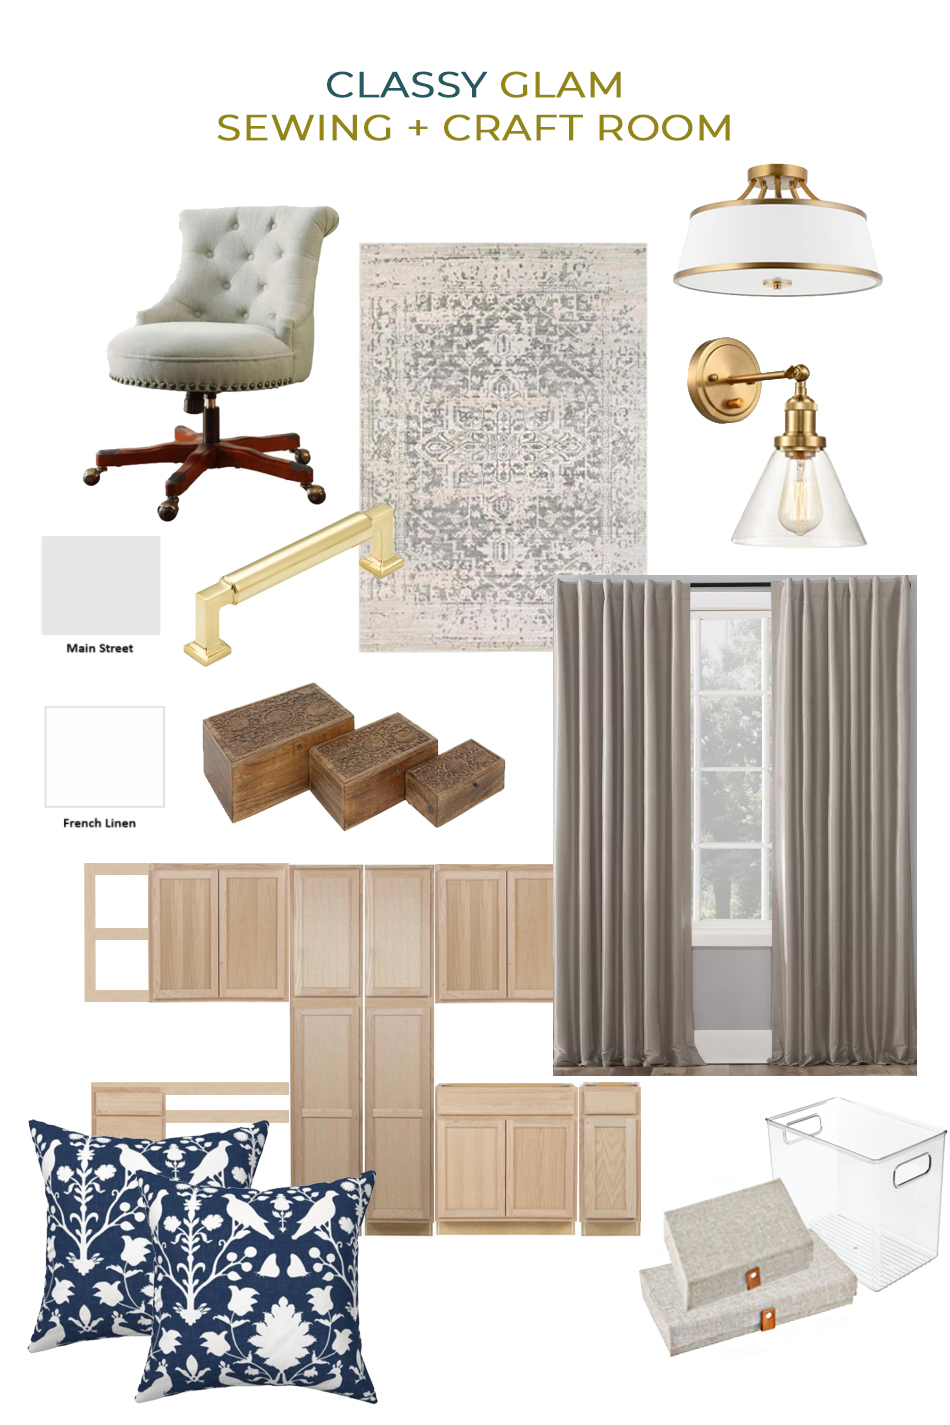
- Swivel Office Chair
- 18-Compartment Small Parts Organizer
- 20″ Soft Close Full Extension Side Mount Drawer Slides
- Ryobi 12″ Sliding Compound Miter Saw
- Jig: Kreg Pocket-Hole Jig® K4 Master System
- Jig: Kreg Pocket-Hole Jig® K5 Master System
- Guide: Kreg Rip-Cut™

ORC To-Do List
For this One Room Challenge, we are tackling several rooms in my parent’s California mountain home. Here is what we hope to accomplish, and how far we’ve come!
Whole Home: project planning/before- Mobile ‘Workshop’: Create space to build
Living Room, prt 1: Curtains, area rug, styleLiving Room, prt 2: Style vignettesSewing Room, prt 1: Paint, install stock cabinetsSewing Room, prt 2: Build drawers for cabinets, style- Organize Sewing Room, prt 3: Organize fabric, craft, & sewing materials
Master Bedroom, prt 1: Headboard, curtains, area rug, hutch stylingMaster Bedroom, prt 2: Bedding, styling- Library, prt 1: Paint room, tile floors,
- Library, prt 2: Build bookcases & window seat, style room
- Powder Room, prt 1: Paint, install light fixture
- Powder Room, prt 2: Install new towel bars and hardware, style
- Miscellaneous: Install new sconces throughout the house
Vignettes: Bookcase styling
Thanks To All Our #ArtistsMountainHome Sponsors!
Crystorama | Huck & Peck | Kirkland’s | Kreg Tool | Ryobi Tools| The Home Depot | Wovenbyrd | Rustoleum | mDesign Home Decor | ToughBuilt | Garnet Hill | Revival Rugs | Schaub & Company


This is going to be a great ORC! I love it when you see everyone work together!