We are finally tackling the sewing room in the Artist’s Mountain Home makeover project!
I ordered some inexpensive stock cabinets to act as extra storage for organizing, and we’re ready to add a touch of sophistication both to the room, and to transform otherwise unattractive stock cabinets.
*This project was made possible by our amazing sponsors at Rust-Oleum! Affiliate links below
There is nothing quite like the power of paint to transform a room or a tired piece of furniture. This room is no exception!
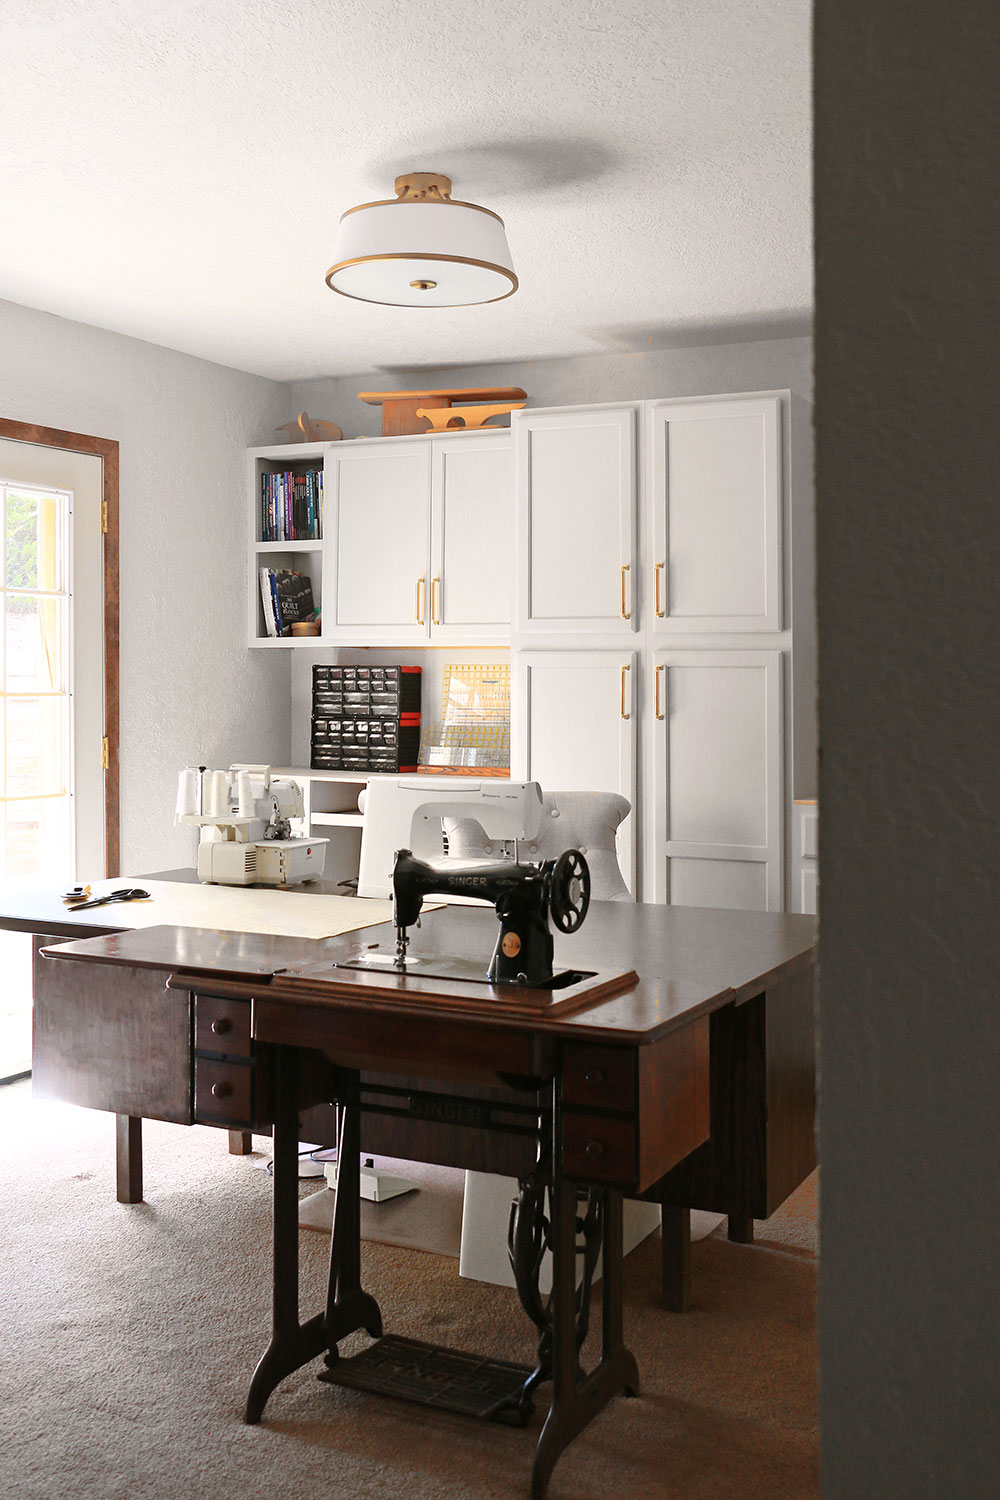
The Sewing Room Before
My mom and dad are both very creative makers; but my dad is a meticulously organized creative, while my mom has more a ‘creative mess’ that surrounds her workspace. My dad has his art studio, and my mom has her sewing room.
This space started out as a dining room, but it isn’t connected to the kitchen, and wouldn’t be the best use of the space. So my mother claimed this space as her sewing room. It is, however, visible from the living room area when you first walk in the front door…which means it needs to be an attractive space that can be easily organized when guests come over.
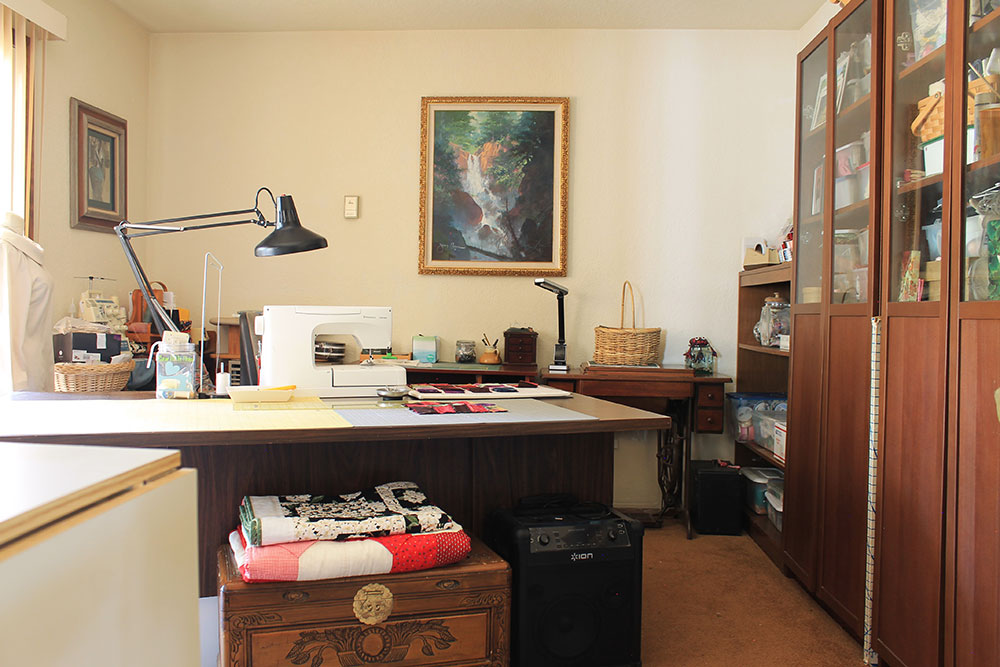
The current mode of storage wasn’t doing all the rows of pretty fabric, and sewing material any favors. Plus, it just wasn’t enough storage since the current shelves are shorter than they look in this picture.
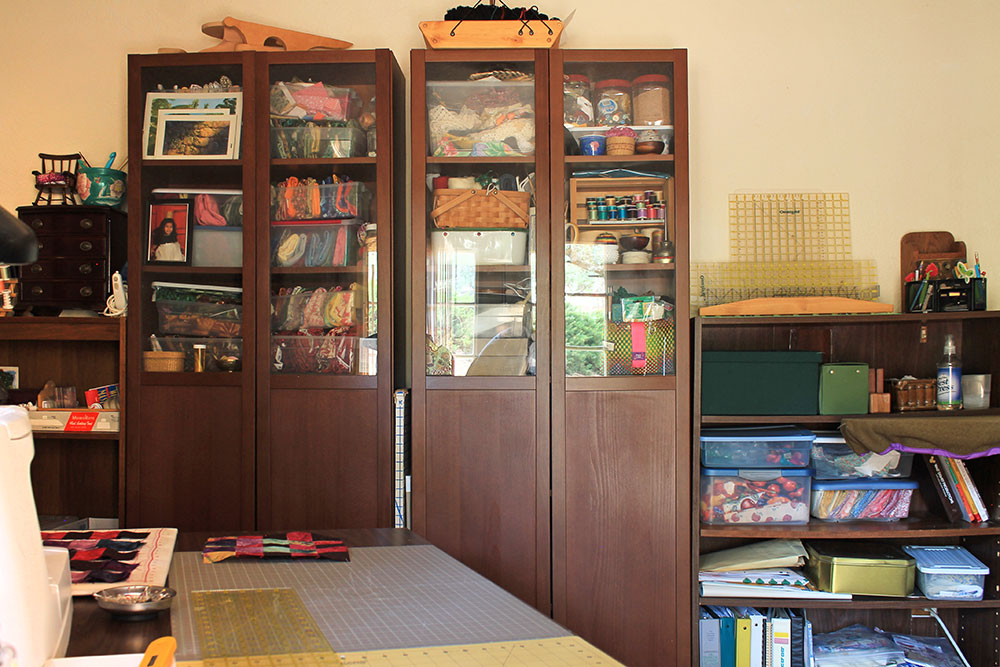
Inexpensive stock cabinets created for kitchens and other spaces would provide the needed storage, with enough depth to close the doors and hide away any messes.
Transforming Stock Cabinets & Wall Space
While these stock cabinets were definitely cheap, they aren’t very attractive. However, there are a few ways to help elevate the style of any piece…and one of them involves paint!
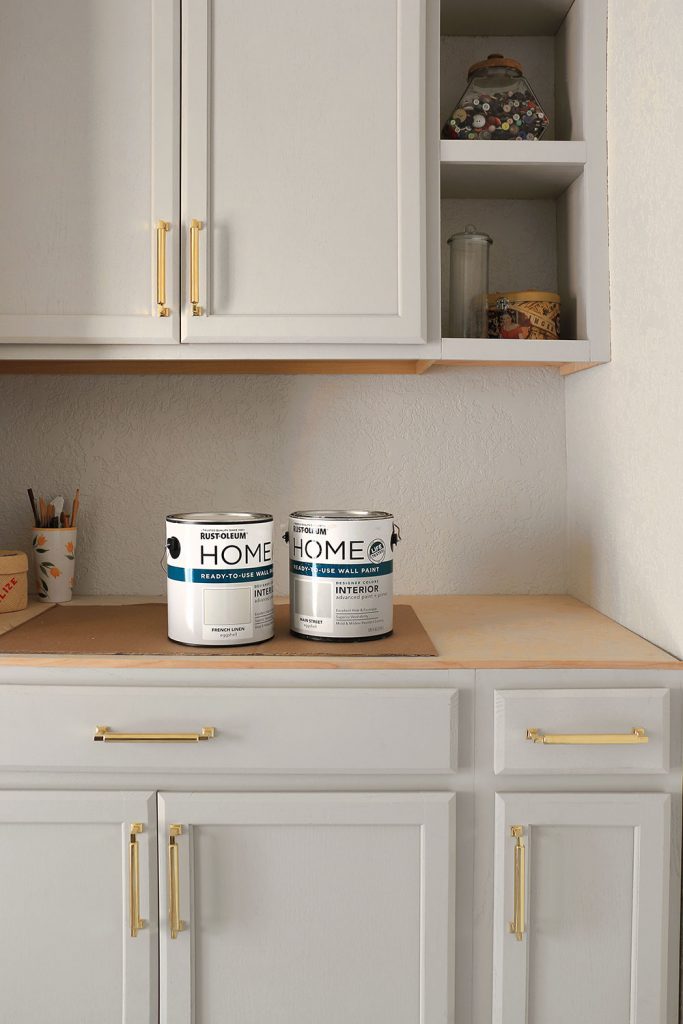
My friends at Rust-Oleum awesomely provided me with their brand new line of ready-to-use wall paint (available exclusively at The Home Depot).
If you are anything like me, and struggle to choose the exact right color in a sea of choices, there are 12 carefully curated designer color options. Plus if you are in a bit of a rush, you can just grab-and-go with these ready made gallons without waiting in line at the paint mix counter.
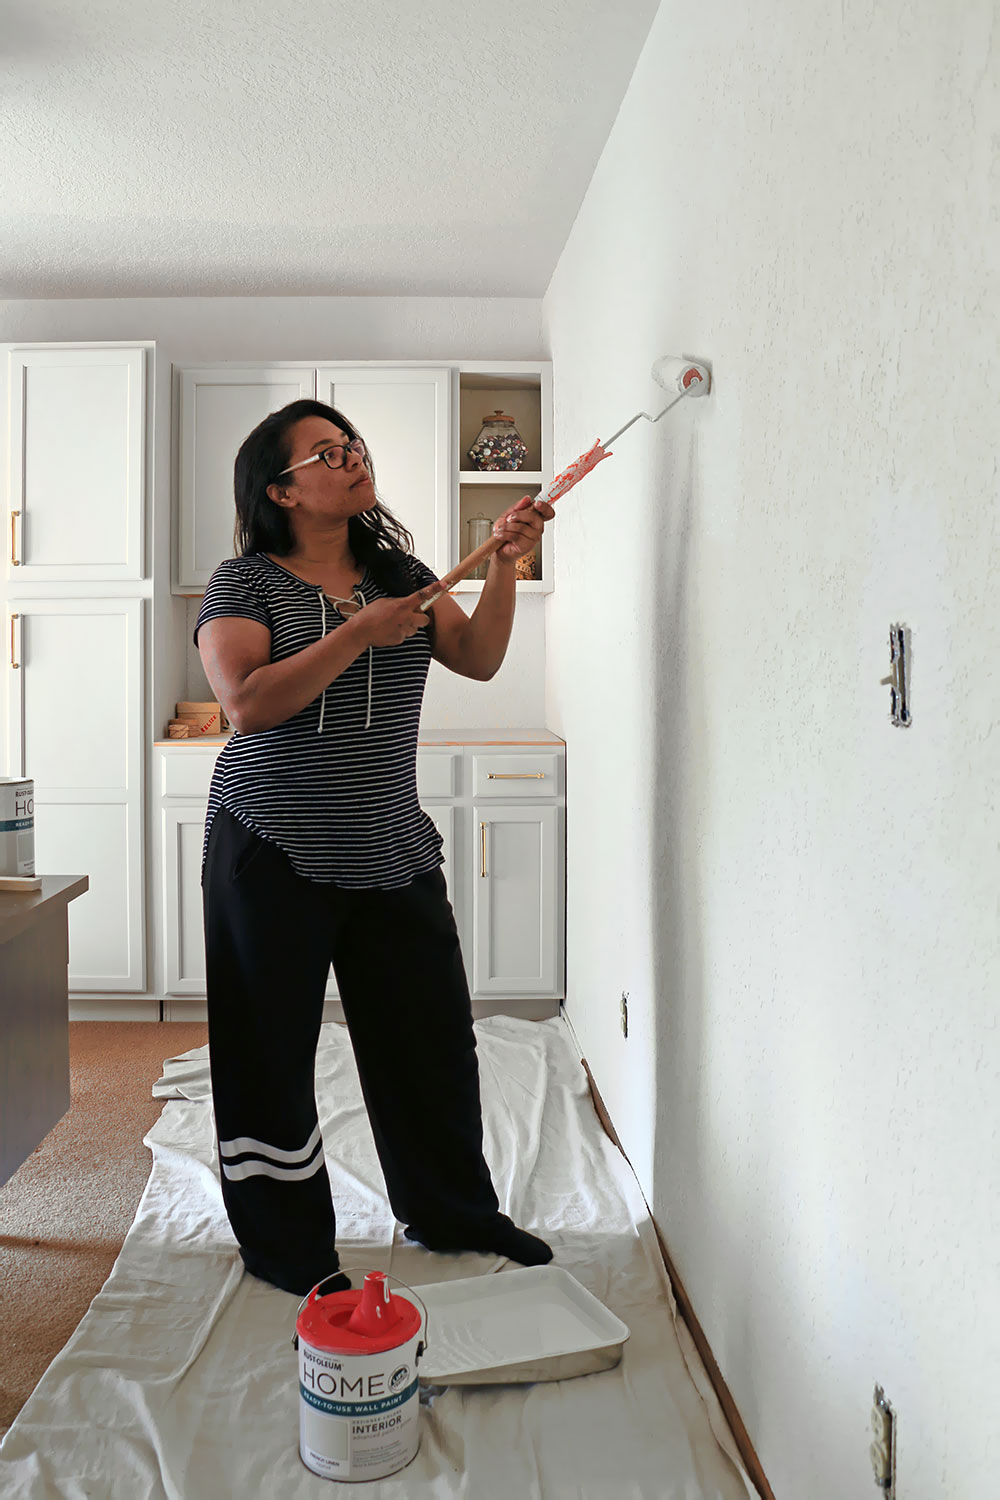
Step one in this room is to paint the cabinets in Rust-Oleum HOME Ready-to-Use Wall Paint in French Linen and their slightly darker gray color called Main Street on the walls.
A Few Painting Tricks That Made Life Easier
I’m all about the ‘hacks’ that make the doing faster, easier, and reduces mistakes. And we certainly employed a few while painting this room!
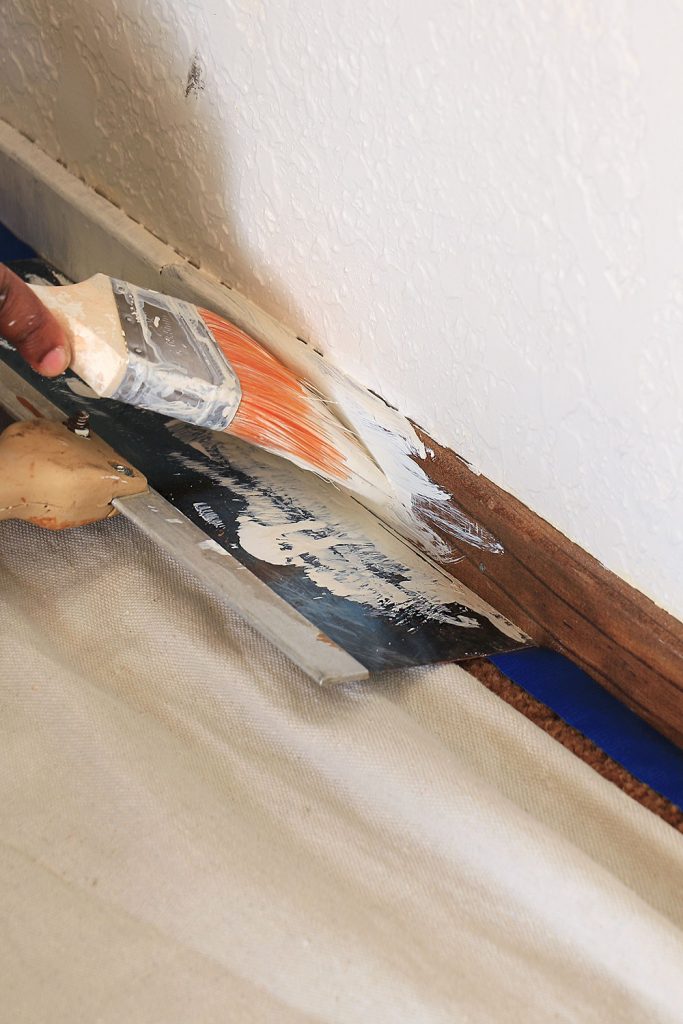
Painting Baseboards
How do you paint baseboards installed over carpet without getting paint on the carpet, or pullout out the baseboards? A roll of tape to hold back the carpet fibers, and a taping knife makes the process incredibly easy.
Baseboards are traditionally installed before the carpet, with just a little space under the baseboard to press the carpet into. Pivot the taping knife to slide it in slightly under that space. It will ensure you get down to the very bottom of the baseboard without accidentally painting any carpet fibers!
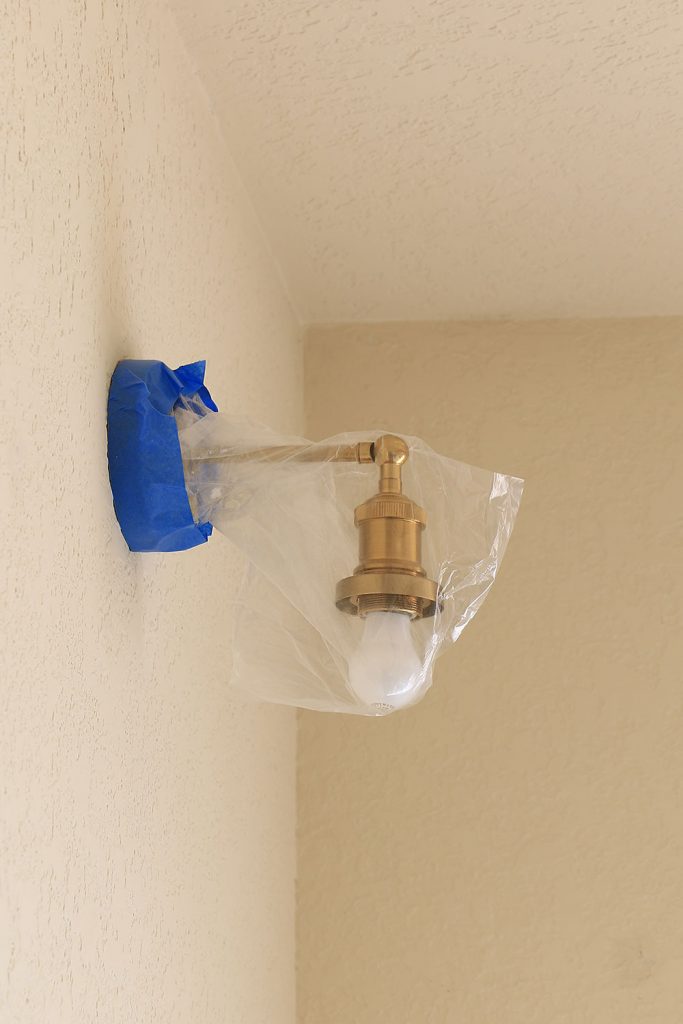
Painting Around Light Fixtures
It’s always nice when you can remove the base of the light fixture to paint, but it’s also a LOT of work and involves proximity to live wires. A more desireable solution is just to place a plastic bag (or trash bag for larger fixtures) around the fixture, and tape it in place.
Using The Right Tools For The Job
Don’t skimp on the price of your paint brush. Instead go for a medium-small sized angled brush, and paint your edges free-handed. If you have a steady hand, and know how to ‘cut in’ with an angled brush, it is more efficient and effective than taping off.
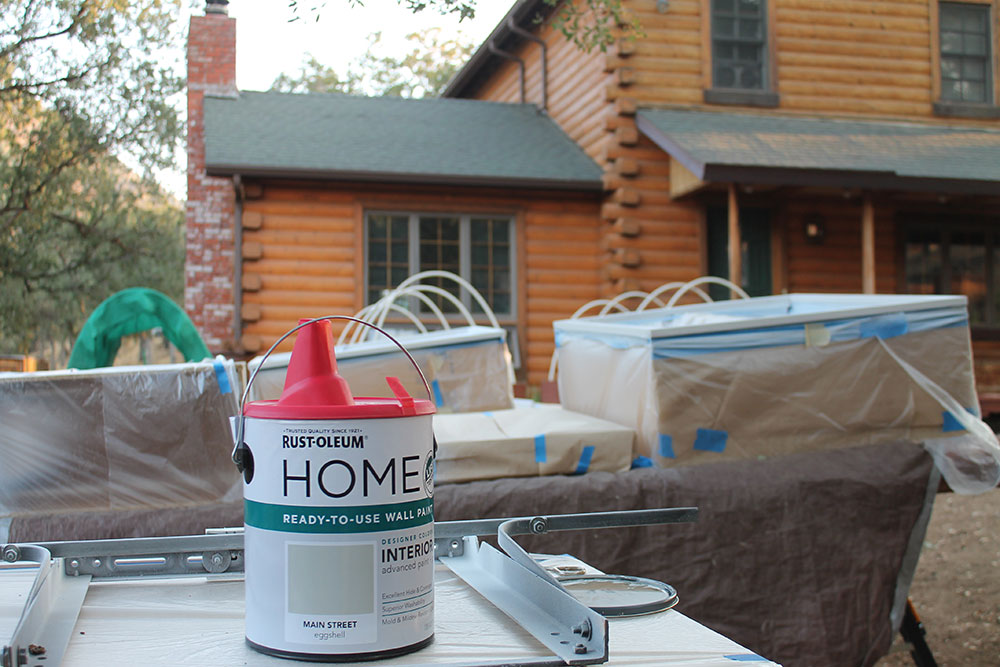
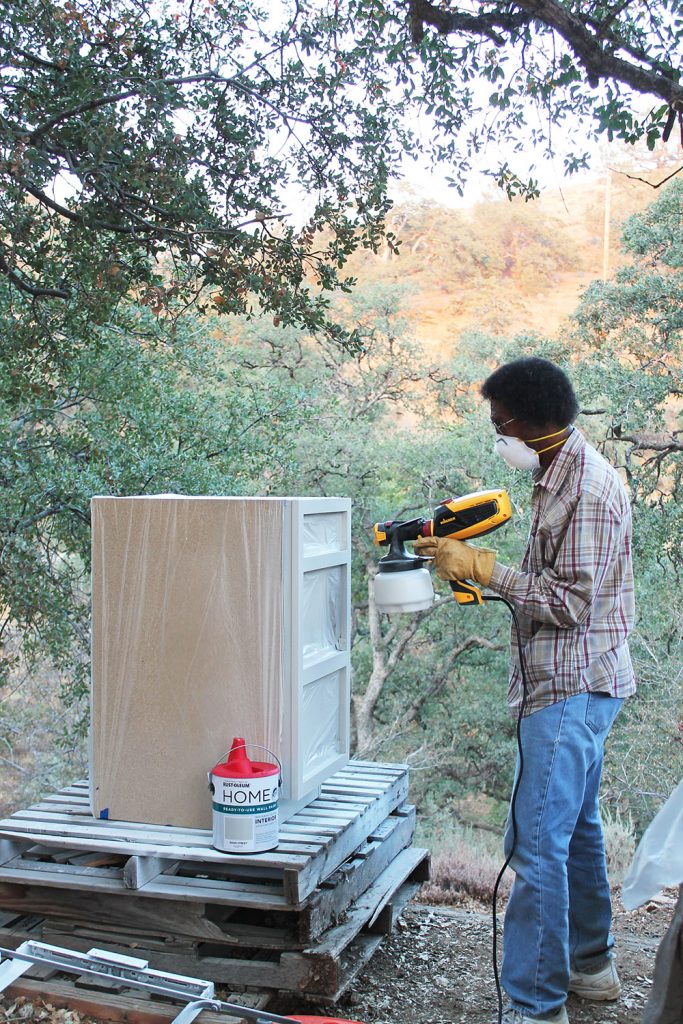
For the cabinets, we opted to use a paint sprayer with a fine-sprayer head option. It made the process much faster, and left a smoother finish.
Use A Good Paint To Start…
Trust me, with kids, I know the perks of a good quality paint! I’m using Rust-Oleum HOME Ready-to-Use Wall Paint because it will stand up to whatever kids and pets throw at it, and we can wipe down the walls! Well, that and the convenience of being able to grab it and go.
I have also learned that if you don’t want to do the job twice, start right and you’ll have less work as you go along. Because this is advanced paint and primer in one, it means less work for me, and better coverage.
By the way, whenever I use a wall paint on furniture, I always start with a stain block primer, and finish with a good poly or wax to seal it.
Next Steps For The Sewing Room…
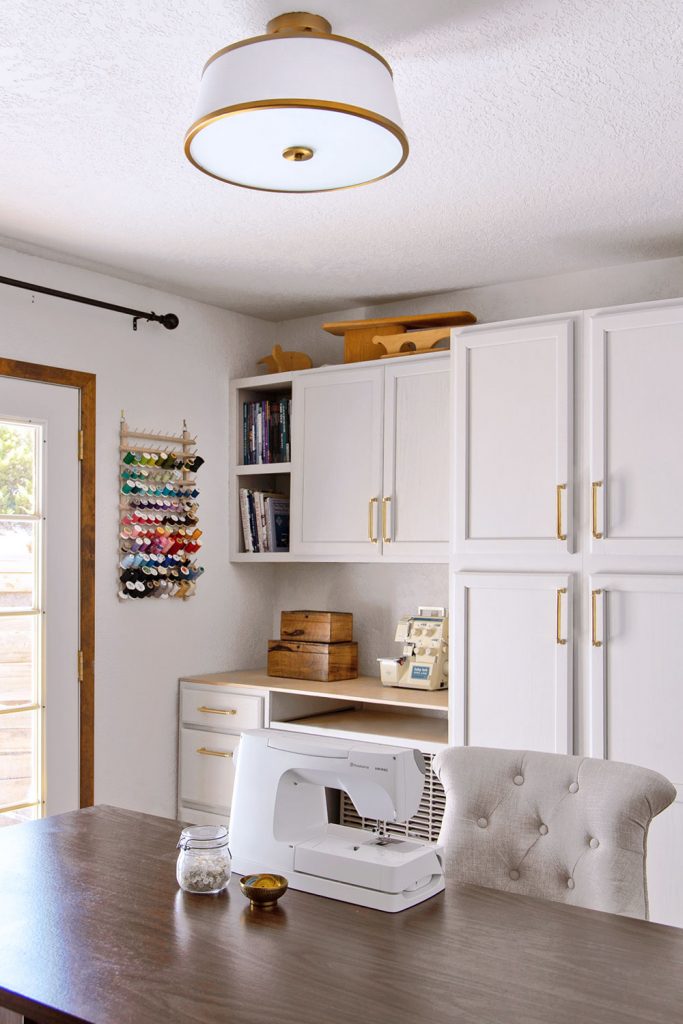
This room is already looking amazing! Rust-Oleum’s beautiful paint selection made this room look classy and ready for some styling!
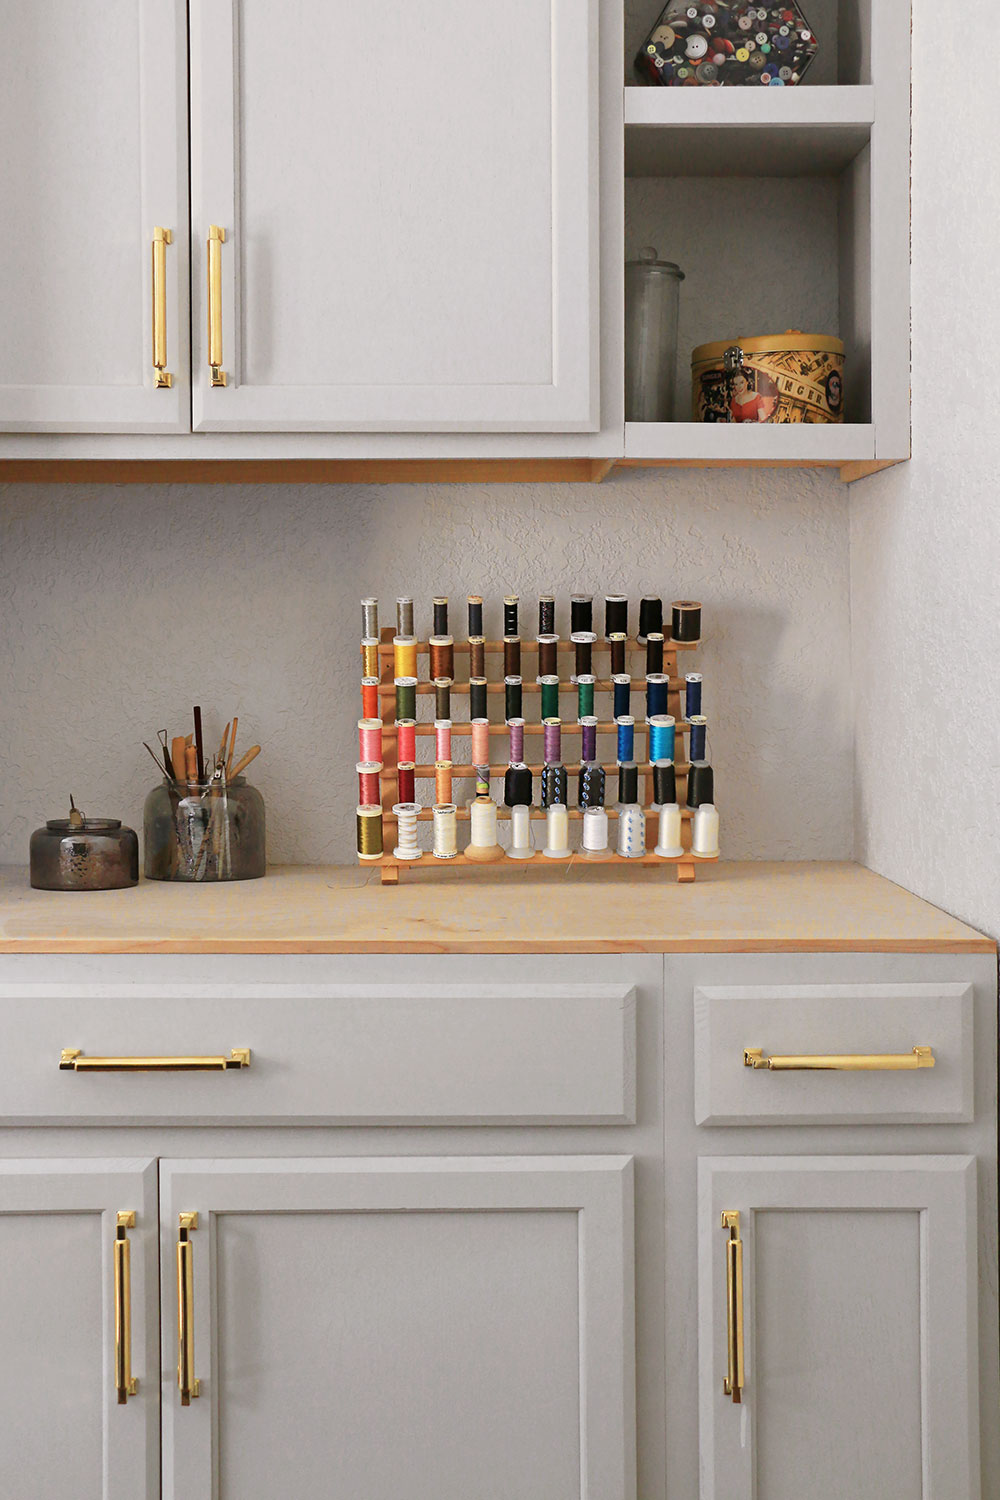
Building an extra shelf to fill in the area on the wall where there were no uppers, means we now have more storage. And painting it all the same color made it look like it was always part of the unit.

Next steps in this room are to add some pullouts for the stock cabinets, and start organizing all my mom’s sewing supplies.
Wish us luck! And follow more progress over on Instagram, and here on the blog…
*Special Thanks to our sponsors at Rust-Oleum! For more inspiration and DIY ideas, follow them on Facebook, Instagram, and over on their Inspiration page!


I just st want a place I can see or put that away and use my bright room to watercolor or oil or acrylic paint. Or sit and embroidery things either with my wonderful baby pic ma home or my server! Or by hand. Teaching my grand children how to do a simple sewing project. That’s what I want to do with a new bright sewing room!
Looks great! I need to do this for my art room.
It looks amazing!! You did a great job. 😀
Huge difference. I know your mom will love spending all her time in this room. I sure wish I could.