DIY concrete planters are stylish and easy to make, which saves a few bucks and you can create a custom piece to be proud of!
The great thing about concrete projects? One regular bag of cement will make a lot of really cool things without the need of fancy tools or skills.
This post is awesomely sponsored by our friends at FrogTape®! Affiliate links below.
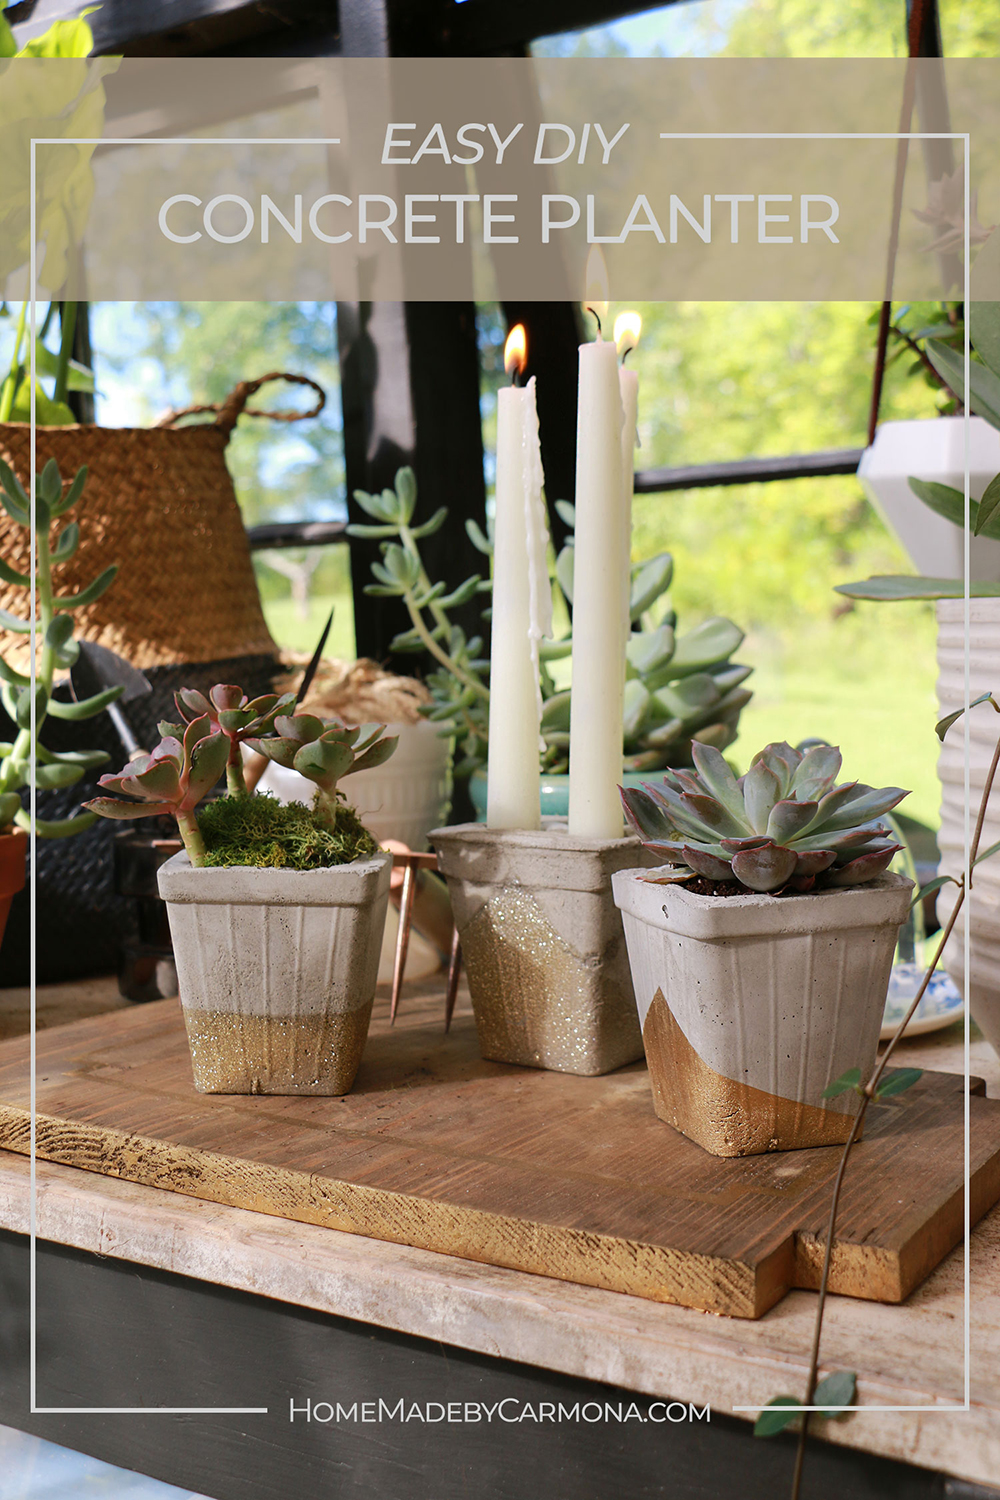
FrogTape® asked me to help reveal their 2023 trends with a fun project. This easy little concrete planter project embraces everything simple, raw, and organic about their Nordic Nature trend. View all the 2023 trends and trend projects here!
So if you are looking to add a modern Scandinavian-inspired touch to your home, try this project on for size!
Materials Needed
It doesn’t take much to make these, and no special tools are required. If you plan to make a lot of concrete planters, you may want a drill and concrete mixer on the end. But if you plan to make a few smaller planters / holders, a simple plastic spoon will do the trick.
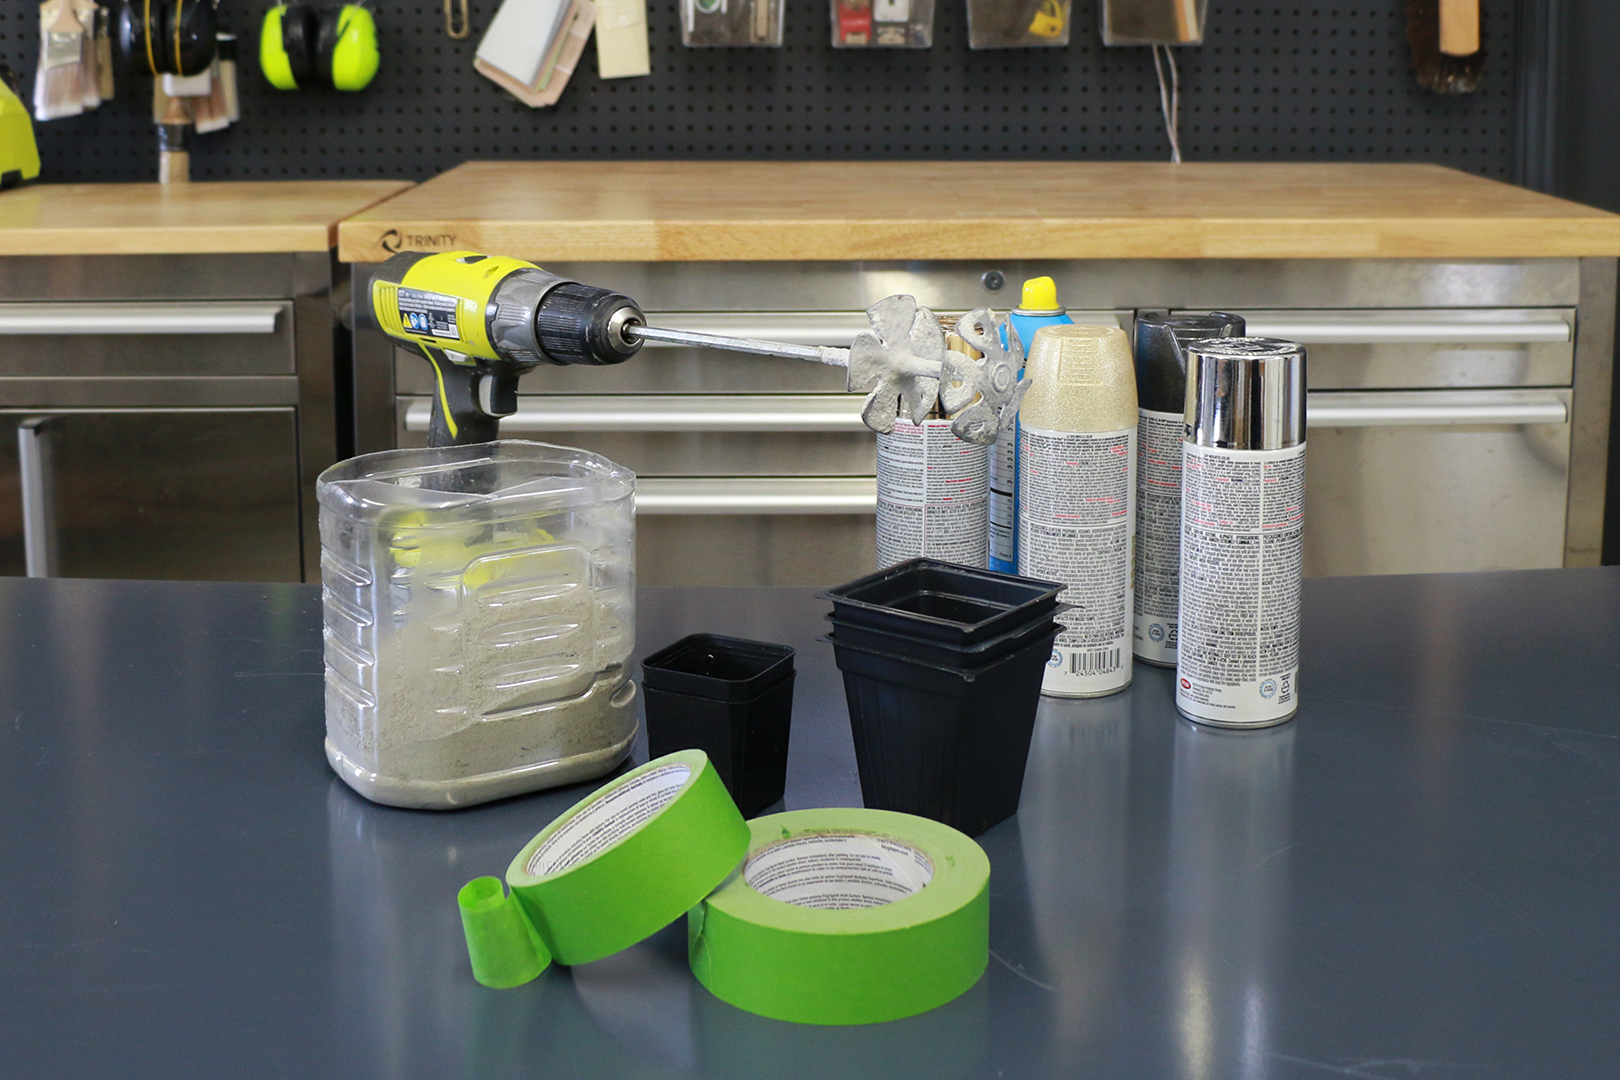
Use any visually interesting disposable plastic containers (or cardboard container) to make your planters. In this case, I used salvaged disposable nursery pots; the tear-apart ones that you buy a package of plant starts in.
Select pots in two sizes, one larger, and one about an inch smaller in size.
- FrogTape® Multi-Surface Painters Tape
- Quick Setting Concrete Mix
- Salvaged Garden Center Disposable Pots (Larger size and 1/2″ to 1″smaller size)
- Cooking Spray (alternatively use mold release spray for better results)
- Spray Paint of choice
- Concrete Sealer
NOTE: Safety First!! Please be sure to use a mask so you aren’t breathing in the cement mix, and gloves are helpful to keep the cement off your hands.
Step 1. Tape Off Any Holes

Use FrogTape® Multi-Surface Painters Tape to close up any holes. After all, you don’t want the concrete seeping through your mold!
Step 2. Spray With Cooking Oil

Be sure to do this step before you start mixing concrete, because it will set very quickly. Spray your pots or mold-of-choice with vegetable oil spray to make sure the concrete doesn’t stick once dry.
Spray the inside of the bigger pots (the outer molds), and the outside of the smaller pots (the inner molds).
Step 3. Sift The Concrete Mix

This is an incredibly important step! Sift the concrete to remove any chunks and leave a fine silty powder. Crush the any chunks through the strainer, and don’t forget to wear a mask during this step for safety!
You could use a 5-gallon bucket to sift and mix the concrete, but if you aren’t making that much, any smaller container that is disposable will do.
Step 4. Mix Concrete To A Creamy Consistency

Slowly add water to the powdered concrete and mix until it is a thick creamy soup-like texture. You can use the concrete mixer at the end of a drill, or a plastic spoon will also work just as well. Use your cement mixture quickly, because it will thicken right away!
Step 5. Pour Concrete Into The Mold

Pour the concrete mix into the bottom 1/3rd of the pot, and place the smaller pot inside. Press it down into the concrete keeping it at least an inch from the bottom. If you need more concrete on the sides to fill it to the top, carefully pour or spoon it in.
Tap the planter on the surface several times to cause the cement to compact and get rid of any air bubbles. Add more concrete if necessary and smooth out the top with your plastic spoon as if you were icing a cake.
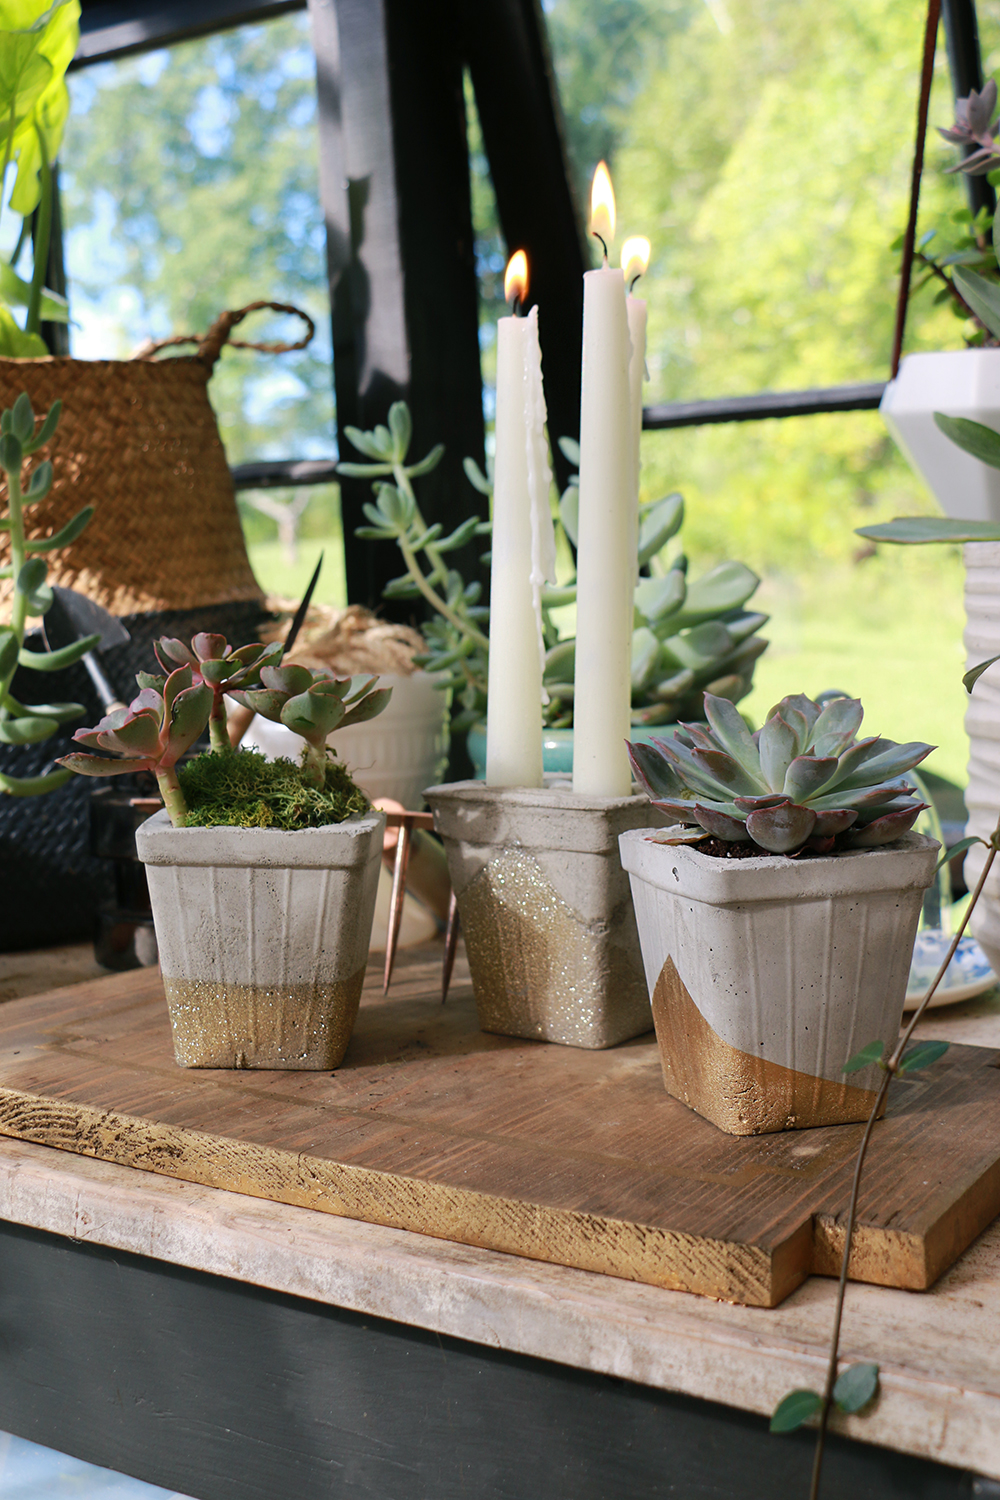
Candleholder Holes: To make holes for a candle, replace the smaller with 1/2″ PVC pipe pieces. Tape the hole closed, and spray with vegetable oil. Press it less than an inch into the concrete, or it will be hard to remove once dry.
Adding A Drainage Hole: To optionally add a drainage hole, cut a little piece of 1/2″ PVC pipe (cut to 3/4″ – 1″). Spray it with cooking oil, and place it in the bottom of the bigger pot (outer mold) before pouring concrete in or inserting the smaller pot (inner mold).
Step 6. Use Tape To Secure It & Let It Dry

Sometimes the smaller pot will try to “float” up. Secure it in place with some FrogTape® across the top, taped to the side of the pot or onto the work surface. Let it dry per instructions on the concrete package or overnight.
Step 7. Gently Remove The Mold

Optionally sand any rough edges. But don’t make your planters too perfect…it’s the textural nature of concrete that gives it that charm!
Step 8. Use FrogTape® to Create A Modern Design & Spray Paint

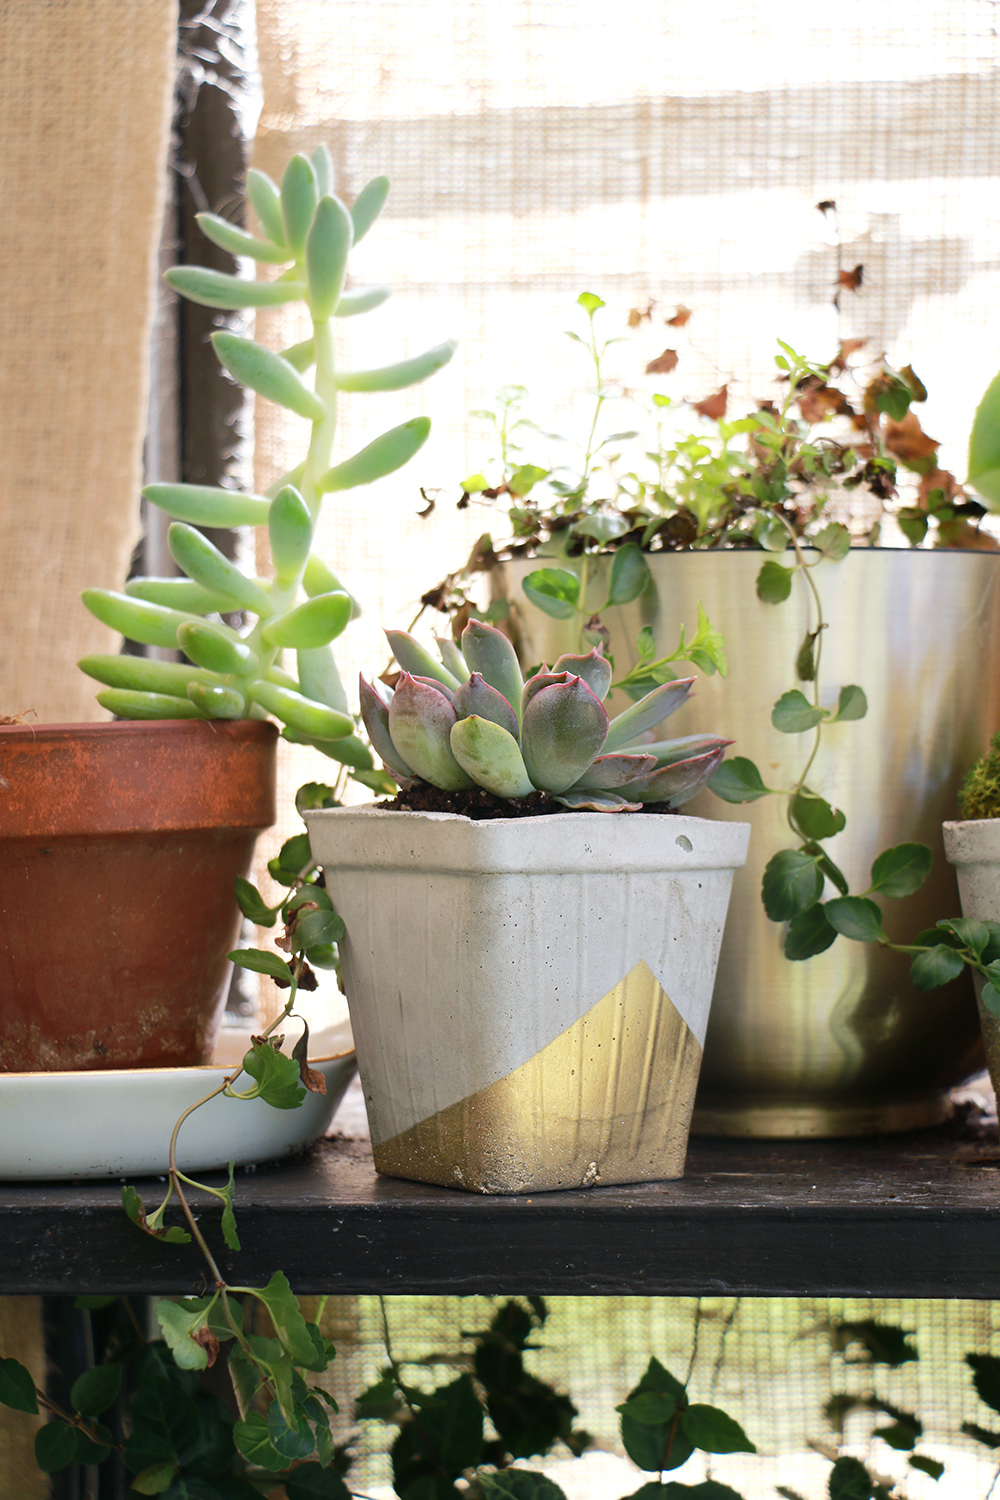
The best designs on concrete are the simplest but most impactful ones. Tape off half the planter in a slightly off-kilter shape like a triangular point. The trick to ensuring it adheres to the concrete is to actually stick the FrogTape® to itself. Pull it taught all the way around the planter, and connect each piece of tape to itself. Spray paint it the color of your choice.
Step 9. Seal & Enjoy!

Once the spray paint dries, peel the tape off, and spray all over with a concrete sealer. This helps protect it from the elements and is just a good idea to aid in keeping lime from seeping into the soil.
Looking To Up Your Game on DIY Cement Planters?
Here are a few ideas to further customize your planter pots:
Concrete Pigments: Try using a pigment if the typical cement color isn’t your cup of tea. You can find pigments in a variety of colors like these here, and is a great alternative to painting!
Create Plywood Forms: If you are handy, a simple plywood mold can be made to create square planters. This is ideal for larger planters, and you can make several!
Purchase A Planter Mold: I love using salvaged materials, but that doesn’t always lend itself to uniformity. And when making a lot of planters, a planter mold is quite convenient since it isn’t destroyed with each pot made. Use a mold like this large round one, or these smaller ones here.
Concrete Planters In Your Home & Garden
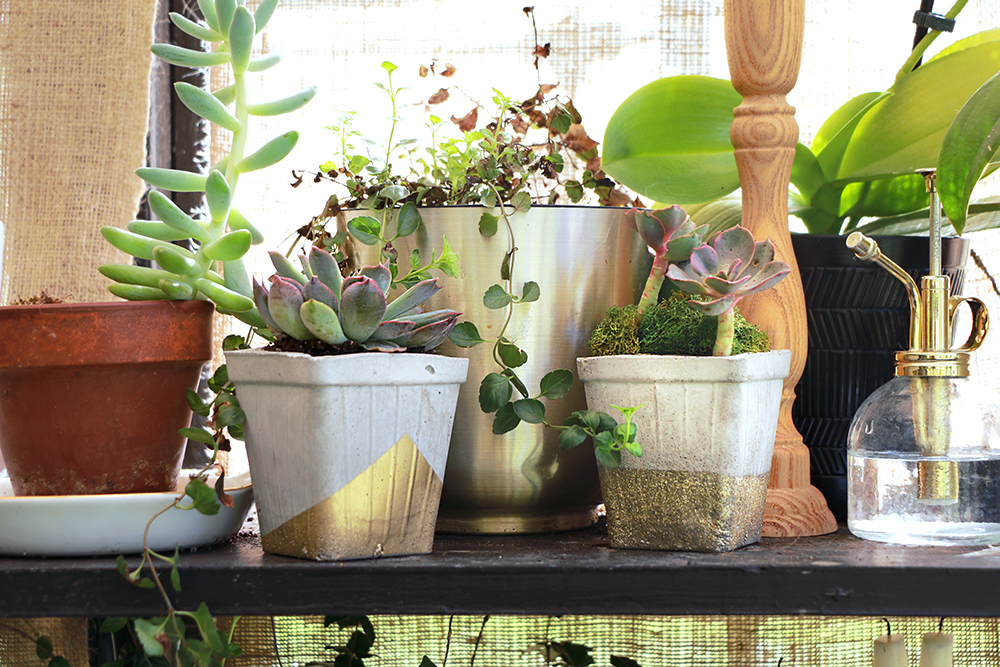
These beauties grace my greenhouse perfectly, but they would look amazing in any room of the house! What a great addition to a tablescape, a vignette, for the perfect shelfie, or on your deck with other planters.
Concrete has such a raw trendy feel to it. Really lean into the look and surround your DIY concrete planters with natural touches of wood, stone or marble, and a few pops of sparkle with a metallic piece or two.
Concrete Planter FAQ’s:
How thick should DIY concrete planters be to keep it from cracking?
That really depends on how large the planter is. The smaller pots shouldn’t be any thinner than half an inch. The larger the planter, the thicker you want it to be. At a foot, I wouldn’t go any smaller than an inch in thickness, and that may be pushing it.
Are DIY concrete planters healthy for plants?
Worried concrete will leach alkaline or other chemicals into your plants and affect the pH of the soil? Here are a few steps to give you peace of mind!
First soak the planter in water for a few days, pour out the water, and do so again with a mixture of water and vinegar. Soaking and rinsing before use helps naturally pull any lime or anything that will mess with your plants. Then seal it with a cement sealer. My little planters are primarily for succulents, which seem to do just fine and are decorative, so I only used the sealer on these little planter pots.
You can also use the cement pot as the decorative element and keep the plant in a regular nursery pot that is then placed inside the concrete planter.
Shop Concrete-Look Planters
If you just don’t have time for this project and need some beautiful concrete/cement look planters fast, shop these selections here!

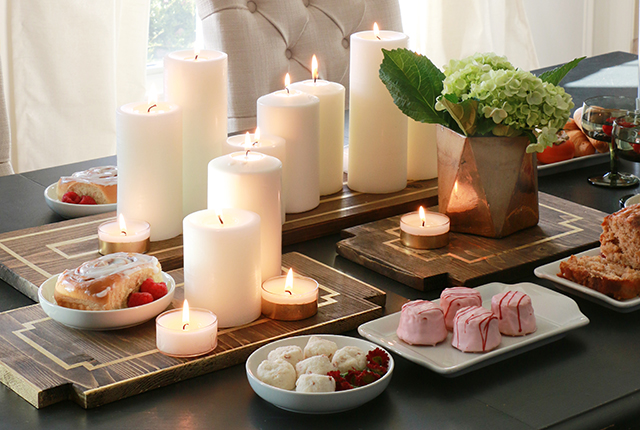
If you like these diy concrete planters, learn how to make these amazing candleholder trays. They are an incredible addition to any dinner table centerpiece!



Leave a Reply