Somebody tell me at what point in your life as a mom do you get to start buying nice things?
It’s the moment when you watch your laptop slip from your 9-year-old’s fingers and crash to the floor in almost slow motion, bounce, then crack in two…those are the moments you have to actually remind yourself that enjoying the kids while they are young is better than having furniture that stays clean and in good condition, dishes that stay unbroken, and expensive electronics in good working condition. *long drawn out sigh*
But then she looks up at you with that face, crying “Oh mom, what did I do?! It was an accident and I’m SO sorry”. Those big eyes brimming with tears of sorrow, promising she will do all my chores for me, and sell her crafts to buy me a new laptop, even though I’m assuring her that I know it was an accident and it’s going to be okay…
And while my chest is still tight after ordering a new one a few minutes ago, and although I am currently typing this using the TV as a replacement for my shattered and glitching screen, I realize that accidents will continue to happen, but I wouldn’t trade these years for anything.
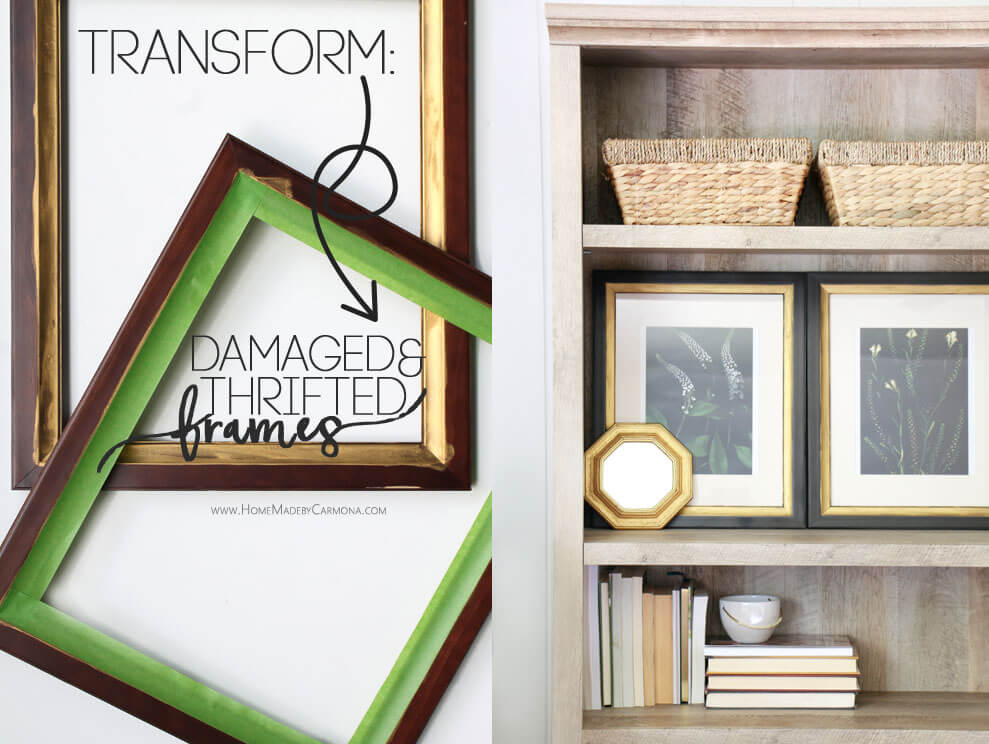
Anyway, this got me thinking about all the creative ways I managed to salvage things my kids have slowly (or quickly) destroyed over the years. I thought I would share how I saved some brand new picture frames that got damaged by the kiddoes a couple years ago.
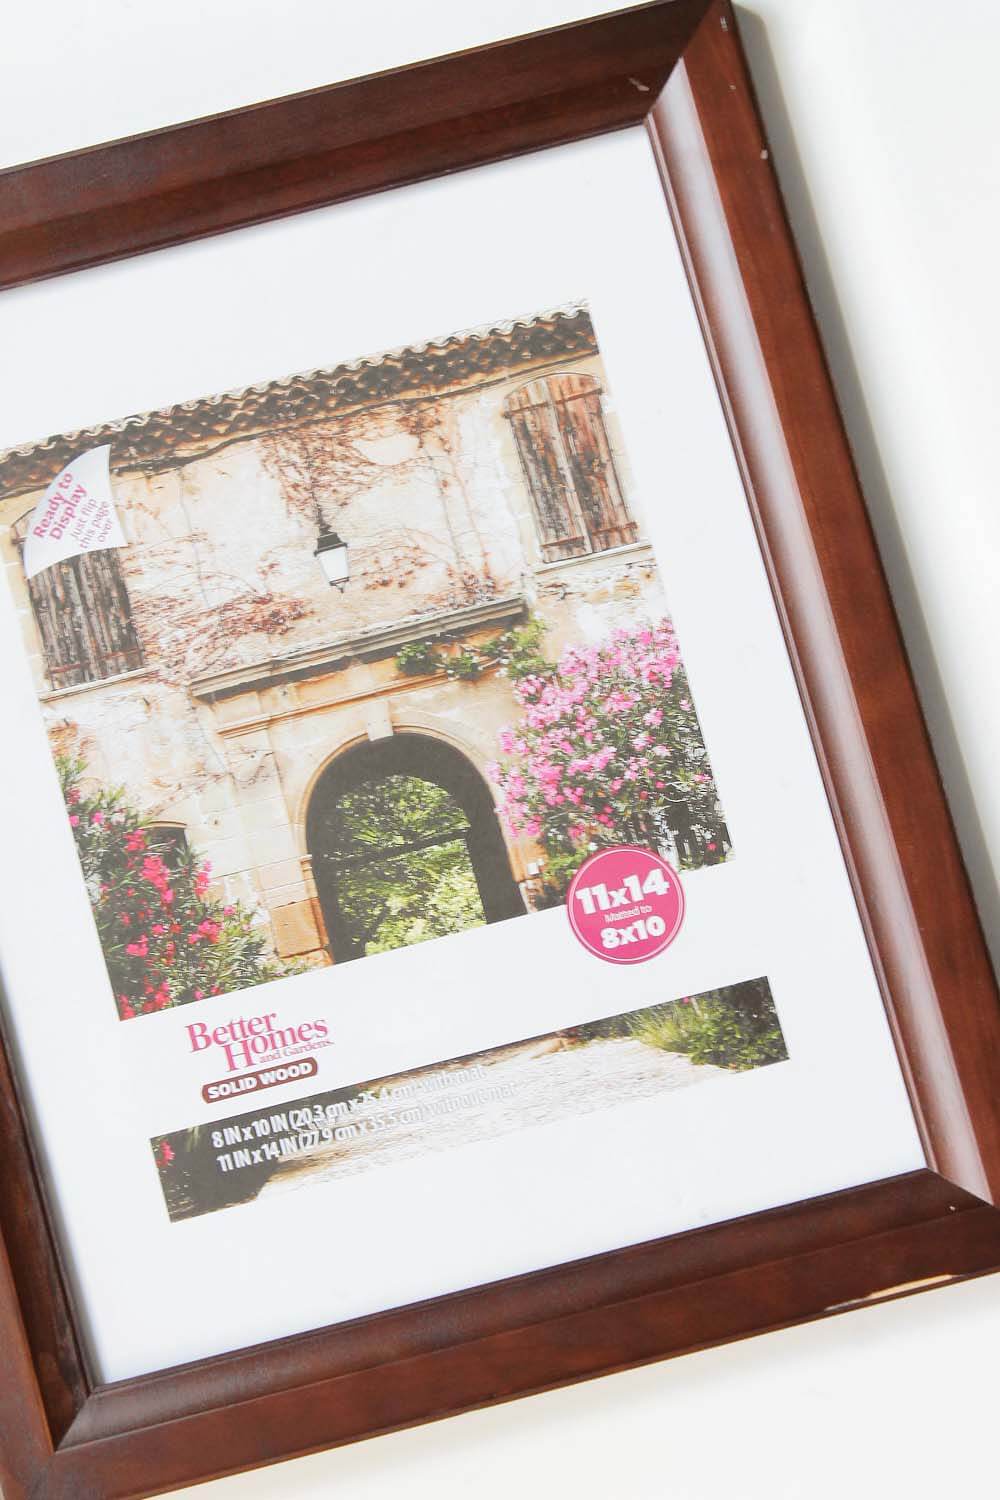
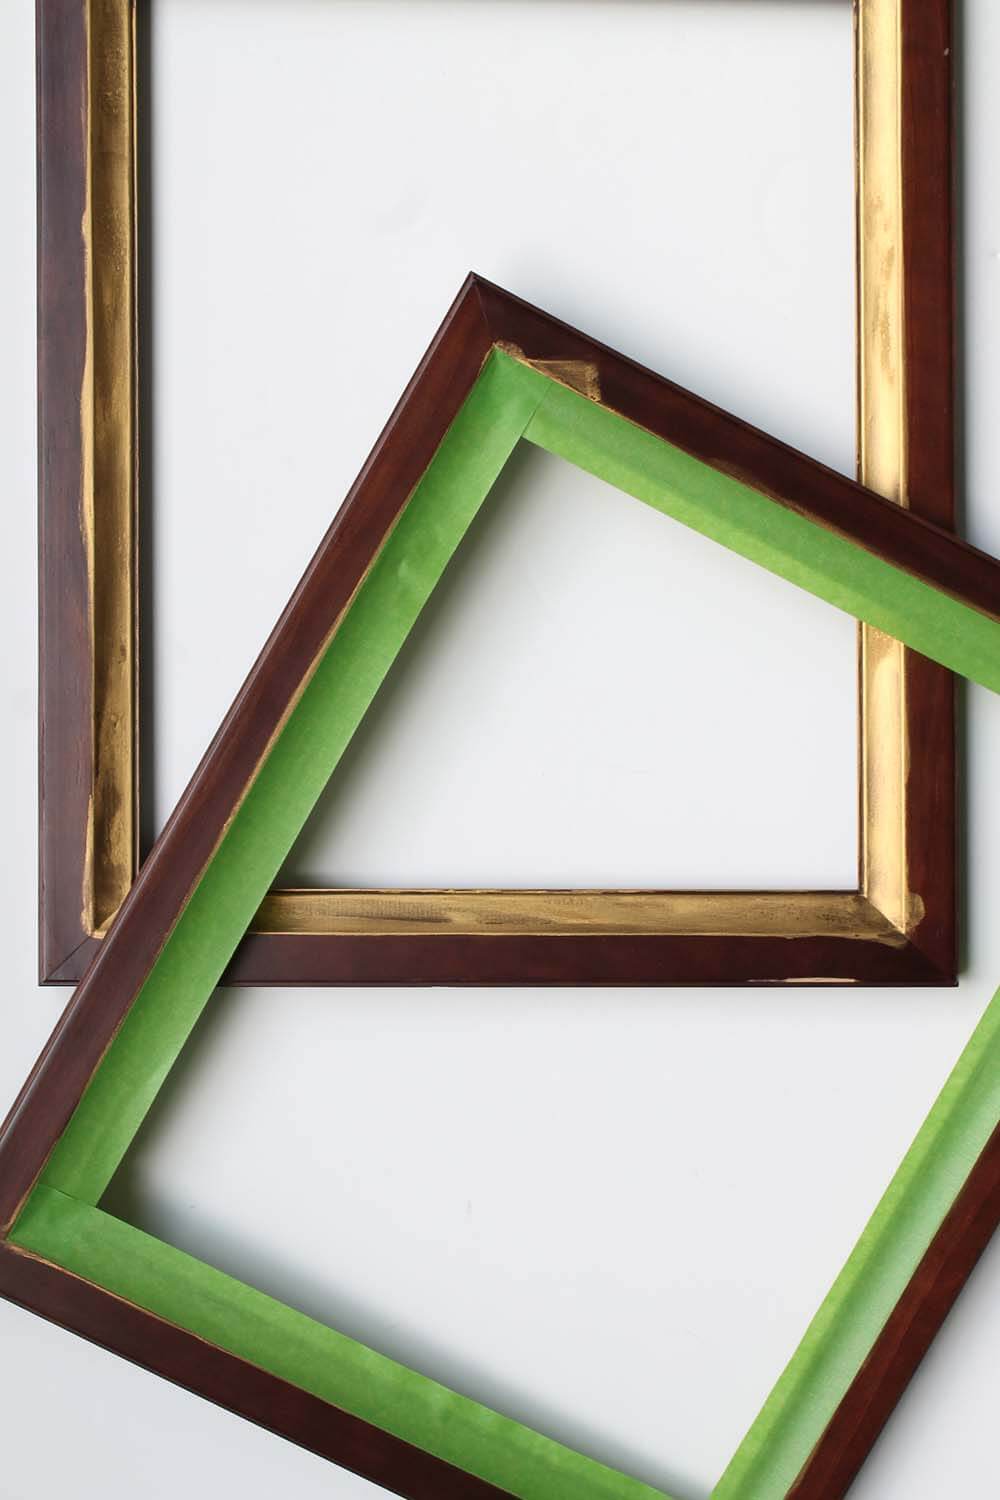
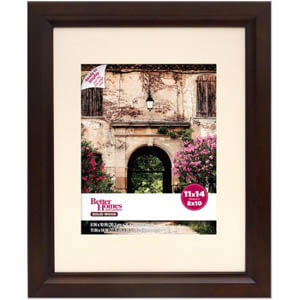
See the scratches at the top and that little knick in the right-bottom corner of this beautiful Better Homes & Gardens mahogany frame I bought from Walmart? Yep, that happened 2 days after I bought them. No, not just to one, but three out of the eight frames I purchased for a gallery wall. And while they aren’t huge gouges, it looked really bad up on the wall.
If I remember correctly, I foolishly left them stacked near the wall for a few minutes where I was getting ready to hang them, and they got knicked by an overzealous sweeper anxious to finish her chore. How does that happen with a broom you ask? Well it is amazing what kids can do with a normal everyday tool. #justacceptit
The manager of the store wouldn’t replace them (I had to try right?), so instead I decided to refresh them with a whole new style.
If you have any deep gouges you’ll want to fill them with a little bit of wood filler putty, let that dry and sand the spot with some fine grit paper.
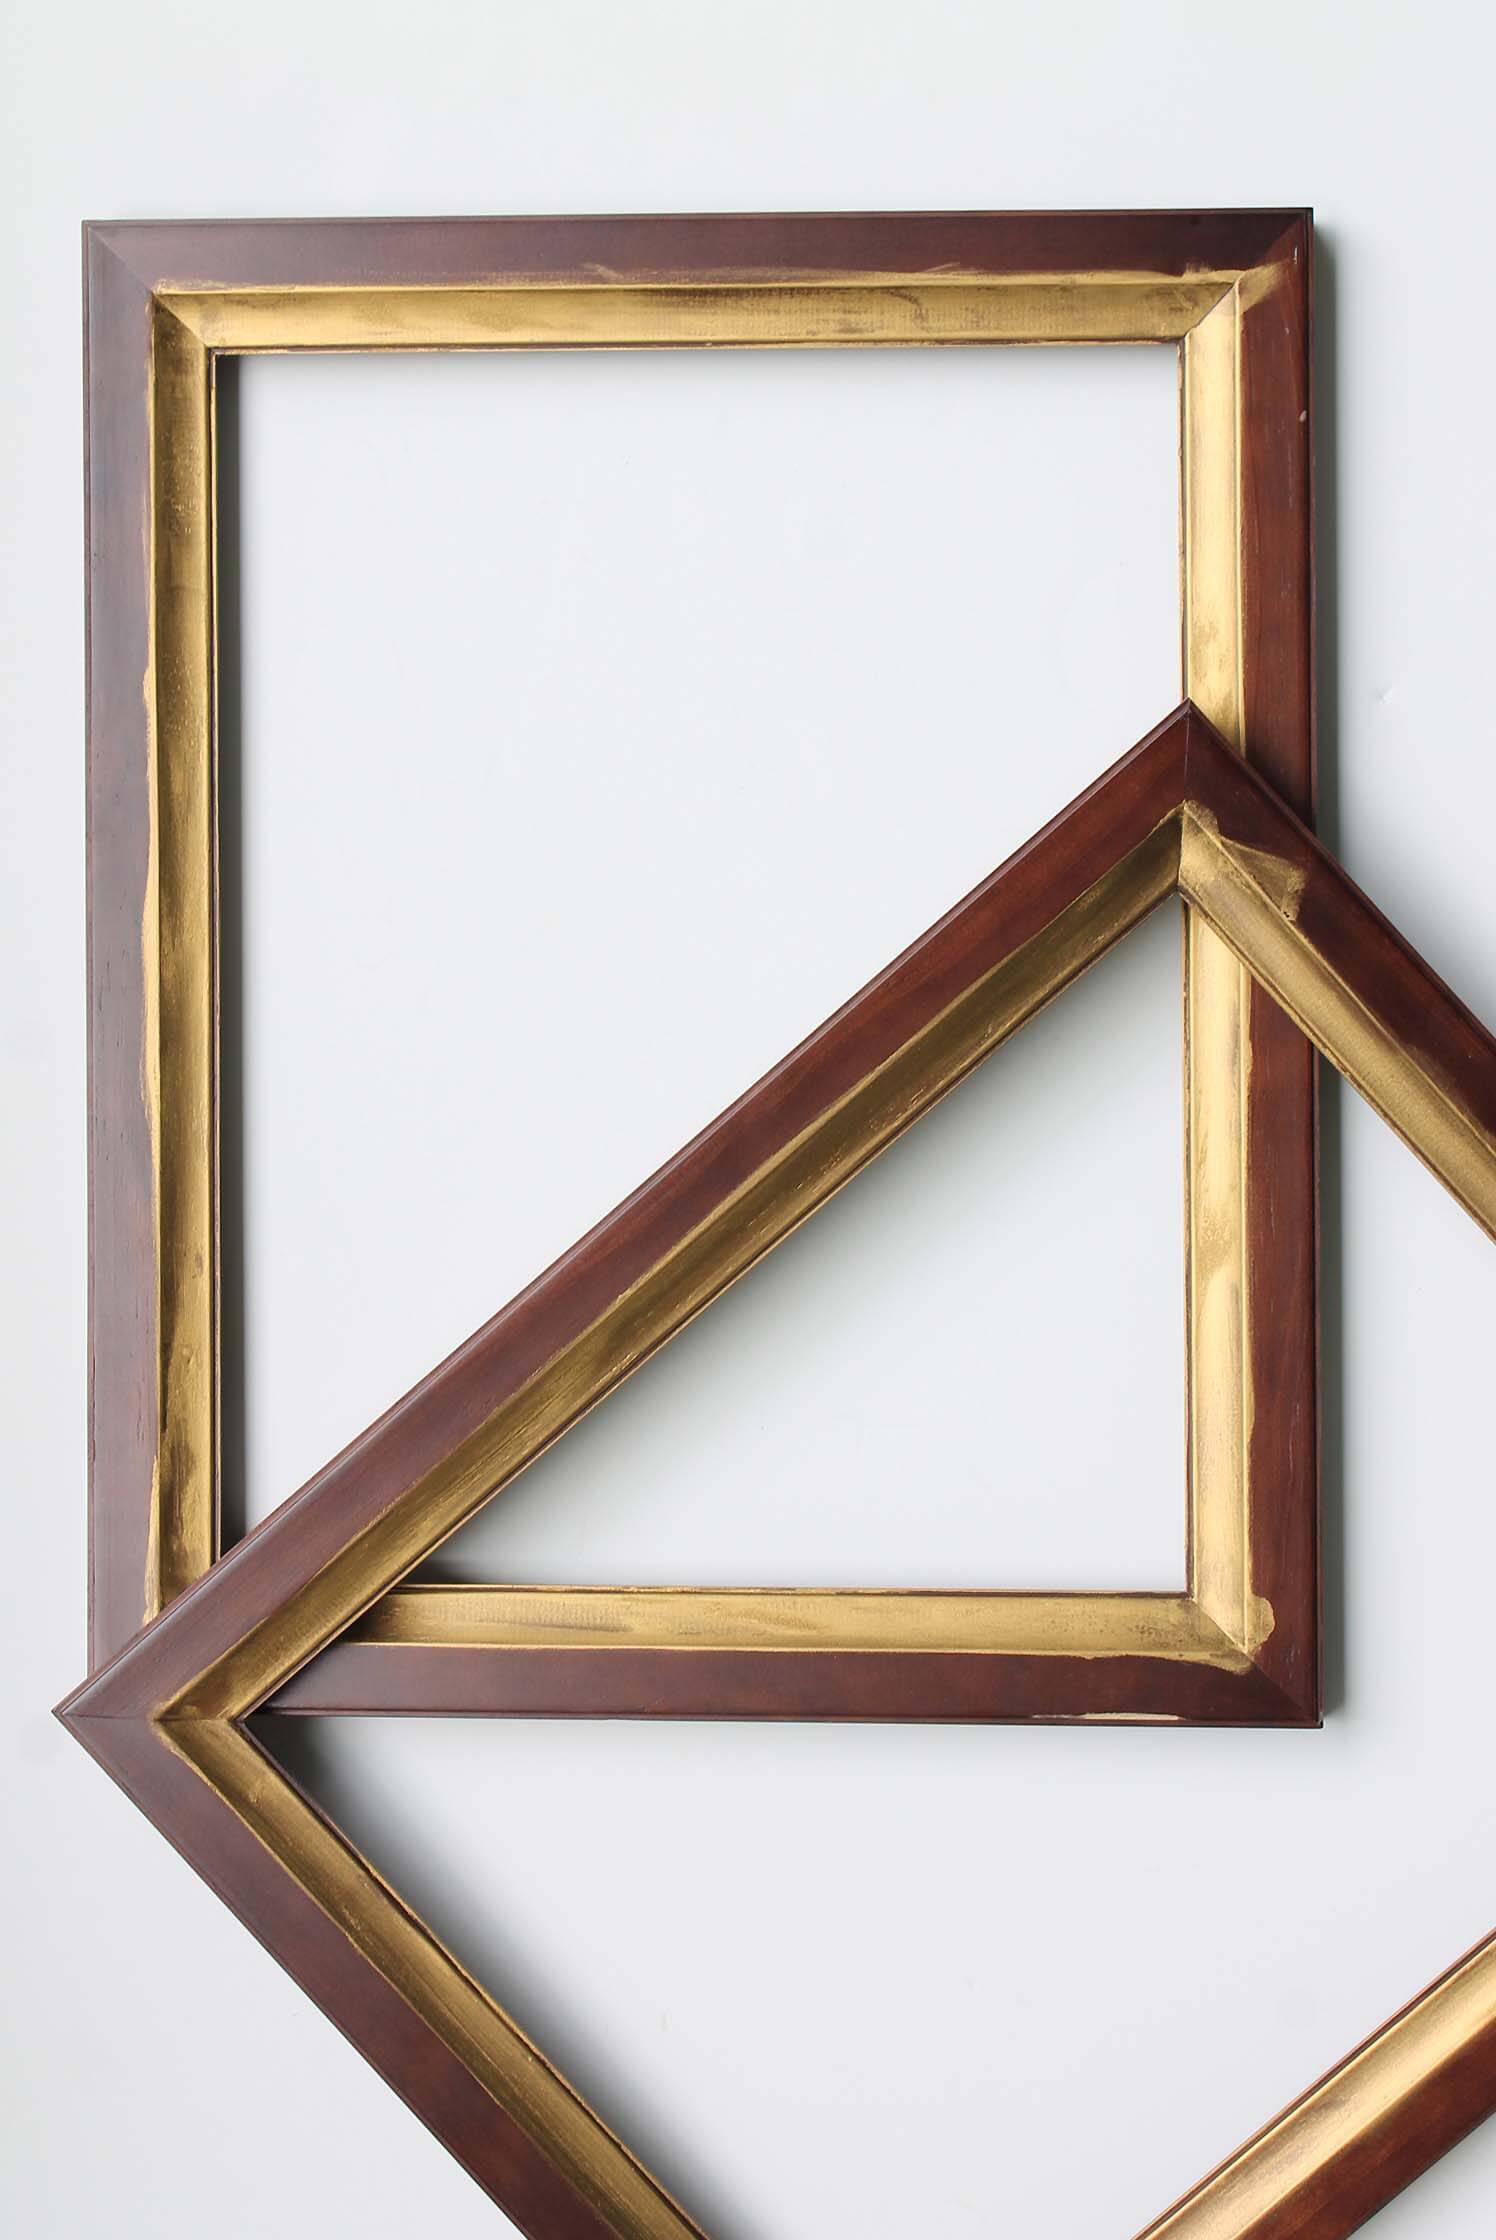
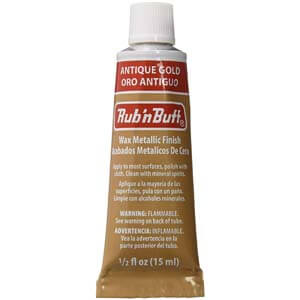
I started with the magic of gold rub ‘n buff…which can be put on pretty messily. I just smeared some on the inside edges with my finger.
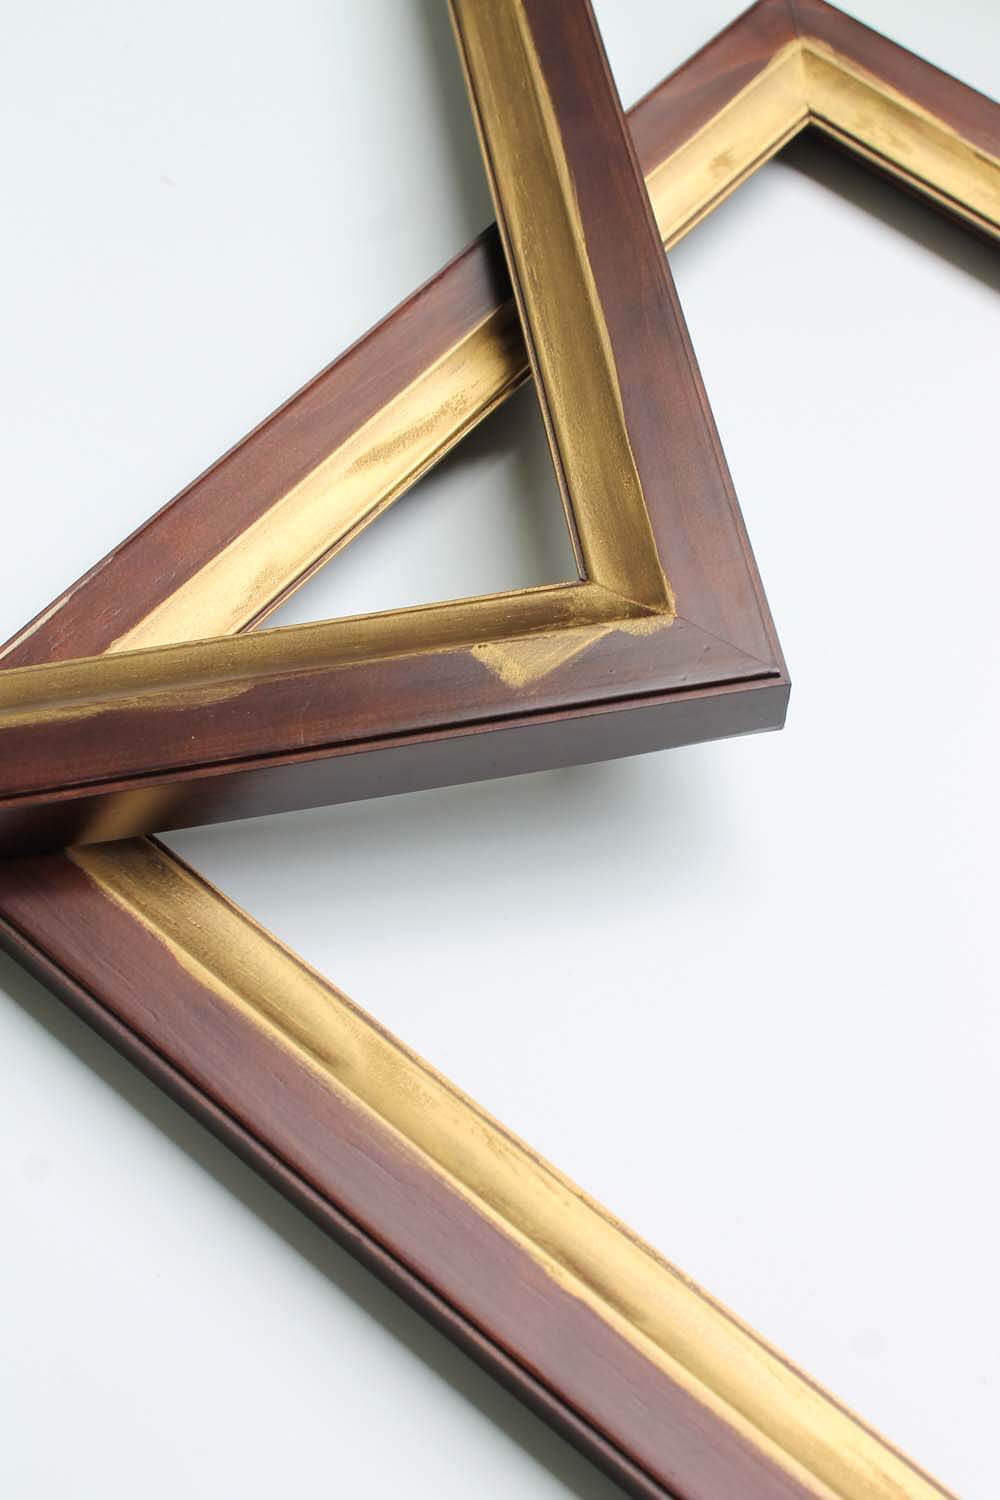
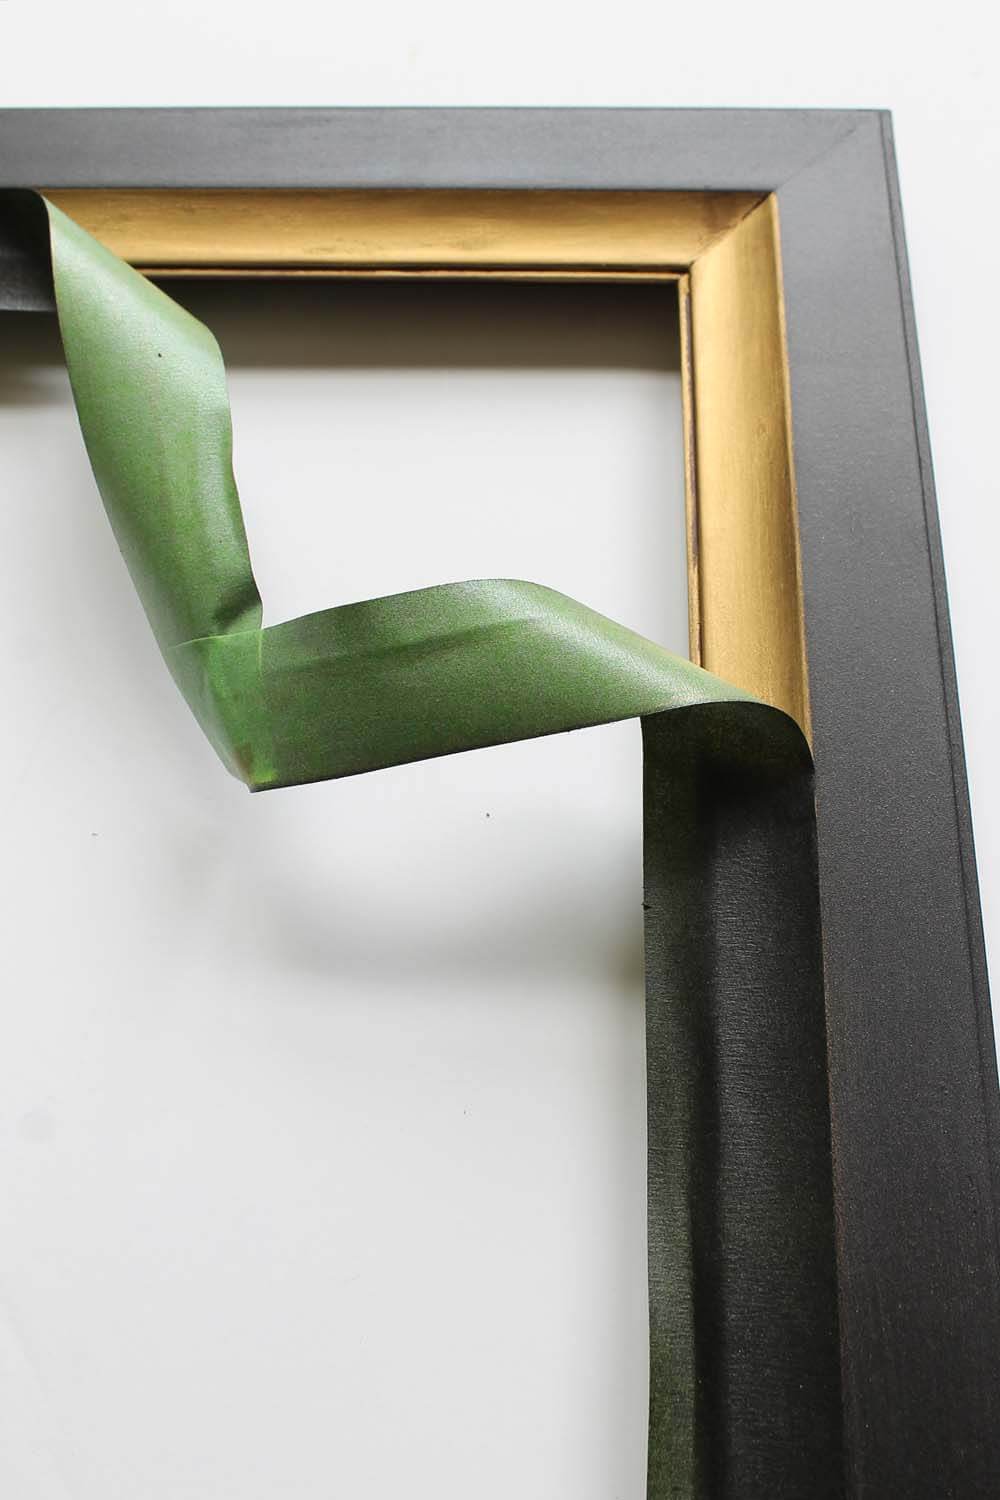
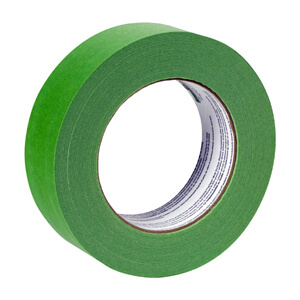
Let the gold dry completely (I left mine overnight), then tape off the gold with some FrogTape. Make sure you pay close attention to making crisp corners.
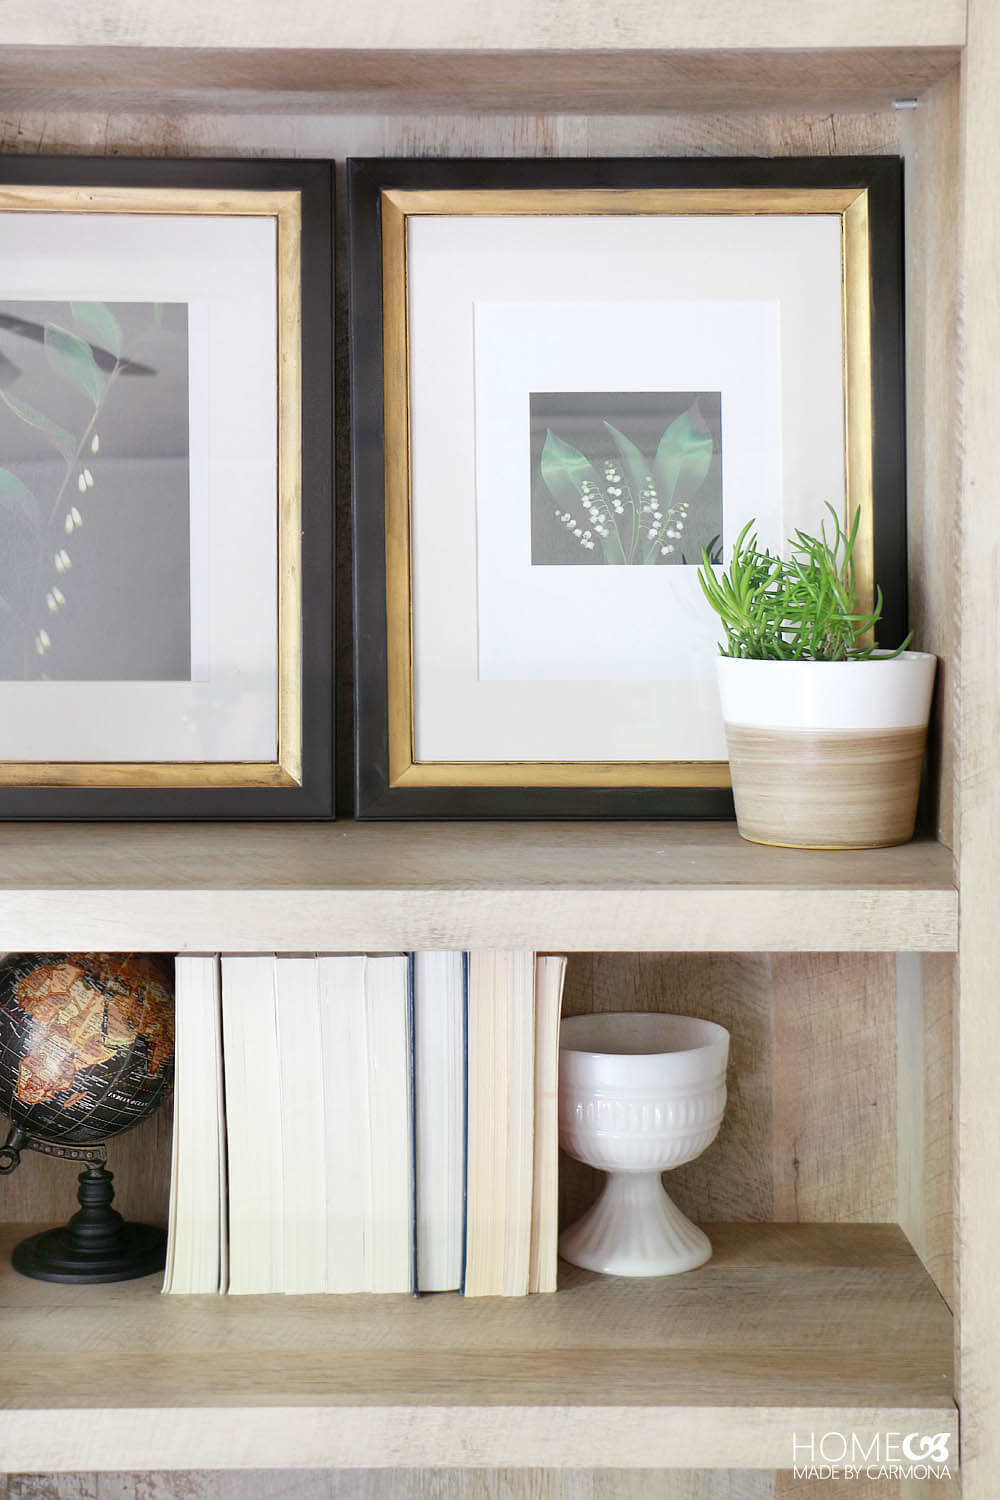
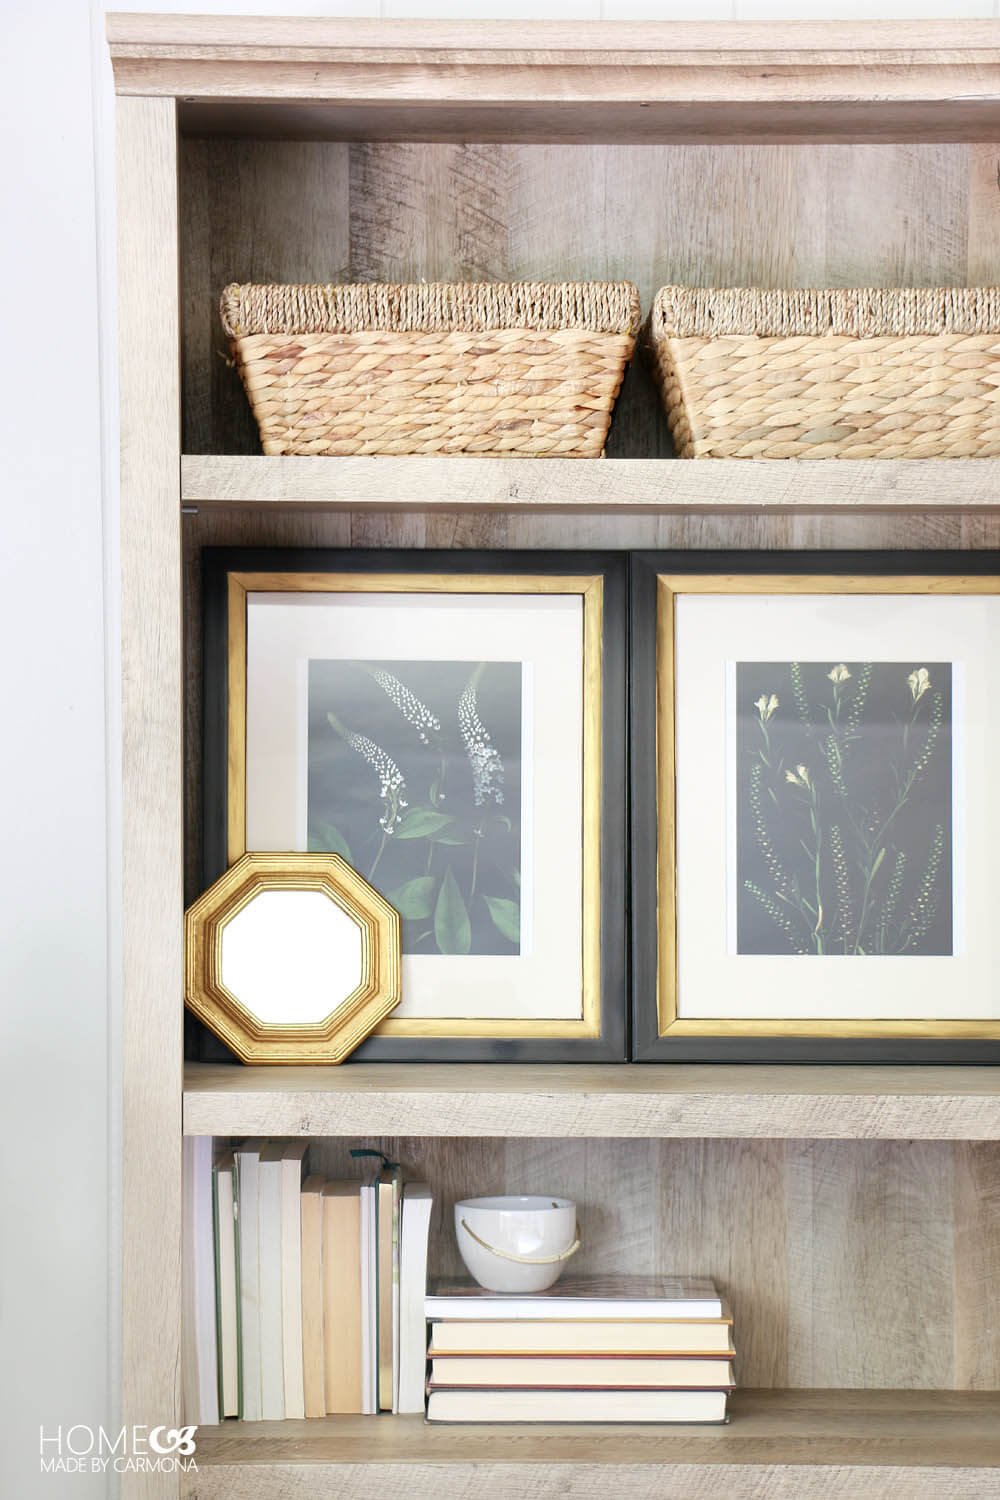
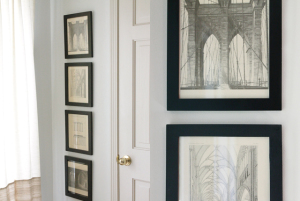
Then spray paint that sucker in whatever color you like. Personally I’m loving the elegance of the black with the gold!
Once you pull back that tape, you are going to have a stunning new frame!
This isn’t just a solution for damaged frames. Go thrift shop hunting for frames with great bones, but ugly finishes, scratches, or outdated prints. You’ll save a ton of money, but still get that stunning trendy style you love after giving the frames a quick refresh.
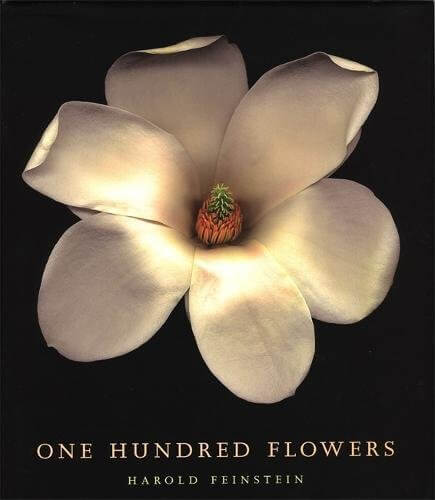
For prints I used photos I cut out of a flower photography book called One Hundred Flowers by amazing photographer Harold Feinstein. Isn’t it gorgeous? It saved me an arm and a leg buying prints, and instead of having to open a book to see my favorite photographs, I could enjoy them right there up on the wall.
Find the same prints I used on Amazon (affiliate link).
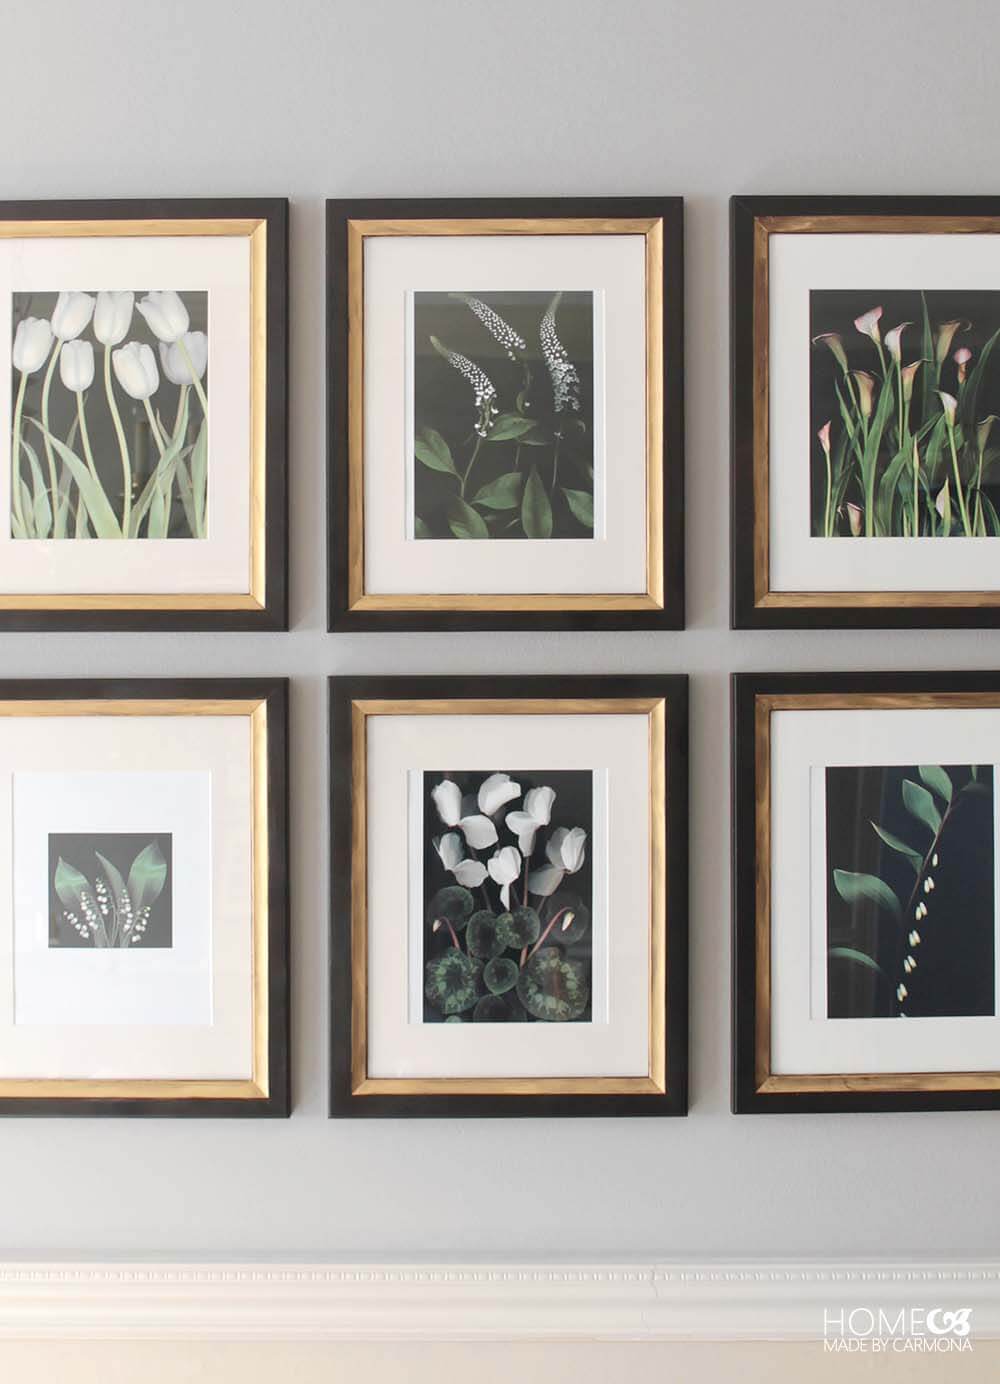
Gah, I love these frames. Probably even more than the original mahogany.
I just realized that I’ve enjoyed them over the years, and while you’ve probably seen them as a backdrop to several projects, I hadn’t shared how they came to be until now.
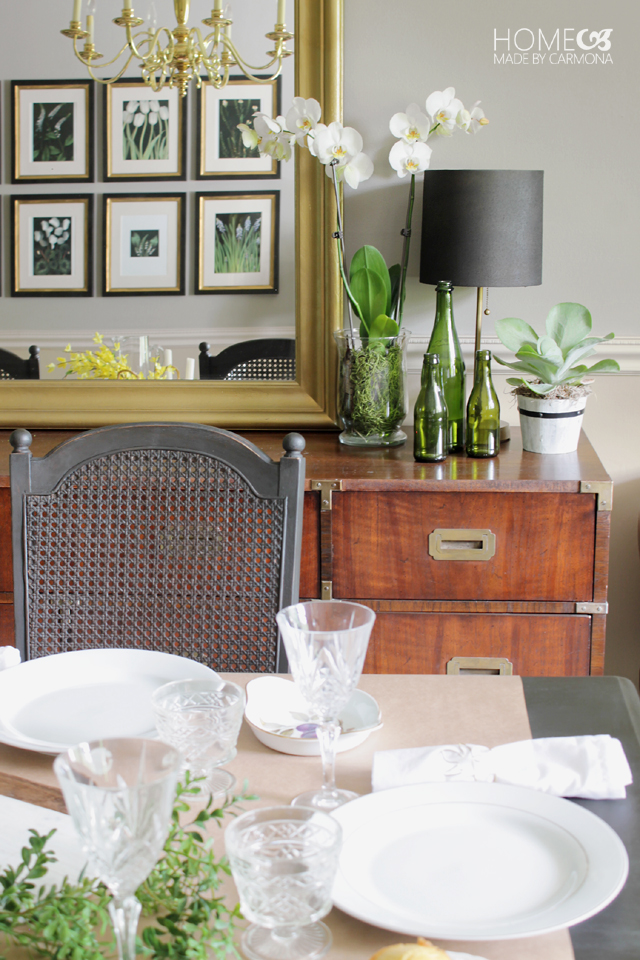
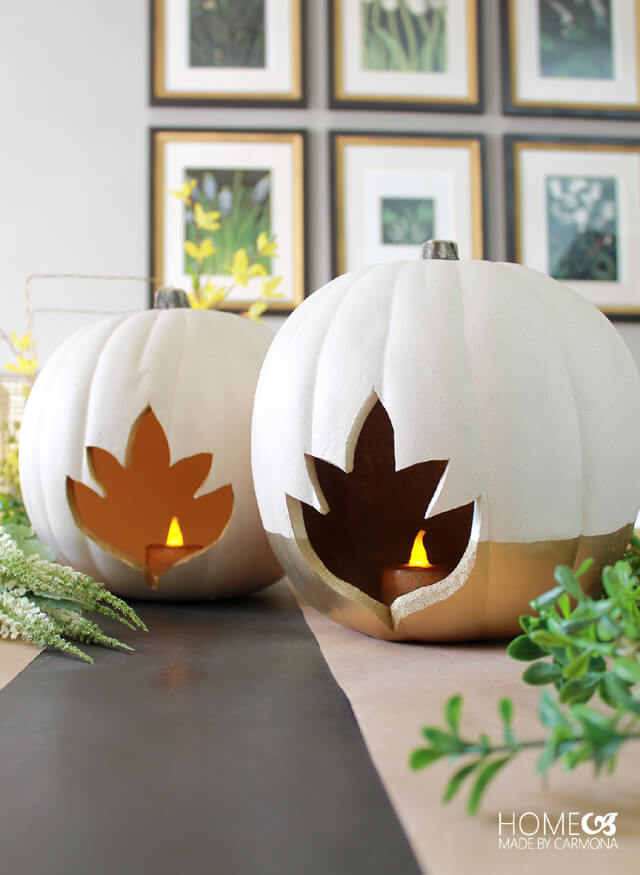
Remember my faux pumpkin centerpiece? I think I enjoyed the images in the background just as much as I enjoyed the project in the foreground.
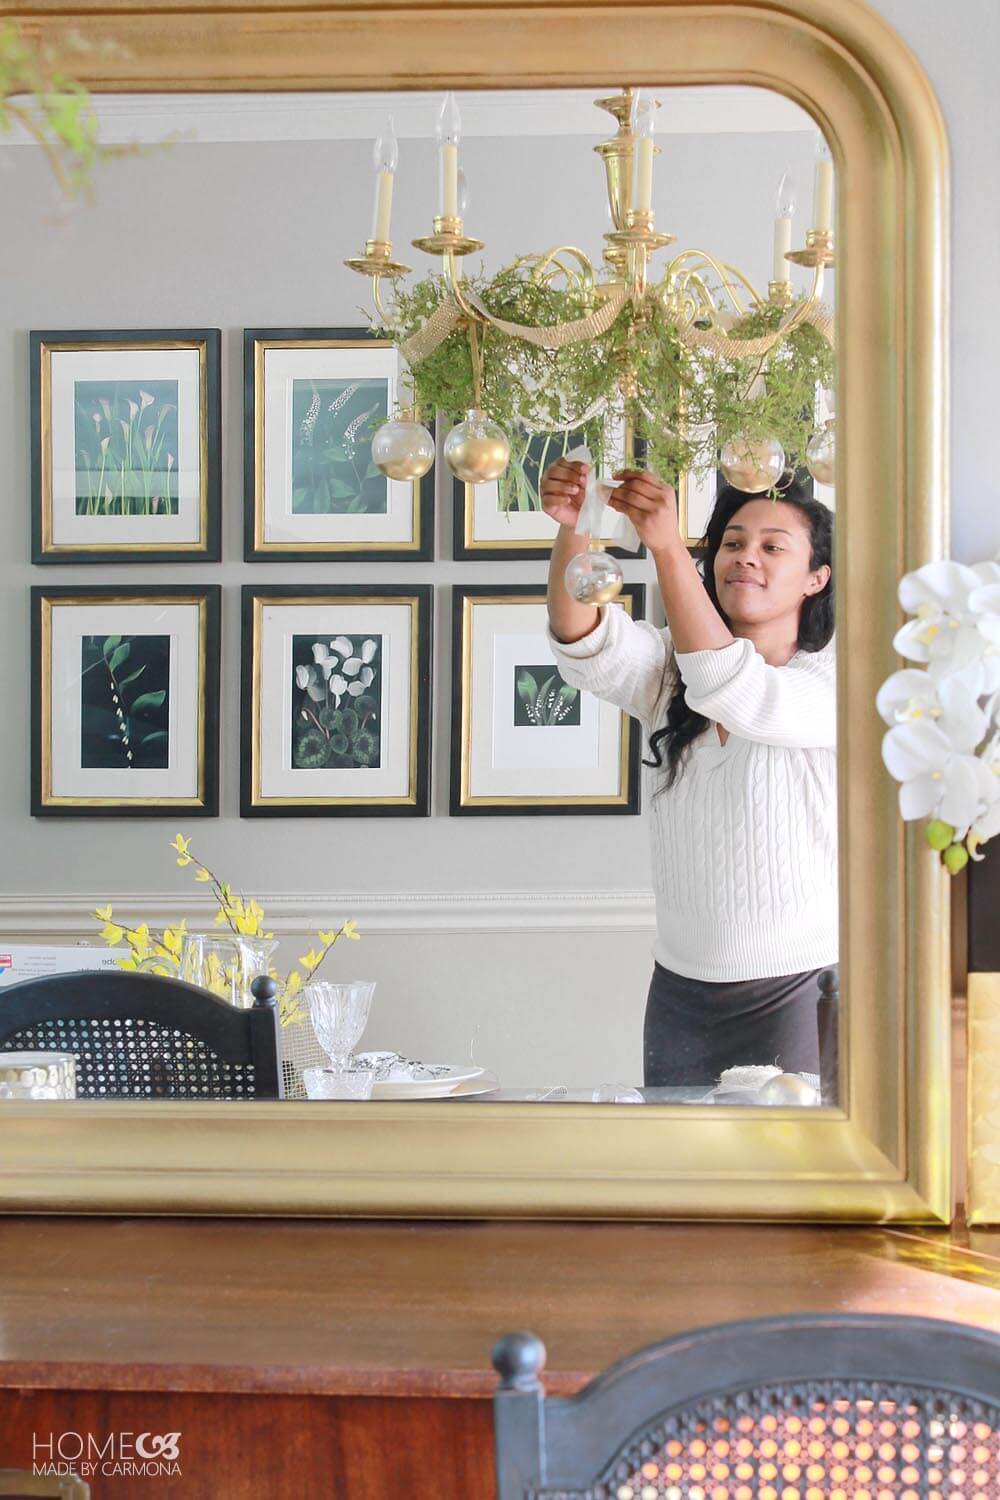
Or the Christmas hanging wreath I did with my DIY ornamanets a couple years ago…
And since we moved from that house, I recently put them up in the guest cottage at our new home. I swear it looks like they were created for that space!
I feel like there is some kind of object lesson in here somewhere. That when things get messed up or run down, and we have to be creative in life to turn lemons into lemonade, often the final results are more beautiful than the first. Now the piece has more character. Sure, there’s more effort involved, and it’s almost never what you envisioned when you started out…but it is worth it in the end.

Like This? You’ll Love These!
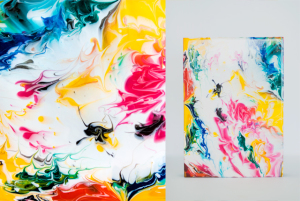
Related Posts: Discover 10 unexpected places you should be displaying art in your home | Make your own marble art with this fun tutorial | Create a yarn hanging as beautiful (but easy) DIY artwork | Try stylish wall decals in place of wall art or wallpaper | Wall decor ideas |


Thanks for the great tip and showing clearly how it’s done. The results are lovely.