I want a beautiful centerpiece for my holiday dinner, but when you have to think about the meal preparation, and getting the house ready for guests (which is a feat in it’s own right), who has time to craft a stunning centerpiece?
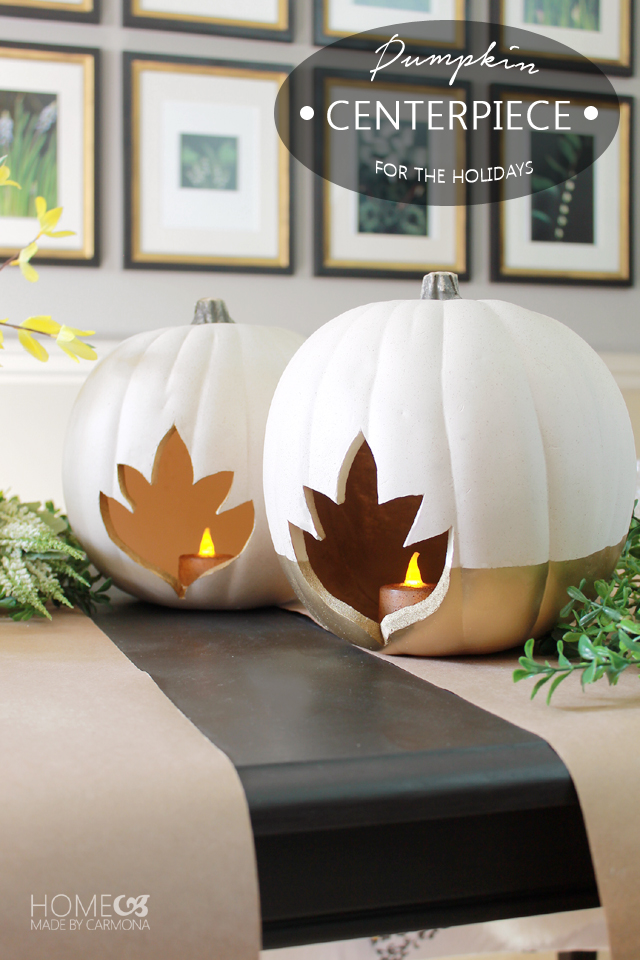
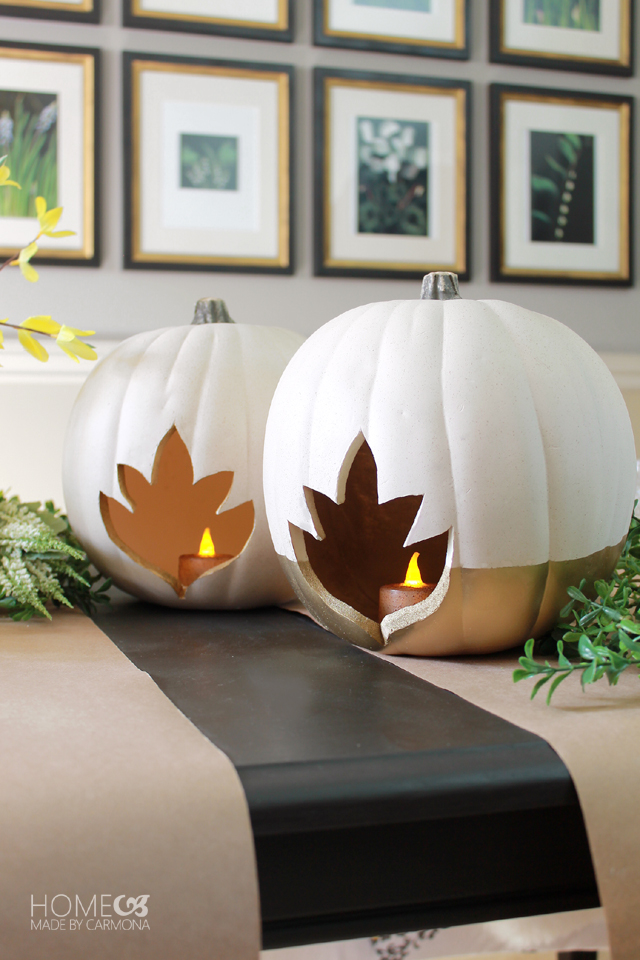
That’s why I love the idea of reusable versatile decor items that can become a beautiful centerpiece, vignette, mantel decor, etc. These carvable foam pumpkins are perfect for that! Plus after just 15 minutes of work, you’ll have custom designed decor for years to come.

Make This Carvable Pumpkin Centerpiece
The steps are fairly simple and self explanatory, so I’ll let the picture tutorial speak for itself and just provide a few tips below. 😉
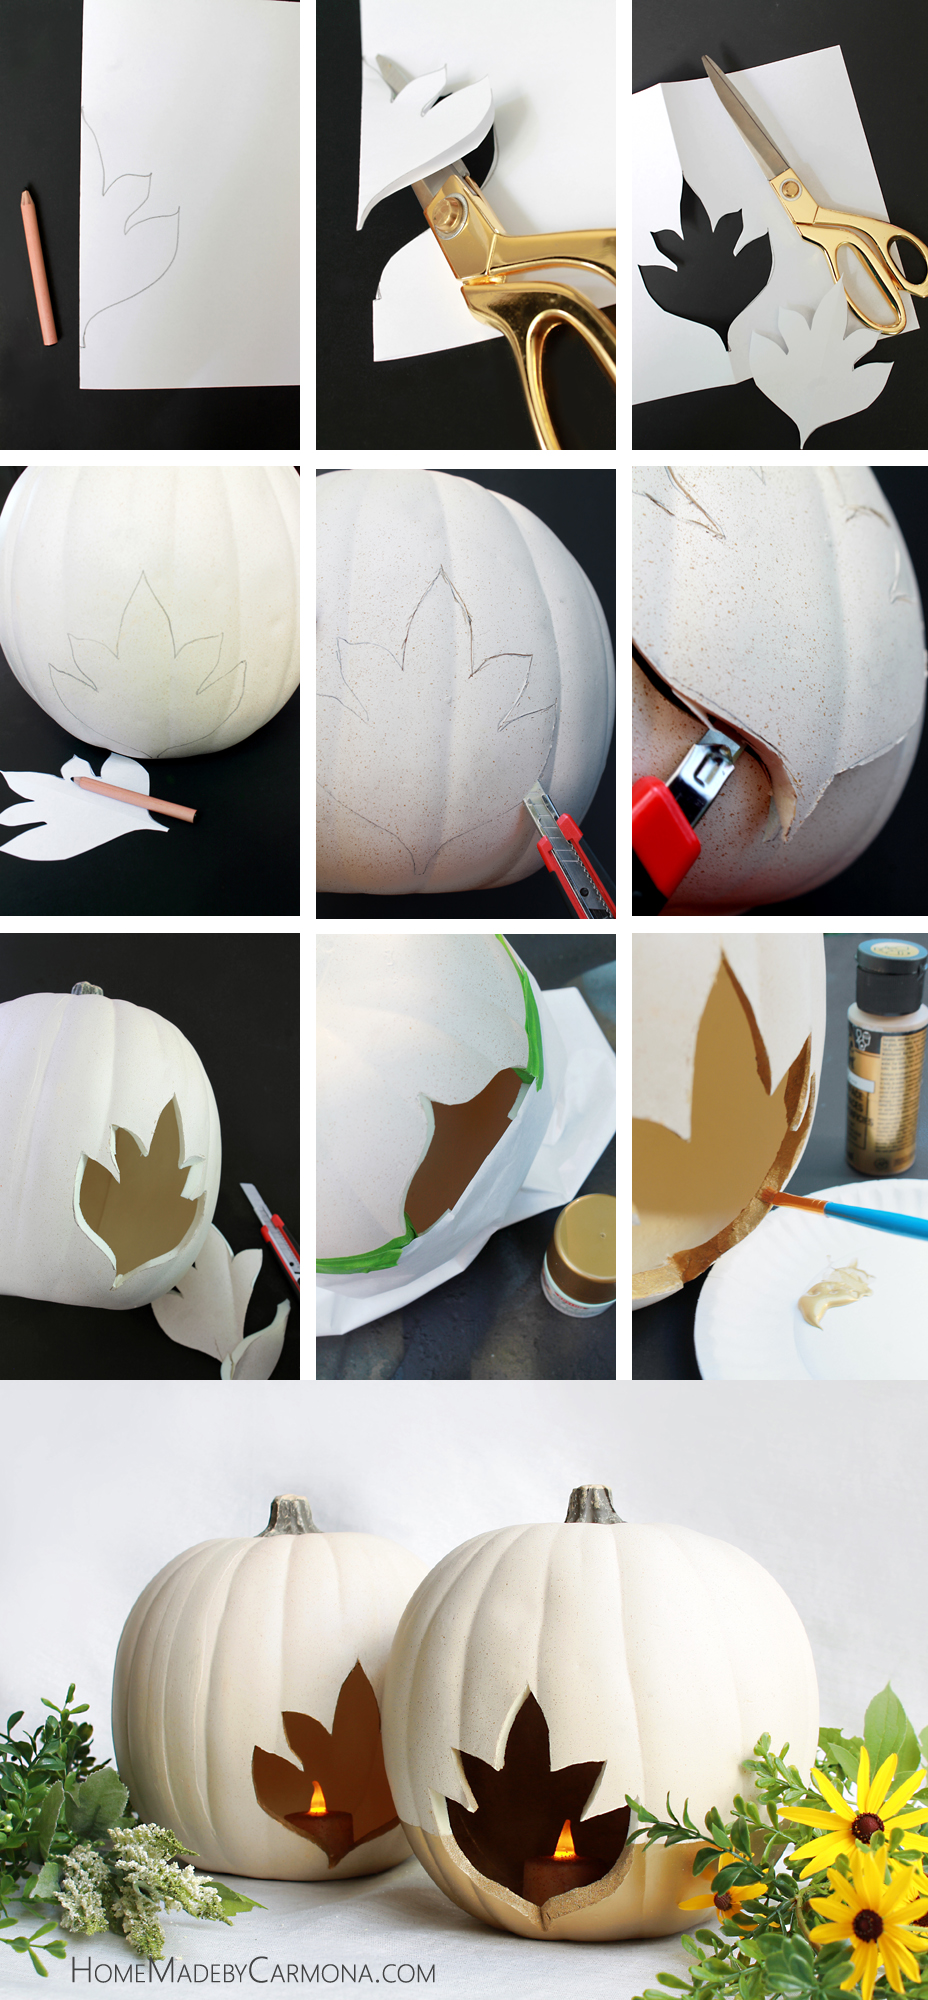
TIPS
- Draw and cut your leaf template out of regular paper…when you use it to trace, it will easily bend with the curve of your pumpkin.
- Do your carving at a slight outward angle for a fancy cut.
- If you cut at an angle remember that you will need to pop the carved piece outward.
- Carve any small details (such as leaf tips), by starting at the smallest point (the tip) and working outward.
- Have any questions? Feel free to ask in a comment below…otherwise this project uses pretty normal carving techniques.
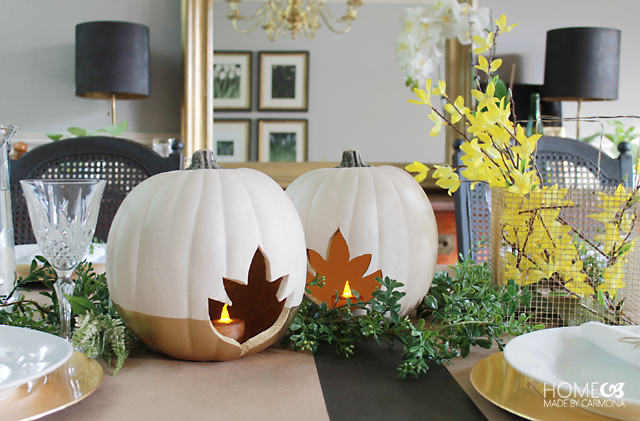
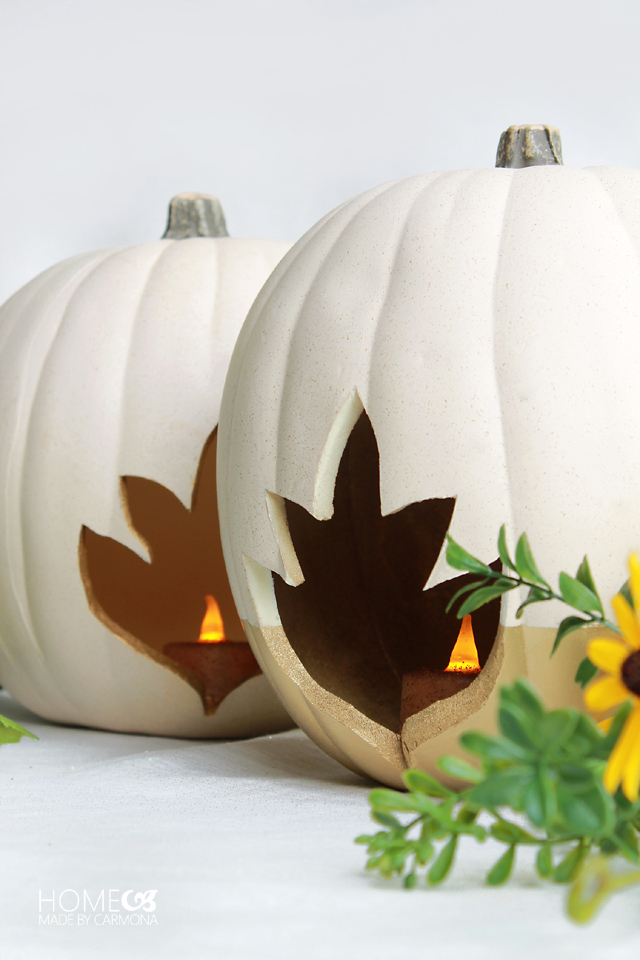
Do not use a real flame in or near your pumpkin. Use some battery powered tealights that are less than 5 watts for safety. The ones I’m using are wax dipped, and even flicker like a real candle! It makes for quite the lovely ambiance.
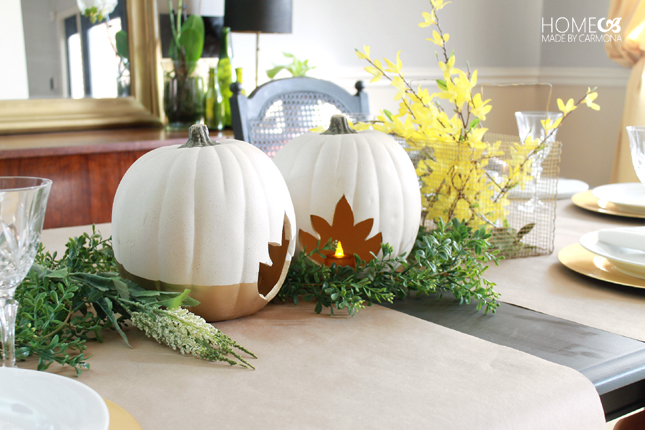
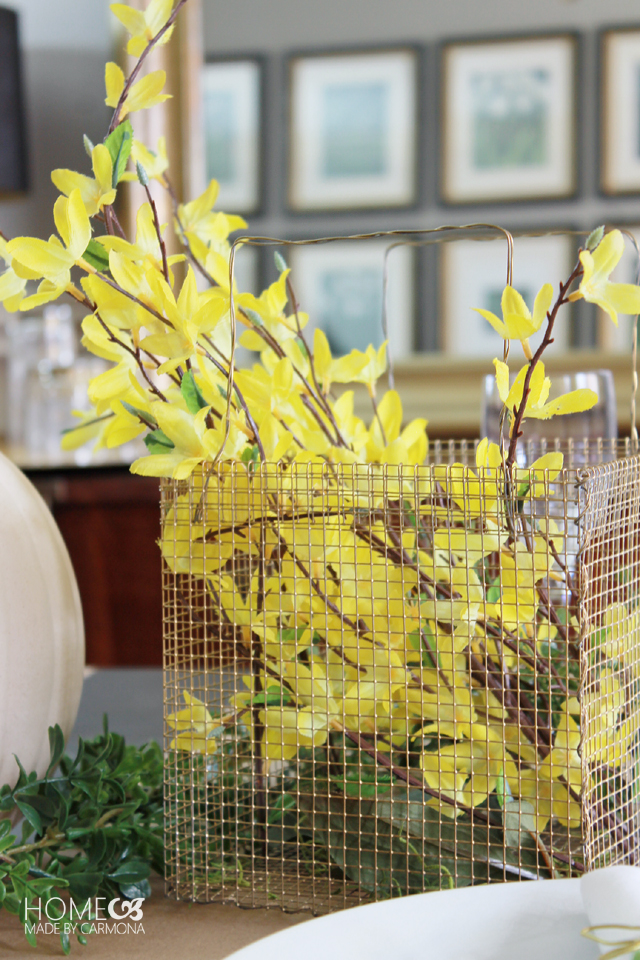
Now that you have your pumpkins completed, add bit of foliage and floral to your table setting. I made this DIY wire basket (out of hardware cloth…can you believe it is only $3-$4 per basket?), and it has been a gorgeous part of decor for every season, and looks great even with silk flowers in it!
How do you like the table setting so far? When dinner is over and the table is cleared, all of these decorative items will look gorgeous on a bookshelf or mantel as seasonal decor. Enjoy it as long as you can before putting it in storage for the season.
Have a beautiful Fall and Winter season!


Those are beautiful! Nice job.
Thank you! It was a fun DIY!
Hello Ursula! Wow, so funny to say hello to someone with my same name 🙂 Lovey pumpkin!!! Great tutorial too. Pinned and shared 😉
XO
Ursula
Thank you Ursula! Lol! Yes, that is definitely weird to say. 🙂
Thanks for popping in, I love your blog chica! 😉
Such a cute idea, love how it turned out.
Thanks Betty!