[left]Hi! I am Gilly from Colour Saturated Life and I am thrilled to be part of Ursula’s Creative Team and I am looking forward to bringing you lots of creative ideas to personalise your home this year. You will have to excuse any spelling differences as I am an Australian blogger so we do things a little different down here…..but hopefully you will get accustomed to me! (and my overuse of punctuation!!!!!) [/left]
[right]
[/right]
What you will come to learn about me is that I L.O.V.E. colour (in your face, intense, bright colour) and I am on a mission to saturate our world with it……today’s tutorial captures this love.
I am sharing a part of a new series I started this month on my blog called Art Fix. The series is all about inspiring you to create affordable DIY Art for your home, which you will be happy to know involves little to no creative skill. I know we all want beautiful art for our homes and not everyone has the budget or know-how, well I am hoping to fix that. If you want to follow along with the series you can subscribe to my blog or follow me on Bloglovin.
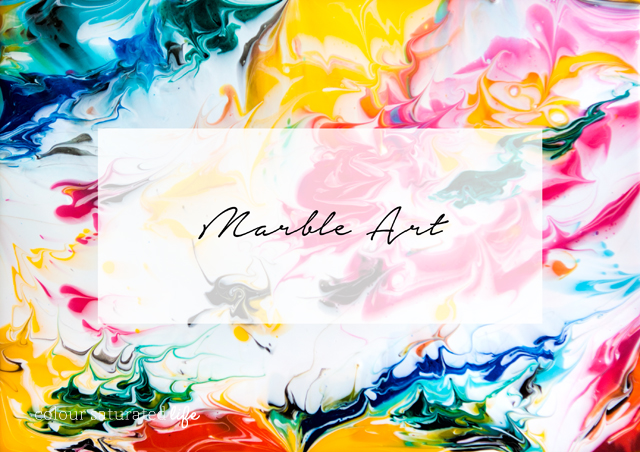
What we will be creating today is inspired by the technique of marbling…..where you drop coloured ink into water and then place your paper on top….peel it off and hey presto…..Marble Art. Mine is slightly different and gives you high-gloss contemporary art for your home.
Supply List:
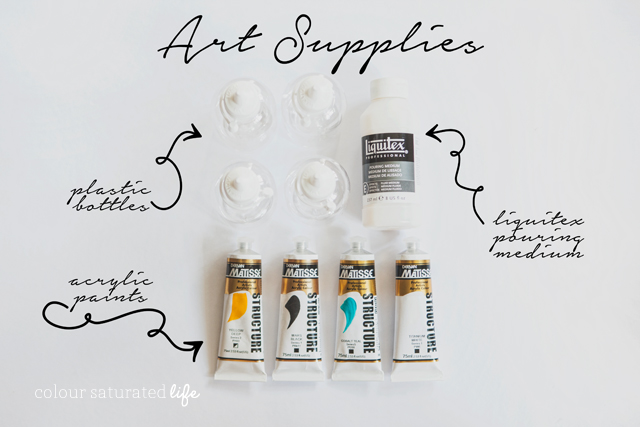
Acrylic Paints in your choice of Colours (I used Derivan Mattisse Acrylics in Deep Yellow, Mars Black, Cobalt Teal, Titanium White, Vermilion, Phthalo Green, Phthalo Blue & Primary Red), Plastic Bottles (1 for each colour – clear is better so you can see what you are mixing), Liquitex Pouring Medium (this is the stuff that makes this art so amazing!), A Canvas or Make your own Art Block Base, Sticks for Stirring (if you choose to use these), Baking Tray, Baking Paper, Aluminium Foil.
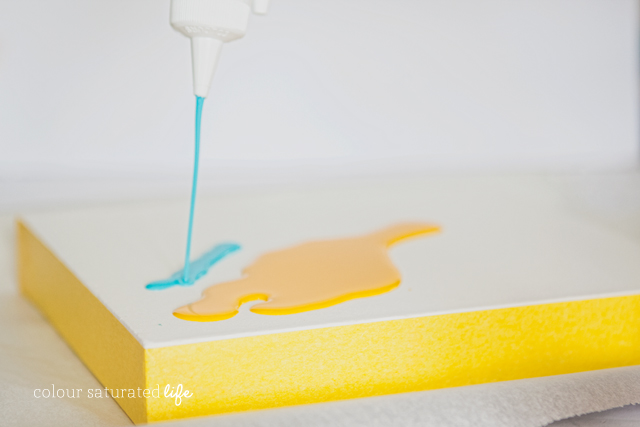
For the one I created here I used my Art Block base, which you can find the tutorial for here. You can also do this on a canvas and I will show you a finished one on canvas at the end, just so you know you can achieve the same result. I taped the edge of my Art Block off first as this medium will drip down the sides and the masking tape once removed leaves a nice clean edge.
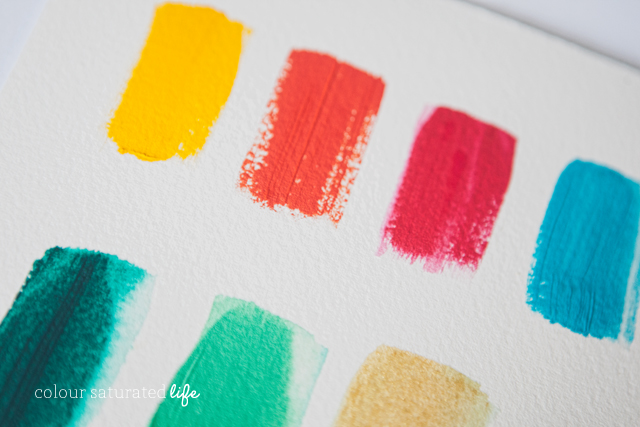
First you need to decide on paint colours, I found I good way to decide was to grab a scrap of paper and paint my different colour combos onto the paper and choose my favourite one.
Cover your baking tray with a layer of aluminium foil and then a layer of baking paper (this protects your tray and the baking paper does not adhere to the canvas, it will just peel off once cured). Place your canvas or Art Block on the baking paper.
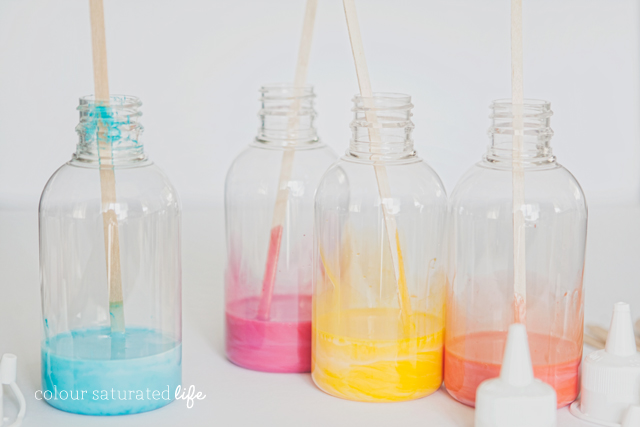
Next you need to mix the paint with the Pouring Medium, you only need a a small amount of paint (about the size of your finger tip) as we are using this like a dye (we are not painting with this). You will need about 1/4 cup Liquitex Pouring Medium in each bottle, plus a small squirt of your paint. I used very thin paddle pop sticks to stir the paint through, but I found placing the lid on and shaking the bottle was just as effective in mixing the paint. You want the pouring medium to turn from an off white colour to the colour of your chosen paint. (Liquitex Pouring Medium dries clear so you want to add colour, even if you want white, you will need to add white paint).
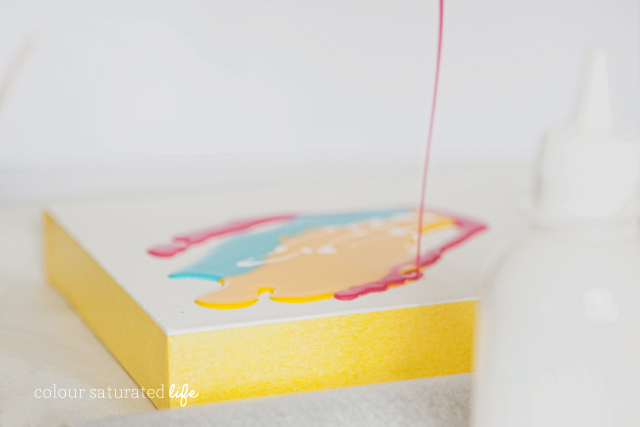
Now comes the fun part! Lets pour the colours onto our canvas! There is no trick to this, you literally just pour the paint. I recommend doing larger puddles of one colour, then doing the same for the next colour.
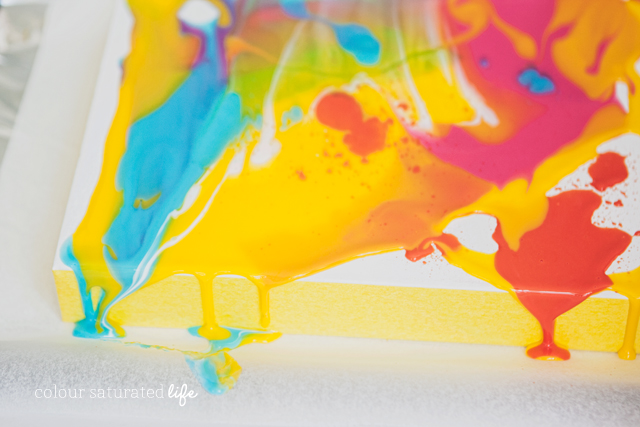
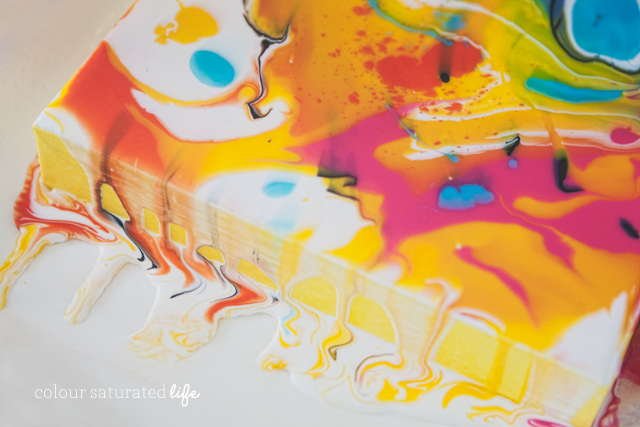
Once you have a lot of the canvas covered pick up your baking tray, while using your fingers to hold the canvas in place and tilt your art work so the colours swirl and spread across the surface. This gives you the “marbling” effect we are after. Now is a good time to tell you this is when it gets a bit messy! You may want to wear gloves as the “paint mixture” will drip over the edges. Work quickly as the “paint mixture” will start to skin quickly. (It took me about 10mins from pouring to completely cover the Art Block)
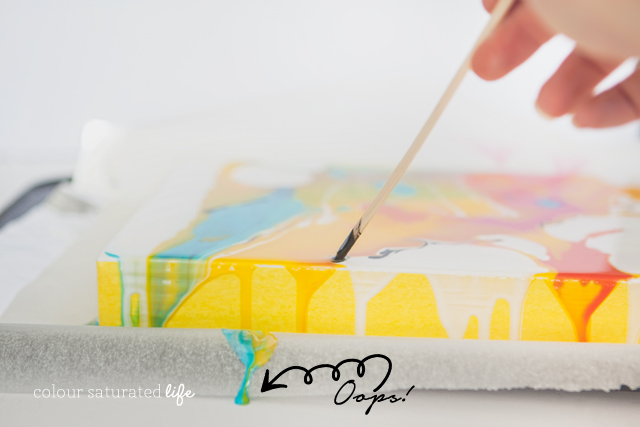
Once I had a lot of my Art Block covered with my primary colours I wanted to add touches of black so I mixed a small amount in a cup and used a paint stick to “draw” black lines across parts of the Art Block.
I also added a few drips of paint here and there. You can also use the stick to draw patterns and swirls in the “paint mixture”.
The pouring medium is self-leveling so once you place it on a flat surface to set it will level out and make a smooth finish. But make sure your surface is completely level or you will find the paint will continue to move across your canvas (potentially ruining your artwork). It takes about a day to fully cure…..and resist the urge to touch! I left mine for about 9 hours then removed the masking tape and then left it to finish curing.
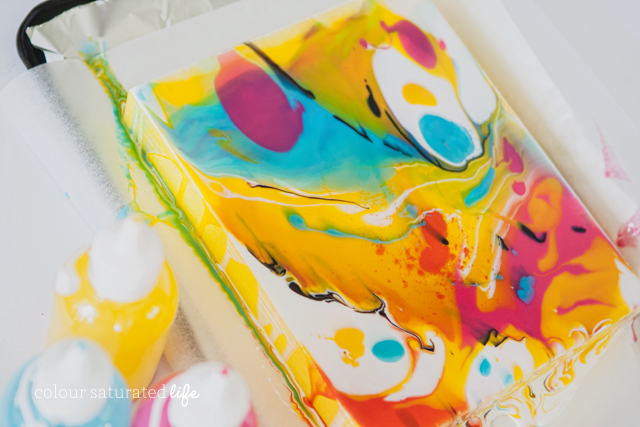
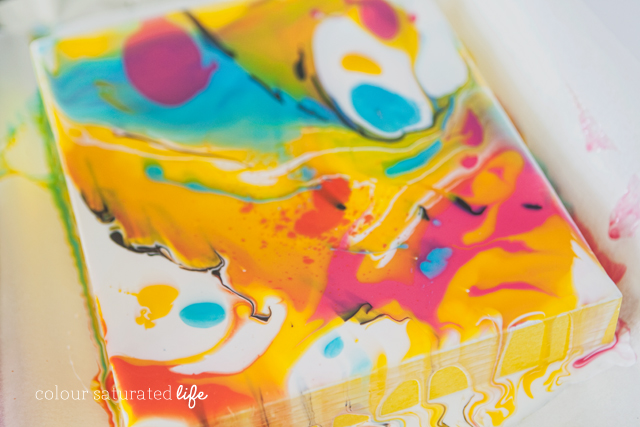
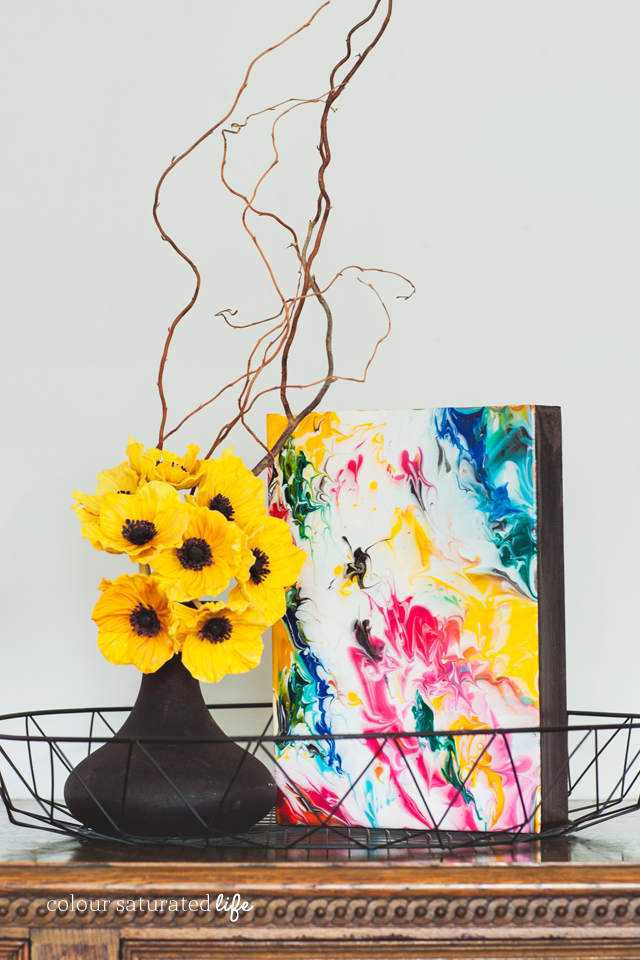
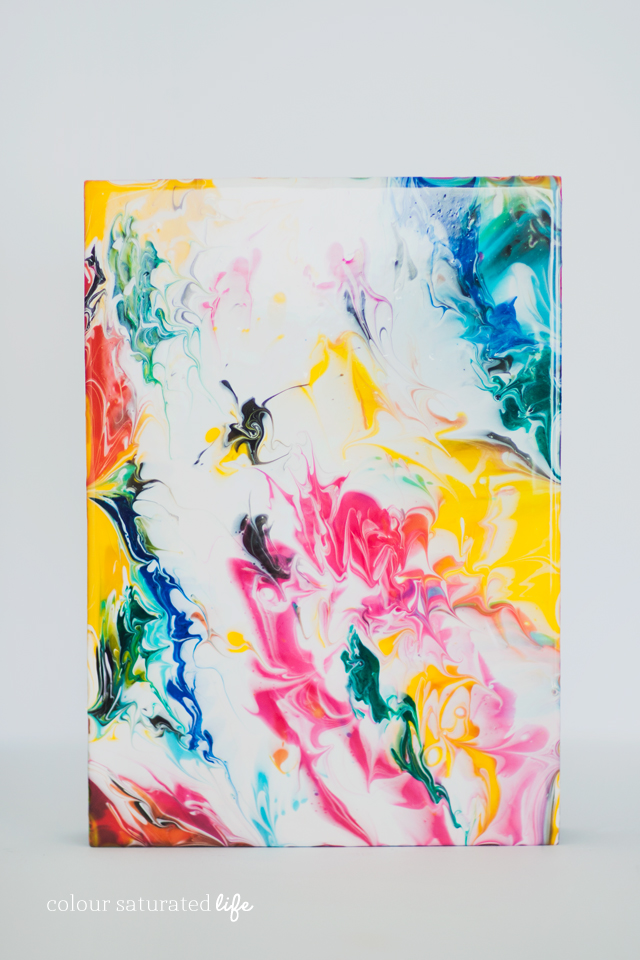
It will set to a hard high gloss finish like resin. The Final result………(you will probably notice a difference between this and the one I did in the tutorial that is because I had to stop and photograph the tutorial one and I did not get to finish it before it started to skin)
What is great about this is you can either place it on the wall or on a coffee table at it is free standing. I also love how the timber edge of the Art Block adds a nice contrast.
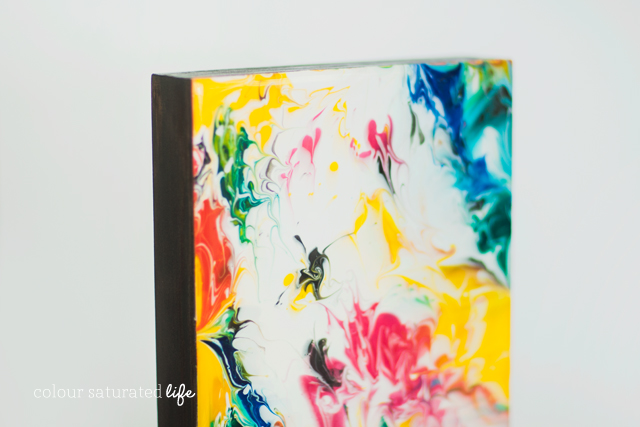
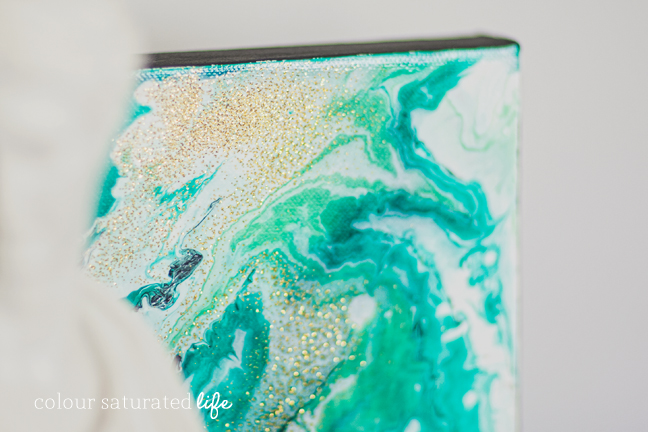
In the image below you can see the high-gloss finish.
I don’t think Ursula’s blog has seen this much colour all in one hit!
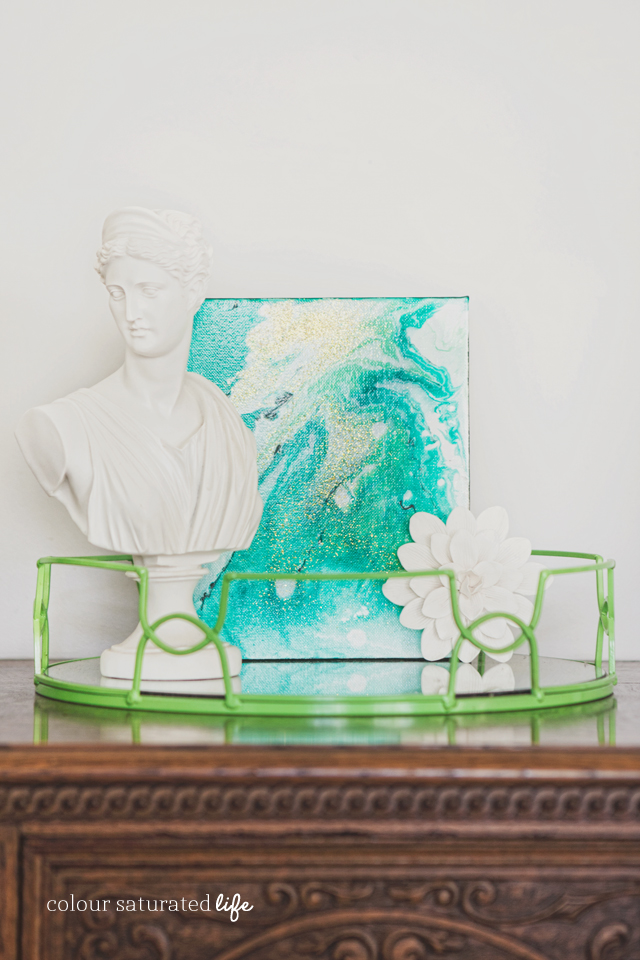
Below is the canvas example I created….the only difference I noted was that you get the texture from the canvas on the surface while the Art Block is smooth. I also added gold glitter through this one which looks beautiful when the sunlight catches it. This would be a wonderful addition to your desk.
As a final tip for anyone who wants to actually give this a try, I would suggest using less colours to do your first attempt. I found when I did the green one on the canvas I could control the results more as I had less competing colours. I used a dark and light green, white and tiny bits of black, along with the sprinkling of gold glitter and because the greens blended well together the colours were easier to manipulate. Just a tip from me to you 😉
Hope you enjoyed my first DIY project for you! Over on my blog today, I have a some FREE PRINTABLES and DESKTOP BACKGROUNDS for you to download.
Now go get your art on!!!!! And let me know if you give it a try….this is such a fun project!
FOLLOW GILLY HERE





Gonna do this with my 4-H group to donate to the Hospice art auction. Looks like fun
Will liquitex iridescent medium (or gloss or matte medium) or slow dry blending medium work? i can’t find pouring medium at my store
Thanks
Would anyone know of a product that does the same as pouring medium but is less expensive ?
Wow amazing! Would you be able to paint a design on top of it or would that not work because of the resin like finish?
i love your blog \!!!
Awesome !!! 🙂
Now you made me wanna really try this.
I’m looking on Amazon for the “Derivan Mattisse Acrylics” and for similar bottles you used, can you point me to a site online when I may possible get these? I doubt I’d find them locally here.
Thanks much.
I just looked at amazon and found these bottles which should work: http://www.amazon.com/Daily-translucent-white-squeeze-bottles/dp/B007OM9W2E/ref=sr_1_8?ie=UTF8&qid=1430873734&sr=8-8&keywords=plastic+bottle – any type of acrylic paint will work, mine were high end but this works just the same with cheap acrylic paint. If you need any more help let me know! Best of luck!
So gorgeous! I’ll have to try this 🙂 Love the marbled look!
This is amazing…the colors are so gorgeous. I’d love to make a giant one to hang over a bed in my house!
Wowza Gilly, I LOVE it! This is one tutorial I will definitely be following. I have to say, I’m so in head-over-heels in love with the green one in particular.
This is incredible!!!
Man! Gilly is so crazy talented. This is awesome!! I can’t wait to try it!
Yes she is!! 😉
You made my day Jenn 🙂
Oh my goodness! This is so, so cool. I need to do this!
Thanks Alexis! Let me know if you do, I would love to see it!
these are so fun! love the color!
Thanks Cassie!
It’s a lot of color, but goodness it’s so so lovely!!
Thanks Amy, huge compliment coming from you 🙂
So fun and colorful! They look great!
Thanks Erin!
Great idea with beautiful results! I pinned the blue-green one from your blog to my quotes board, love it!
Thanks Gigi….happy you liked the quote!