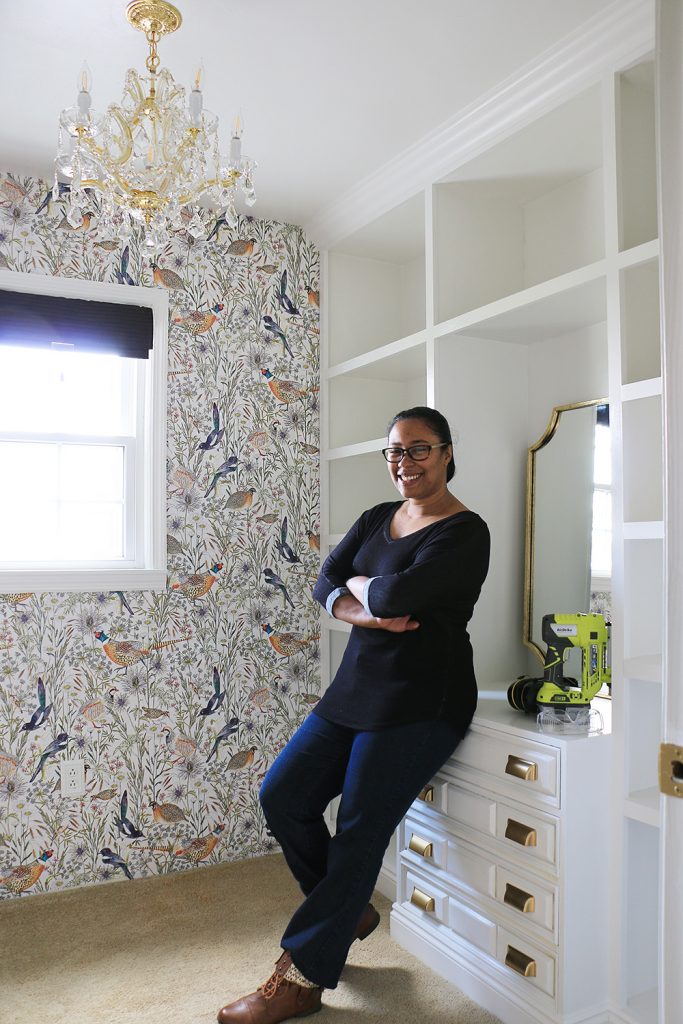
Oh guys, this is it…this begins the hardest weeks of the One Room Challenge . I’m building custom closet units for my space, and next week I start on tiling the bathroom.
*This project is made possible by ORC sponsors Build.com, Wovenbyrd ,and Schuab! Affiliate links contained below.
In the meantime, I’m SOOOO happy to be finished building my closet units! I have discovered muscles I didn’t know I had trying to get this project done in record time.
How To Build Custom Shelves [Video]
Custom Closet Units
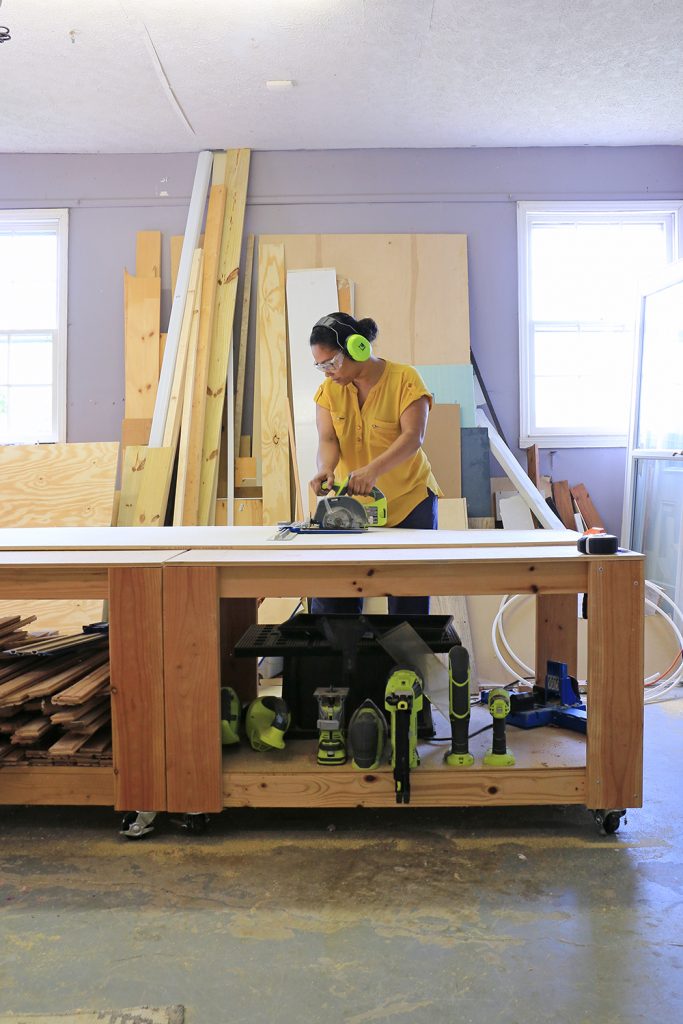
Building shelves, aka closet units, is likely to be considered an intermediate building project. Partly because of the tools required; I am using a circular saw, miter saw, Kreg jig to create pocket holes, drill, and pin nailer.
That’s not to say that you need all of those power tools (I have built shelves with far less), or that you can’t tackle this project if you are a beginner. Just know that the learning curve is a slightly more steep if your walls and floors aren’t level.
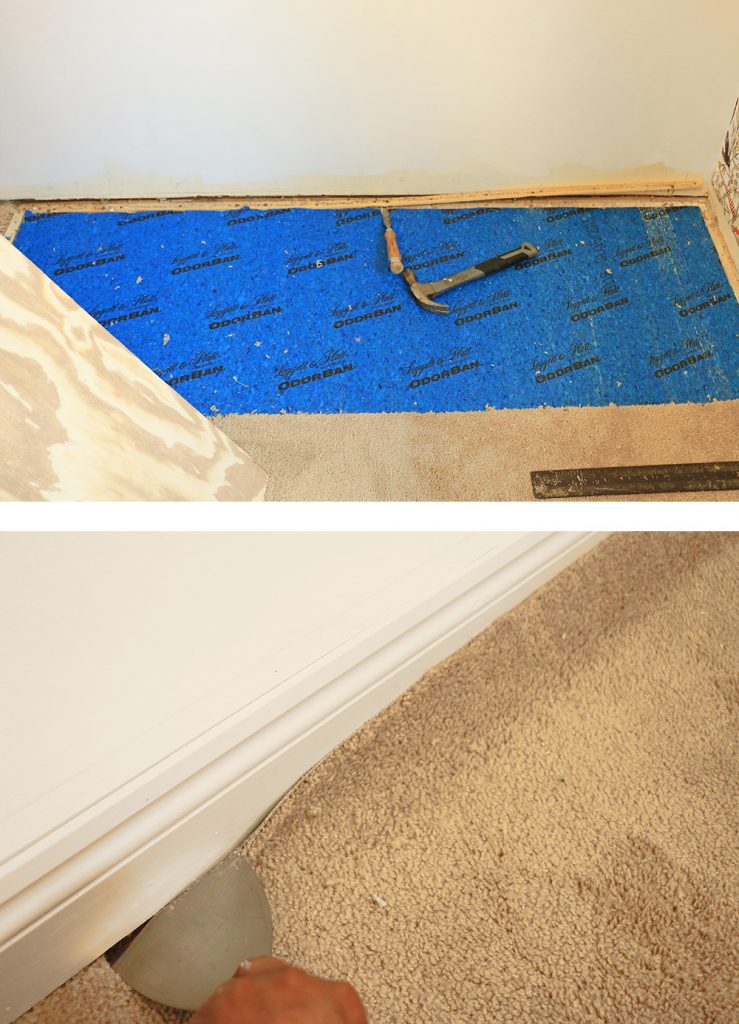
Before I even start with the building, I had to remove the carpet in the area where the built-ins will go. This is another factor to consider…if you have any other type of floor you are okay to build directly on top. However, for carpet, that makes the units uneven and in the future you would have a hard time replacing the carpet.
I re-installed the carpet in front of the units when I was done building and trimming it out. I don’t typically recommend installing carpet yourself, but in this case, I’m planning to replace them in a couple years anyway.
Simple Construction, Stunning Results
The construction is pretty simple in theory: the middle shelves and the vertical shelf sides are all cut to the same depth, assembled using pocket holes that are drilled into each side of the shelves, then you nail trim to the front.
But because the floors and walls are irregular I have to build my units in place to adjust for any irregularities. So I attach the bottom shelf first, then measure and mark where I want each shelf to be as I go (adjusting the position with the level), and attach each shelf by screwing in pocket holes.
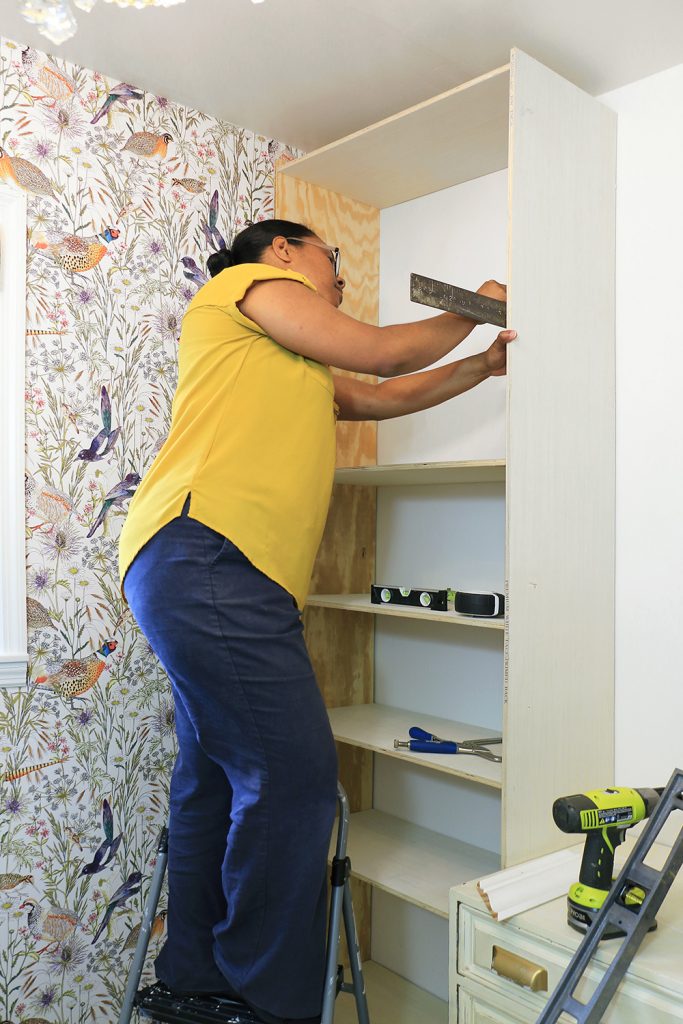
I’m building two shelf units on either side of these thrift shop drawers I snagged, and attaching them with a shelf across the top of the drawers to look like one whole unit.
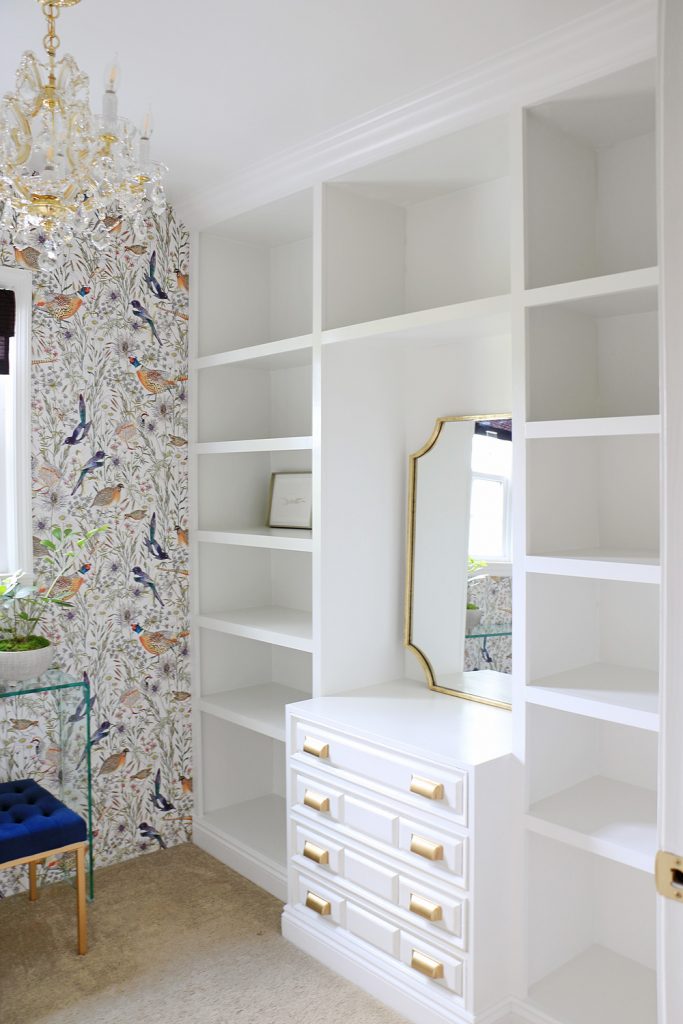
Once you add trim, crown and base moulding, it looks like one cohesive unit! The other side that will house our clothing was a lot simpler to execute.
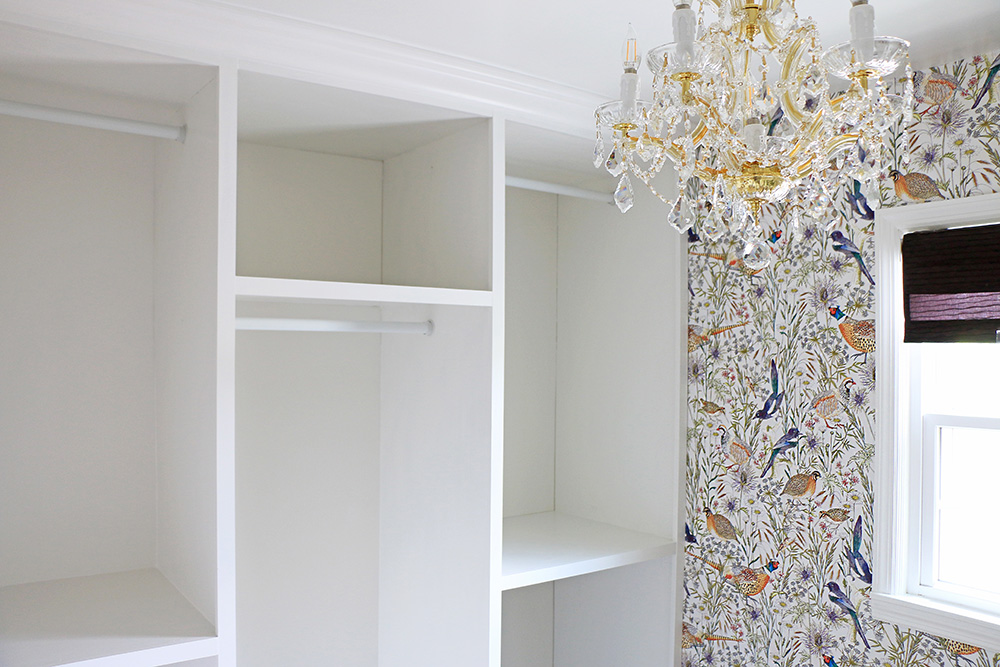
Mirror Mirror On The Wall…
There are so many beautiful gold touches in this room, and this gorgeous Gold Scalloped Edge Mirror from Build.com by Signature Hardware, adds another lovely gold moment!
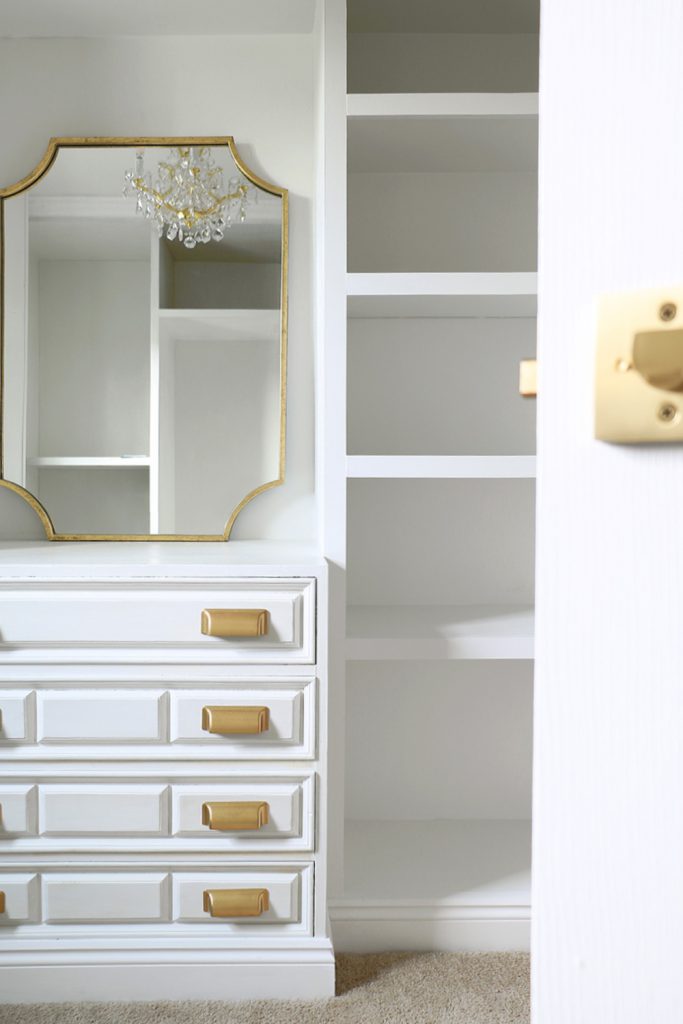
The mirror will reflect the opposite wall, and bounce all the light from the chandelier around the room.
That’s what I love about Build.com, you can find a huge selection of styles, trending finishes, and just about everything you could need for your project at competitive prices. You really can create your own personal style!
I went looking on their site, and got carried away with all the options, but decided to get all my mirrors from them.
Vanity Nook Progress
Hahahaha, my husband hates me calling the space between my bathroom and closet a “vanity” nook. He says we’re not vain… But boy, for someone who isn’t vain, we sure have a LOT of mirrors!
I love having multiple mirrors in a space because it reflects the space back on itself, it’s like having an additional sight line in the room! However, I generally try to curb my weird mirror obsession. Well not this time my friends! I’m doing a bathroom, a closet, and a vanity nook…this is where mirrors live and shine!
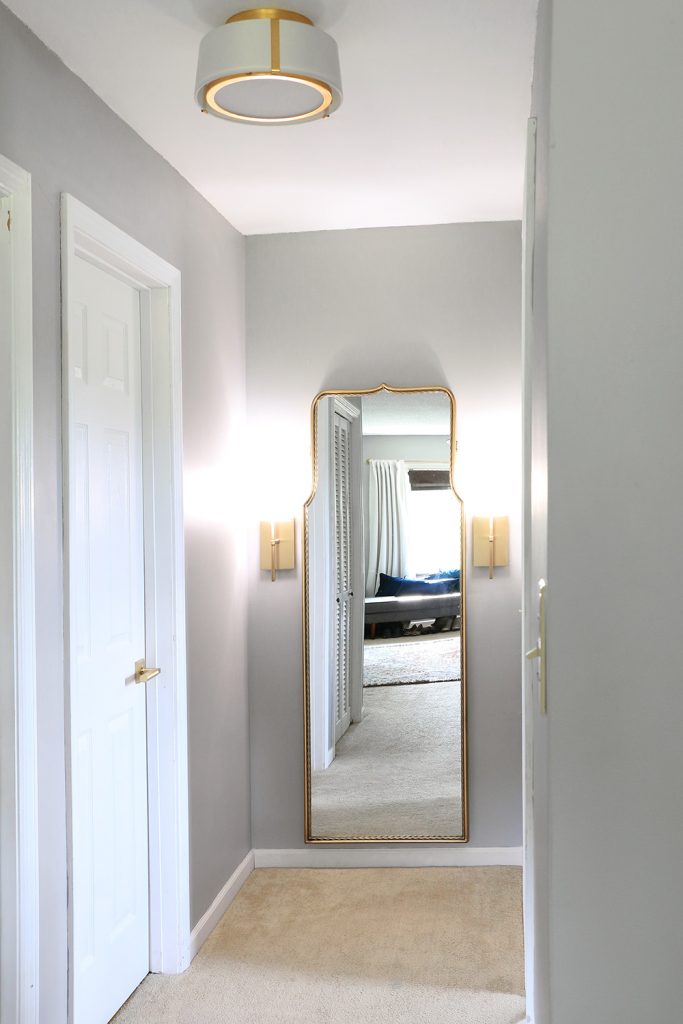
So this Framed Gold Floor Mirror from Build.com is the perfect sophisticated piece for my nook. Now all I need is to add a bench, and the vanity top to the area, and decorate.
Furniture & Decorative Accessories Are Coming In!
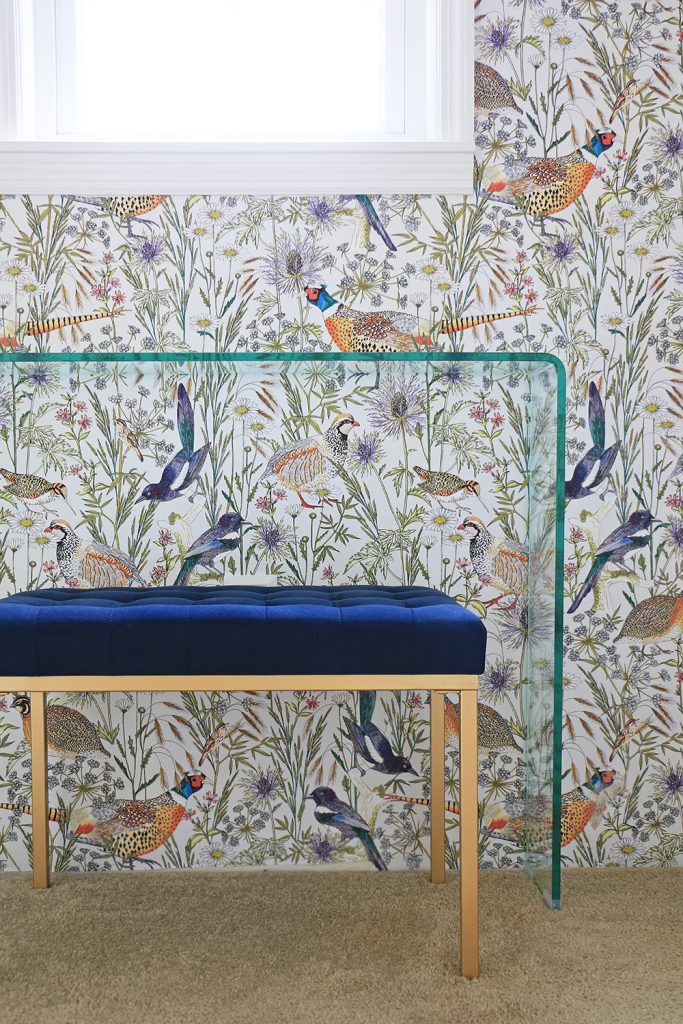
Next comes the fun part for my closet remodel, the decorating! I got a couple beautiful bench options from Wovenbyrd, including this Navy Tufted Ottoman that is going in the closet.
This week I’ll be adding another decorative touch by placing drawer knobs on the wall as a place to hang things. Not your typical use, but how cool are these big beautiful Symphony Elegance, Chalice knobs from Schuab & Company going to look up on the wall?
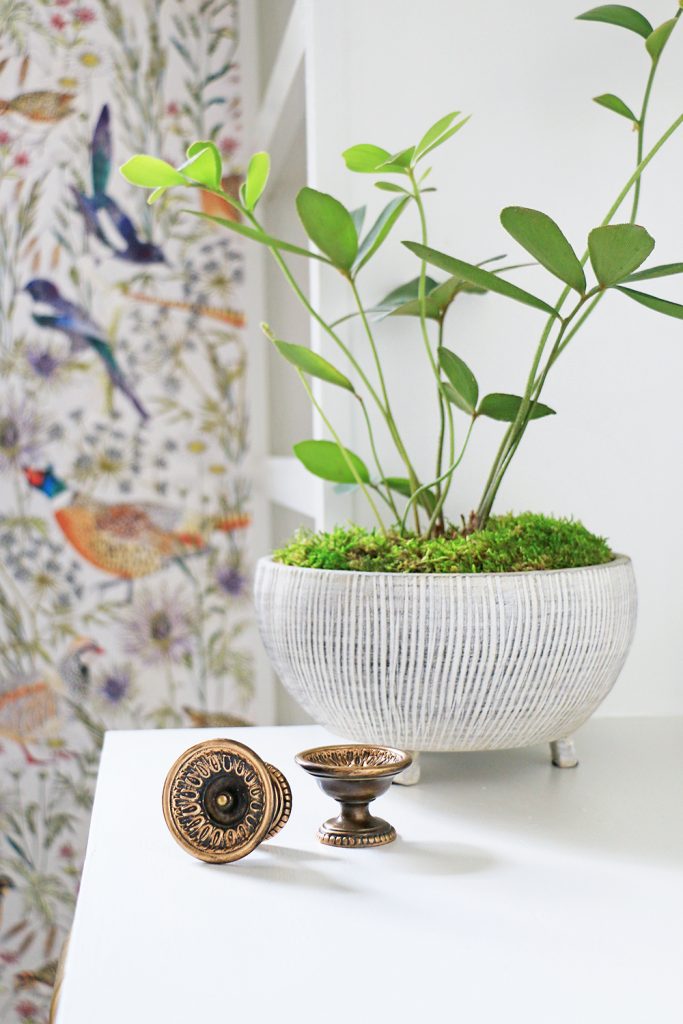
When I saw them online, I knew I had to have them for my design…they have all the flair and old world charm of an antique piece. Plus the size is a nice solid size to become decorative hangers.
I added a little extra pop by using a tiny bit of antique gold rub-n-buff on the edges, and I can’t wait to get them up on the wall!
What’s Left To Do:
Okay, next week is tiling in the bathroom, which worries me because I don’t have a lot of time to get the rest of these tasks accomplished. Wish me luck!
Scrape off popcorn ceilings and mud ceilingsFix crackling walls in bathroomPrime and paint roomsInstall wallpaper in closet-
Replace outlet covers and switch plates Replace bathroom vanity counter topPaint doors and add new door leversAdd molding and trim to bathroom wallsInstall light fixturesBuild closet unitsRemove carpet temporarily and replace after closet built-ins- Remove toilet and see if offsetting is an option
- Install tile flooring in the bathroom and replace toilet
- Install crown molding and baseboards
- Paint/update bathroom vanity
- Build vanity nook ‘makeup’ table top
- Add final decorative touches
Sources:
- Crystorama Light Fixtures: Gold 6-Light Chandelier | Gold Ceiling Mount | Polished Nickel Sconce | Gold Sconces
- Build.com Mirrors: Framed Gold Floor Mirror | Black Iron Framed Mirror | Gold Scalloped Edge Mirror
- Wovenbyrd Benches: Gray Ottoman | Navy Tufted Ottoman
- Milton & King Wallpaper: Woodland Birds Wallpaper
- Emtek Door Lever: L-Square Faceted Lever, with Square Rosette in Satin Brass
- Schuab Cabinet Knob: Symphony Elegance, Chalice knob in Monticello Brass
Did You Miss The Last Few Weeks Progress? Get Caught Up Here:
Week 1: Before Pictures | Week 2: Ceiling & Wallpaper | Week 3: Moulding & Millwork | Week 4: Light Fixtures
Follow These Talented ORC Featured Designers!
A Glass of Bovino | Beginning in the Middle | Beth Diana Smith | Clark + Aldine | Coco & Jack | Deeply Southern Home| Design Maze | Dwell by Cheryl | Erika Ward | Home Made by Carmona | House of Hipsters | Hunted Interior | Kandrac & Kole | Kate Pearce | Katrina Blair | Liz Kamarul | Veneer Designs | Rambling Renovators | Renovation Husbands | Studio Plumb | Media BH&G

One Room Challenge Sponsors:
Minted | Milton & King | Novo Building Products | Emtek | Crystorama | Build.com | Schuab | The Tile Shop | Wovenbyrd | SWD Pillows
Like This? You’ll Love These!
Related Posts: How to makeover your clothes closet | Tips to store clothes hangers | 7 closet organizing tips |



Ursula,
Amazing job! Exceptional carpentry skills …go you! Loving the glam life you’re living! Especially love the way the blue bench brings out the blue colored birds in your wallpaper😍
I’m loving following along on this project. You are super talented!!!
Those built ins turned out AMAZING! I’ve been putting off building out my closet forever but you are totally inspiring me to tackle it sooner rather than later
Thank you! It’s totally worth doing!
Ursula!!! Are you serious?! This progress is unreal. You’re killing it! I can’t wait to see the reveal.
Thanks so much Alisa!
Ursula I can’t believe you made those built-ins all by yourself!! They look amazing and i love how you incorporated the found drawers into the overall design. BRAVO! two more weeks now!
This is AMAZING. You are going to the next level on this one!!!!
DROOLING OVER EVERYTHING! The shelves turned out great! And how on earth are you able to create video content on top of all this. Superstar lady!
Thank you my friend!
Well done! Good luck and good skill with the tile!
First off, you have inspired me to build!! For someone who barely has any tools… but wants to build a custom closet, what tools do you recommend? I have some Ryobi, and I see those in your pic but they have nothing to do with cutting wood 🤭. Please help! Thank you!
What a dreamy dreamy closet! Can’t wait to see this space all styled!!