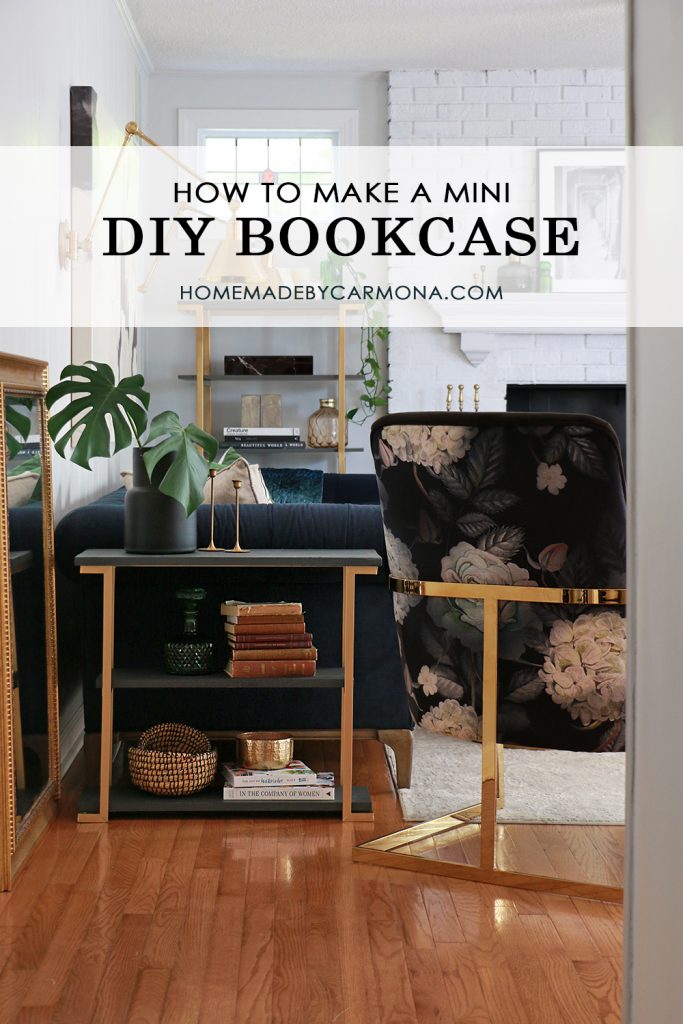
I’m loving my new DIY bookcase, and it was all custom! Have you always wanted to make custom pieces of furniture even if it included both a metal and a wood element? Well now you can!
Torchwork isn’t as hard as you think, and this soldering work doesn’t require a welding machine to do the job. Just your favorite high heat Bernzomatic torch, MAP pro fuel, and a couple of supplies.
*Kindly sponsored by our friends at Bernzomatic
However, if this is your first go-round using a torch to braze or solder, start with a smaller project like my DIY Wall Trellis, or Book Holder first.
This super cute mini bookcase can be custom made to a full size, or used as an end table, or attached to the wall!

I designed this DIY bookcase with just a bit of flair, but you could also go with a straight forward ladder leg design as well.
Here’s What You Need
- Bernzomatic BZ8250 Hose Torch
- Bernzomatic MAP Pro Fuel
- Aluminum Brazing Rods
- (3) 3/4″x 6′ Aluminum Square Bar
- Wood for shelves
- Paint & gold spray paint (optional)
Video How-To
Watch this video first to get the know-how, then read ahead for a few tips and tricks!
A Few Extra Details…
The video tutorial will give you an overview of this DIY bookcase, but here are a few extra details and tips to make this project a success!
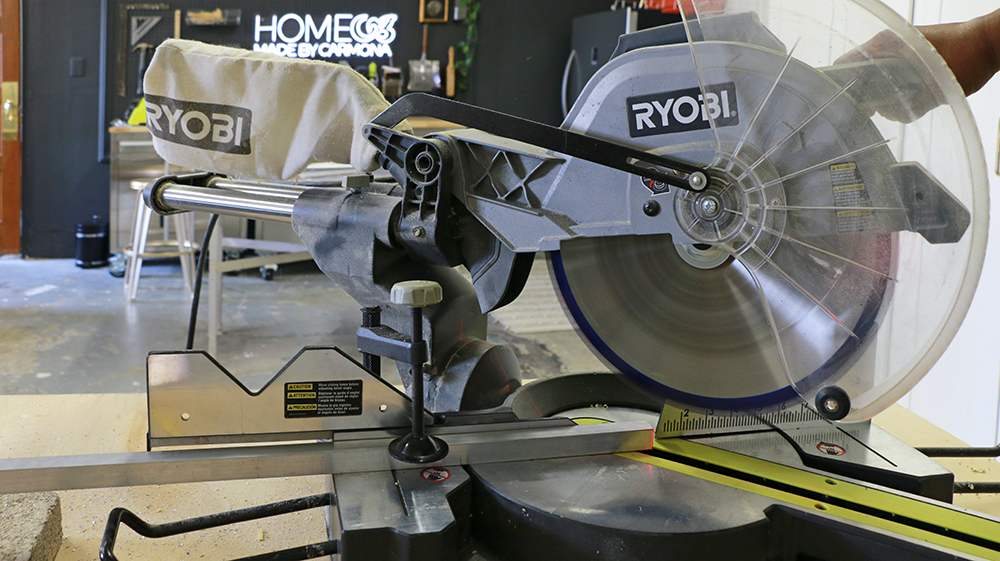
TOOL TIP: You’ll want to use a miter saw with a small tooth blade that cuts metal for this project. Sure you could use other tools to cut aluminum, but this will be easier as we want to make accurate 45-degree angle cuts.
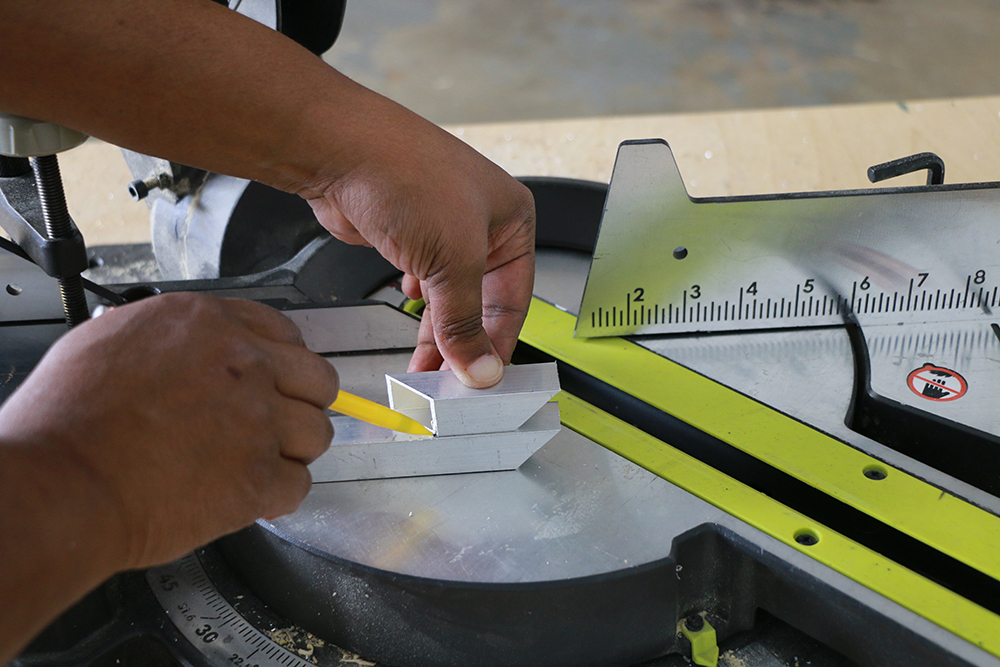
START RIGHT: You’ll notice in the video that I start by cutting the smaller 2″ pieces first. This is because you need long pieces to safely cut such a small piece off. Please do this step first as directed.
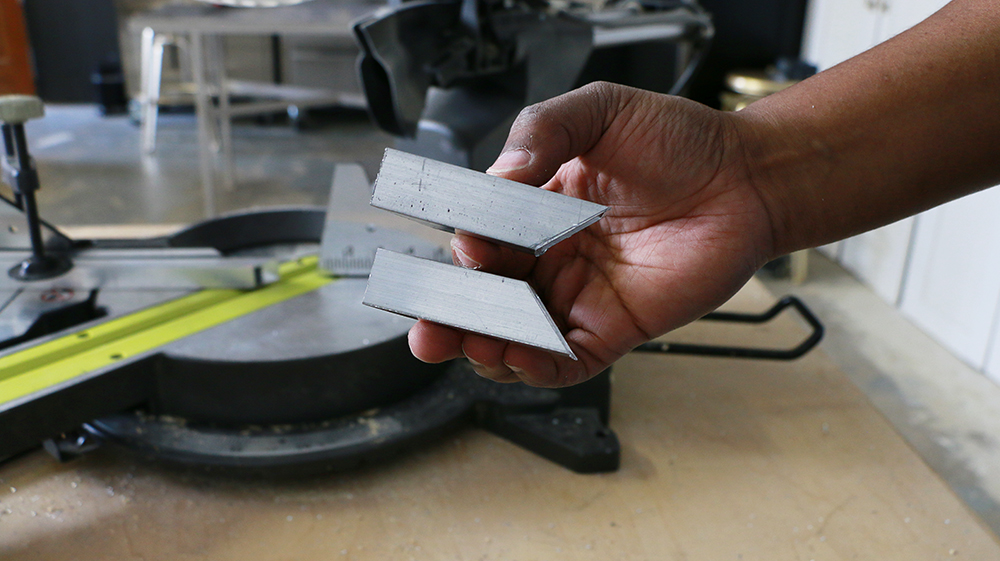
IMPORTANT CUTS: In case you missed it, 4 of your 2″ pieces will be identical, but the other 4 will have an angle pointed in the opposite direction. So be sure to follow the video directions carefully! This is so you can make the configuration shown below.
Note the long 24″ and 12″ cuts are made with the angles both flaring outward.
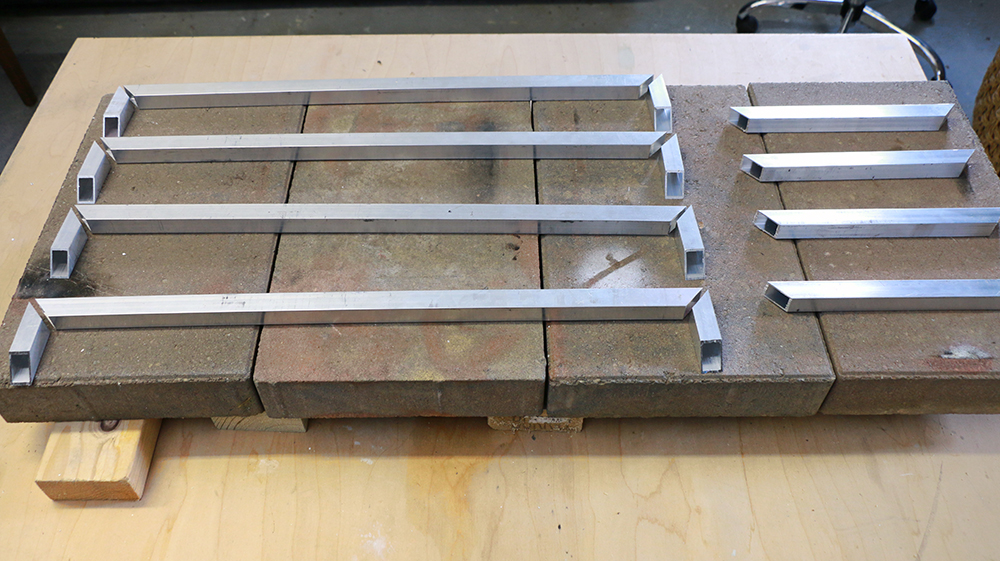
OVERVIEW OF CUTS: (8) 2″ pieces, (4) 24″ pieces, (4) 12″ pieces, (2) 8.5″ pieces (approximate size… this should be measured and cut when you get to that part of your project), and (2) custom sized pieces (mine measured 22″).
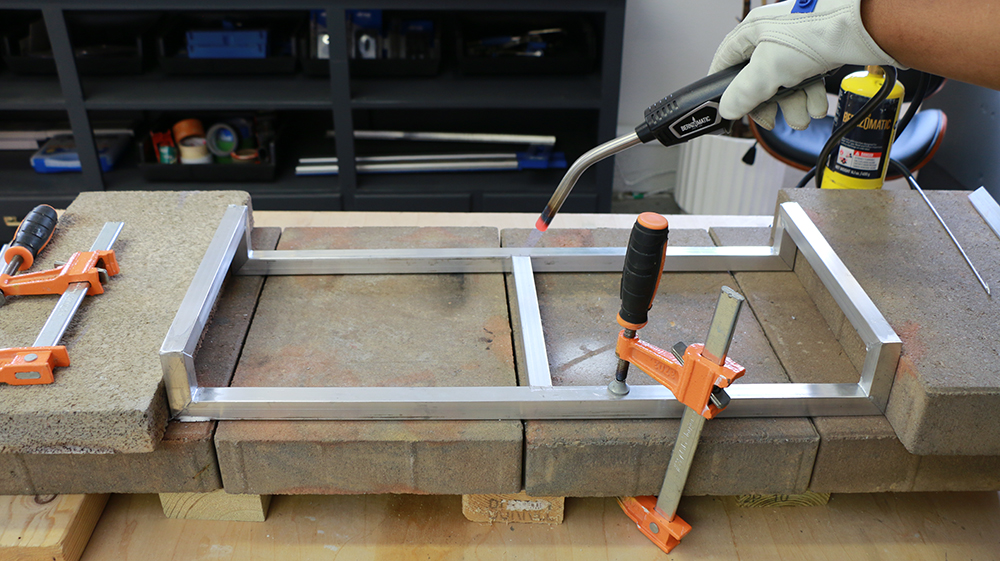
SOLDERING TIP: It is important to heat the aluminum hot enough to melt your brazing rod. It can take anywhere from 3-5 minutes to get it hot enough, so be patient!
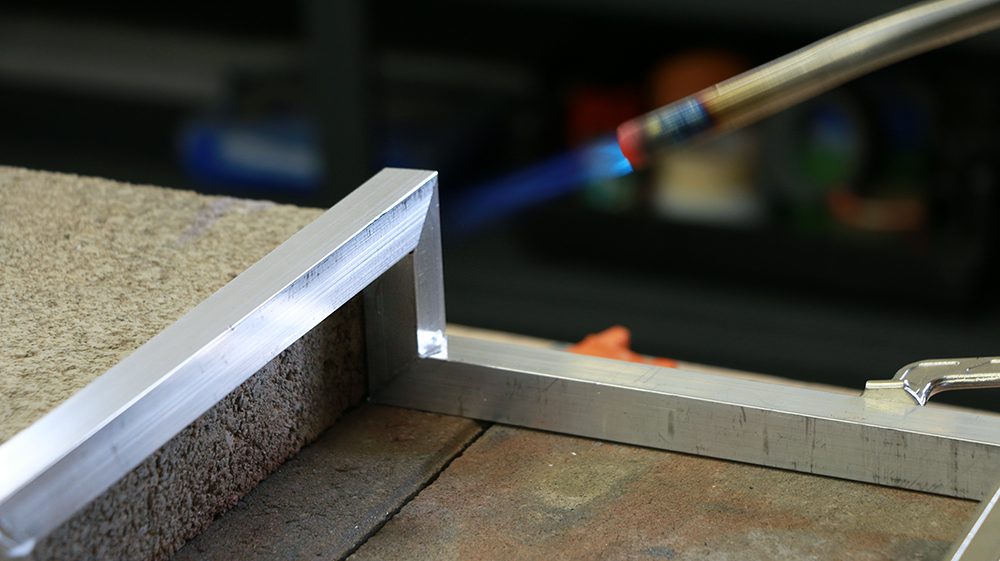
SOLDERING NOTE: Don’t just solder one connecting joint for each corner, be sure to do a minimum of 2. If 3 are showing and accessible, go for it! However, do not plan to flip it over and do the joints not showing…you will likely undo your previous soldering job by heating that joint a second time.
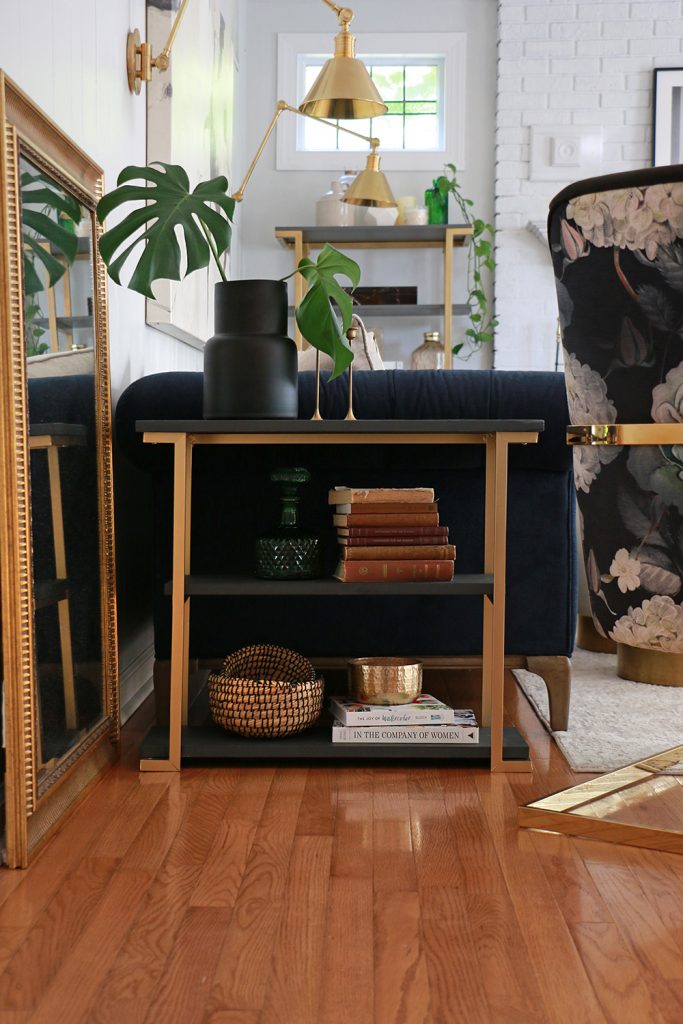
Style & Enjoy Your DIY Bookcase!
The size can be customized to whichever corner you plan to show off your bookcase in. For me, it served as the perfect mini copy of the larger bookcase you may have spotted under my window in the picture below. But it was designed to fit perfectly near my sofa as an end table bookcase!
Like This? Try This project!
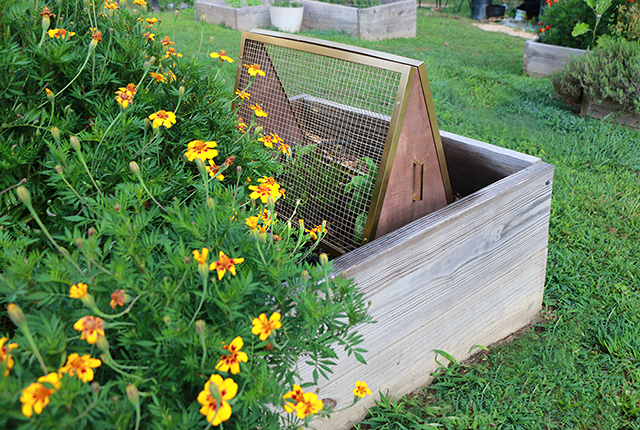
Make an adorable Mid Century styled garden plant cover and keep the rabbits at bay!
*Special thanks to Bernzomatic for sponsoring this project!


Leave a Reply