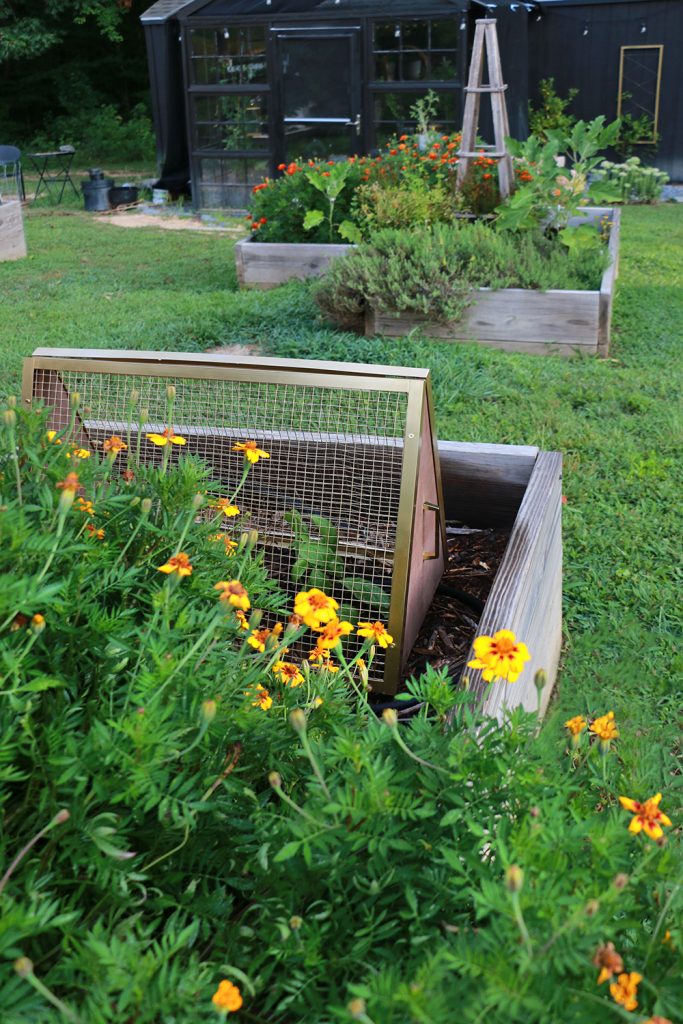
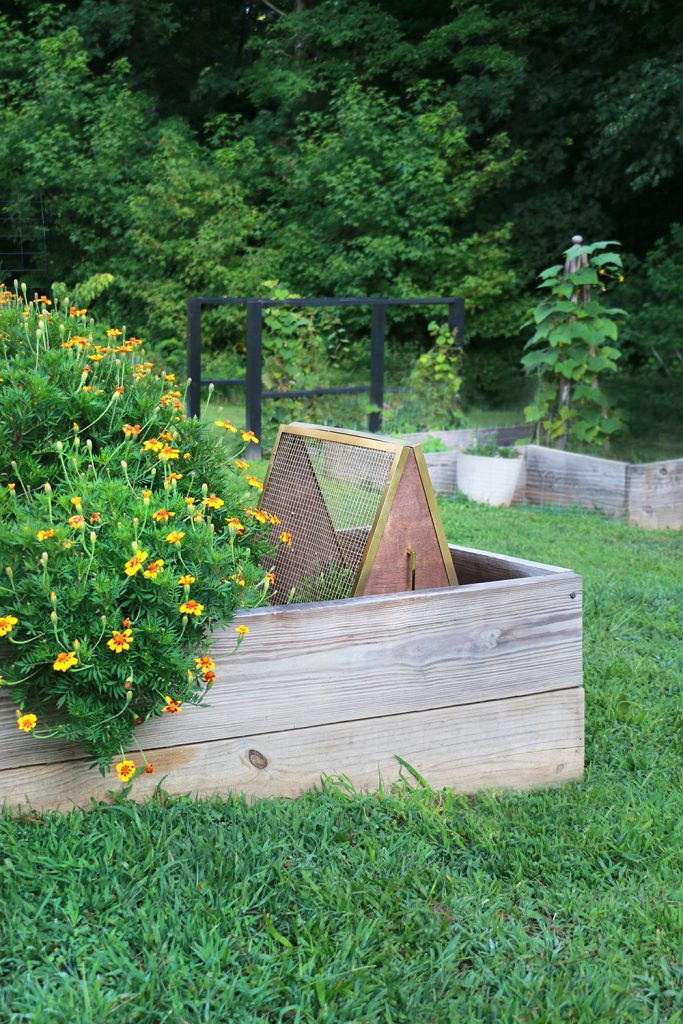
Garden season is in full swing, but as much as I am loving my garden, the local wildlife is loving it even more…it’s clear I need a plant cover or two!
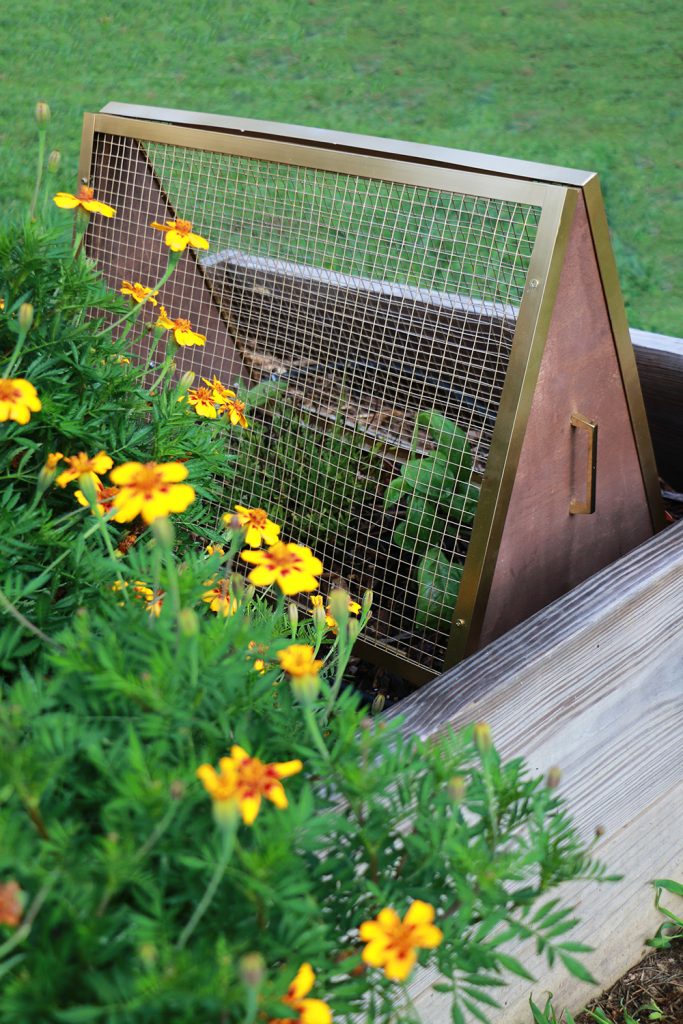
Looking to keep your tasty young seedlings safe from rabbits and groundhogs? This protective plant cover has a mid-century modern look that adds visual interest to your garden while protecting your plants!
*This post is sponsored by our friends at Bernzomatic!
Let’s just say I got tired of sharing my vegetables with the local groundhog, who my kids affectionately named Russel. He didn’t eat everything, just the young plants and certain veggies he seemed to relish.
In creating plans for my protective plant cover, I wanted to incorporate wooden sides to offer a little shade for my heat-sensitive plants. Turned at the correct angle, it allows a hint of shade at certain times of day.
Video Tutorial
Supplies + Cut List
Here’s What You’ll Need:
- Bernzomatic TS8000T Torch
- Bernzomatic Map Pro Fuel
- (1 package) Aluminum brazing rods
- (2) 1/16″x 3/4″x8′ Aluminum Angle Bar
- (1) 1/2″x8′ Flat Aluminum Bar
- 36″ Hardware cloth
- 1/2″ Plywood
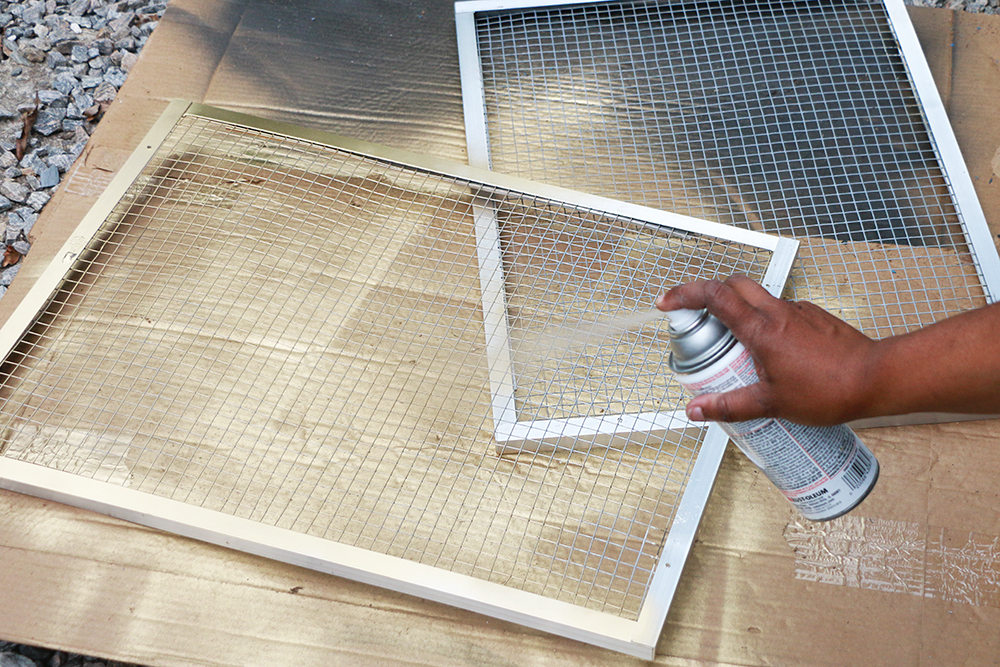
- Spray paint + Wood stain + Wood sealer
- Drawer pulls (optional)
Cut List:
- (4) 1/16″x3/4″ Angle bar: 24″
- (4) 1/16″x3/4″ Angle bar: 18″
- (2) Hardware cloth rectangles: 18″x24″
- (4) 1/2″ Flat bar: 23″
- (2) Plywood triangles: 13″-bottom, 18.5″-sides (with 1″ top cut off)
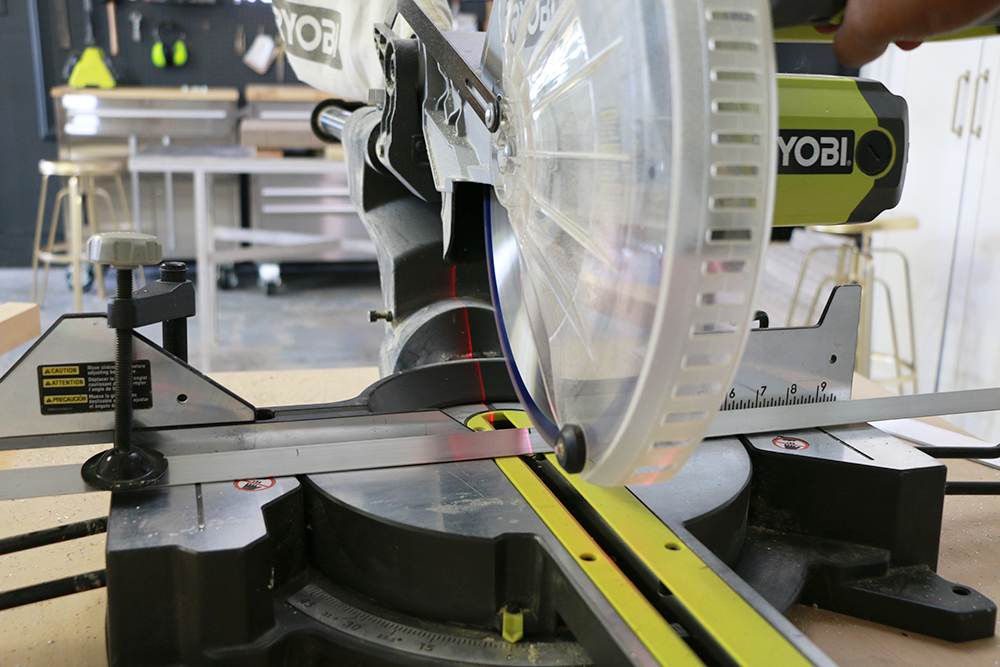
Start by cutting the aluminum bars, plywood, and hardware cloth pieces to size.
TOOLS: Aluminum is a soft metal and can be cut with a miter saw outfitted with a blade designed to cut metal. A jig saw or circular saw is ideal for cutting your plywood triangles to size.
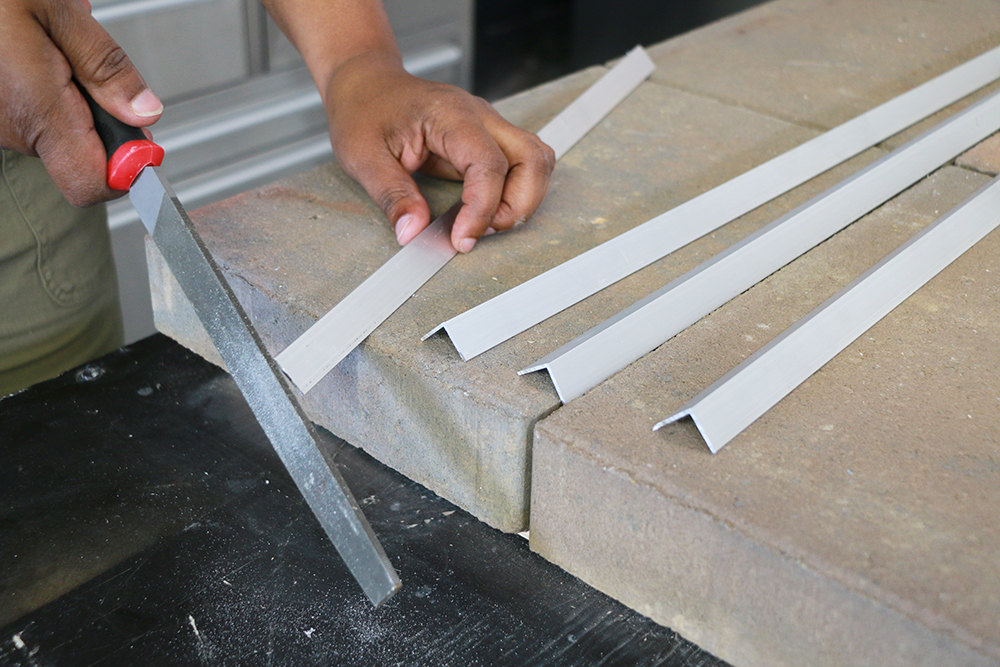
File Rough Edges & Clean
Use a file to smooth the cut edges of the aluminum bars. After filing, wipe down the entire bar with a clean cloth and acetone; this will ensure there isn’t any buildup that prevents a solid solder.
After that, sand any rough edges on your wooden triangles. FYI, this is a good time to stain the triangles so it has adequate dry time.
Assemble The Frame & Solder Corners
Assemble four of the angled aluminum bars to make a rectangle, overlapping the long bars on top of the smaller ones. Check all four corners with a speed square to make sure they aren’t skewed, and clamp in place.

Use the Bernzomatic TS8000T Torch to heat up one corner of the frame until it is hot enough to melt the brazing rod.
NOTE: Do not apply the flame to the brazing rod. In order to get a solid joint, your objective is to heat the aluminum frame itself, until IT is hot enough to melt the brazing rod on contact.
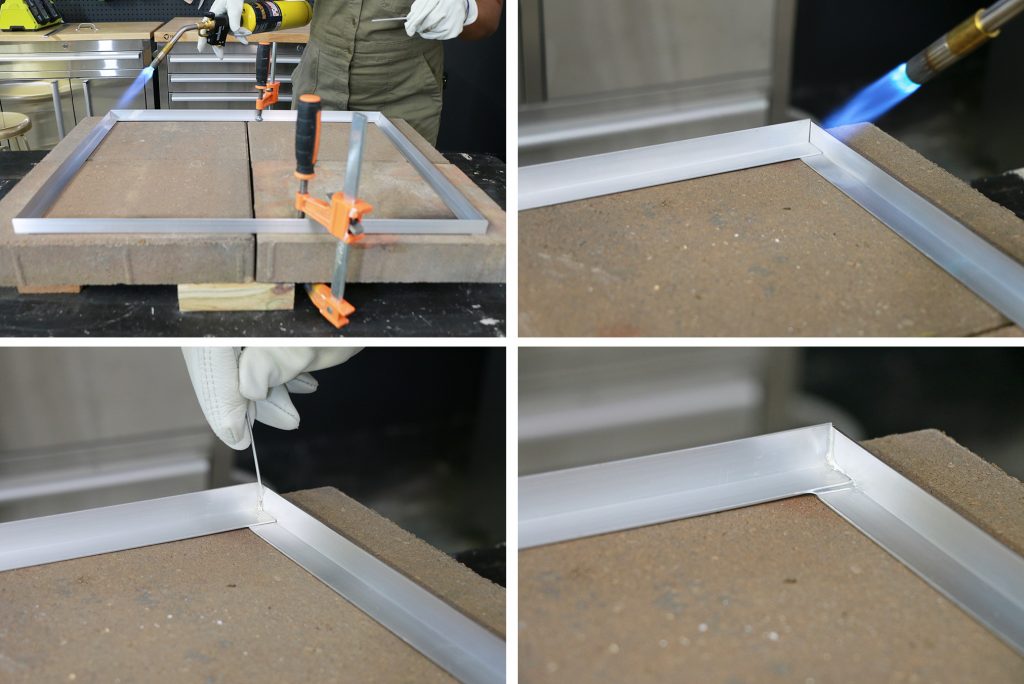
You may have to touch the brazing rod to the bar a few times to see when the surface is hot enough to melt it. Then drag the brazing rod along the connecting joints.
Finally, solder all four corners, then let it cool completely.
Attach Hardware Cloth
If you haven’t already done so, cut your hardware cloth to fit inside the frame.
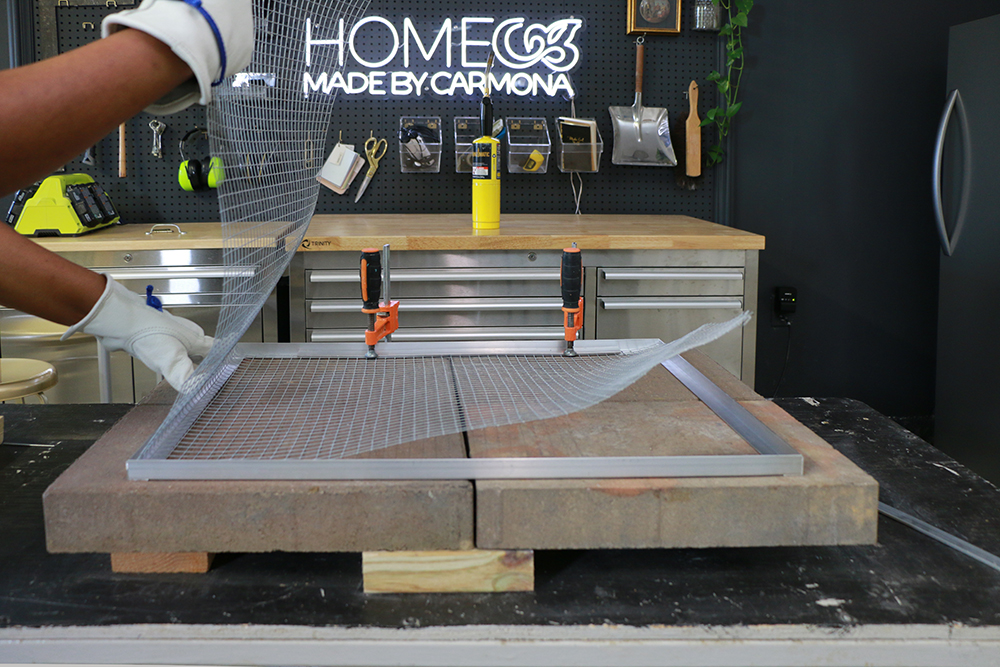
After placing the hardware cloth inside the rectangle frame, place the flat bars on top along the long edge of the frame. The hardware cloth will be sandwiched between the angled bar and the flat bar.
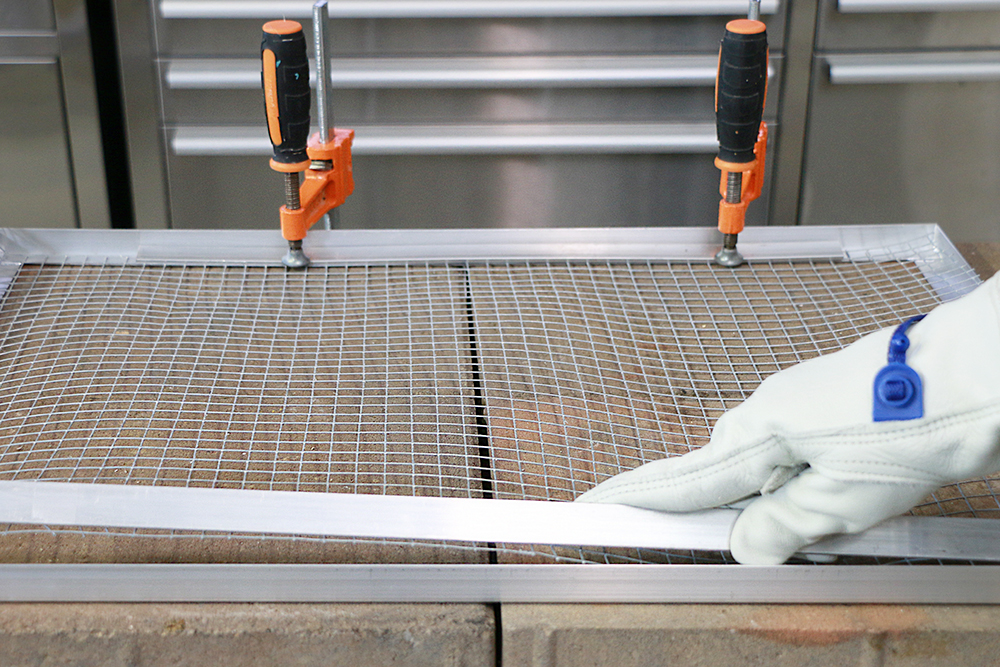
Clamp, and solder in place. You only need to solder the edge where the flat bar and the angled bar meet… try not to get your flame on the hardware cloth side.
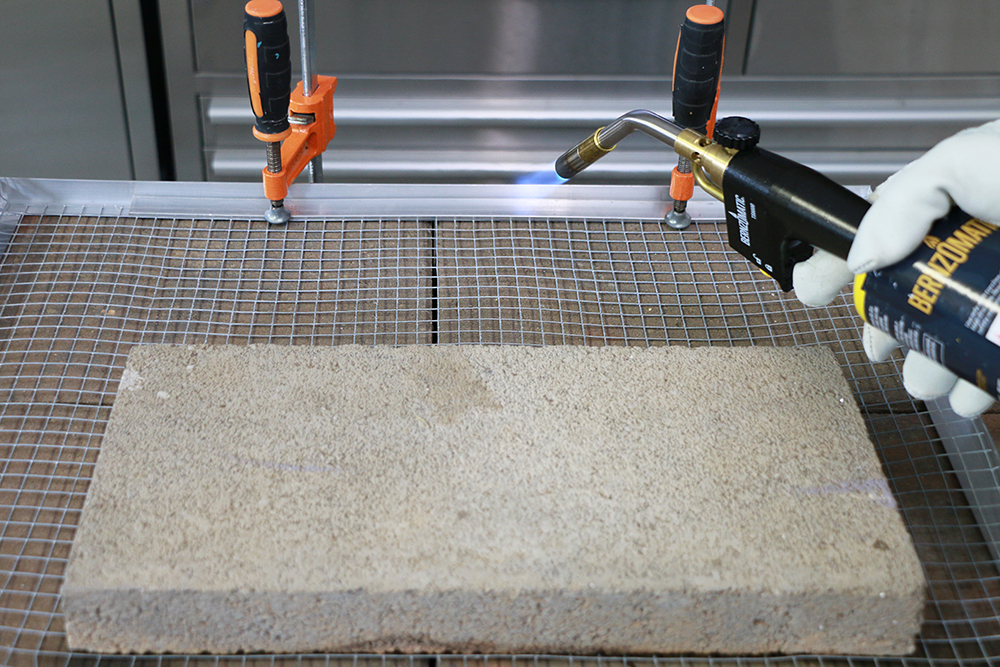
Now that you have created one side of your frame, repeat these steps to create the second side of this frame.
Stain, Paint, & Assemble
Stain the wooden rectangle pieces, or if you have already done that, add a protective sealer.
Optionally add drawer pulls to the center of your wooden triangles. This is for ease of carrying your plant cover.

Spray paint the frame pieces, front and back, and seal with a clear protective coat. That clear coat is helpful as the plant cover will be outdoors in all kinds of weather!
Drill holes in the 18″ sides of the frame (about 2″ from the outside edge). This is where you’ll screw on the metal frames to the wooden sides.
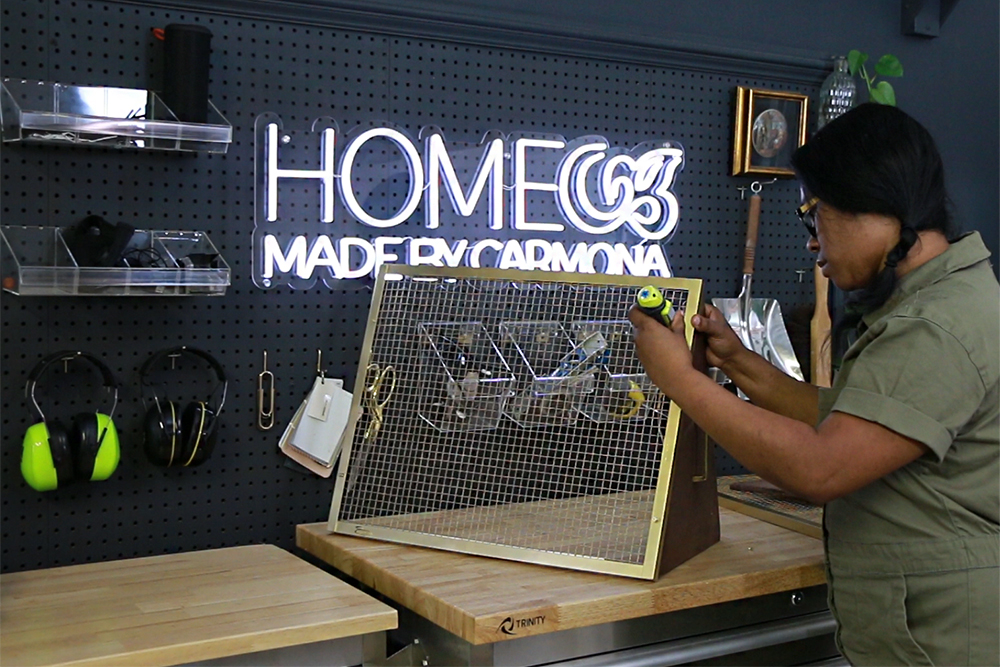
Assembly is simply propping the wood inside the two metal pieces, and screwing it in place.
Enjoy Your Plant Cover!
Look at that beautiful protective plant cover you made! Now the wildlife will have to settle for some other edible.

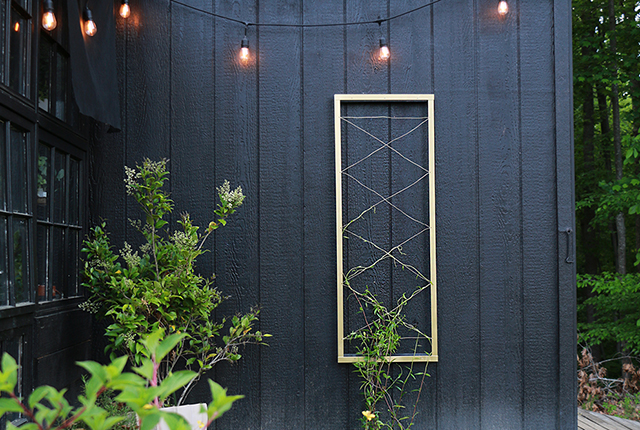
If you like this outdoor no-weld metal project, you’ll love this DIY wall trellis! Yet another project that will help bring your garden to life!
*Special thanks to Bernzomatic for sponsoring this post!


Leave a Reply