Oh man, I have so much fun with these virtual build parties! There is nothing like seeing 25+ other bloggers build something from the exact same set of plans, and seeing it transformed to reflect 25 different tastes and styles!
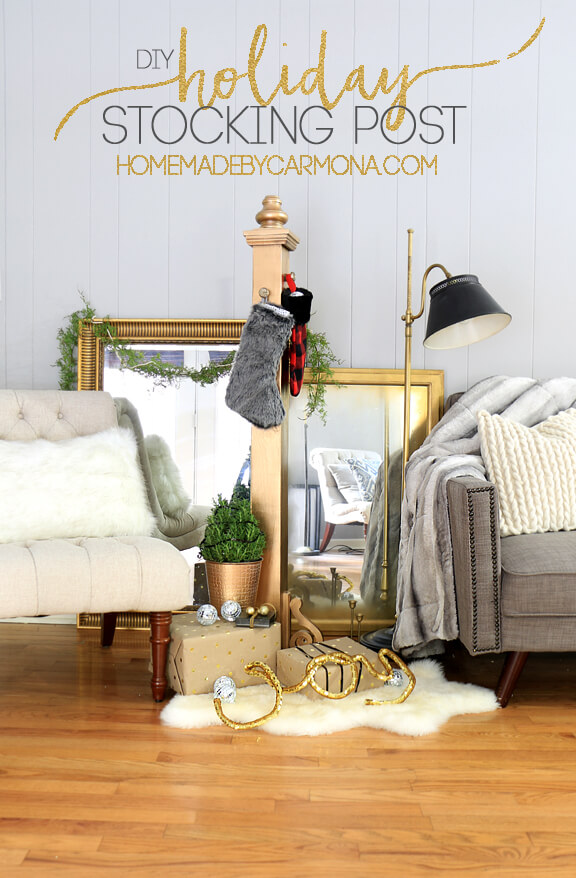
My talented blog friend Jenn from Build Basic invited me to join in this virtual party hosted by The Home Depot, and I couldn’t be more delighted! We are building a DIY holiday stocking post…perfect when you don’t have a mantle to hang those Christmas stockings from, and even more awesome as a coat rack when the holiday season is over!
How would you like to join in the virtual party fun? You can follow along and see everyone’s customized Christmas stocking post from the links below, or you can following along via social media using #DIYWorkshop .
Even better, join in by building your own stocking post and show us how you customized yours! You can sign up for the workshop at your local Home Depot using this link here. You’ll learn how to make this stocking post (and trust me, it is super easy and loads of fun!), and I’d love it if you uploaded a picture to Facebook or Instagram and tag me (don’t forget to include #DIYWorkshop).

By the way, there are loads of great workshops you can sign up for via that same link I gave you. The Home Depot offers workshops for all ages and experiences at all of their locations…so it’s a great way to get your DIY on! They have a DIY Workshop, a DIH (Do-it-herself) Workshop for the ladies, and even a Kids Workshop! Now you can learn how to build décor projects, make repairs, and operate tools with hands-on help and demonstrations. Awesome right?

Okay, let’s take a look at the original holiday stocking post once more. Cute right? But you know me, I like to march to the beat of my own drum (yep, even if I’m off beat! lol!).

Want to know more about how I customized my Holiday Stocking Post? I purchased two items a little different from the official build plan list:
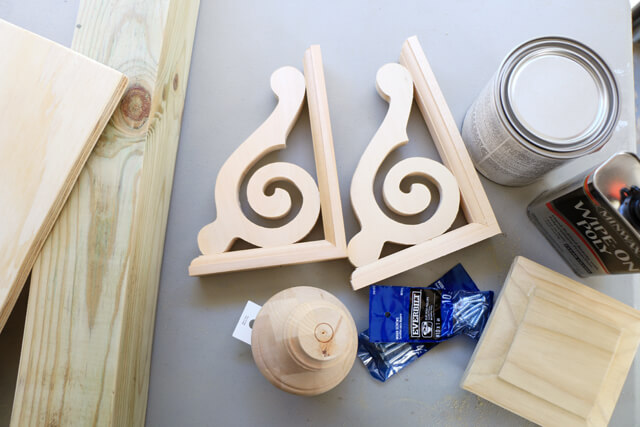
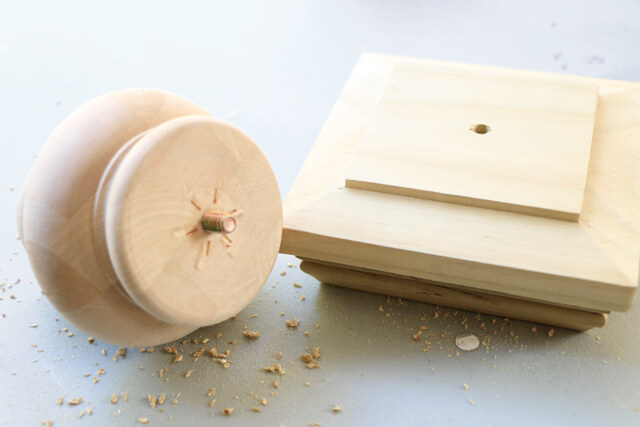
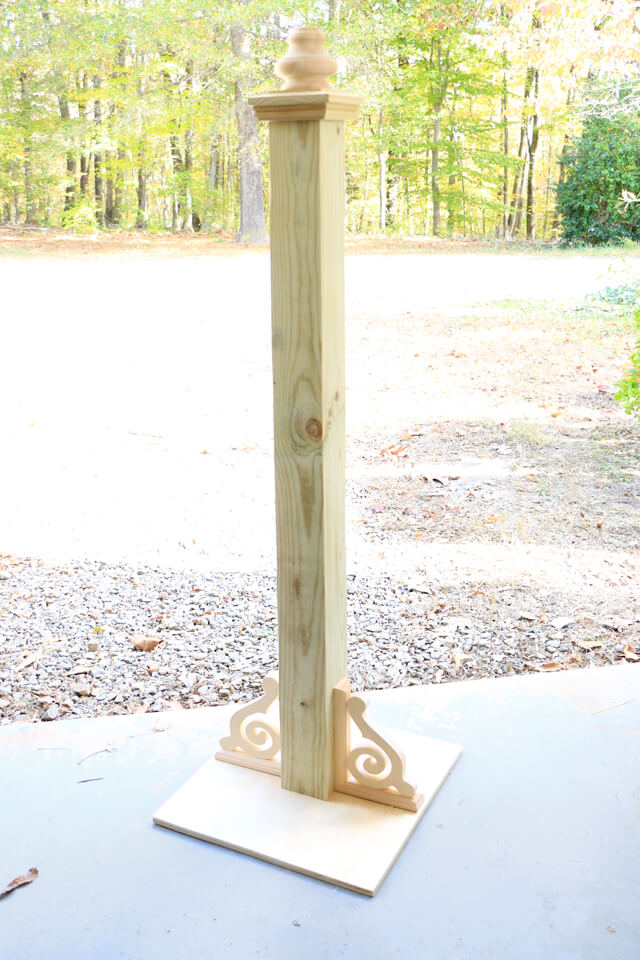
I went with a furniture leg instead of the round post cap. I found these just a couple aisles away from the post caps and thought it would suit my style a little more.
I also picked up a couple of corbels, because, why not? They are so pretty!
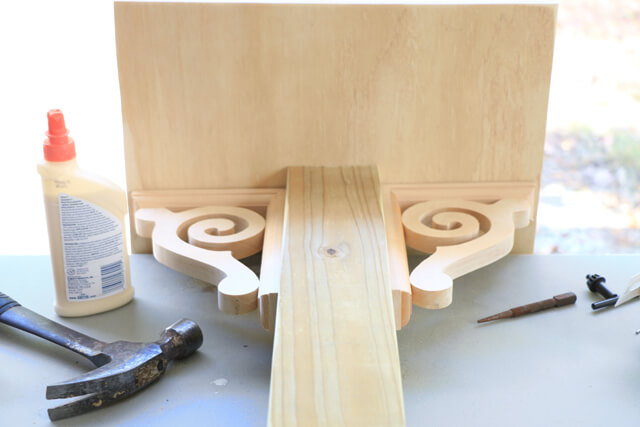
I followed all the same build plans, but instead of making my base round, I kept it square and added the two corbels on either side of the post. Oh…I also made my post about 6 inches taller so that it can be used as a coat rack after Christmas is over. FYI: The extra little bit of height works fine with the 16″x16″ square base you’ll find in your plans. Then just attach the corbels with glue, and by nails or screws from the underside.
Be sure you drive your screws into countersunk holes from underneath the base.
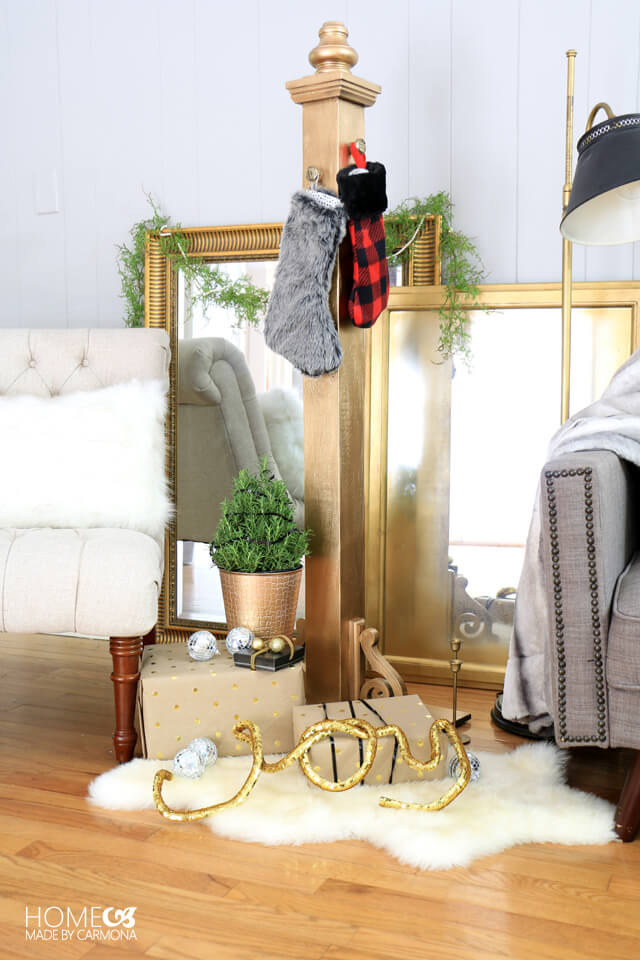
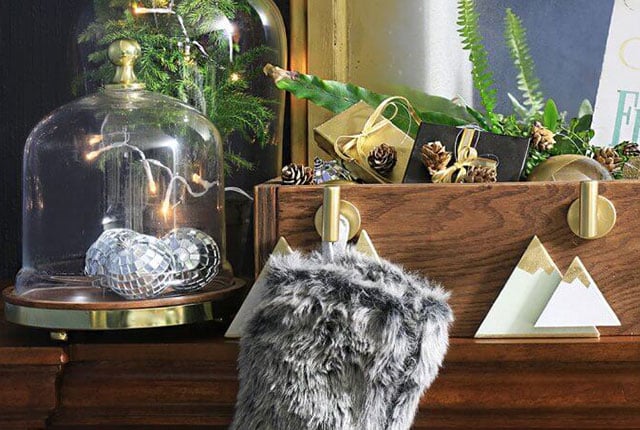
I may use my stocking post as a coat hanger in my garden when the season is over, so later on I may paint it white and seal it with an outdoor polyurethane to protect the wood from whatever nature (or child) may throw at it. For now, I thought a festive gold spray paint would be fun!
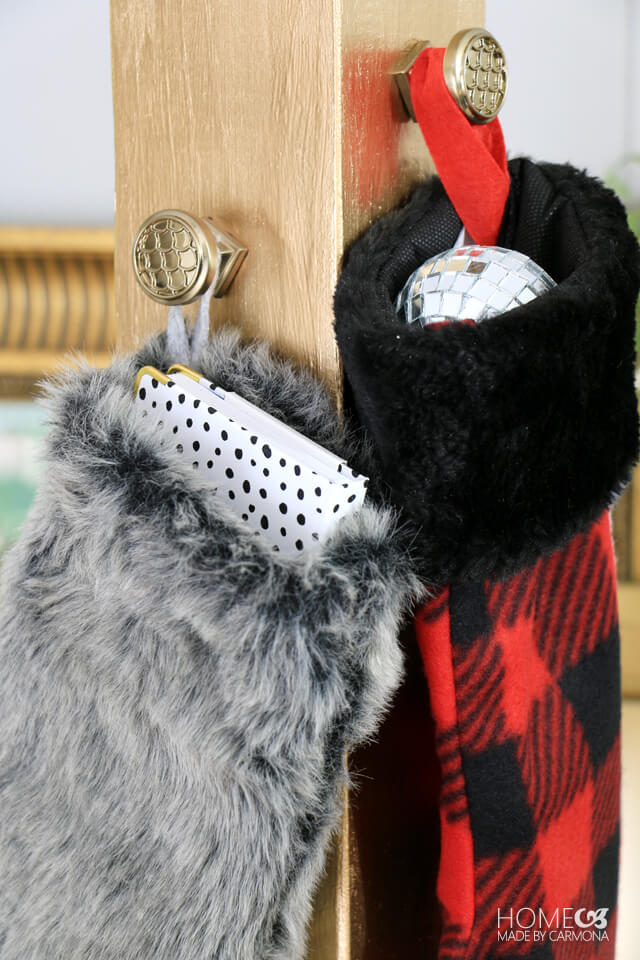
I opted to use these really pretty drawer knobs I spotted at The Home Depot, rather than the regular hooks. Something about them struck me as quite holiday like!
So what do you think? Fun right! My kids thought so too. Now we just need a tree to look like Christmas around here!
You are going to love how these other bloggers have customized their Holiday Stocking Posts…check it out here:
Domestic Charm | My Altered State |Smart Girls DIY | Chaotically Creative | Ciburbanity | Lazy Guy DIY | Build Basic | That’s My Letter | Her Toolbelt | The Handmade Home | The Heathered Nest | Designer Trapped |The Chronicles of Home | Cherished Bliss
Just a Girl and Her Blog | House of Wood | Shades of Blue Interiors | Uncookie Cutter | Ella Claire Inspired | Shine Your Light
*A special shoutout to my peeps at The Home Depot for hosting this virtual party! The Home Depot is my real life one-stop-shop for building and DIY needs, so I’m pretty honored to be a part of this virtual party. I receive compensation for the DIY, but all thoughts, opinions, and words are always my own.
Like This? You’ll Love These Holiday Posts!
Make a variation of a Christmas stocking POST and instead make a cute Christmas stocking BOX to sit on top of a shelf or mantel!
Looking for some Christmas decorating inspiration? Take a tour of this historic home that got styled for the holidays, or my own nature-themed holiday house tour.
Wish you could style your home for the holidays, but your pocket book is saying no? Learn how to decorate your home for Christmas while on a budget!


Ooh, I love this! Going on my “to-do” list for next year!
Beautiful Ursula!!! Love the gold and your styling is super Christmas glam. Love it.
So very cute ♥
So beautiful! That good idea. I like your diy. Thanks for sharing!
Love your creative take on this project… the drawer pulls and corbels kicked this up a notch from rustic.
Judith
Looks so cute! Love the gold!
Super Glam! I love it!