*This post is awesomely sponsored by National Hardware! (I’m a big fan of their hardware!)
Maybe it is because I have 3 kids whose superpower is mess making (and then there’s the husband…but that’s another story), but in my mind the holy grail of organizing is the perfect storage container to wrangle any and everything. After all, it’s the little things that can make or break any room. Lots of little items thrown about the space can make it feel messy and disorganized.
…in my mind the holy grail of organizing is the perfect storage container to wrangle any and everything.
You know what I’m talking about, you find yourself picking up random knick knacks from around the house, wondering who left them there in the first place (mmm hmmm), but not knowing where to store all these necessary but miscellaneous items. That’s when a handy dandy team of chic storage bins for all the knick knacks -big or small- comes in handy!
A beautiful and tidy space is all in the details, make every little thing count…and for the better!
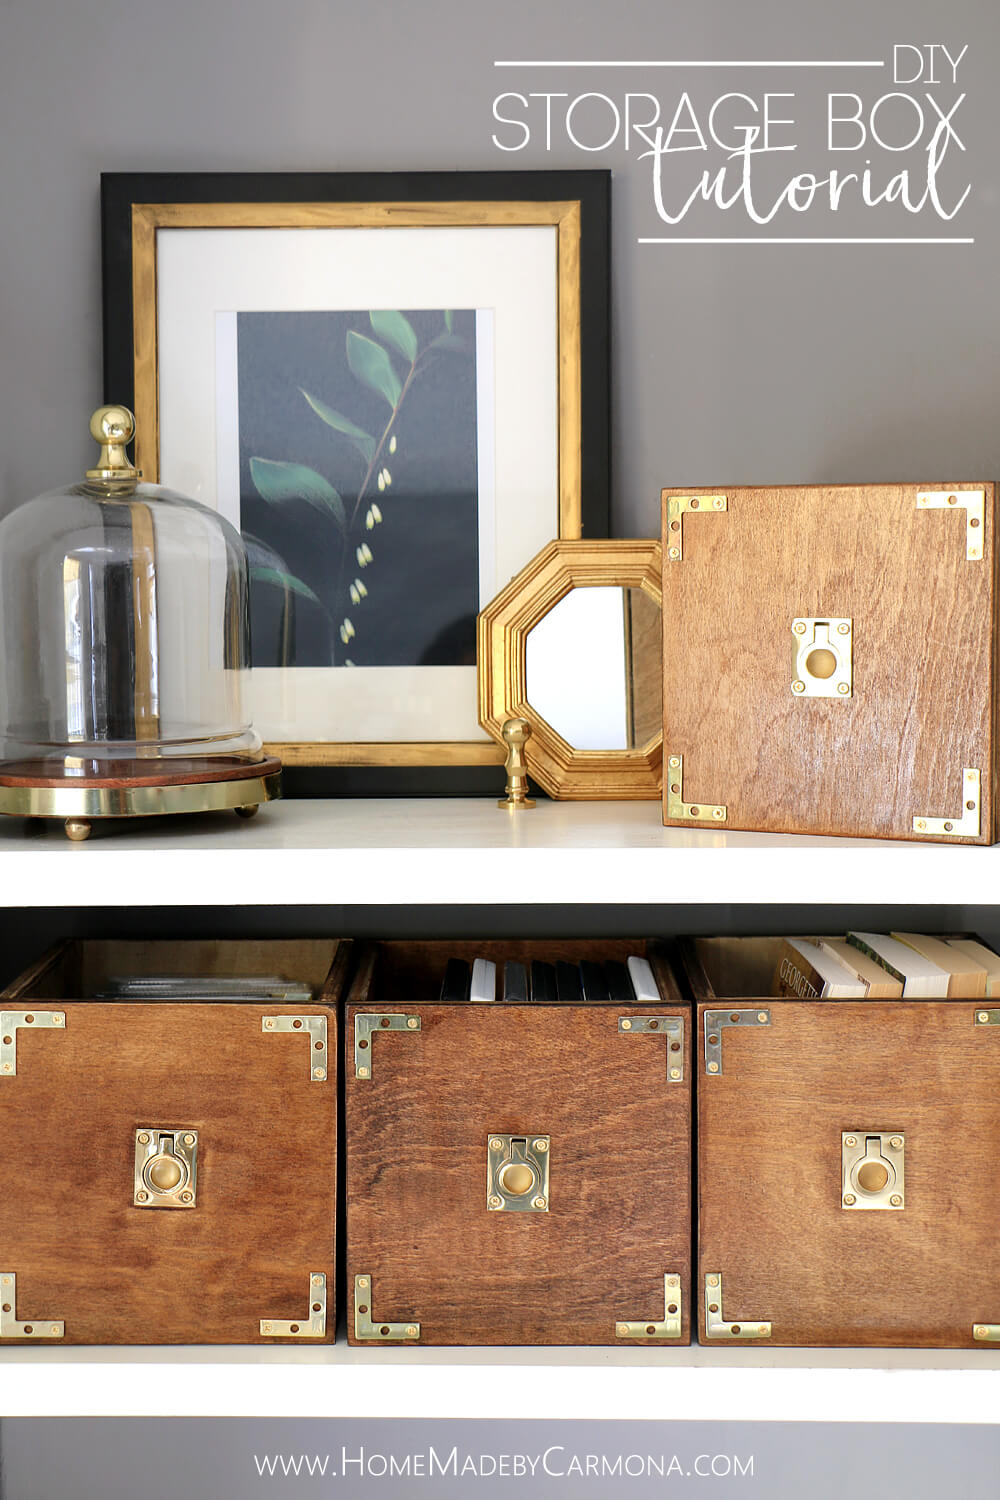
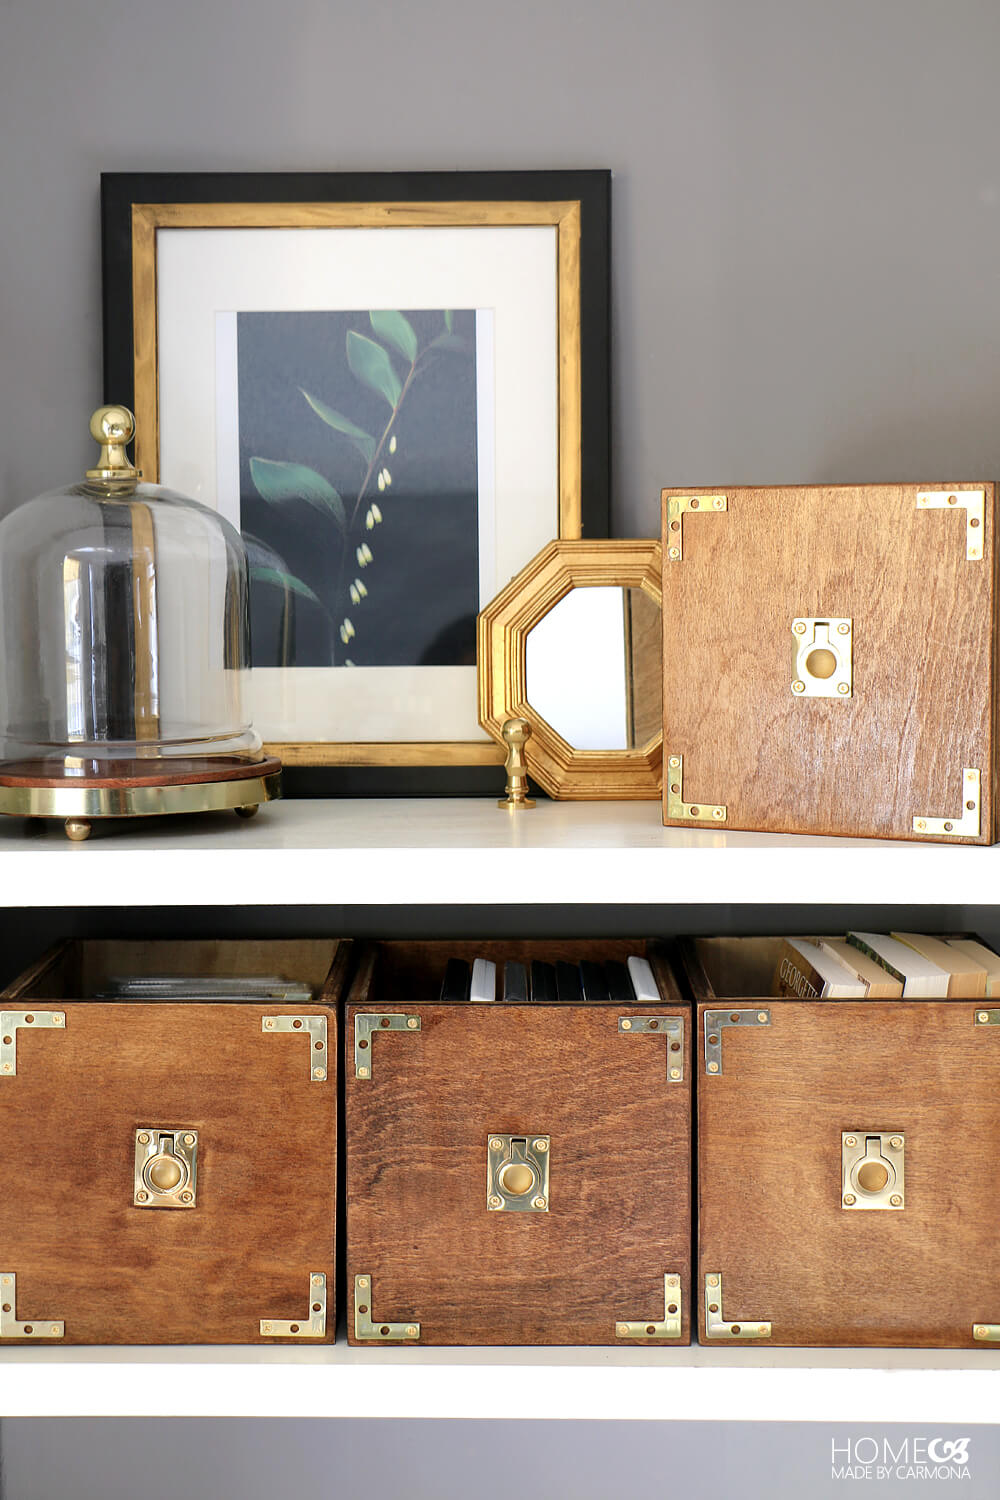
Today I’m going to show you how to whip up these cute campaign styled DIY storage boxes! And let me tell you, you won’t be able to buy them half as cheaply as you can make them!
You could even customize them to whatever size suits your needs. The real jewel that makes these boxes so stylish is the hardware, and gorgeous (and practical) hardware is National Hardware’s specialty! Okay, here’s what you’ll need:
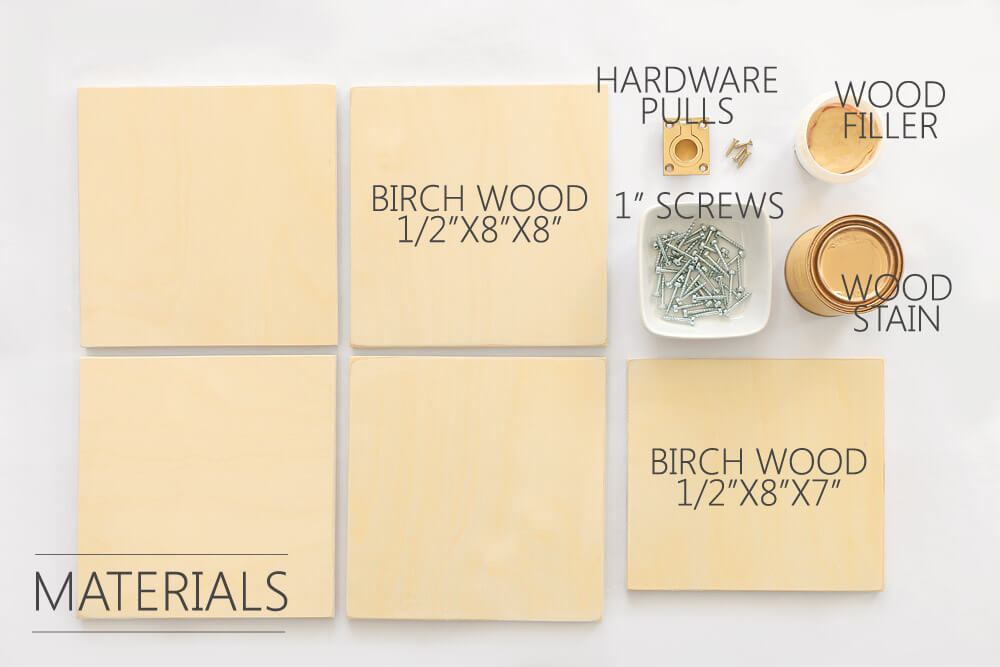
Materials Per Storage Box:
- 1/2″ Birch or Pine board: cut to four 8″x8″ and one 8″x7″ boards
- 1-1/2″ National Hardware Brass Flush Ring Pull
- 1/2″ Brass Screws
- 1″ Pocket Hole Screws
- Wood Filler
- Wood Stain (plus polyurethane)
- Optional extra: 1-1/2″x3/8″ National Hardware Brass Corner Braces
Tools:
- Saw (Table/Jig/Circular)
- Pocket Hole Jig
- Pocket Hole Clamps
- Right Angle Drill/Screw Driver
- 1-1/4″ Forstner Bit
- 18mm Chisle
- Sander/Sandpaper
Ready to get started?
Once you have all your supplies, and your wood pieces cut to size, you’re ready to make the magic happen! Each box takes approximately 30 minutes to assemble, but the real time is spent waiting for stain and wood filler to dry.
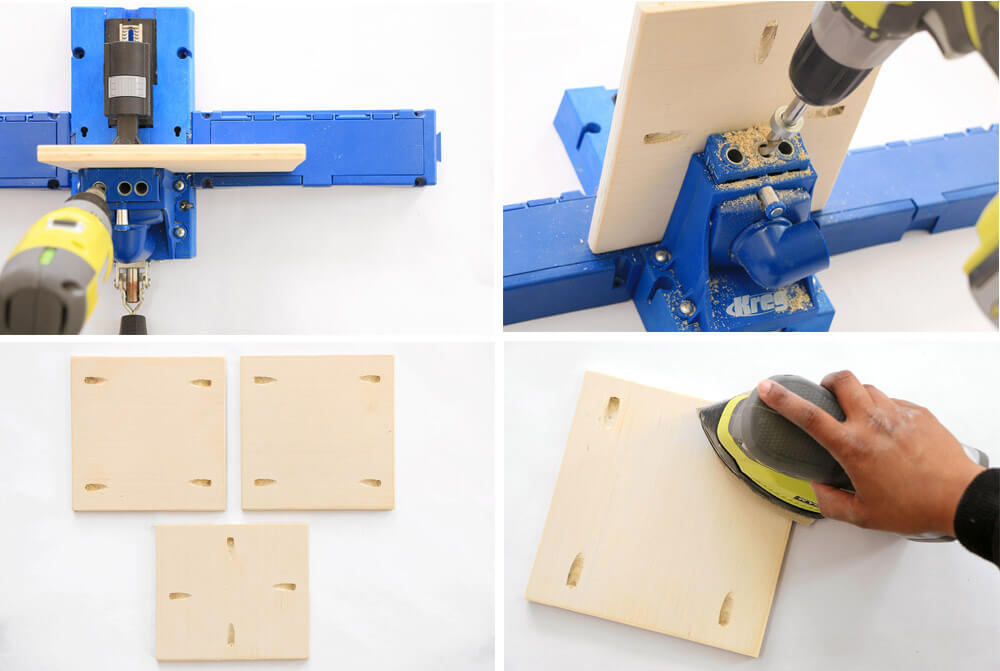
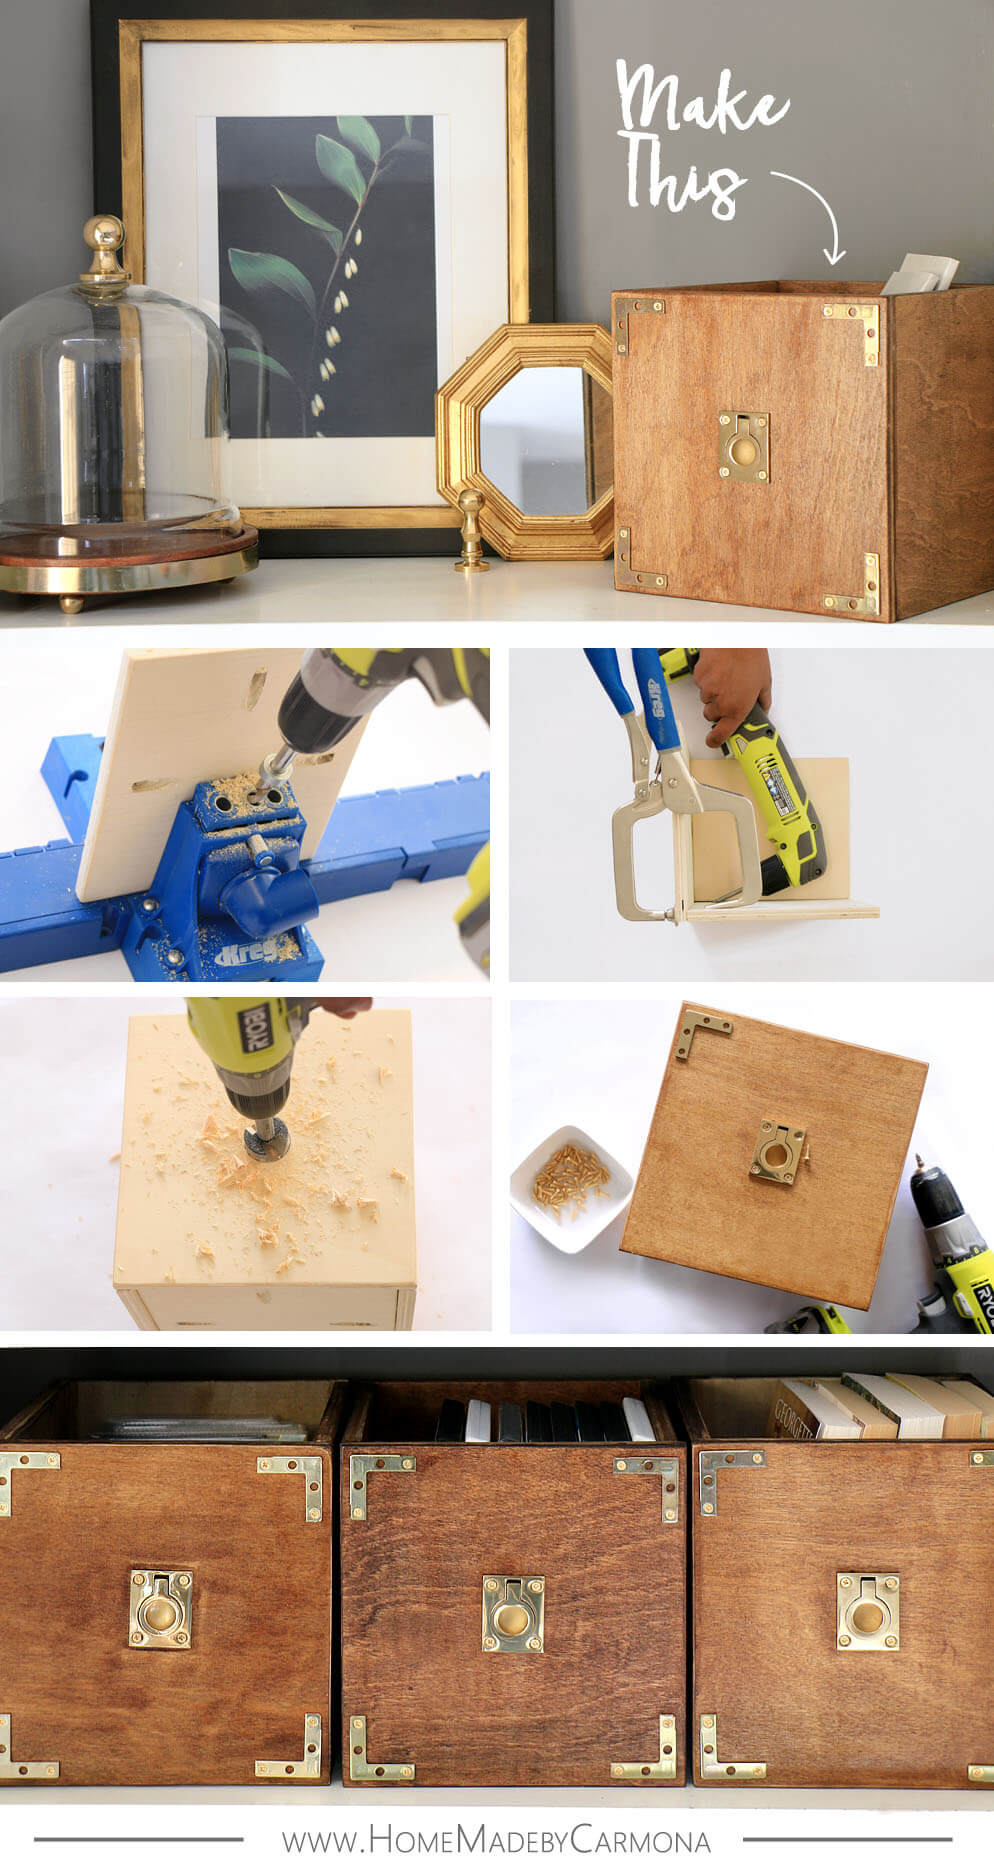
Drill pocket holes in two of the 8″x8″ boards (these are your box sides). Drill two holes on each side. Also drill pocket holes in the 8″x7″ board (this is your box base). Drill one hole in the middle of all four sides.
Sand your edges and pocket holes smooth. We don’t want any splinters when the munchkins use these awesome little storage boxes!
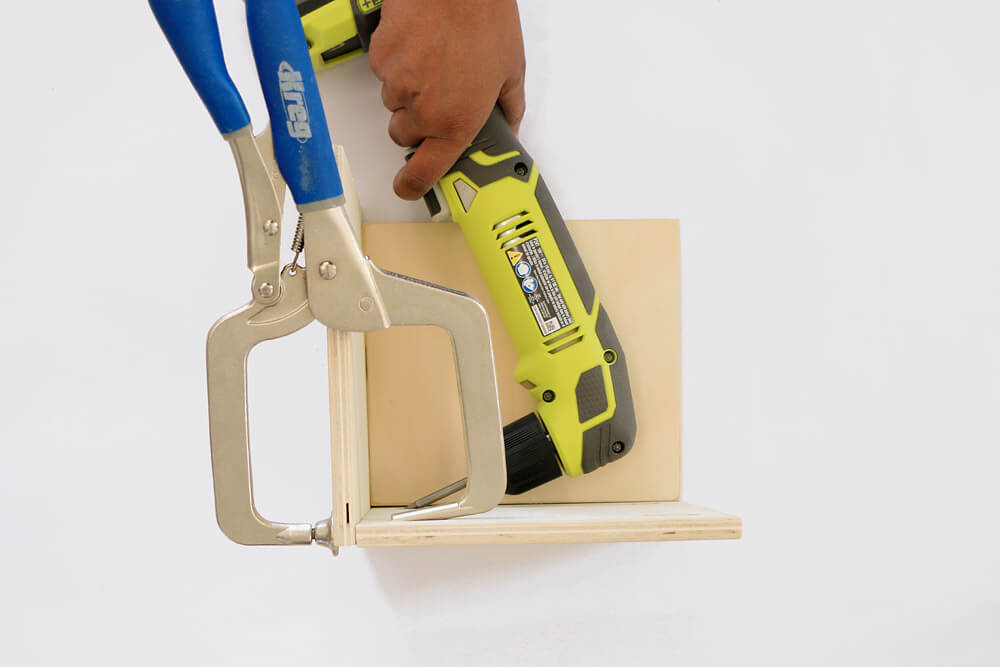
Place the 8″x7″ box base on a level workstation. Place one 8″x8″ side with pocket holes against an 8″x8″ side without pocket holes. Use the base to ensure the angle is a perfect right angle.
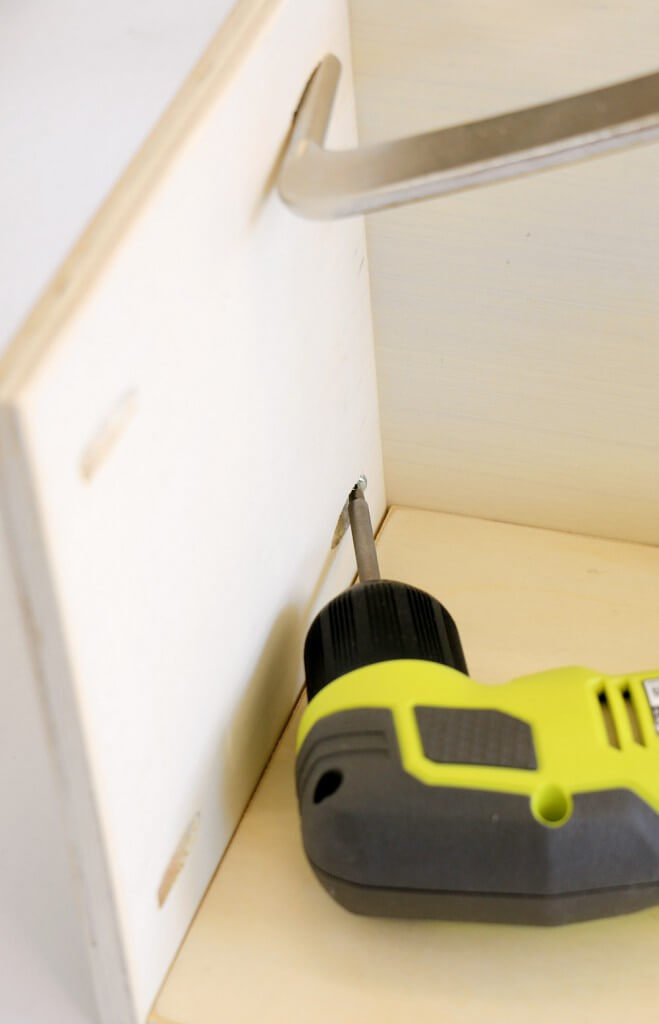
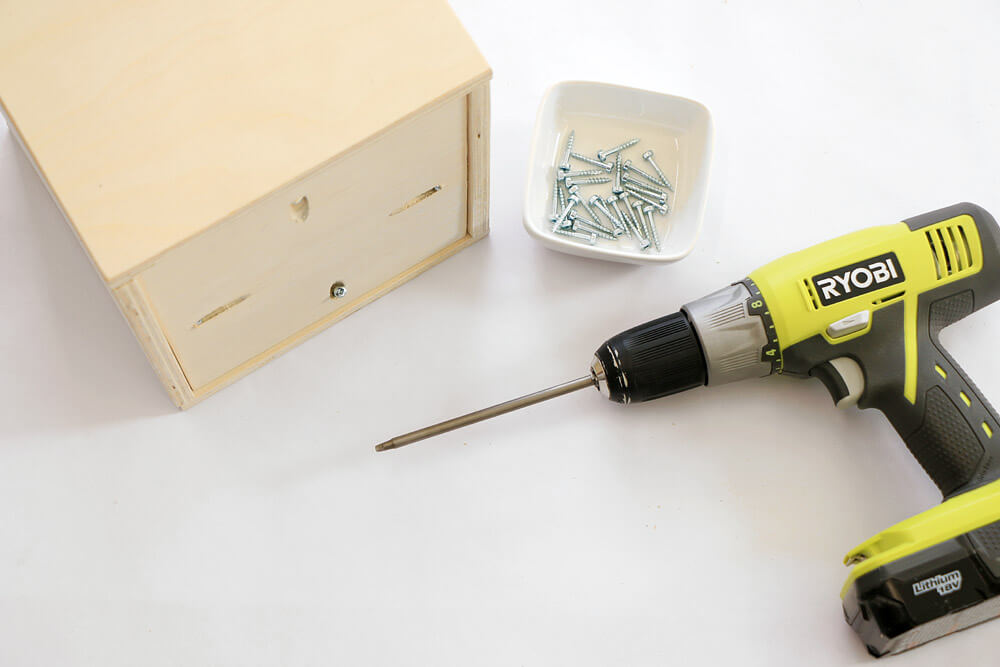
Clamp the two pieces together via the top pocket hole, and screw the pieces together using your 1″ pocket hole screws. You can use a right angle screw driver, but a regular screw driver with a longer bit is even easier to use at this juncture.
Here is a close up so you can see exactly what is happening.
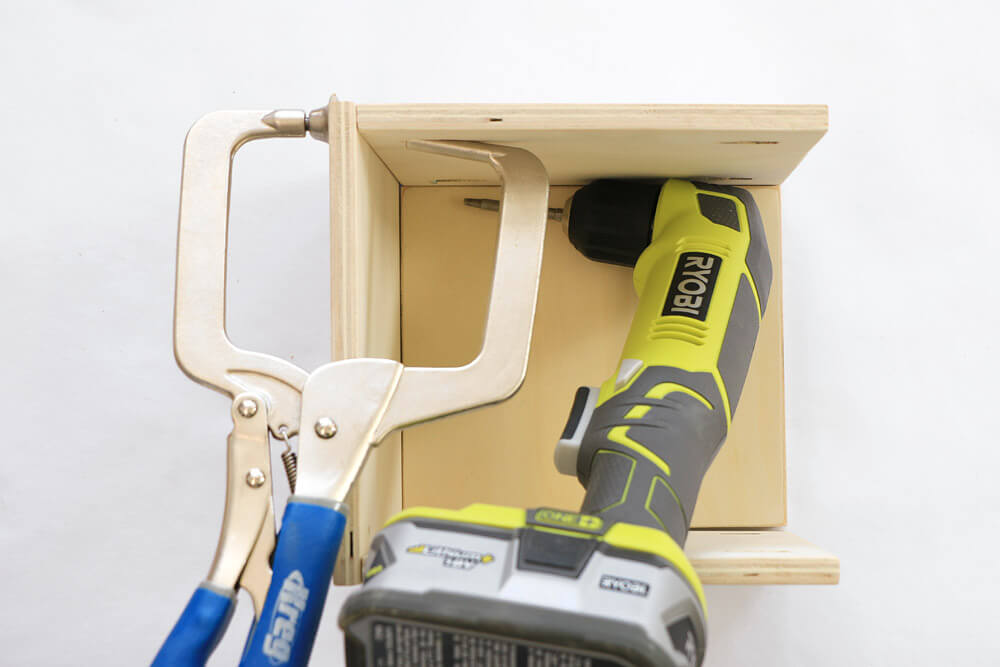
Add the second 8″x8″ side that has pocket holes, and attach it to the other side of the non-pocket hole piece.
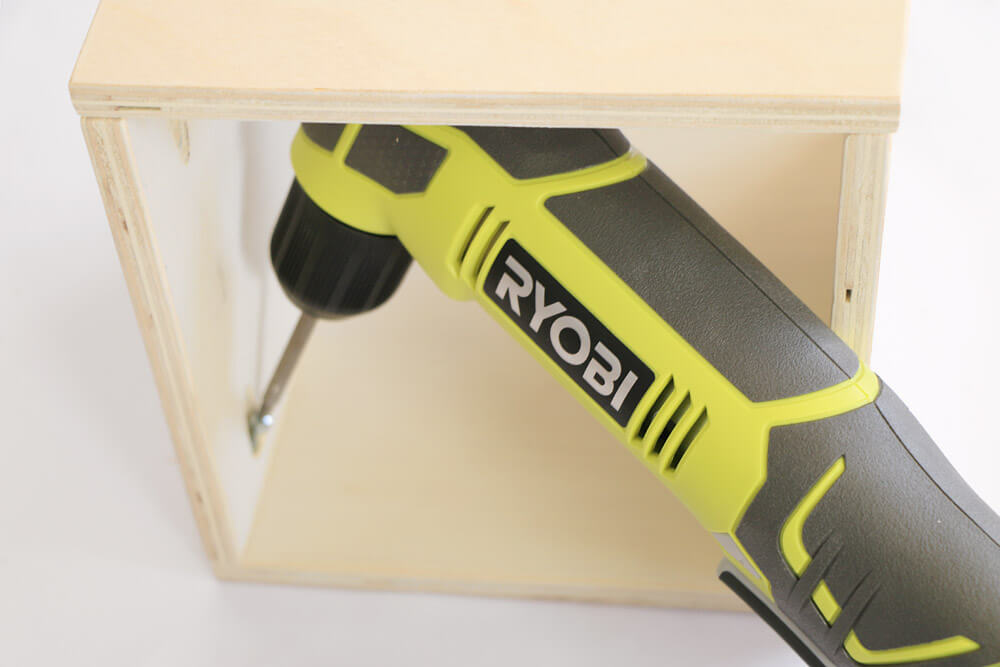
Clamp and attach the final box side. You will need your right angle screw driver for this part! If you remove the box base and turn it on it’s side to attach the screws, it will make this process a little easier, and you can screw from either open side of the box.
Press the box base back into place, and recess it just a bit (about an 1/8th inch). Attach the base via the four pocket holes.
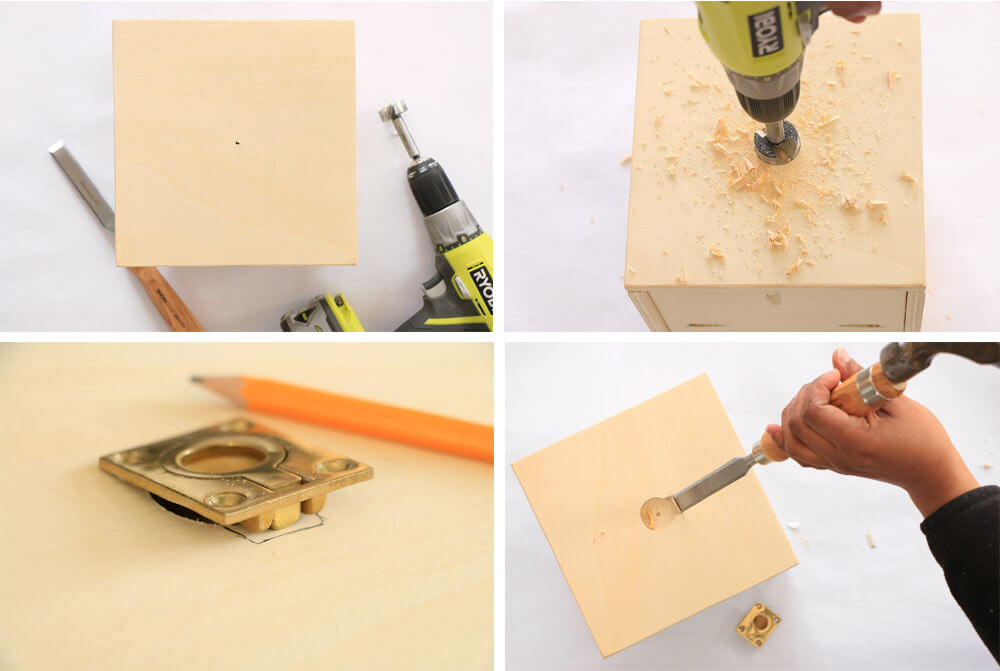
Locate the “front” of your box (just choose the nicest side without edges showing). Make a mark precisely in the middle (4 inches from either edge).
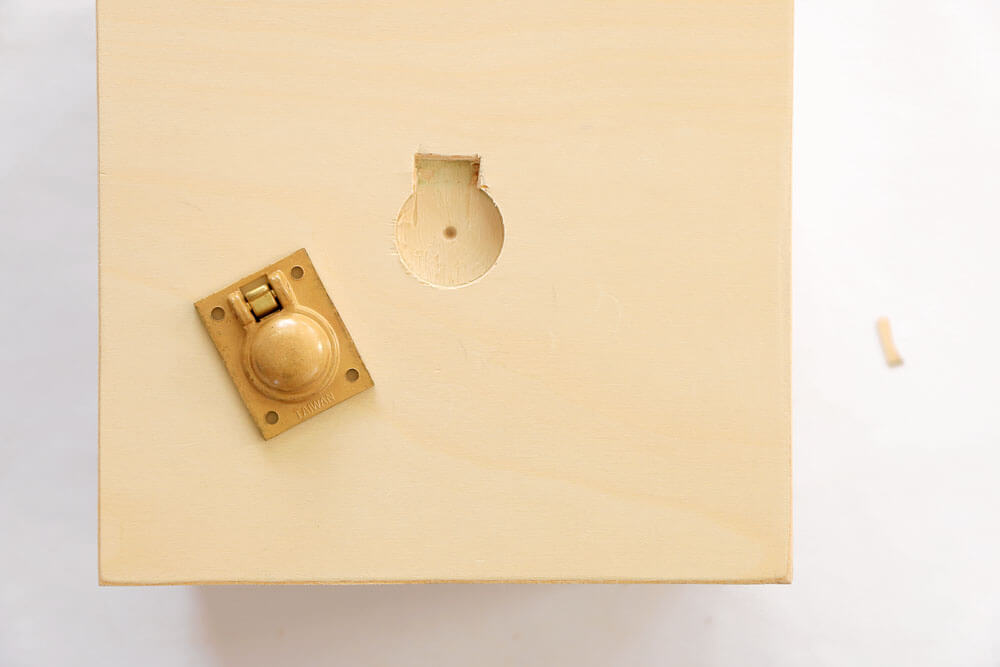
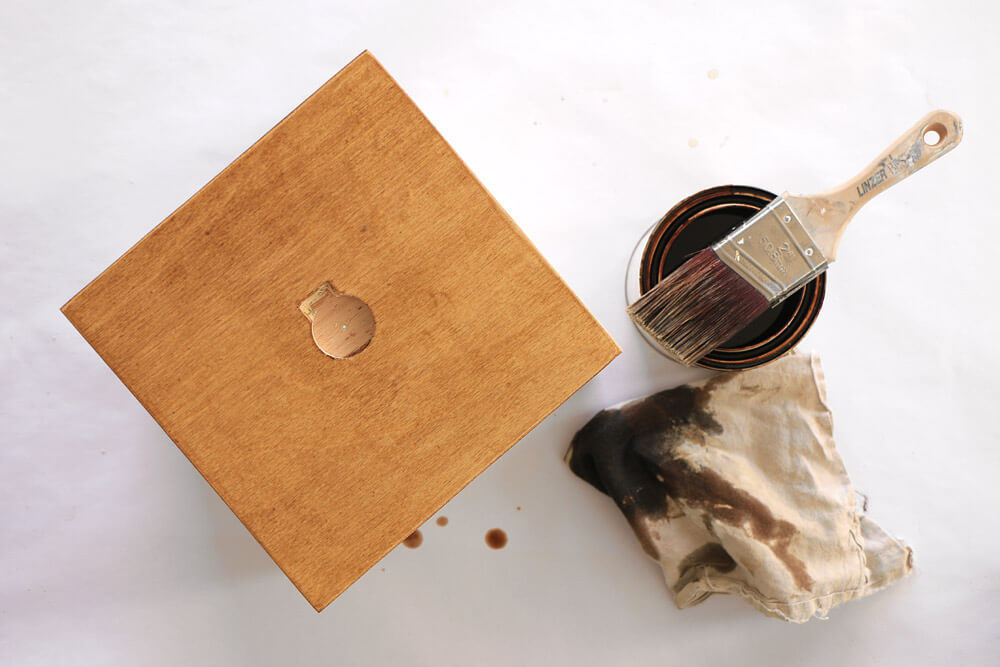
Place the tip of the Forstner bit directly on your mark and drill until you have a hole about 3/8th depth (the depth of the pull’s round back). Place your pull inside the hole you just drilled, and mark where the hinge will need to be chiseled out.
After ensuring the pull fits perfectly inside the chiseled hole, set it aside until later.
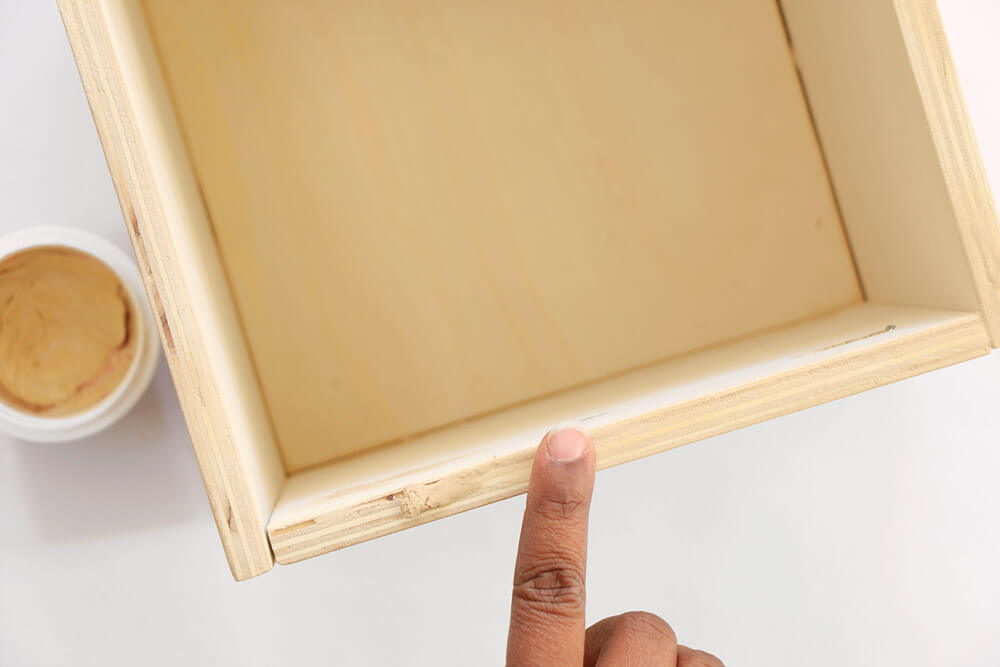
Use a little wood filler and fill the pocket holes and any other little holes in along the top or side edges.
You’ll need to allow the wood filler to dry overnight. So go ahead, take the night to enjoy dreams of perfectly organized spaces! 😀
The next day you will want to sand the wood filler until smooth. Now your boxes are ready for your stain of choice! Of course, now your boxes will require another few hours for the stain to dry. Hmm, maybe this is a good time to start organizing your miscellaneous junk unique treasures into like categories as a prep for the storage boxes?
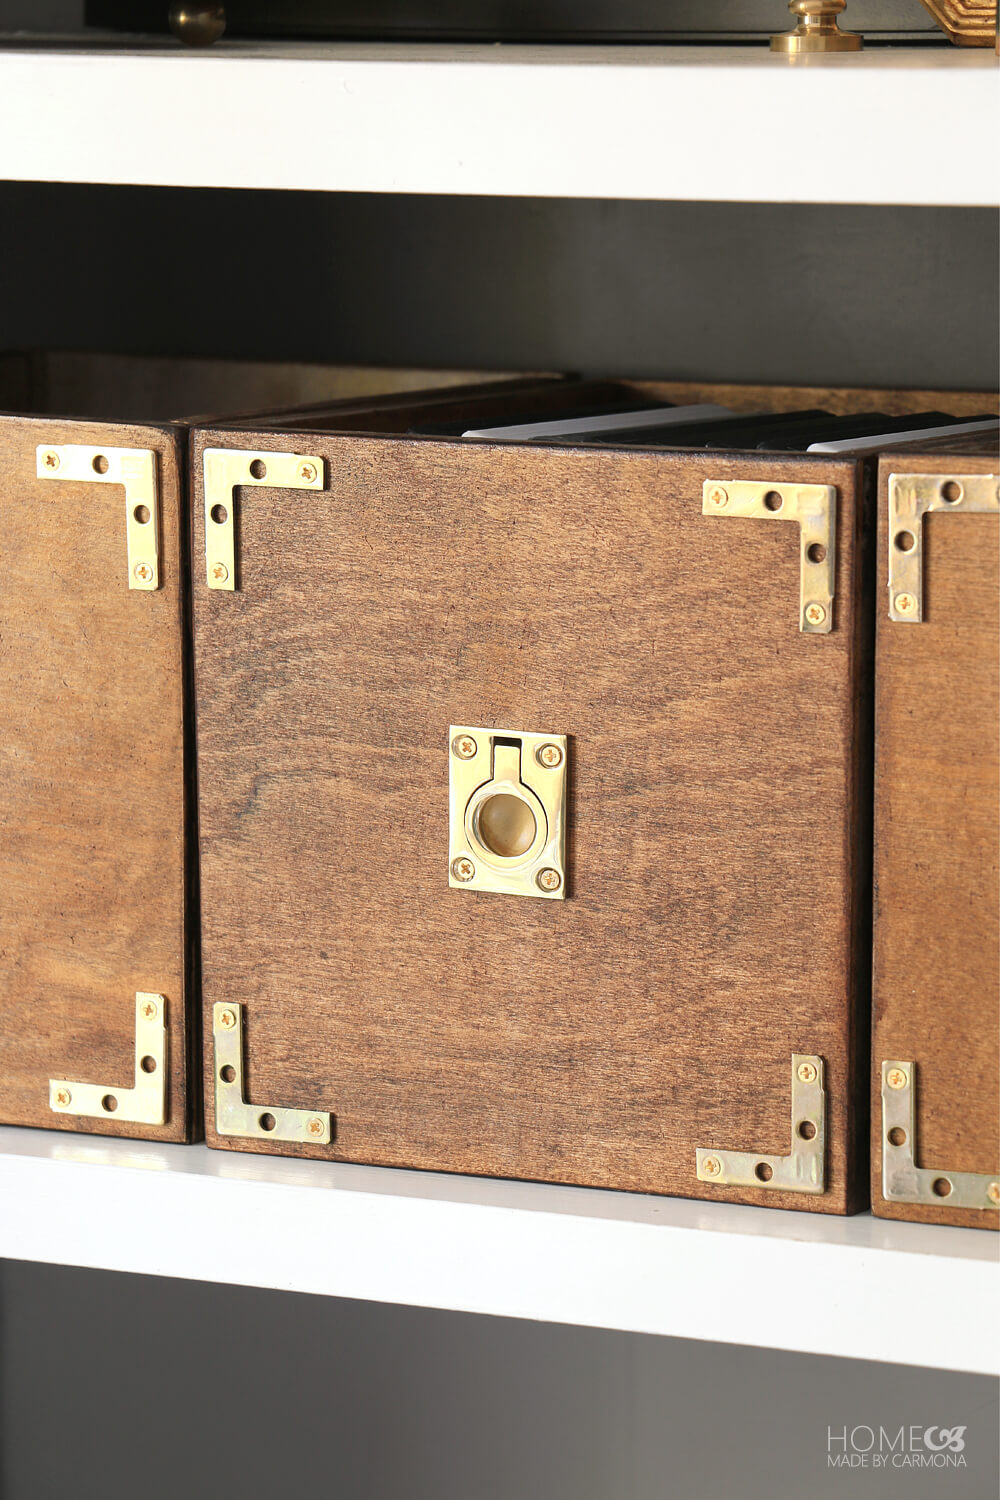
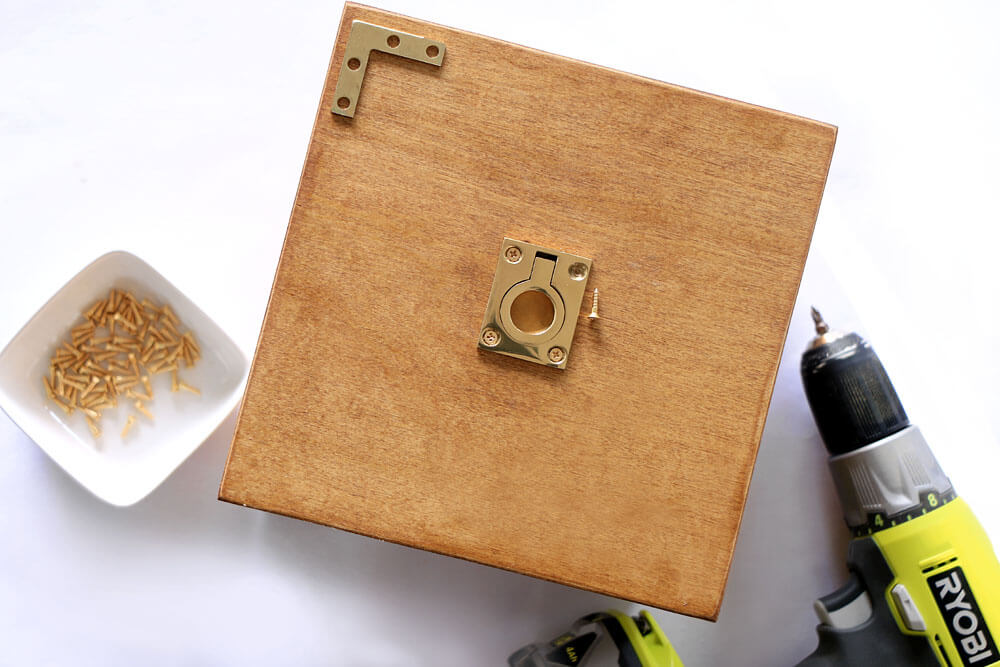
Yay! This is the finishing touch, like adding the final jewelry pieces to complete a wardrobe… Attach the pulls with 1/2″ gold screws. Optionally add some gold corner braces to all four sides as an extra decorative touch.
Are you ready to get organizing, because you are done!
If you aren’t excited, you should be! Not only will this make for chic stylish decorating, but that space that has been driving you crazy with all it’s random “stuff” will now be perfectly organized! Or if you’re anything like me, you can just use it to stash the mishmash…no one will be the wiser. I won’t tell if you don’t. 😉
*Special thanks to National Hardware for sponsoring this post! I have been using their products for many years (aren’t those pull rings to die for?), and I bet you have too! You may recognize their products in your own local hardware store!
I received product and compensation for this post, however all ideas and my favorable opinions are definitely my own. Because that’s just how I roll…
Like This? You’ll Love These!
How to make custom decorative boxes | Learn how to build cabinets for storage | Build cube shelves for these stylish storage boxes | 10 scrap wood storage ideas |

















I need to make some storage boxes like this! I still have yet to use my Kreg, thanks for this tutorial!
Thank for the storage box tutorial. Thinking about using in my laundry room makeover. Which is delayed due to flu tramping thru the house! If we ever get to to it, I’ll share pics with you.
I love the boxes! I was also thinking that the pulls you put on the front would be great on one of the sliding barn doors so popular now. Thank you, Ursula, for your inspiring ideas.
Thank you! Oh I love the idea of it on a barn door! It would be so stylish.