Unbelievably, I have 3 bathtub + shower remodels going on at the same time. Remodeling the shower is the biggest expense of any bathroom renovation, so I’ve done my research to help save every possible penny with the desired outcome.
Today, I’m going to share with you what I learned during my shower remodel, and how you can also get it done for less.
*Affiliate links contained below for your shopping pleasure
To save money, I’m taking three different routes for each space.
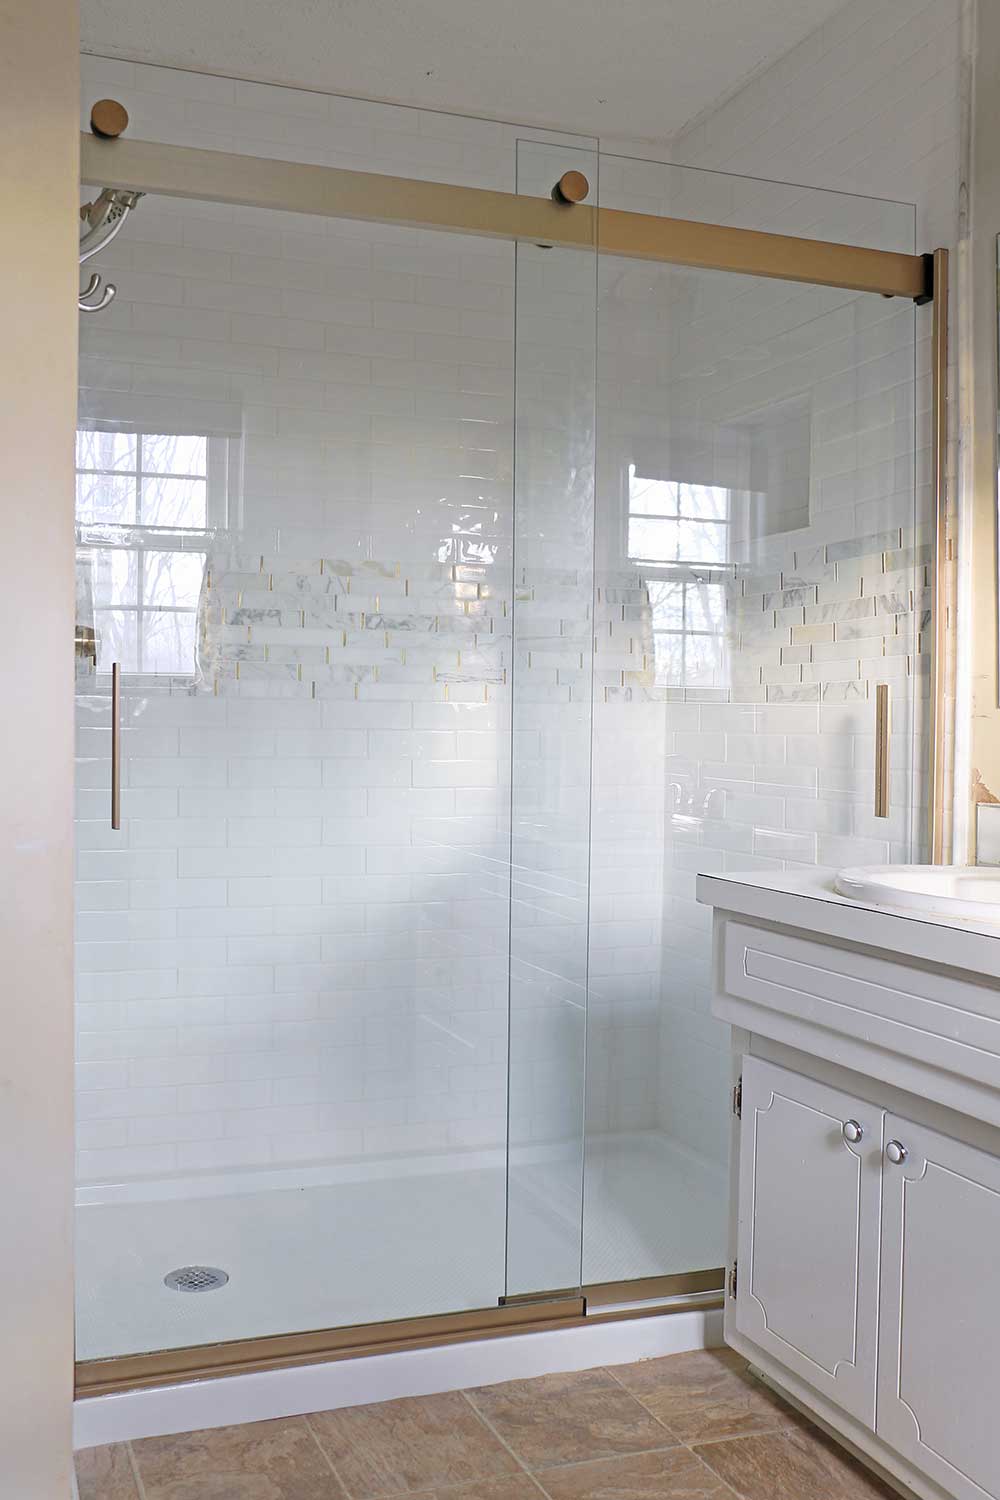
- Bathroom #1- The Master Bathroom: Full renovation by professionals – they demolish existing tub/shower combo and install a larger walk-in shower. Install shower glass shower door myself.
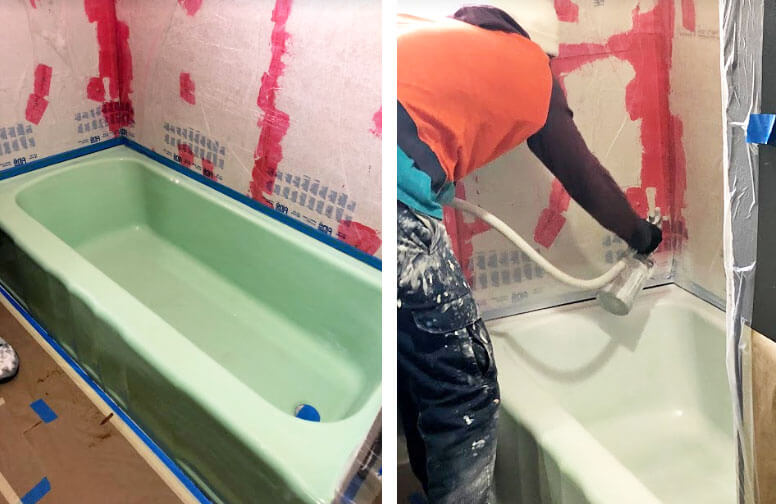
- Bathroom #2 -The Girls Bathroom: Professionals reglaze the tub and shower walls.
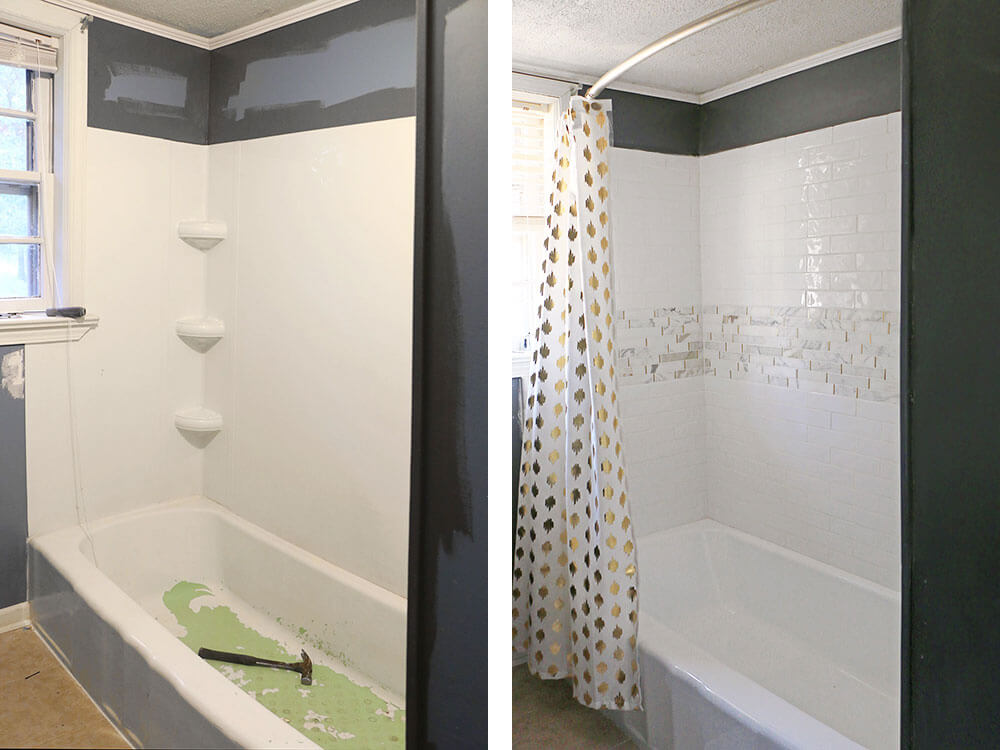
- Bathroom #3-The Cottage Bathroom: Demolish the shower walls myself, professionals reglaze the bathtub, tile the shower walls myself.
DIY Reglazing Vs. Professional Reglazing
Like any good DIY’er, I rejoiced when paint brands came out with DIY tub enameling kits.
That being said, it has it’s limitations and definitely has an expiration…it won’t last very long. Yes, the lifespan depends on how rough you are on your shower. Do you have kids, do you drop things in your shower from time-to-time, what do you use to clean it, etc.
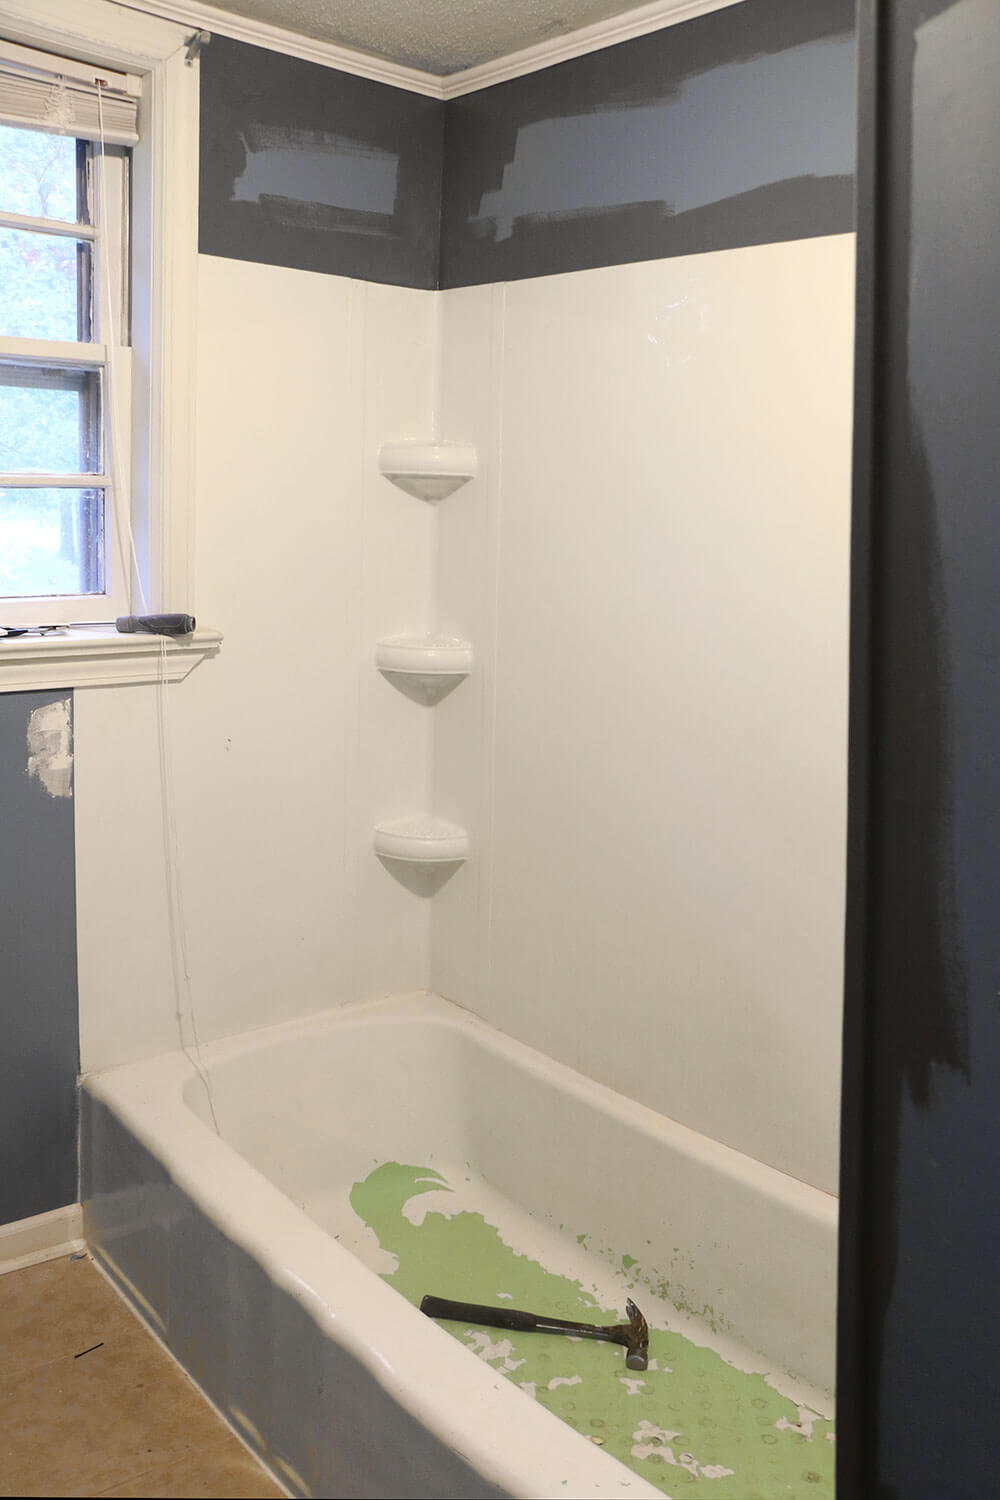
A couple years ago I tried to extend the life of the cottage bathtub by spraying it with a DIY tub enamel, but that didn’t last even a month. Primarily because it had been sprayed with a DIY spray by the previous owners, and not very well. It was peeling in spots to reveal the original green paint below. I have used a DIY kit more successfully in the past , but even then it only lasted about a year before getting scratched.
If you are going to use a DIY kit here’s what you need to know:
- Follow the instructions on the box perfectly
- It is easy to mess up. If the spray accidentally runs or isn’t perfectly even, it will reduce the lifespan considerably
- If the tub already has peeling spots from a previous paint job, you must remove all the existing paint
- You cannot use cleaner besides dish soap and water
- You must treat it like it’s fragile. If you accidentally do anything that could scratch it, it will scratch. Eventually it may start to peel regardless…
Buying A New Tub Vs. Reglazing The Old Tub Vs. Rebath
There were a couple questions I asked about each bathroom, and you should ask about yours as well:
- Does this tub already work for me?: If it’s a good size, good shape, not an obnoxious style…why not have it reglazed or rebath over just the tub and save some money?
- Is it a normal tub or custom tub (irregular size/shape/cast iron): If you chose to replace a custom tub, it will be much more expensive than replacing an average tub
- What is the expected lifespan of this bathroom: Do you suspect you will have to redo the bathroom again in 10 years for various reasons (style, wear and tear, etc.). If you don’t ever plan to do anything except maintain it, you may want to spring for a new tub or even rebath, because reglazing may also have an expiration date. If however you can’t afford a full renovation now, but expect to do it in less than 10 years, having it professionally reglazed might be the right solution for the interim.
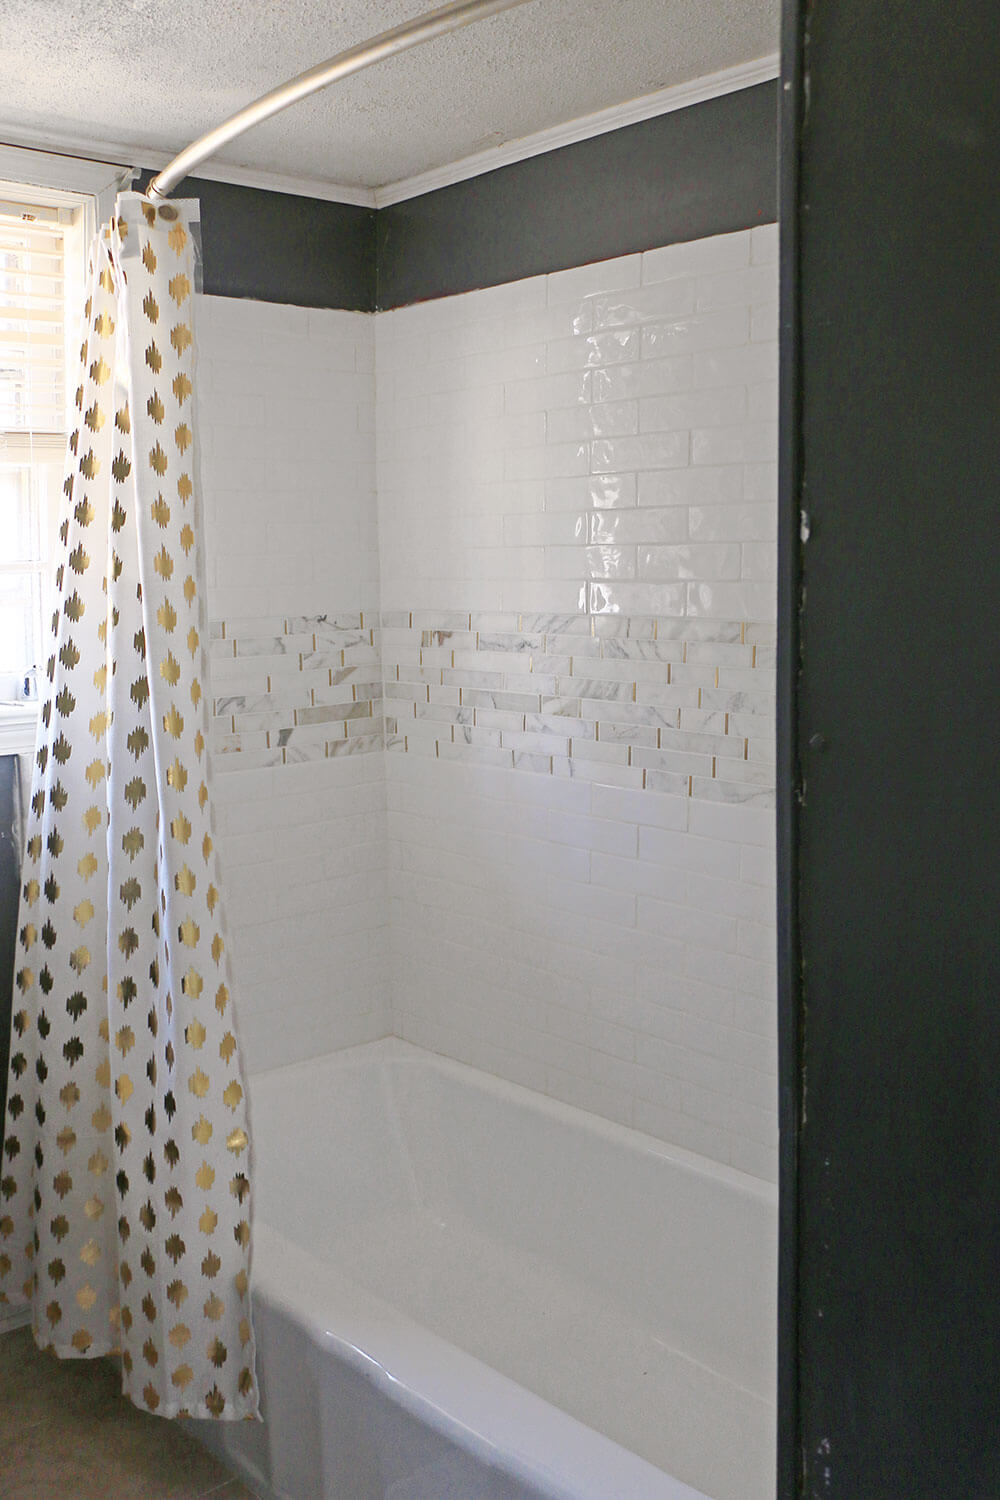
FYI: You don’t have to sacrifice style if you choose to reglaze. You can have a company reglaze the bathtub only, and remodel the shower walls by installing new tile.
Obviously prices may differ, so do your research and see what it costs in your area. Here is what I paid: The cottage bathtub cost $475 to strip and reglaze the bathtub (not including the shower walls). The girls bathroom cost $700 to clean, regrout, and reglaze the shower + bathtub combo together.
Demolition On The Shower
Just be aware that you never know what you are going to get when ripping out a shower. My master bedroom shower was a huge job. Too difficult for me to easily take on by myself, which is why I opted to bring in the professionals to do it. With the 1 inch thick cement + mesh backing, it would have taken me at least a couple weeks and probably an injured shoulder to finish the demolition alone. Plus cutting the cast iron tub into pieces and removing it from my second story bathroom was too difficult with a party of one. If I could have simply chipped off the tiles (as in my previous house) I would have done it myself.
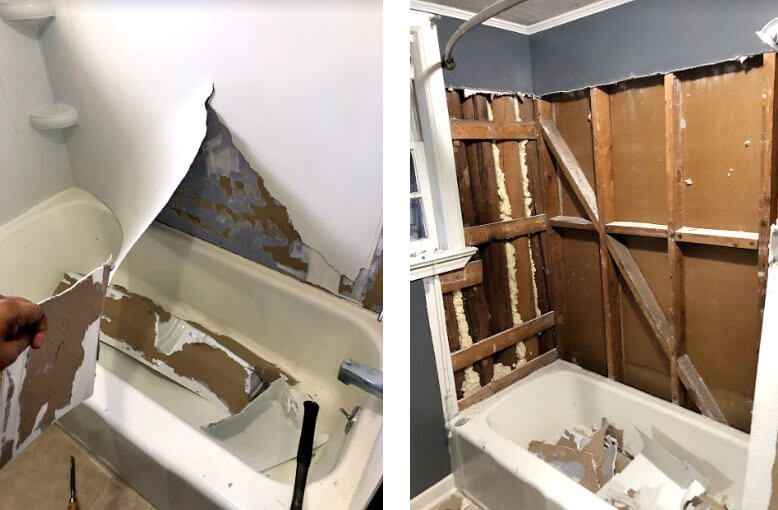
In the cottage the shower walls were covered with a plastic sheeting (like a cheap re-bath version). And I was not removing the cast iron tub…instead it would be reglazed. So this was an easy demolition. It stripped off easily by digging under the edges and ripping it off the walls. After that I used a router to cut through the drywall and across where the new hardy board would end. Odd tool to use? Perhaps, but I didn’t want to risk cutting into the existing studs.
I unscrewed the drywall, and pulled it away from the wall almost in sheets. It helped reduce the amount of energy I had to put into demolition, and greatly reduced the mess to clean up. I may be the tidiest demo person you’ve ever seen, but the brute force method isn’t always best.
Installing New Cement Backer Board
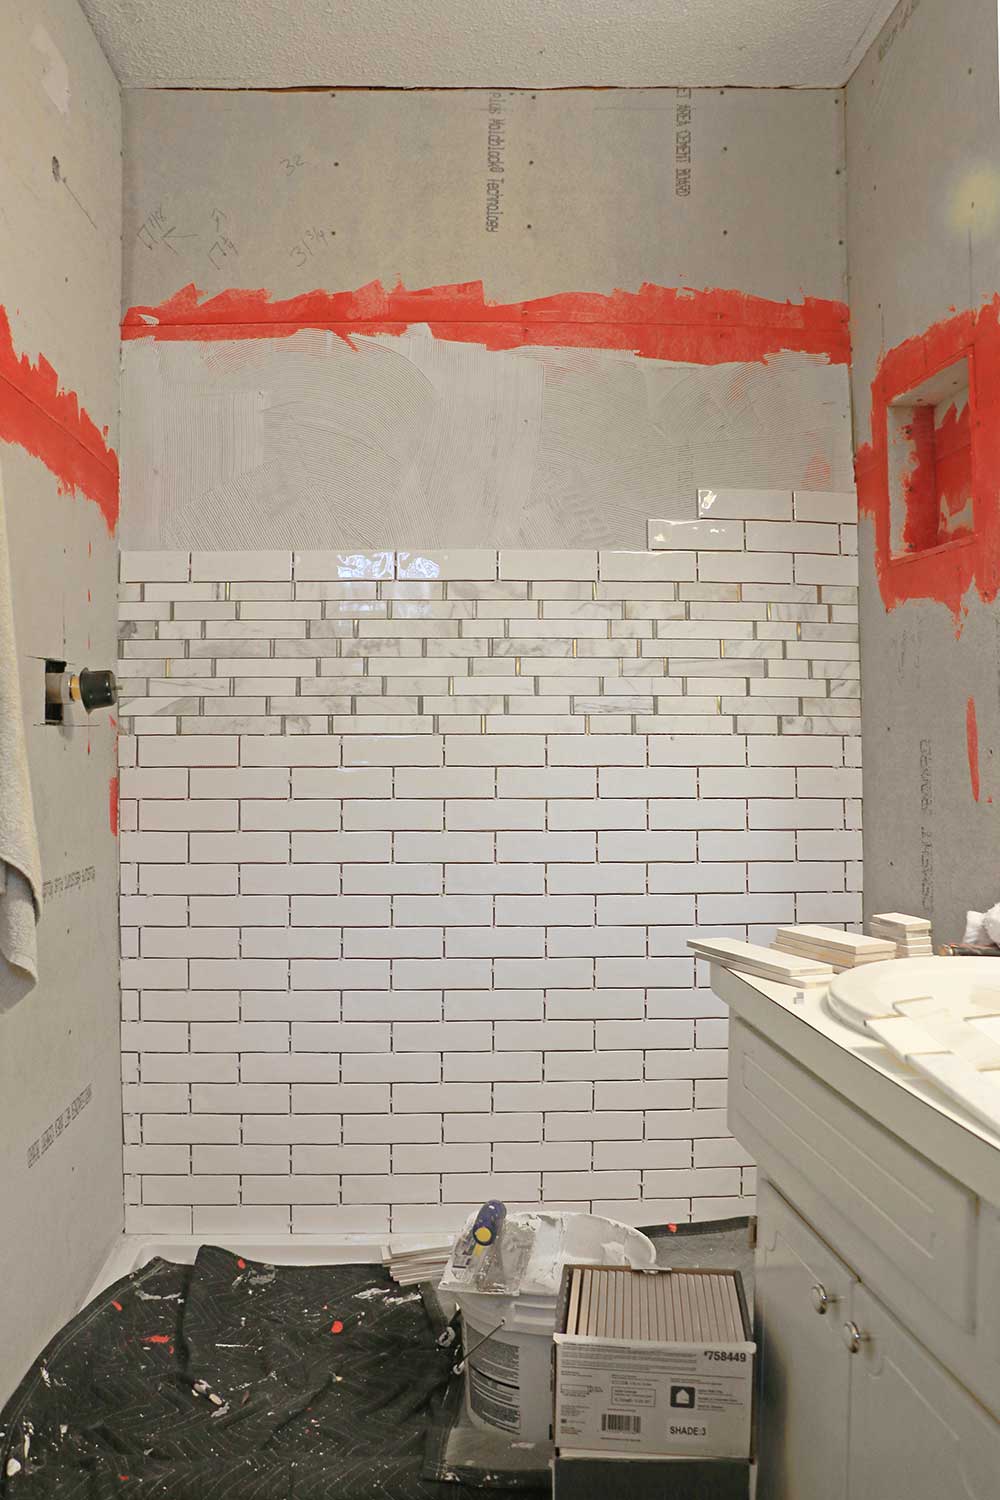
There was drywall behind my cottage shower walls, so I removed it to install water resistant hardie board in it’s place. If there had already been cement board, I would have simply painted on a waterproofing membrane, and tiled over the existing board…sadly that was not the case.
This was my first time installing hardie board, and it is fairly simple and straight forward. Measure twice, cut once. Be smart about your placement, and remember you need a stud to screw the edges into.
Yes, as a novice my cuts weren’t perfect, but after watching the pro’s at work on my master bathroom, I realized that neither are theirs. Don’t sweat the small stuff, just do what they do: Add a self-adhesive cement board tape along the seams, then lather on some RedGard (liquid waterproofing) on those seams (or all over if you want to be really safe!).
Winning At Tile & Grout
I learned that tiling an entire shower is not as straight forward as it looks. If you look closely and compare my tile and grout job to the pro’s job…you can tell the difference.
Don’t worry, it’s not horrible, and no one is going to look all that closely. Yes, this is still a project you can take on yourself. Here are just a few things to keep in mind to help make your job look as professional as possible:
- Is your tub and/or ceiling level? If the tub isn’t level, you may not want to start your first line of tile using the tub edge as your only guide. Depending on whether you are going to the ceiling, and how off your tub to ceiling is, you may need to adjust as necessary. Mine was over an inch difference, and I had to adjust the spaces between the tile gradually so it wouldn’t look like I tiled at an angle. Remember, there was no way for me to shim this huge cast iron tub, so I was stuck with it.
- Tile with uniformity and continuity: Start at the center of your shower so when you reach the ends the cut pieces are the same length. It should look uniform. Then continue the length of the cut around the edge to the new wall. It should look like the tile continued around the corner.
- Individual tiles vs. tile sheets: I found tile sheets so much easier to keep looking uniform and continuous. However, the individual tiles were much easier when it came to tiling around plumbing and other obstacles.
- Cutting several tiles at once: As long as your walls are generally plumb and even, you can save time and energy by making several anticipation cuts at once.
Bite Sizes On A Daunting Shower Remodel Job
Taking on a shower or bathtub remodel can seem like a daunting task, but it can be done! Do your research well, and take on one bite sized piece at a time. You can always hire out parts you aren’t confident in, or don’t want to take risks with. Plumbing is always a good thing to hire out. If you get it wrong, your shower might leak. However installing cement board, and tilling and grouting a shower is a job a DIY’er could do themselves.
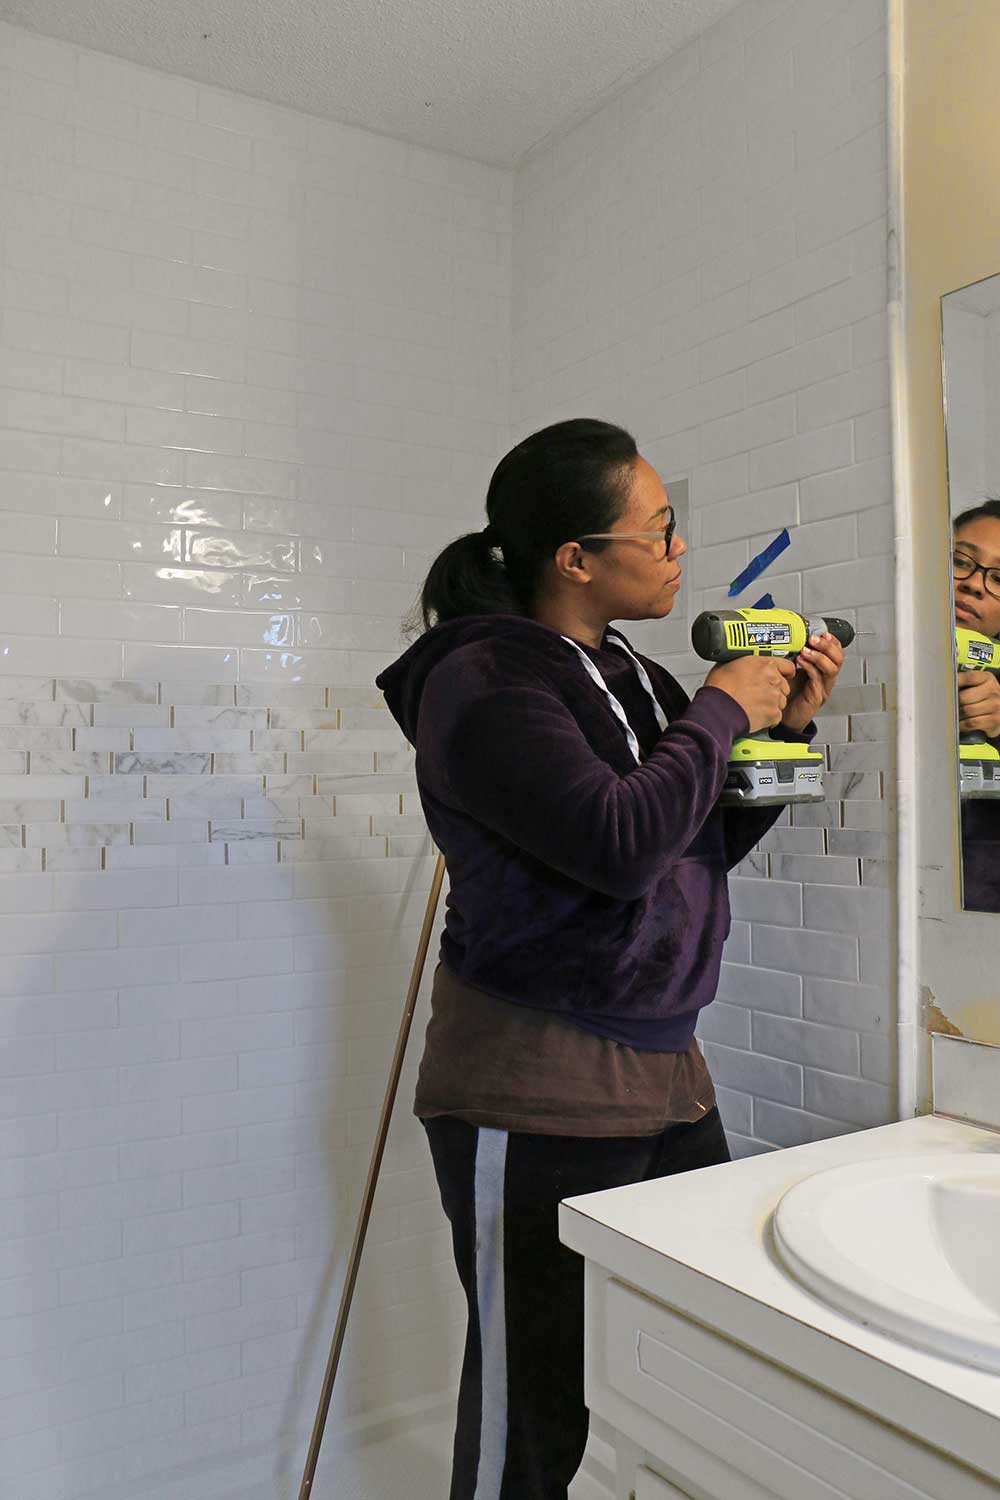
Depending on how level your walls are, you could even install the shower door yourself. This was my first time installing a shower door, and I was extremely careful to follow the instructions to a T.
Choose a shower door that has room for some margin of error. Look for terms like “easy installation” in the online manual or description.
This blog post isn’t filled with my normal ‘pretty end pictures since my bathrooms aren’t even close to done. But I’m happy we have showers that don’t leak or peel! And I hope you can learn something from my experience.
Are you thinking about taking on a shower remodel, or have you done one already? I’d love to hear about your experience!
Like This? You’ll Love These!
Related Posts: Bathroom updates you should try | Two-day powder room makeover



Hellow Ursula. I like the marble and gold strip in the middle. One thing I have to add is that you could apply the RedGard to the drywall screws as well, because they are penetrating the hardie board.
I love what you said about using tile sheets for the ease and speed of installation, and using individual tiles for the tougher spots in the shower remodel. I imagine picking out the tiles and accents and shower doors is such a fun part of remodeling a bathroom! I have been thinking about remodeling my master bathroom, so I will have to remember these ideas for when we do that.
I like how you stated that when you’re remodeling your shower, you should definitely hire a plumber because if you do it wrong your shower might leak. I recently have decided that I want to remodel the shower in my master bedroom and install a glass door because I like the look of those so much better than a shower curtain. I will definitely utilize all of your great tips and information when trying to remodel my shower.