This post is awesomely powered by Kreg!
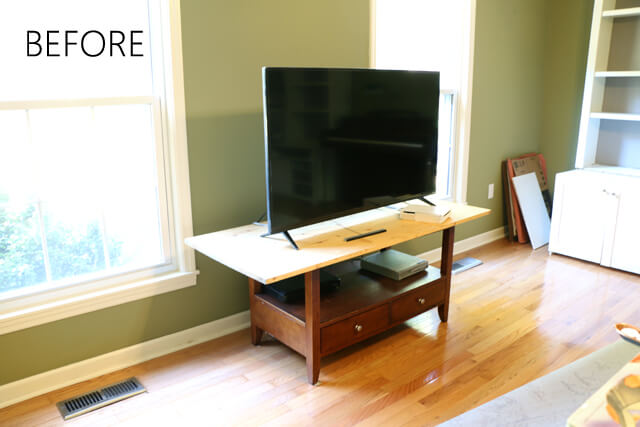
So, I’ve been making fun of myself for my “college dorm” solution to the new TV we just got. I had a mancave moment (on behalf of my husband) and bought a big 50″ television, but forgot to check to see if it would fit between the windows where the TV goes, or even fit on top of the furniture the TV usually sits on! All I knew was that I was on a mission to surprise my man with the biggest TV he has ever owned.
When I realized my TV stand wouldn’t hold it, a piece of wood from the garage did the trick. Granted, it wasn’t a good permanent solution (unless you are a broke college student…or just broke), but I had a good idea of what would work.
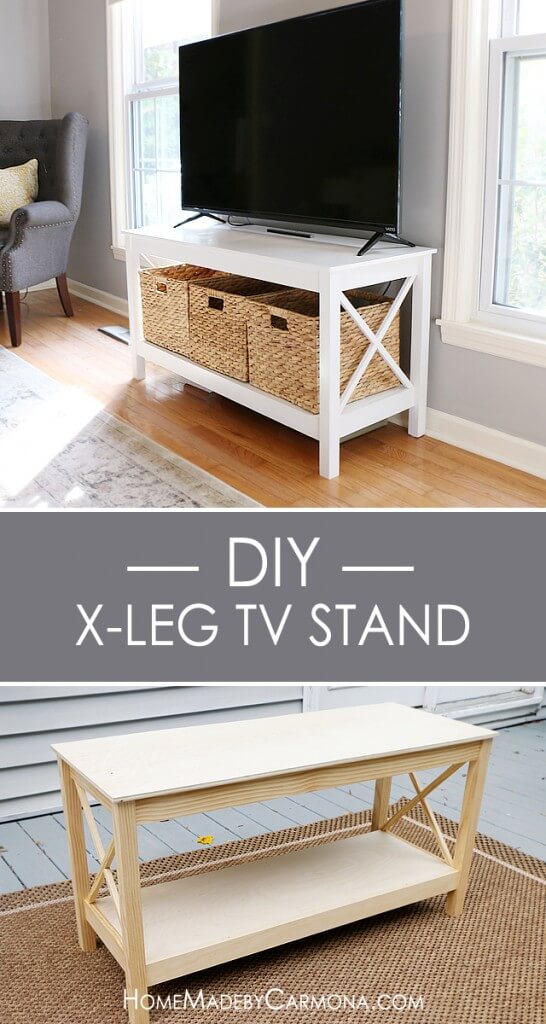
Every month I have the privilege of partnering with my good friends over at Kreg by sharing my build plans on their site BuildSomething.com, where you can find all kinds of amazing and doable build plans uploaded by experts. Of course my need for a TV stand / media console would be ideal for this month’s project, so I’m sharing with you my plans to make a custom x-leg TV stand.
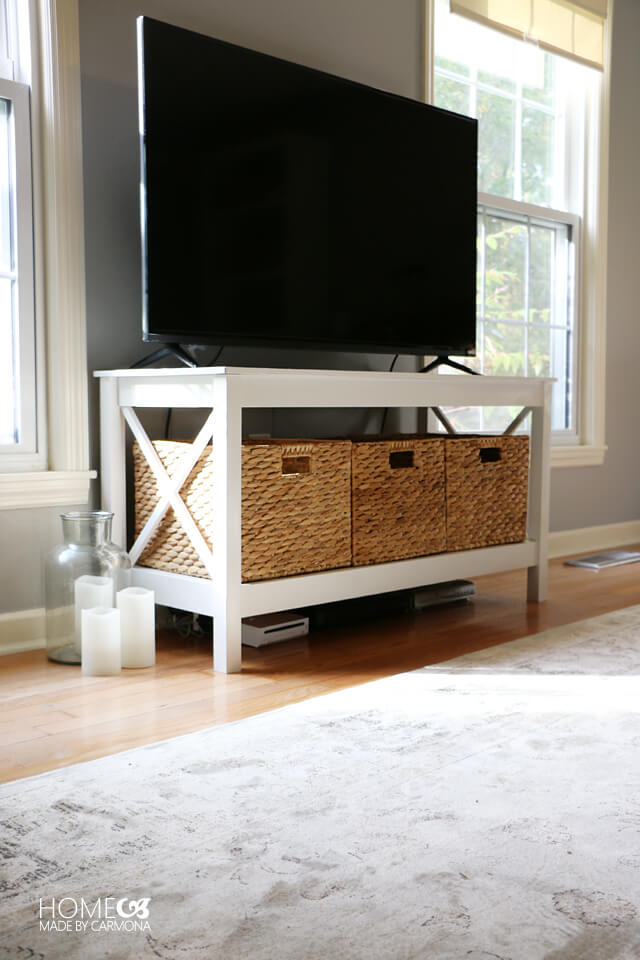
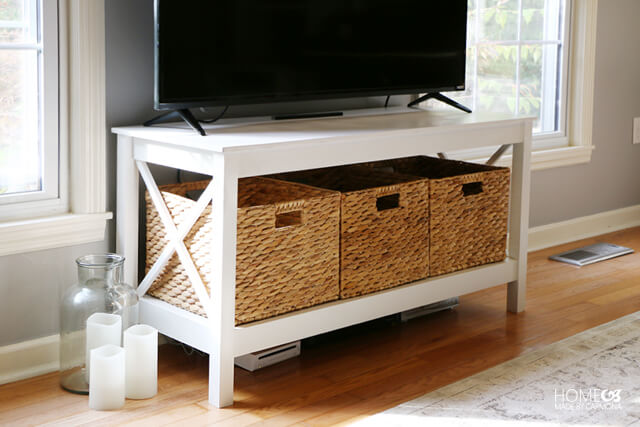
I needed a media console / TV stand to fit exactly in between these two windows, and the great thing about building your own from scratch is creating it to the exact size you require. These plans are easily altered to fit with your desired width.
The x-leg has been a popular design style for a long time, so I thought I’d add that little embellishment and fool my guests into thinking I purchased this TV stand! You could certainly make it without the ‘x’, and it would look more streamlined in style (for you lovers of modern style).
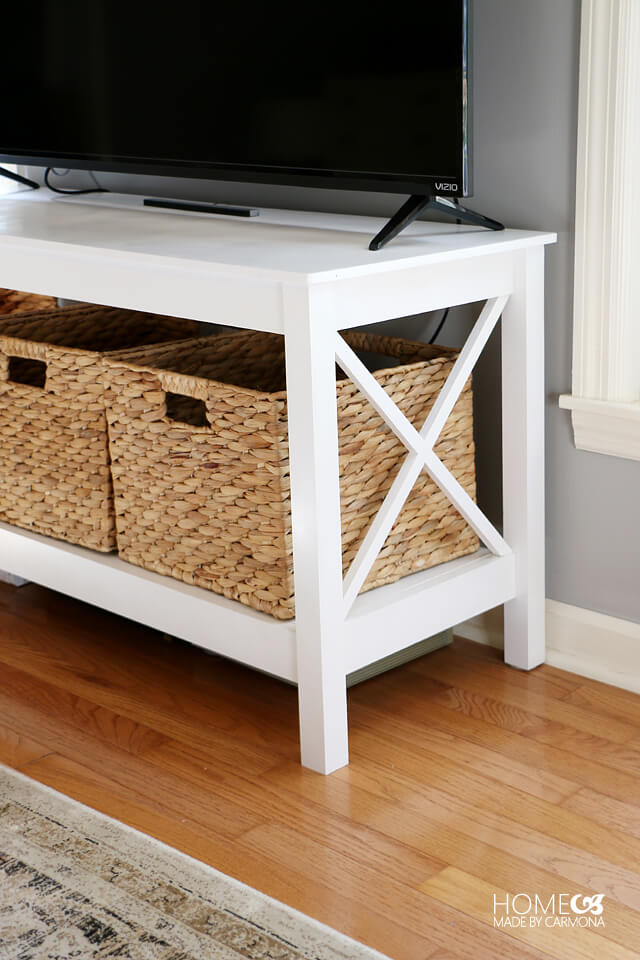
I chose to paint my TV stand white to fit in with the rest of the furniture in the room, but I admit a lovely stain would have looked amazing!
However you choose to finish and style your TV Stand, it will look beautiful. If you build it, please share a photo with me on Instagram or Facebook, and don’t forget to tag me!
*Thank you to Kreg for sponsoring this project! I have been compensated for sharing my build plans, but the ideas, plans, and everything else in this post is my own.


In the plans, it says 2×2 for the legs under wood materials, with only 1 at 36 inches listed. The cut list says 4 legs that are 1x3x23. But then in the actual plans and in pictures it shows the 2×2. So is it 4 2×2 boards at 36 inches? And where do you use the 1x3x23? Thanks!
Nice project. Is it possible to share the step by step process you followed to get it done?
Thank you! My plans can be found here: https://learn.kregtool.com/plans/x-leg-tv-stand/
Where did you get those baskets? I’m looking for someplace to “hide” our DVD-Blu/Ray collection, and those are perfect.
Absolutely gorgeous!! I love the TV stand!! Thanks!
Thank you!!
Since this was a custom job, why did you not build a shallow shelf either directly below the top or at the bottom to hold the components and get them off of the floor!???? Although this looks nice, having all those components and cords on the floor would make it a deal-breaker for me. There is plenty of room either above or below your baskets for a shelf.
Hahaha! Great question!! Actually, the bottom shelf (where the baskets are) were designed to hold those components… but then my one year old little nephew (who is visiting for a little while) loves pushing buttons and playing with all the cords. So I had to temporarily hide them under the unit, and place our remotes and other game systems inside the baskets until he leaves. Then things will be put back to normal… 😀
You are right of course, having them on the floor permanently would defeat certainly the purpose!