A bookcase lamp is a classy addition to the top of any bookshelf that doesn’t quite reach the ceiling. It refines the look, adds style and function with task lighting!
When buying a new bookshelf light is not in the budget, get creative! Recycle old piano lamps into a stylish bookshelf lamp.
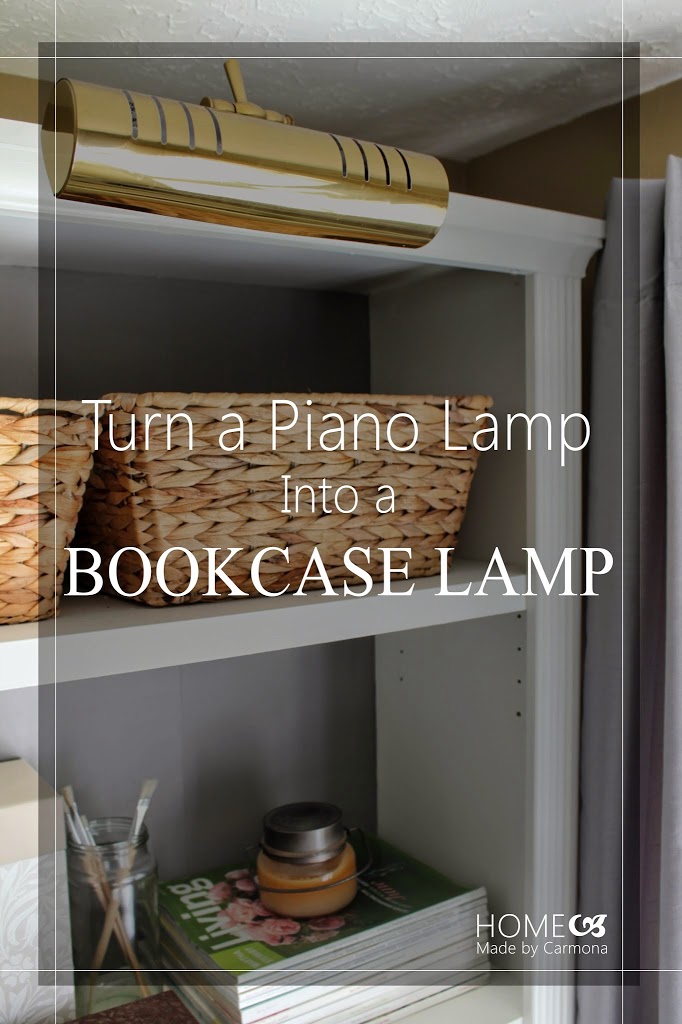
As much as I wanted a nice bookcase lamp for each of my shelves, it just wasn’t in the budget. So when I saw a piano lamp identical to one I already owned, I knew it could be transformed into a knock-off version of a bookcase lamp!
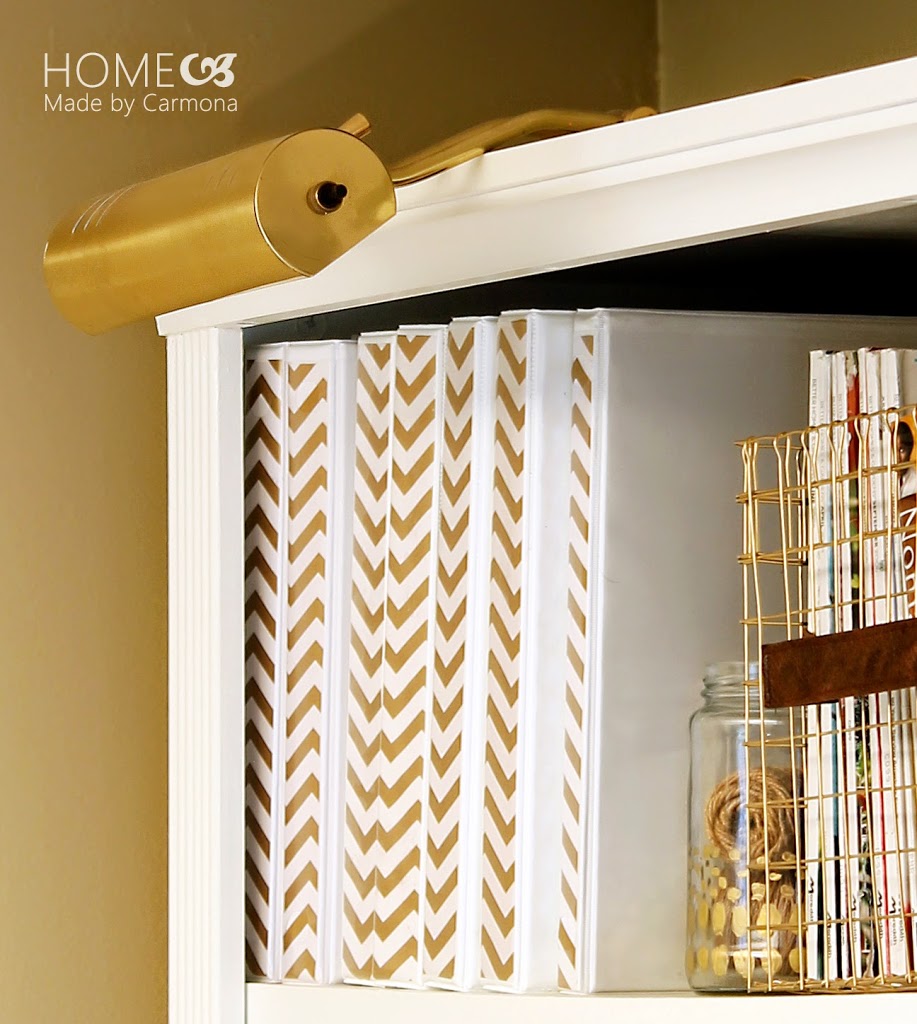
Upcycled Hand-Me-Downs & Thrifted Finds
One of these piano lamps were a hand-me-down from my family, and the other I found at a garage sale for $15!
As this type of piano task lighting has fallen out of popularity, you can find them all over the place even cheaper than the price I paid.
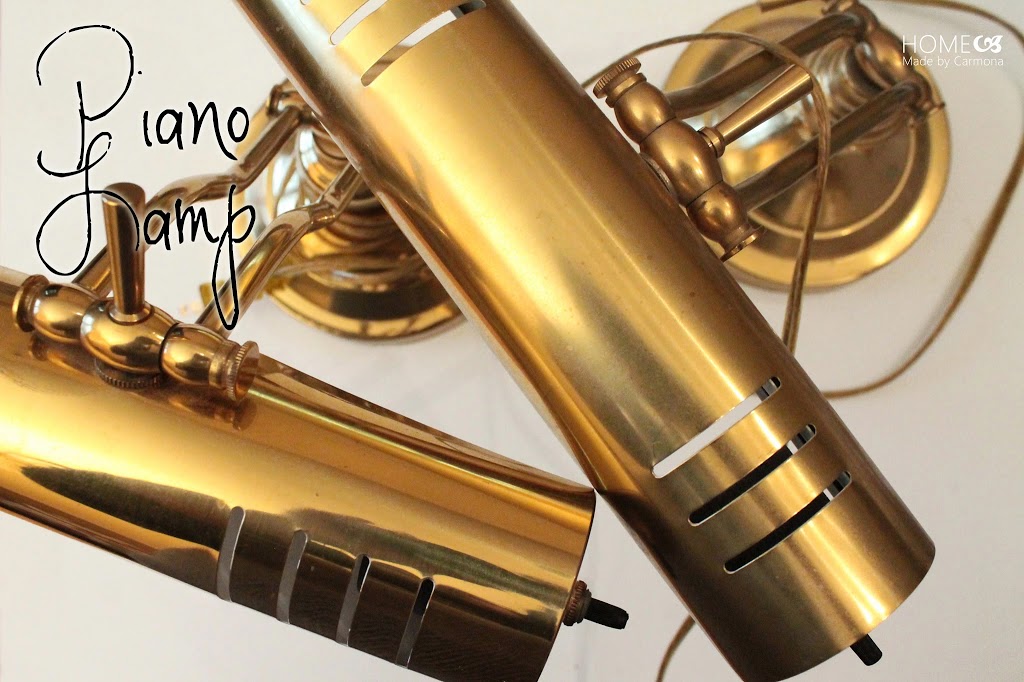
Disassemble The Piano Lamp
Ultimately you want the lamp to lay flat on the top of your bookshelf, so you will need to do a bit of minor surgery to remove the base.
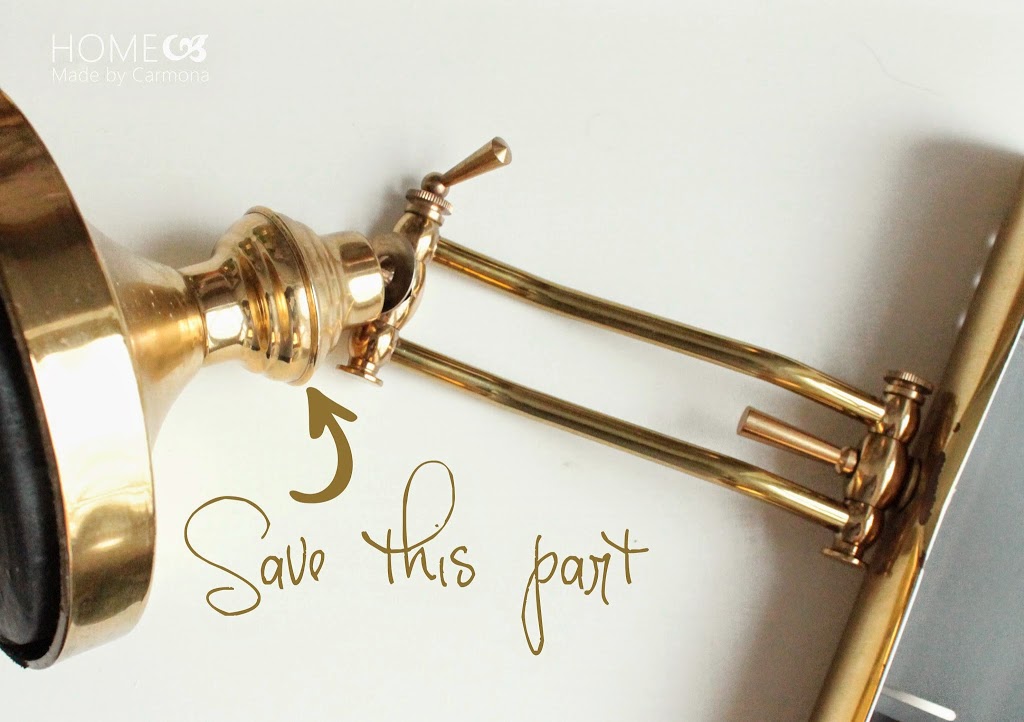
Remove the fabric base on the underside of the lamp and loosen the middle portion by unscrewing it.
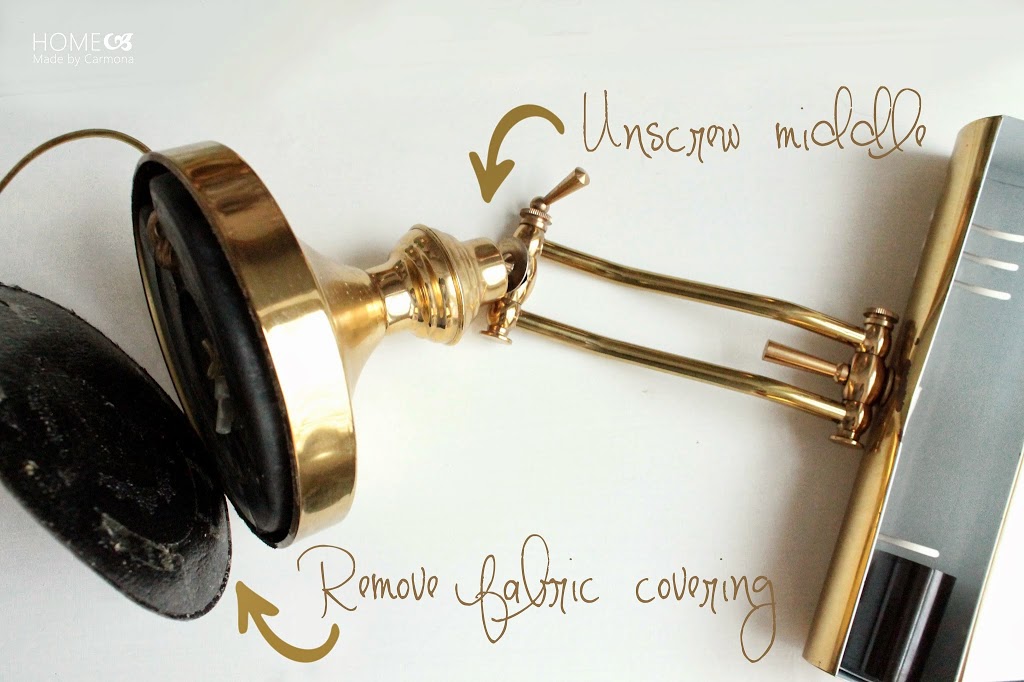
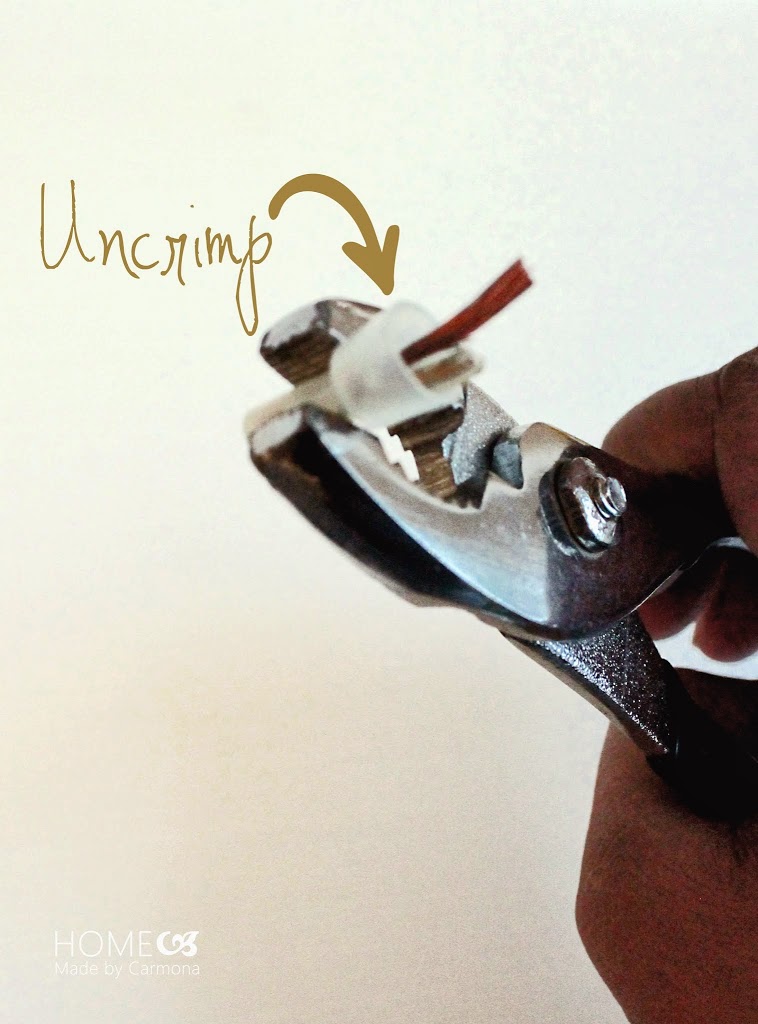
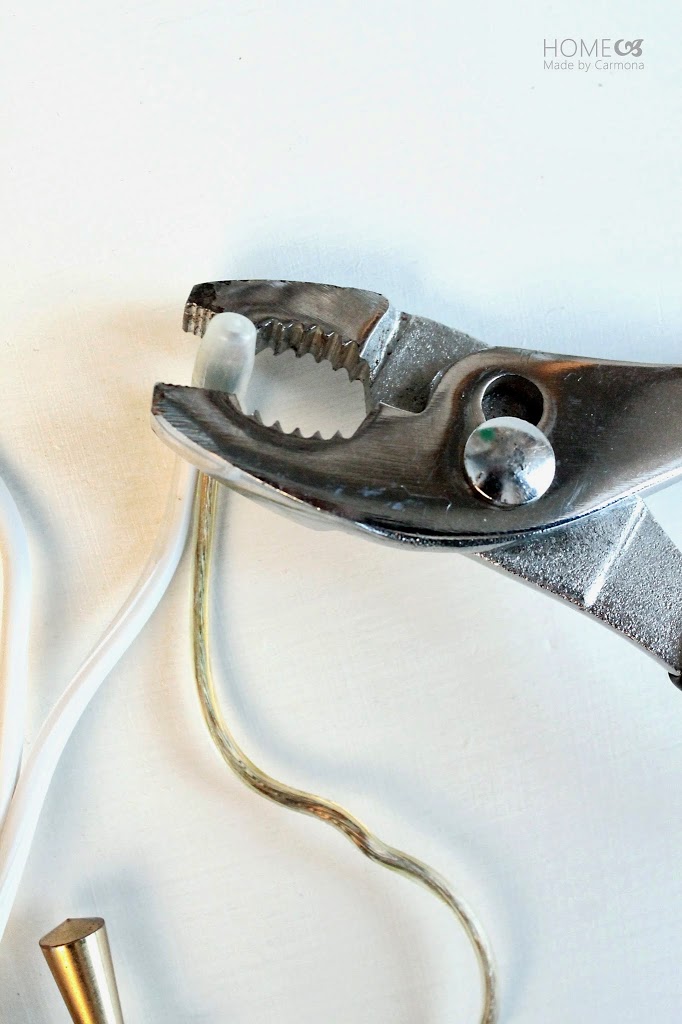
Next remove the wire nuts and untie the cord. Detach wire nuts by cutting wires or uncrimping. These are crimp connectors as oppose to the twist-on wire nuts, so you will need a pair of pliers to open them. Next unscrew nut to remove the heavy lamp base completely.
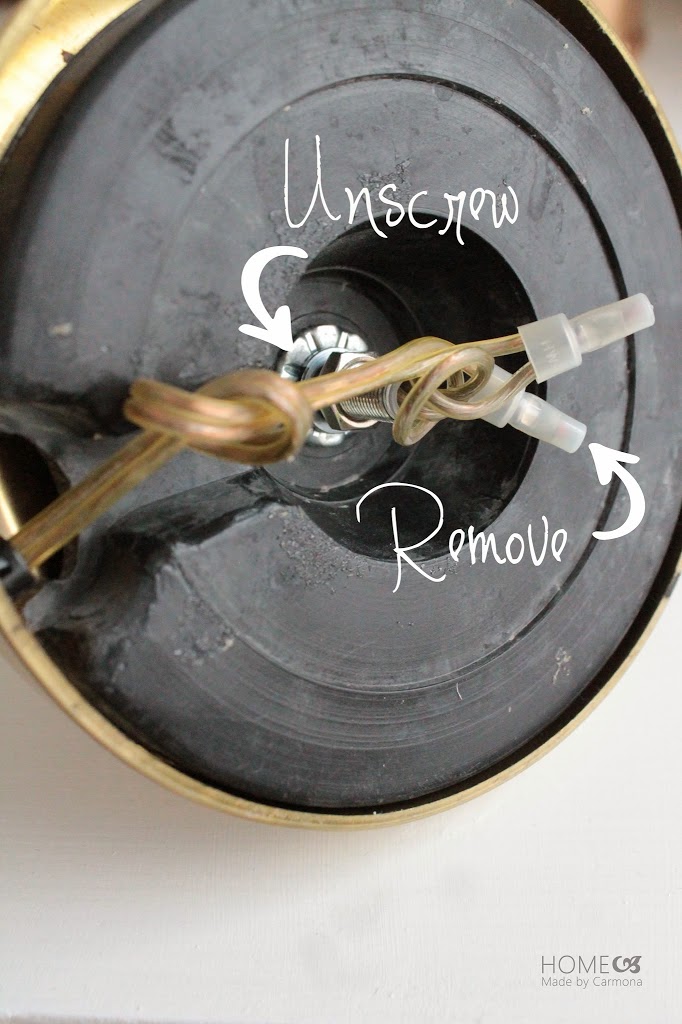
Set aside the crimp connectors, you will need them later.
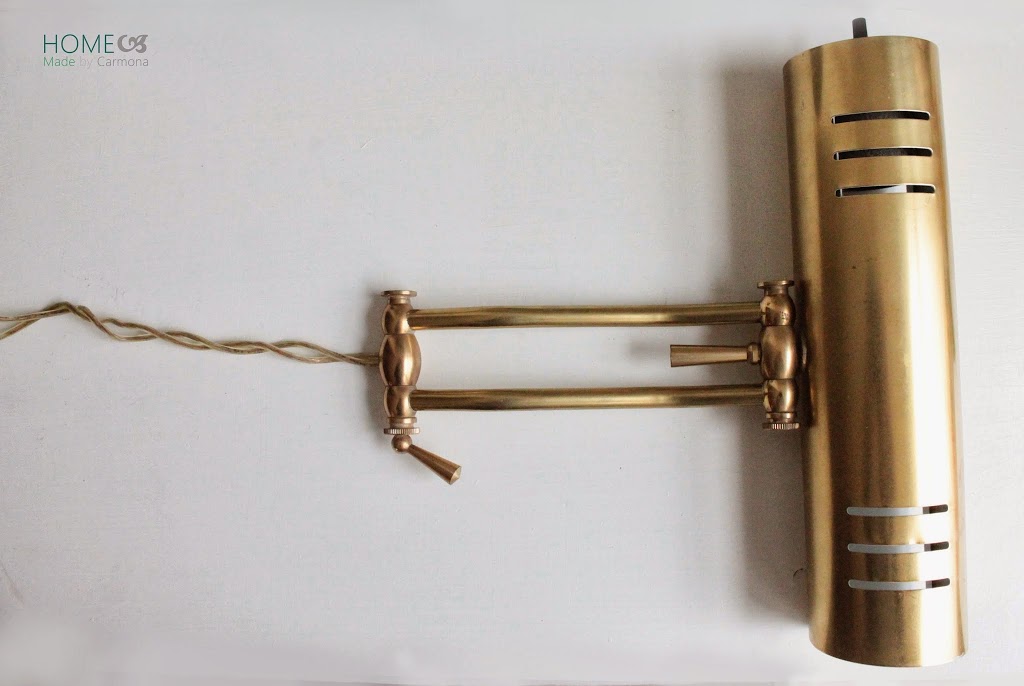
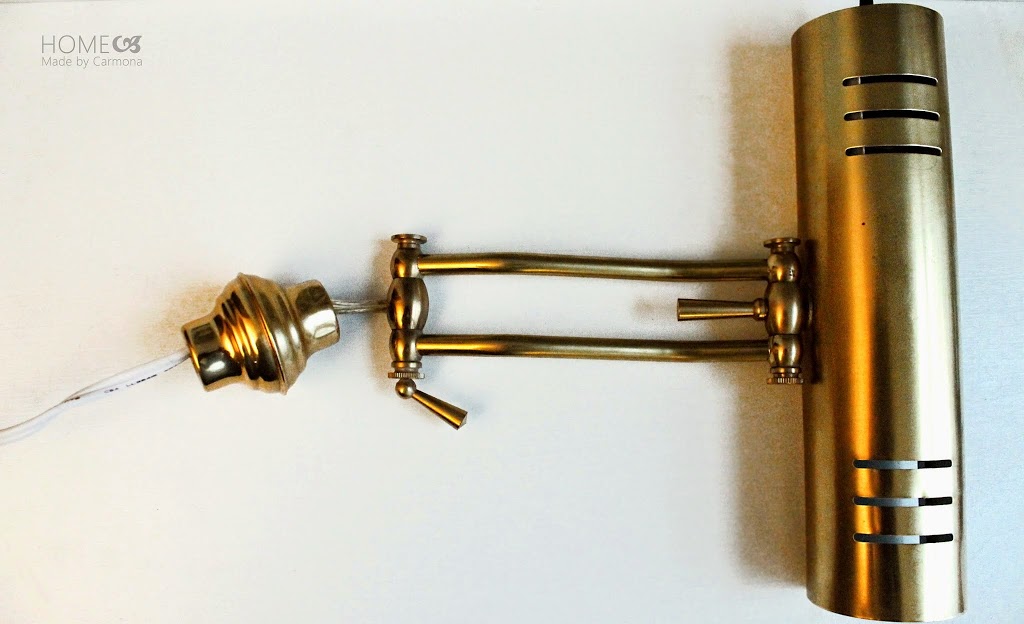
It should look like this once you remove all the extra parts of the lamp.
Extend The Cord & Add A Switch
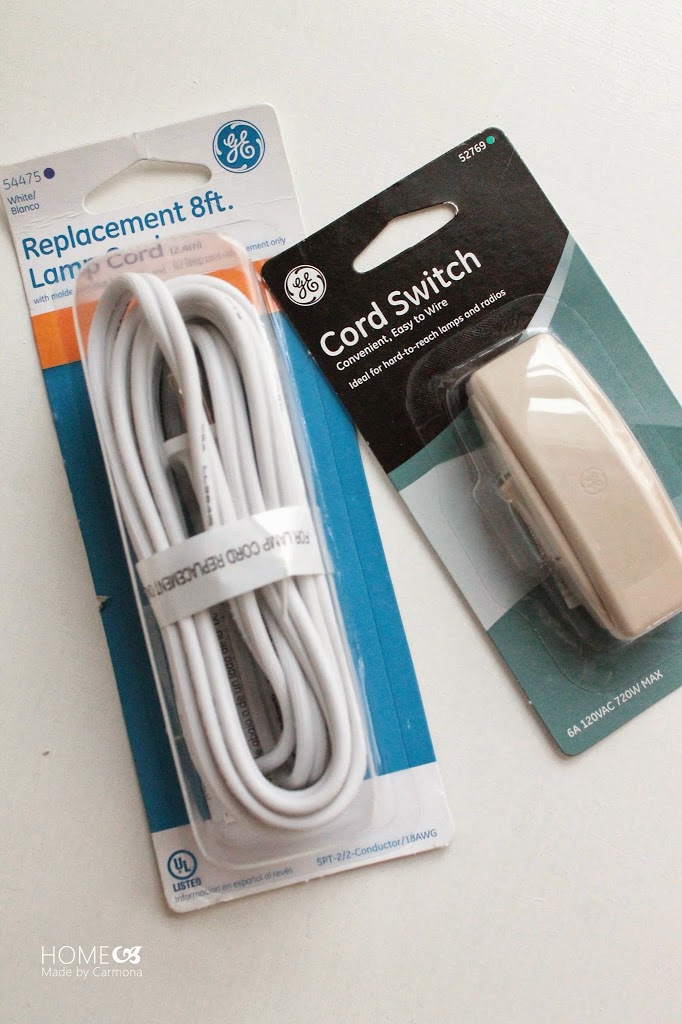
Unless your cord happens to be very long, you may will need to purchase an extension for your lamp cord. Also nice (but not necessary) is adding a cord switch somewhere along your extension. I won’t be showing you how to do that since there are directions on the cord switch and it is a separate task.
Now you will need to connect your extension wire. But before you do, thread the wire through the round middle portion of the lamp you removed…later this will house the connection between the old wire and extension wire.
Strip wire, and connect the old and new cord using the crimp connectors you set aside.
Note: If your original cord was long enough simply reattach this cord in place of the extension cord.
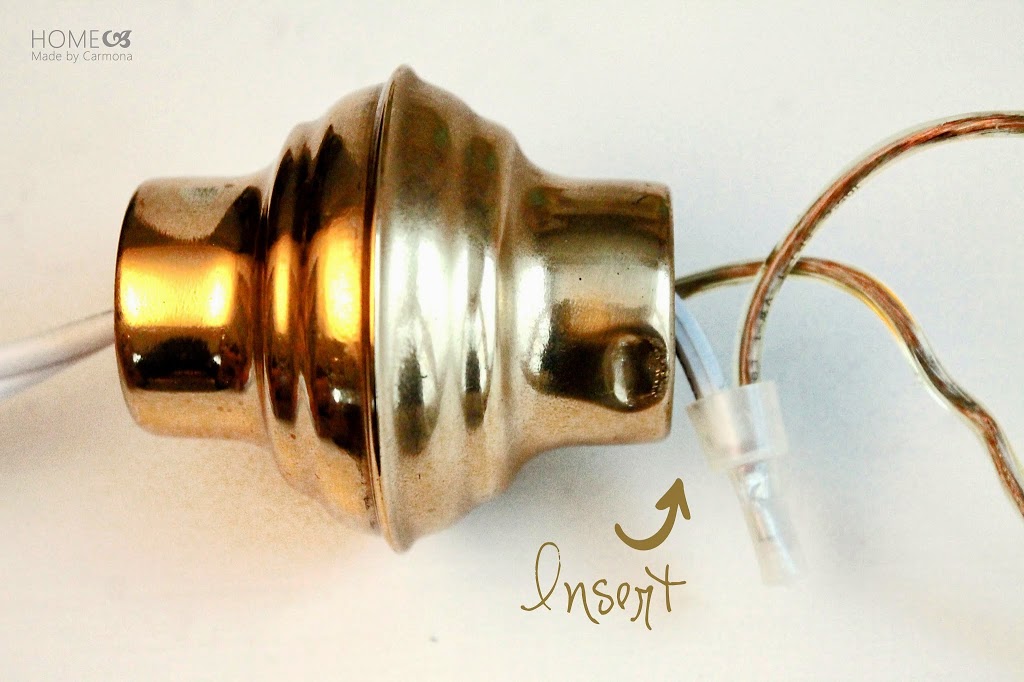
Next stuff your crimp connectors into this round lamp midsection. Also wind and store any excess cord in here.
This is what it should look like when you are done. It is ready for use!
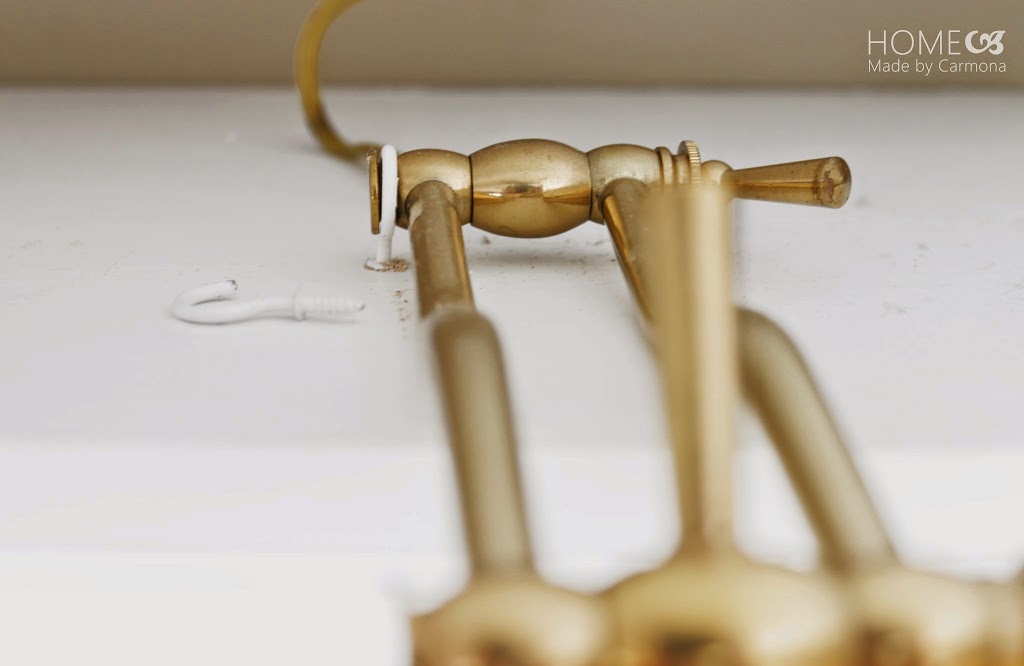
I attach this lamp to my bookcase by using screw-in hooks on either side. Then I can simply snap this lamp into place, and if ever necessary, I can simply slide it out to remove it.
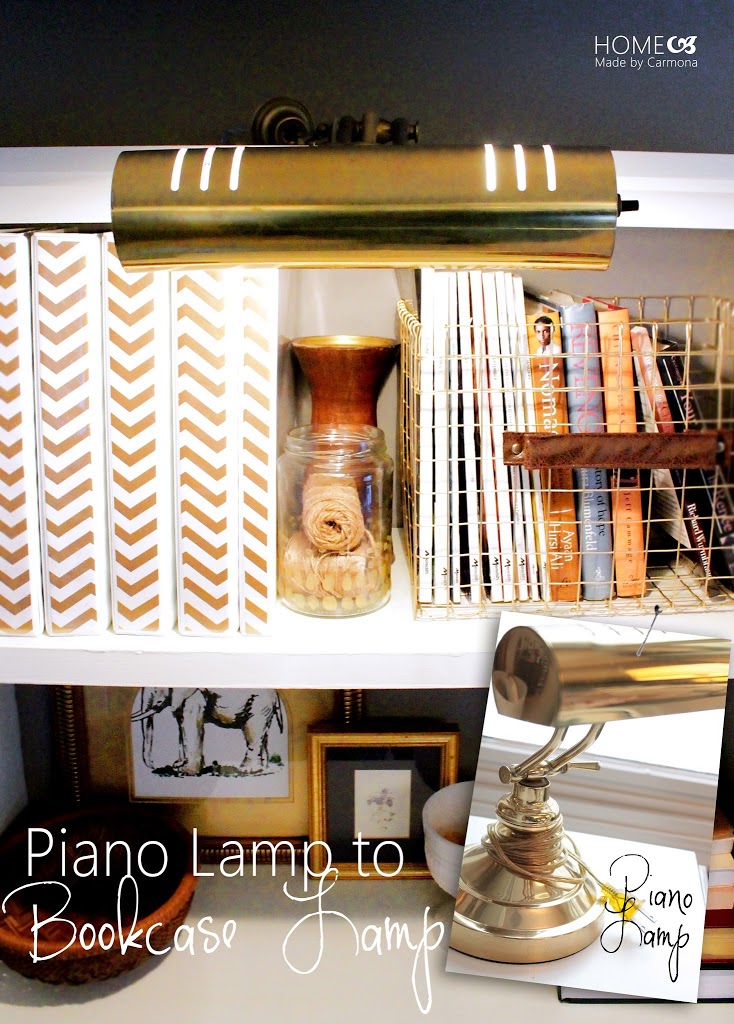
These lamps lend a little extra light to our dim living room, and also cast a gorgeous decorative down light on my newly styled bookcases!
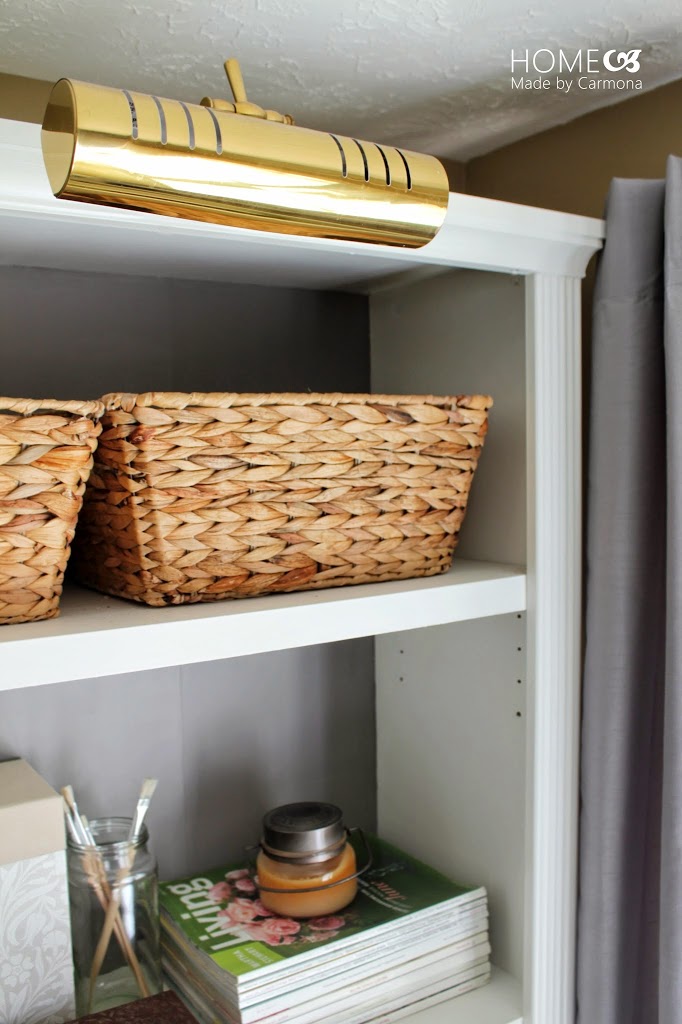
I love that this is both functional and decorative!
Other Great Ways To Upcycle Old Lighting
Looking for genius ways to update old lighting? You’ll find 20+ incredible hacks for updating old light fixtures by popular DIY bloggers.




Ingenious! 🙂
Thank you! 😀 I guess great desire and lack of money is the mother of invention here. lol!