It’s not often that I pull back the curtain and reveal the behind-the-scenes of being a designer. But today I’m going to share the lesser seen process of moodboard design, and chat about the importance of starting with swatches and samples.
*Special thanks to Carpet One for sponsoring this ‘process sneak peek’!
Let’s be honest, it can be tough creating the room you have always envisioned.
Whether you are a designer, or making your own design decisions, this process is incredibly helpful to getting the space ‘just right’.
Start With Inspiration
I always start with inspirational pieces to help me in the right direction. That can be physical accessories you’ve shopped for that have the ‘look’ you are going for in the room. Or it can be virtual pieces you have found online and put in a digital moodboard (like a Pinterest board, or on PicMonkey/Photoshop, etc).
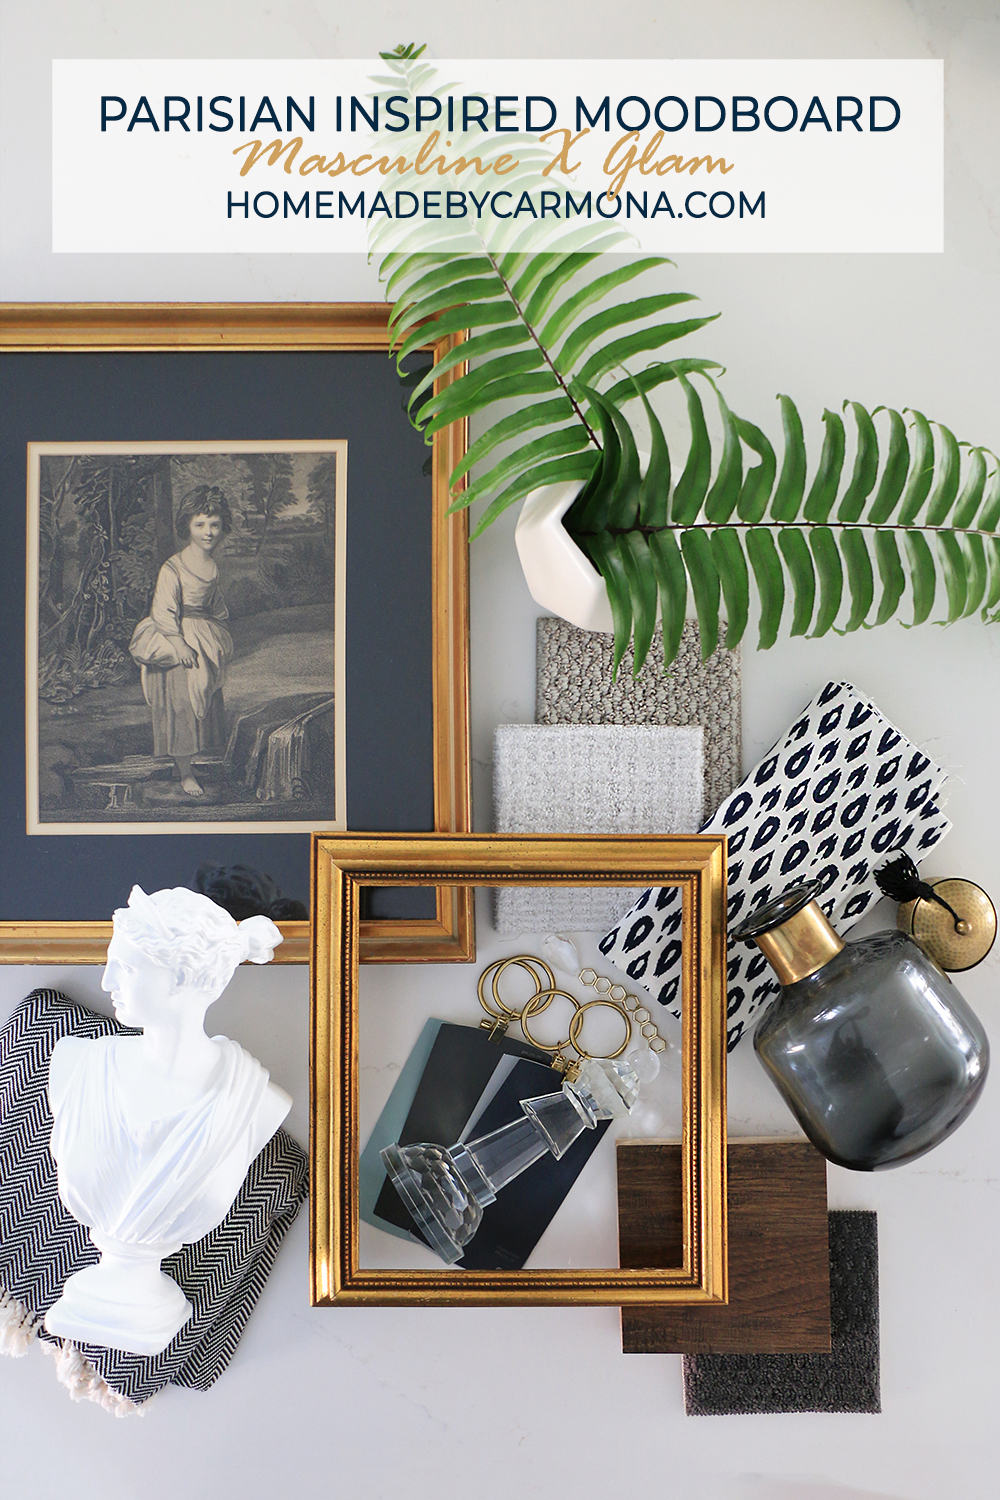
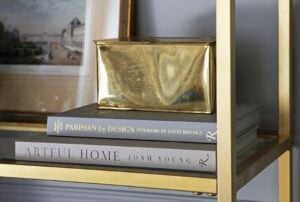
The overall look and direction I want throughout my home is inspired by a mixture of Parisian, with Art Deco touches, set on a groundwork of New Traditional style. It’s very masculine juxtaposed with glam, and I love it!
Samples & Swatches Are Your Best Friend!
I never ever ever remodel a room without first getting samples and swatches for the space. Everything from paint swatches, to fabric and furniture upholstery swatches, to flooring samples!
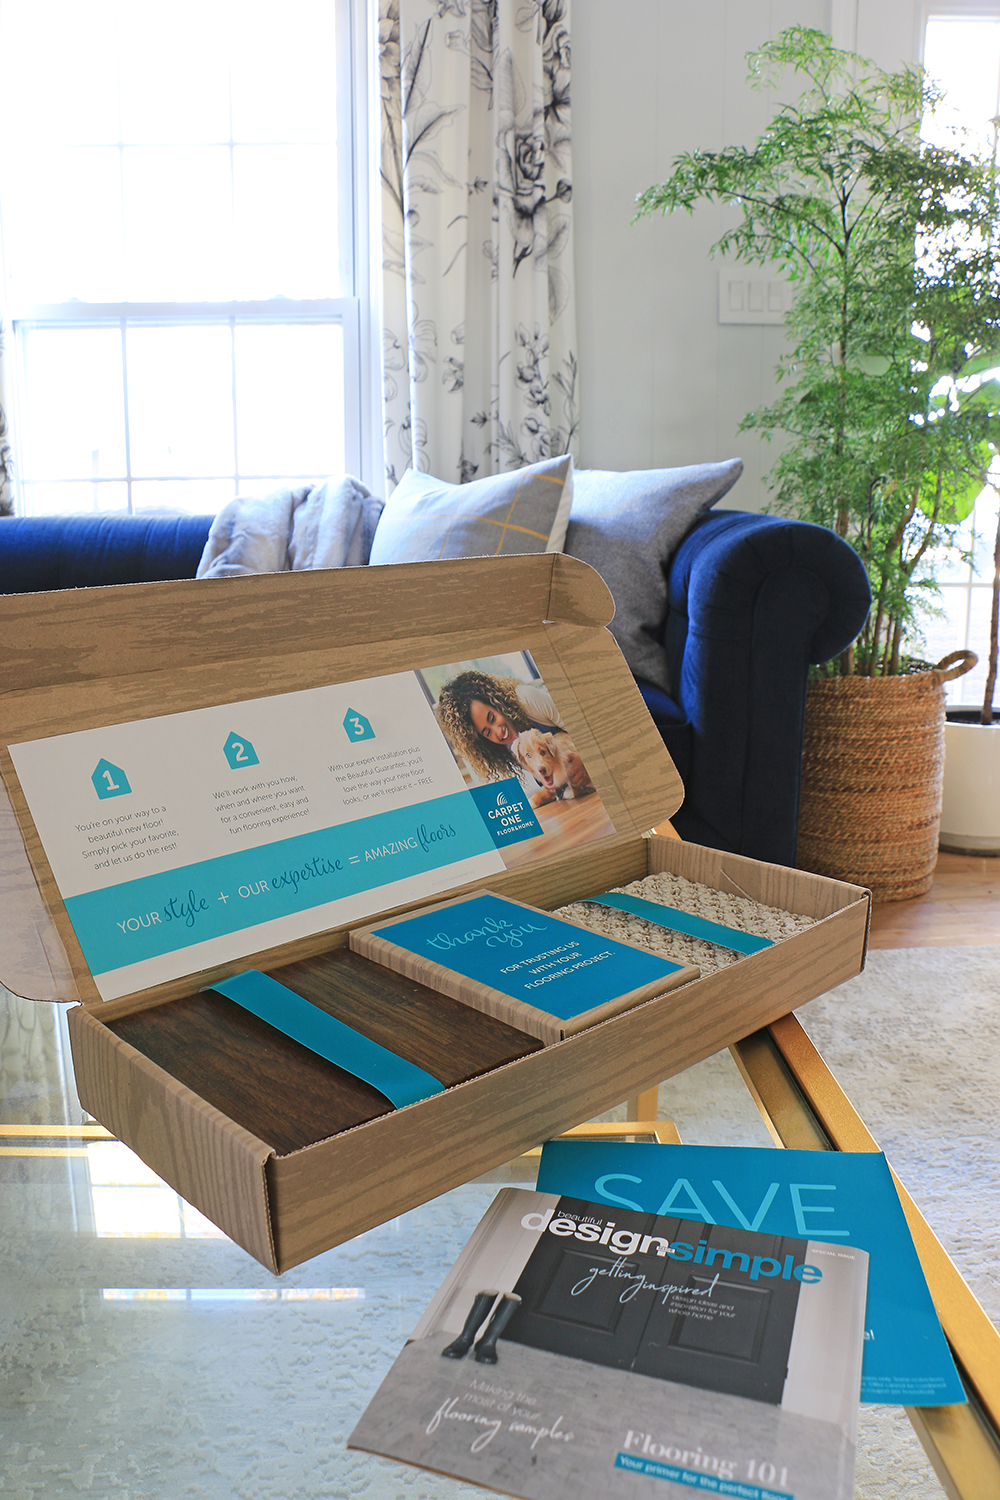
This is especially important when it comes to the biggest surfaces in your home…the walls and the floor. Which is why I use Carpet One’s sample kit!
When I remodeled my daughter’s room earlier this year, I started from the floor up and immediately got my hands on a variety of Carpet One samples.
And now you can quickly choose your flooring (both wood and carpet!) by ordering up to 6 samples via the Carpet One website! Seriously, it’s never been easier. You don’t have to go in-store to ensure you choose the right color and texture for your space. Carpet One will ship it right to your door!
I can’t stress enough how important this is! Every room in your house can have a different lighting situation. I have the same wall paint and flooring in two different rooms of my house, but because the windows face a different direction, the color has a very different impact in each of those rooms.
Just do yourself a favor, and get samples you can put in the room and observe at varying times of day.
Laying The ‘Ground-Work’
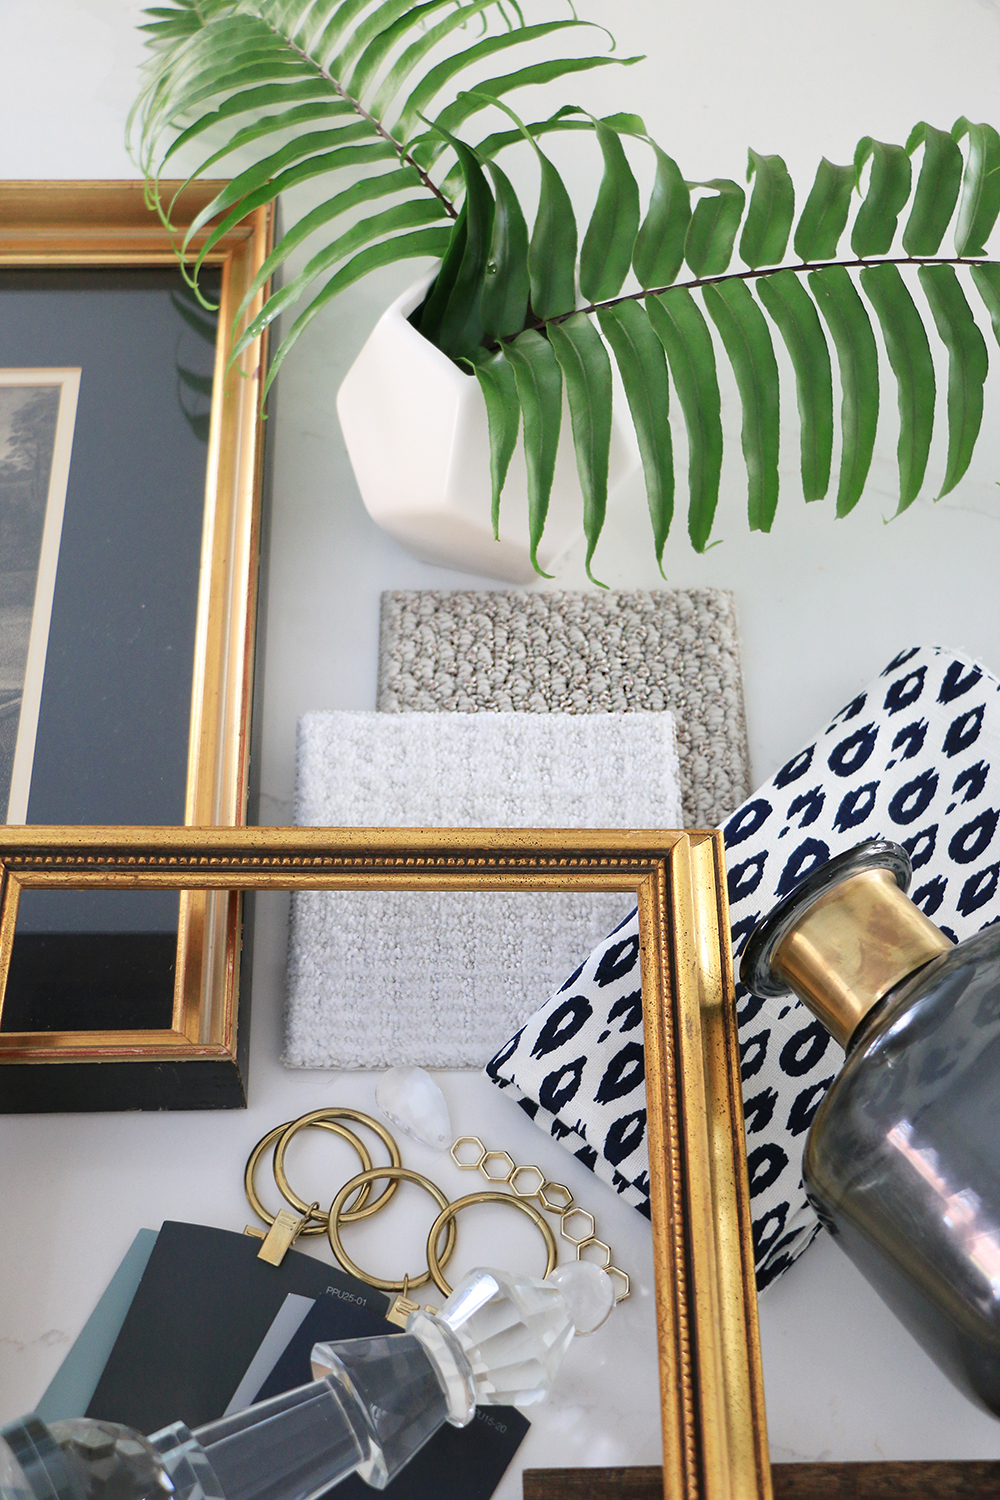
Because the walls and floors are the biggest, most impactful surfaces in the home, I wanted to see a wide variety of flooring types and how they work together. The type of flooring I put in the kitchen where there is constant mess and wear is going to be different than what goes in the living room.
Understanding how thickness, texture, and color will interplay is vital when transitioning from room to room!
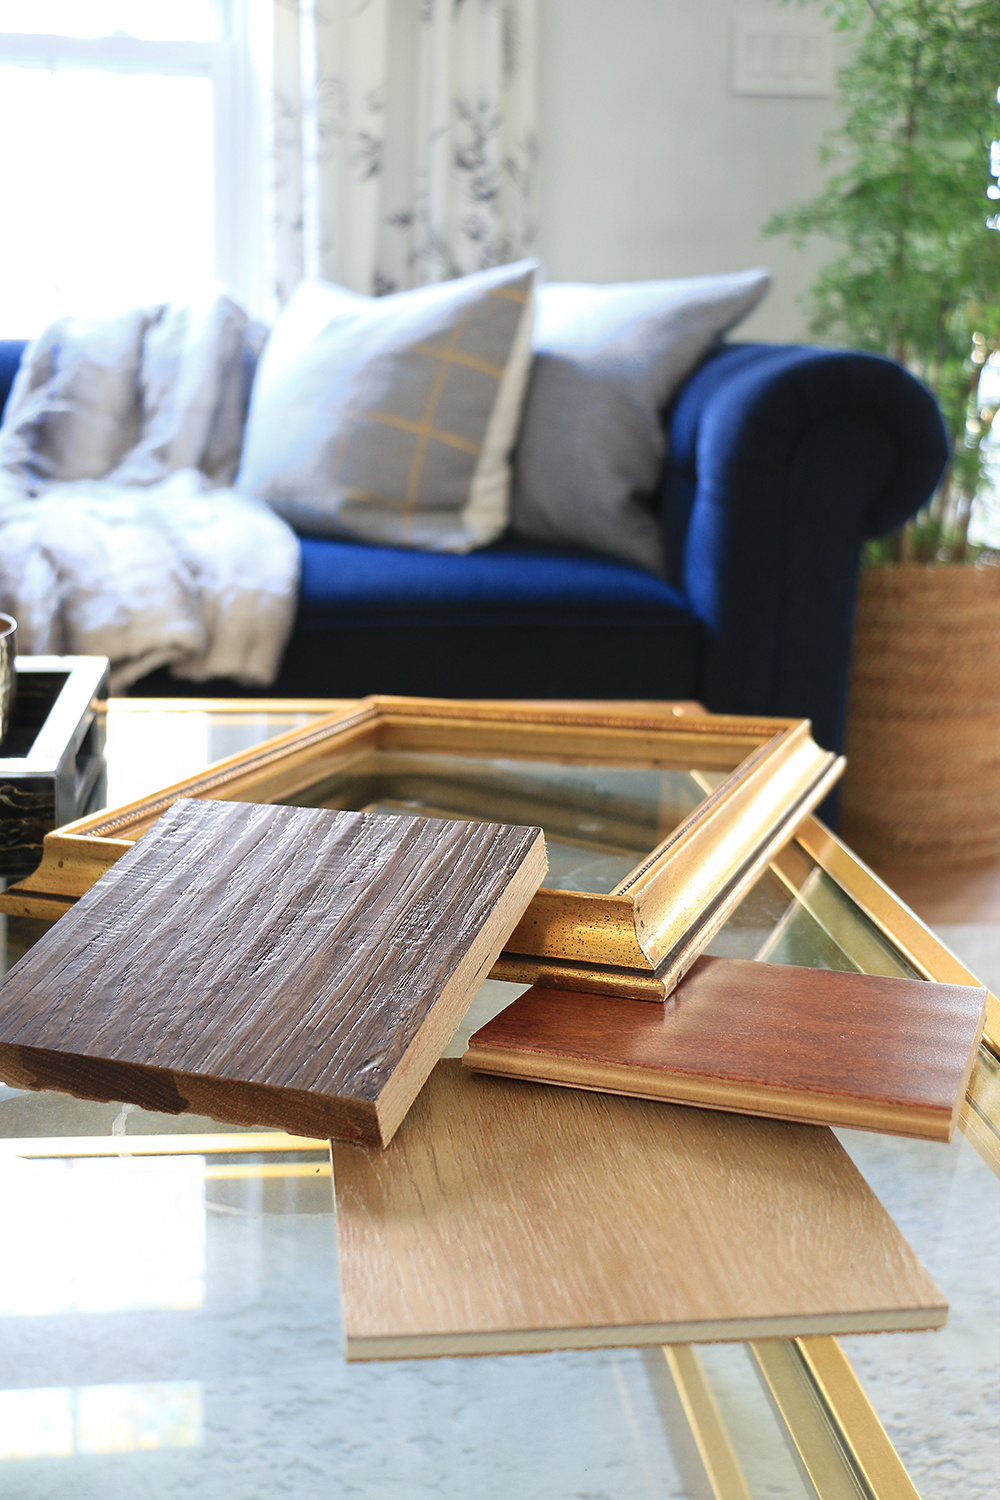
Here I have three wood flooring types in three different finishes to compare: (Ultimately I will go with dark colors in a couple flooring types)
- Hardwood: Kingston – Hickory; color: Fountain Valley (my top choice in color and texture for my home)
- Hardwood Plank: Eureka Springs – Maple; color: Light Auburn (beautiful smooth textured planks)
- Wood-look H2O LVT: Charleston Place Plus; color: Central (great choice for wear & tear! My top material choice for bathrooms and kitchens)
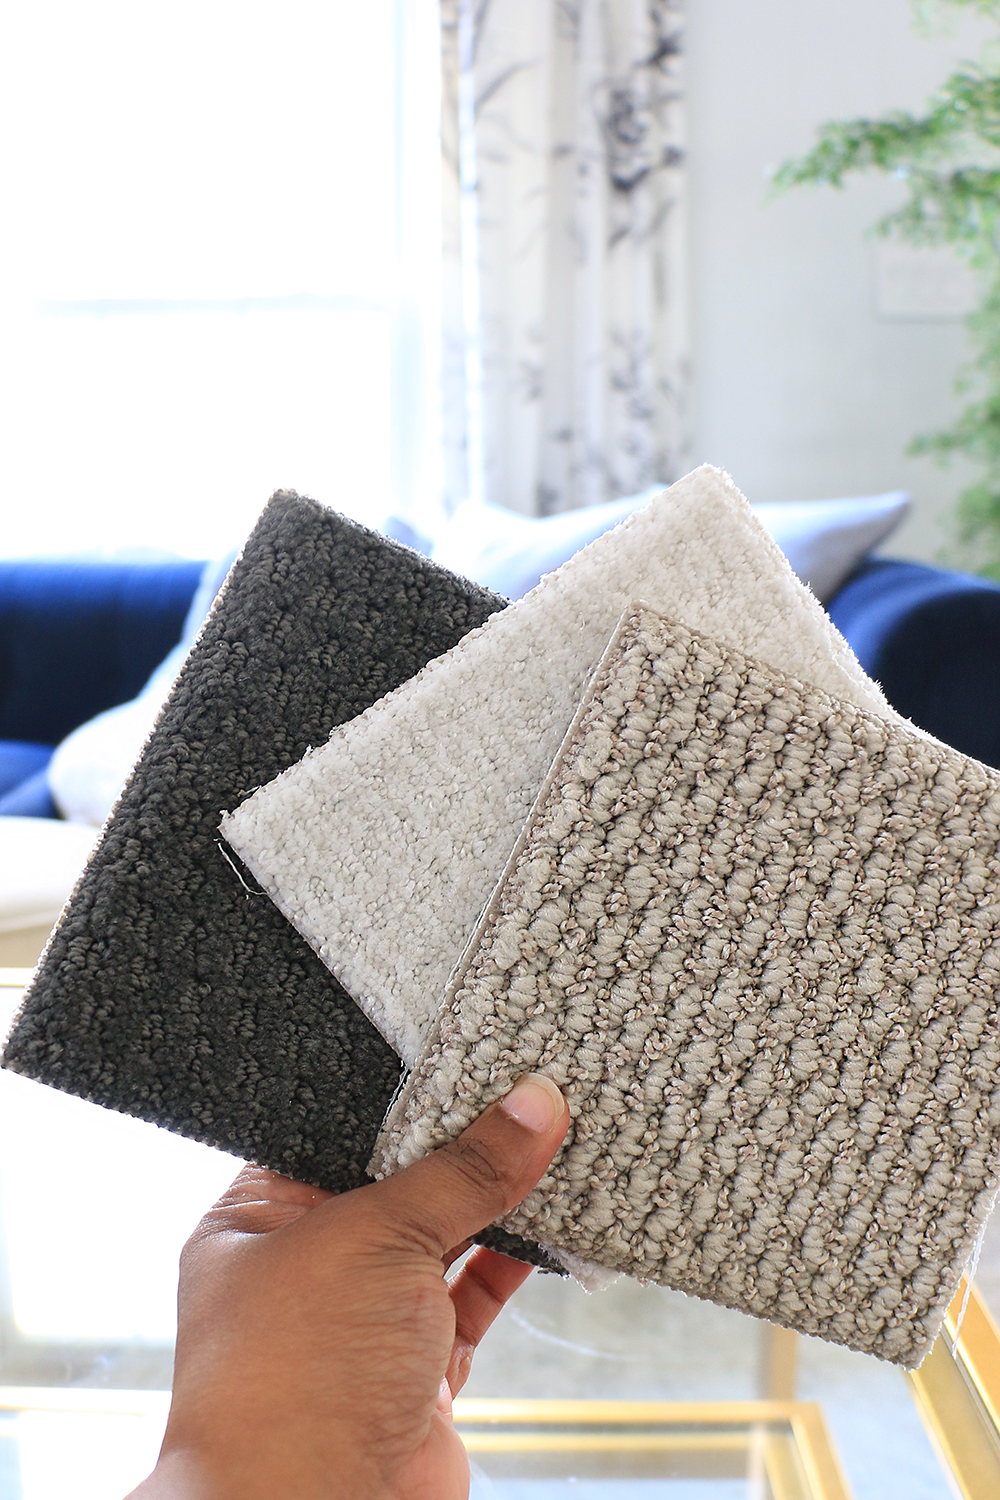
My carpeting choices from left to right are:
- Notting Hill; color: Illusive, by Innovia: dark hues, beautiful moody vibe, easily hides messes
- Chambord II; color: Artic, by Tigressa: Great texture, provides a clean white canvas to design around
- Diamond Sun; color: Icebreaker, by Bigelow: beautiful non-white option, but still light toned with visual interest
Layering In
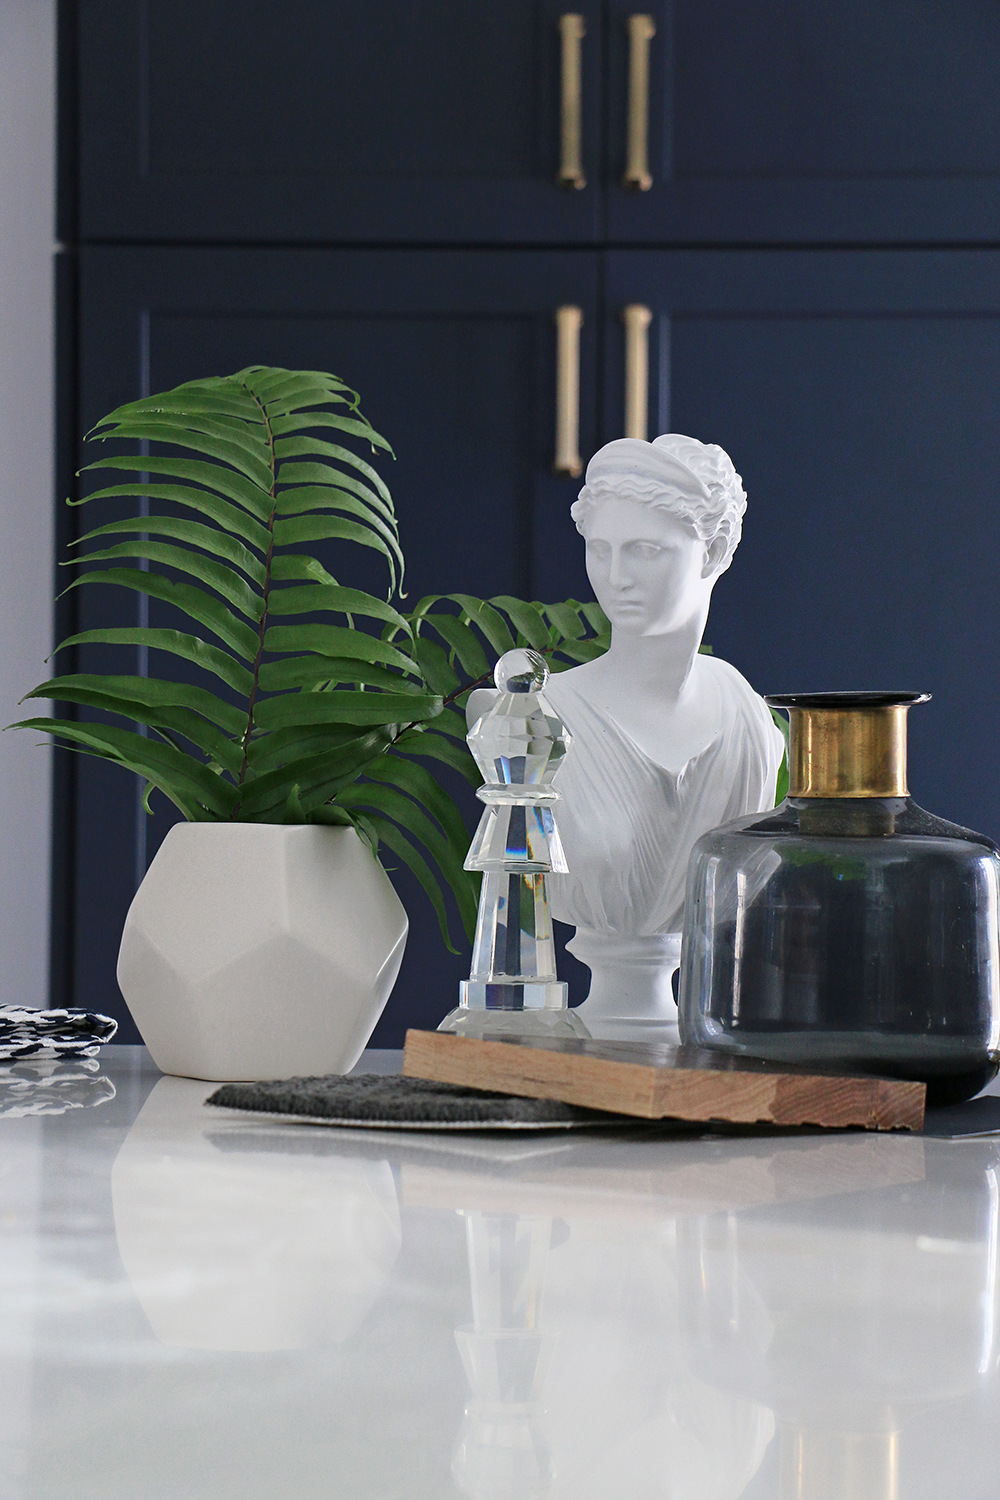
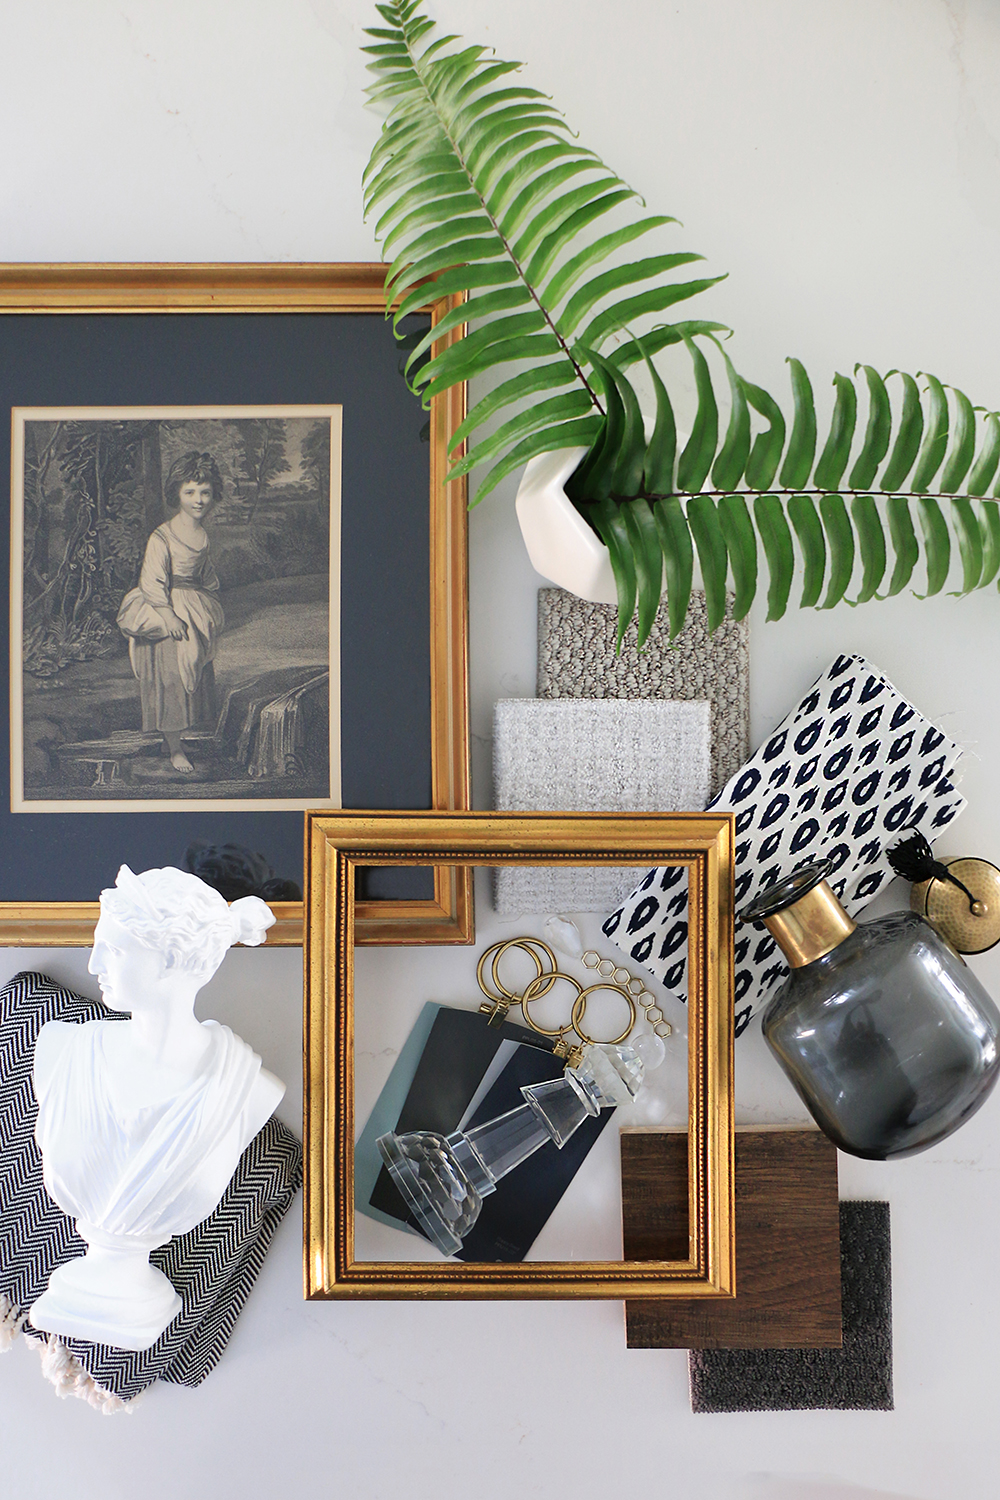
After narrowing down your inspiration pieces, samples, and swatches for the moodboard, then it’s time to layer in other items!
Now that you’ve done your initial inspiration, it’s much easier to add furniture choices, bigger accessories, and start decorating your space.
Every time you make a new selection for the room, go back to your initial moodboard and ask if it edifies the original vision. Keep a snapshot on your phone, so if you are out shopping, you can see it.
I do this for every room in my own house, and every space I design! It means a beautiful cohesive room that I can be proud of.
Thanks for following me on a little behind-the-scenes of my design process and moodboard. I hope this helps you in your own home decorating endeavors!
*Special thanks to Carpet One for sponsoring this behind-the-scenes look!
Like This? You’ll Love These!
Tour a before and after of a sophisticated teen bedroom | Creative ways to decorate with wallpaper | Learn how to lay out a room for the way you live |


I love seeing behind-the-scene processes! They always tell a story and make the design more personal. I am also LOVING your moody Parisian design…it’s beautiful!
Thank you so much!