
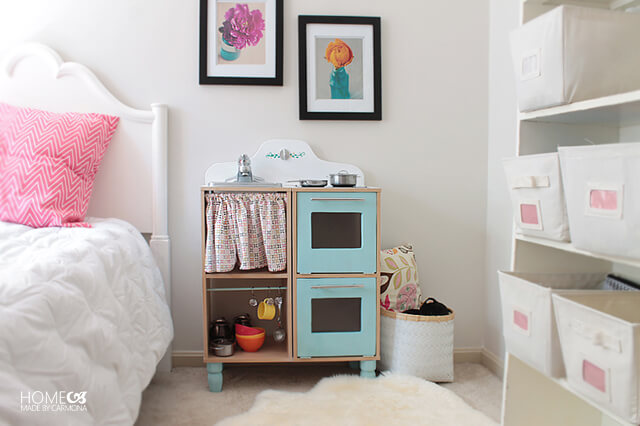
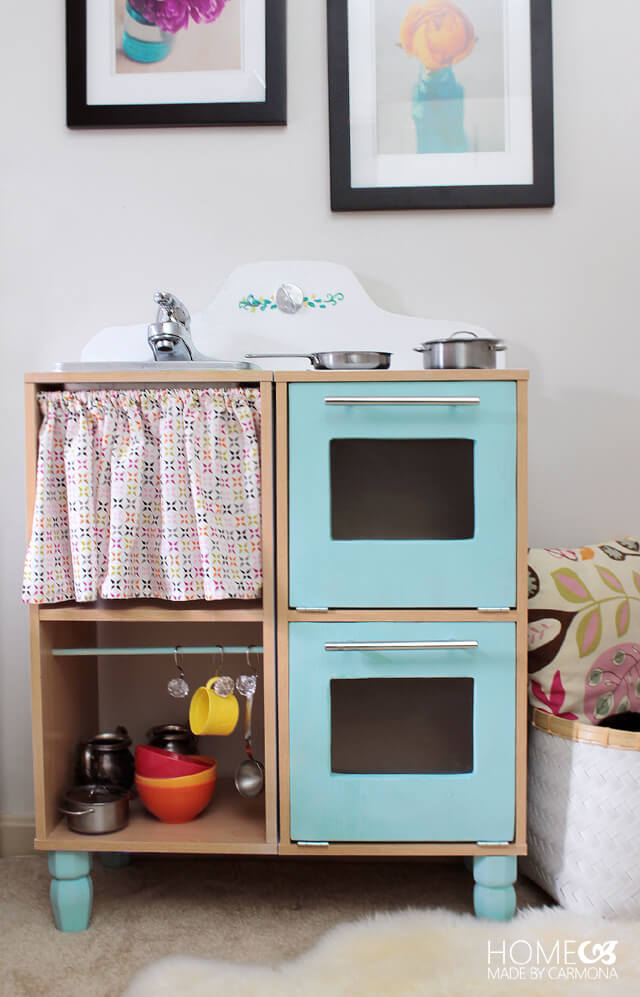
Ready to be mom (or dad) of the year? Honey, put away your wallet, this isn’t going to cost an arm and a leg. Yes, your child can have a kitchen playset Pottery Barn would be proud to produce, but without a hefty price tag. All you need is a couple cube bookshelves, and a few small items, and boom…you’re queen (king?) of awesome. Ah whatever, you’re a creative which means you are already awesome, just consider this the scepter to your crown. 😀
Ready to do this?
Here’s What You’ll Need:
- Two small cube bookshelves
- Rectangular plastic container for the sink (tough plastic)
- Old bathroom or kitchen faucet
- Scrap wood (for oven doors and backing)
- 2 – hardware pulls (for oven doors)
- 3 – 8×10 polystyrene sheet (plastic for oven windows, and stove top)
- 1 – wooden dowel (for hanging and for curtain separator)
- Furniture feet (optional)
Making The Sink & Faucet
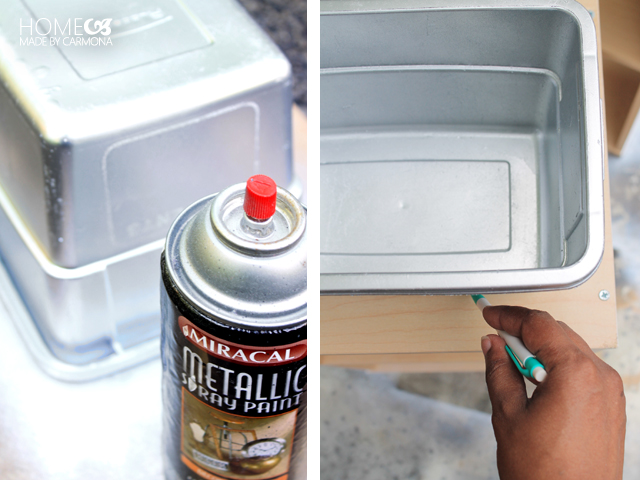
I’m starting with an ugly old rectangular plastic container that has been bumming about my garage. After a good cleaning, I add a light coat of metallic silver spray paint to make it look like a sink. Be sure to seal it with a couple coats of clear spray once it dries…you don’t want your paint job to scratch. Even better, a couple coats of Mod Podge on the inside of the sink will ensure it won’t get scratched! Then trace the bottom of the sink onto your wooden cube, and cut out a hole where you can sink that sink. 😉 Yes, I’m sometimes cheesy.
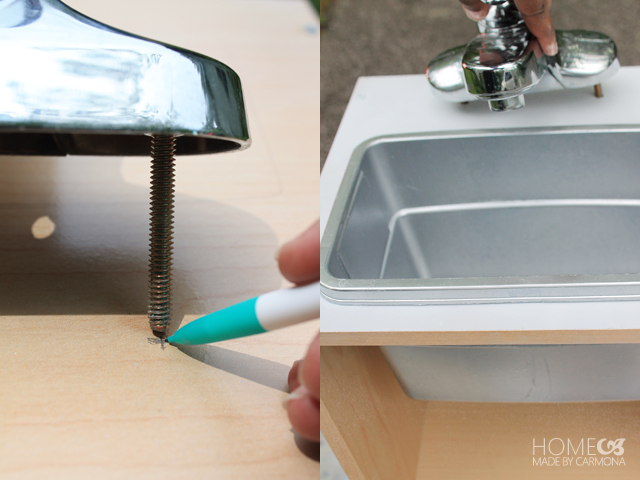
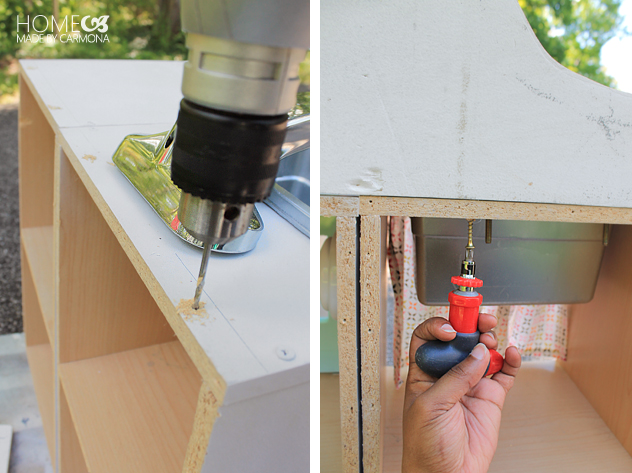
I like to get an old salvaged bathroom or small sink faucet to use. You can typically find one at a hardware salvage store for a couple bucks. Just mark where you need to drill holes for the threads, and bolt the faucet to your wooden cube right behind the sink.
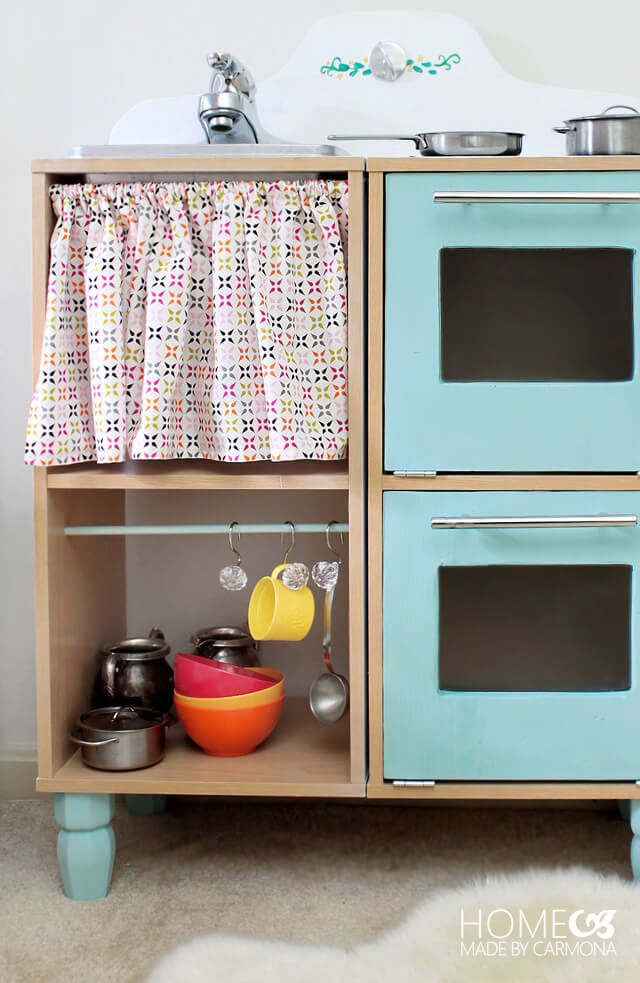
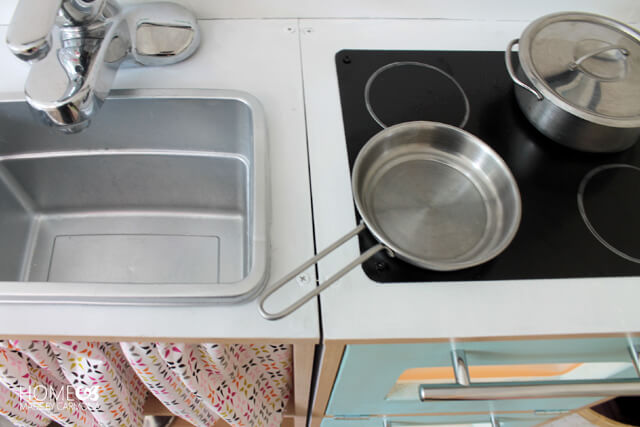
How adorable is that?! You can’t beat a real looking kitchen sink!
Making The Oven Doors
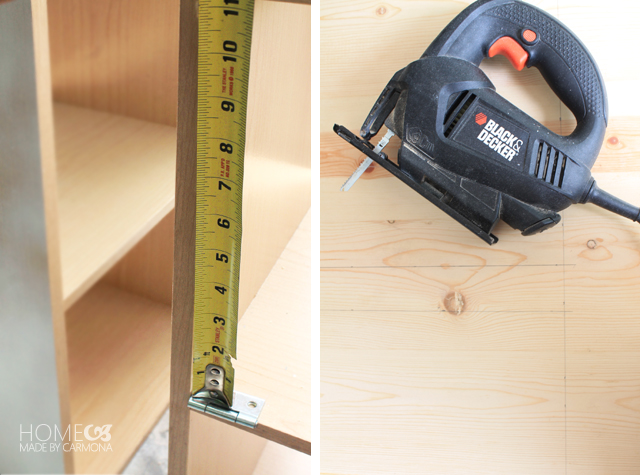
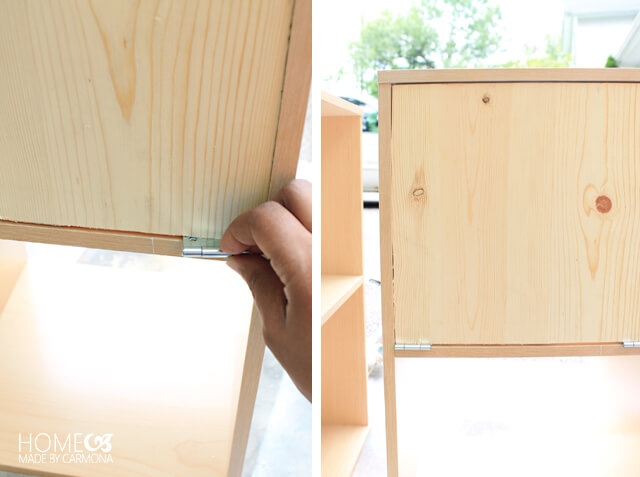
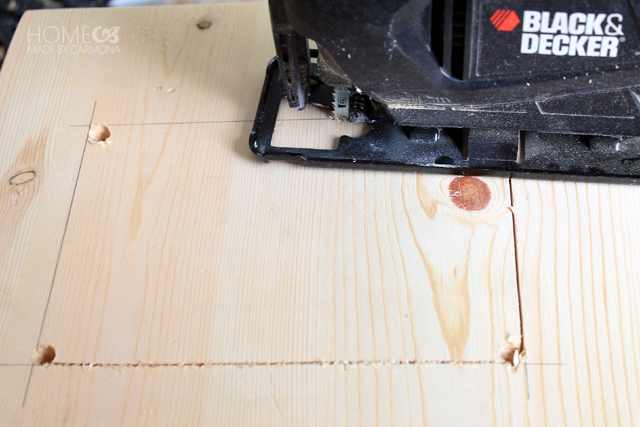
You will need to measure the inside of the cube carefully. See, you want the square piece of wood you are about to cut to fit inside the shelf as an oven door to be snug, but not so snug it is hard to close. You also need to factor in the thickness of the hinges you will use to attach those doors before you mark out your square and make cuts. Look at the picture on the left (below), if you look just under the measuring tape, you’ll see I’m double checking my measurement minus the height of the closed hinge.
Be sure to test it before you move on to the next step. Slide the hinges into the bottom and see if the fit is good, but not too loose or too snug to open the door.
Next you’ll decide where you want to place an oven door window in your oven doors. Be sure to make the window cutout smaller than the plastic sheets you’ll be using to make the “glass” part of the door. Just eyeball the size…
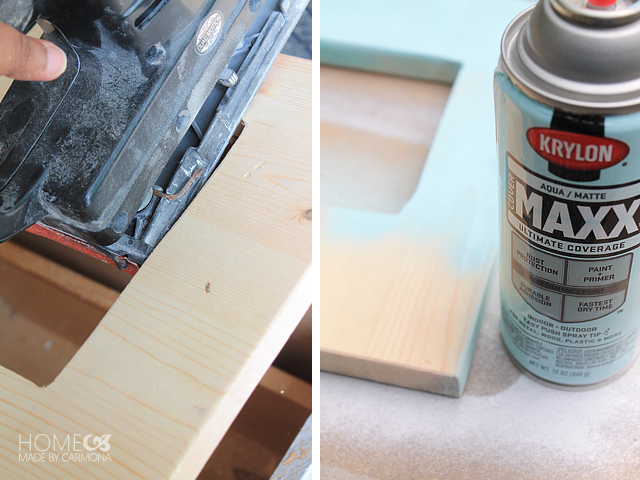
Sand down the doors really well, and if you can, use a sander to round out the edges. Next you are ready to paint your doors. I am using spray paint, because it is easier and I love this Krylon aqua color. Seal it with a spray coat of polyurethane sealant.
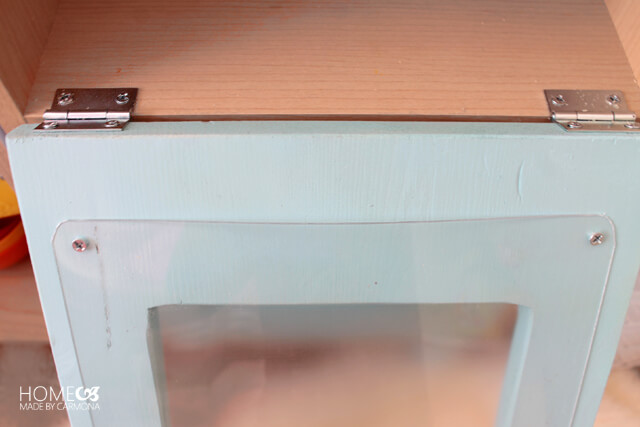
Next you will attach the door handles, and the fake “glass” to the doors. To make the glass, cut your polystyrene plastic sheets with shears and round out the sharp edges, place it atop the back of the wood door, drill small holes in the 4 corners of the plastic, and screw it to the wooden door.
You can go ahead and attach the doors via their hinges now as well. Make sure the window side is facing in, and that the hinges face the correct direction to open. No silly mistakes you’ll smack your forehead over later. 🙂
Adding A Curtain Divider
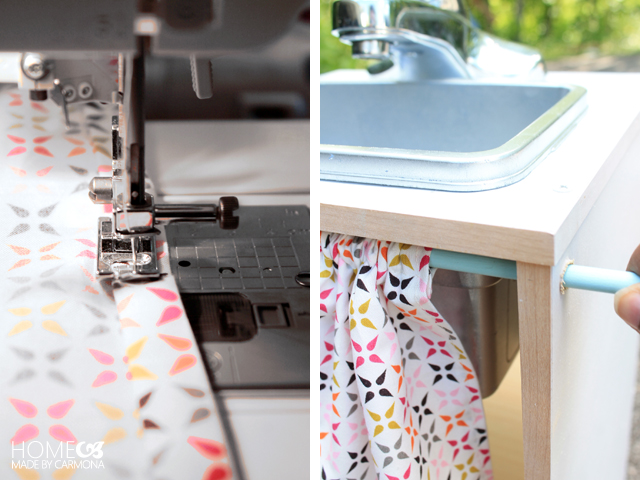
This little curtain divider is also optional, but I thought added a nice touch to hide away a few of the play dishes and the underside of the sink. Just sew the edges of a piece of pretty cloth (you could use a cloth napkin), and sew a loop where you can insert a dowel rod to hold that curtain in place.
This is the time to drill a hole big enough to slip a down rod through. You want to drill from the side of the shelf that will be facing the second shelf…that way the drilled hole will be hidden when the two cube shelves are put together to create one oven unit. Drill a shallow hole (that doesn’t go all the way through) on the opposite side (on the inside) of the shelf to insert the dowel and hold it in place. If you want, you can even add a second dowel to the bottom shelf to hang pots and spoons from! It makes for super cute storage!
Making The Range Backing
While this top piece is not exactly necessary, I think it is a cute spot to add oven knobs and lends to the vintage oven style of the piece.
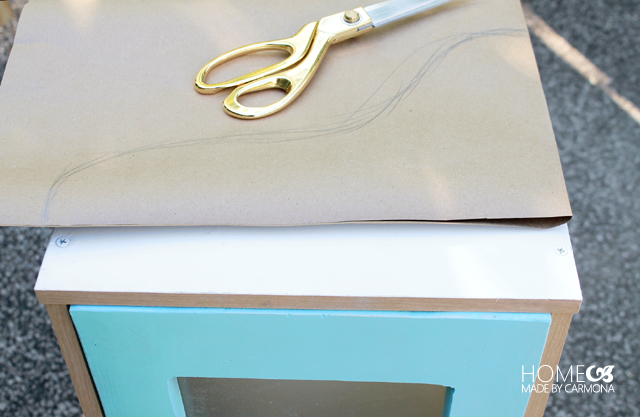
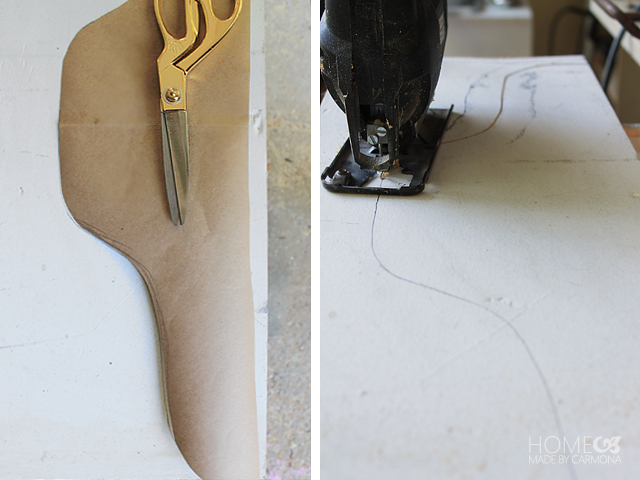
Cut some Kraft paper that is the length of both cube shelves together, then fold it in half. Place it atop one cube shelf and trace a half design of what you want your range backing to look like.
This is an easy way to make a template for your range when it is a scroll style. If it is just a straight rectangular backing, no need to do all of this. Just cut it to the size of the two cube shelves together.
Once you have cut out your range backing, drill pilot holes in the two cube shelves, and secure the range back to the top of your unit with wood screws from underneath the back side of the shelves.
This will not only add a back, but attaches the two separate cube shelves to each other.
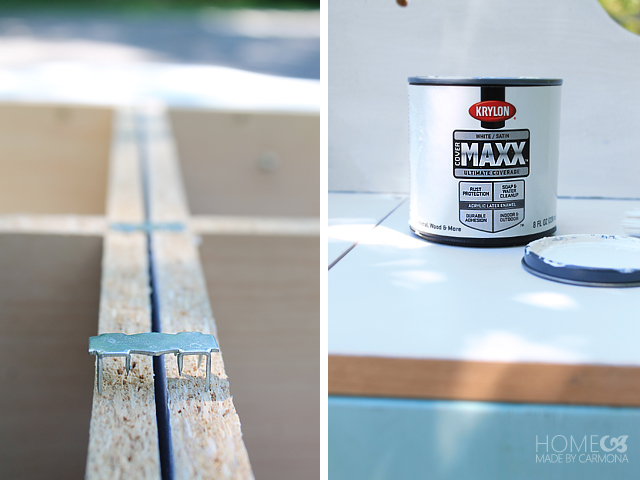
Now you can make that attachment even more secure all along the back of the two units. You are almost done! So this is the time to paint the rest of your unit (if that is your plan). I chose to paint the top and sides, but leave the insides untouched.
Making The Stovetop Burners
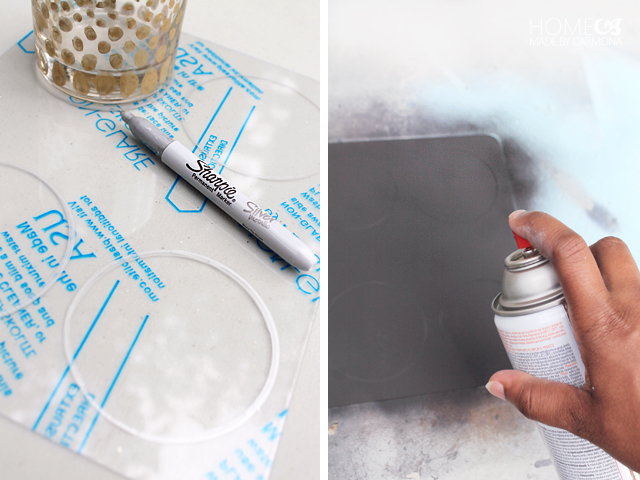
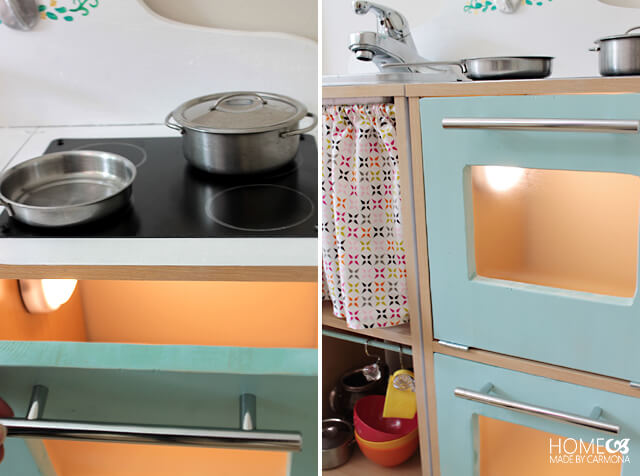
We are going to make the most adorable stove top…but it is going to be induction style! I can only wish I owned an induction range! Cut one plastic sheet on the edges to round them out a bit (using metal cutting or craft shears), and if necessary cut down to fit the side of the top of the shelf. Remove the protective film, then use a silver sharpie to trace four circles. Spray paint with a black spray over the circles you just drew.
Now drill pilot holes in the four corners of your plastic, flip it over, and attach to the top with screws. Doesn’t it look just like an electric cook top?
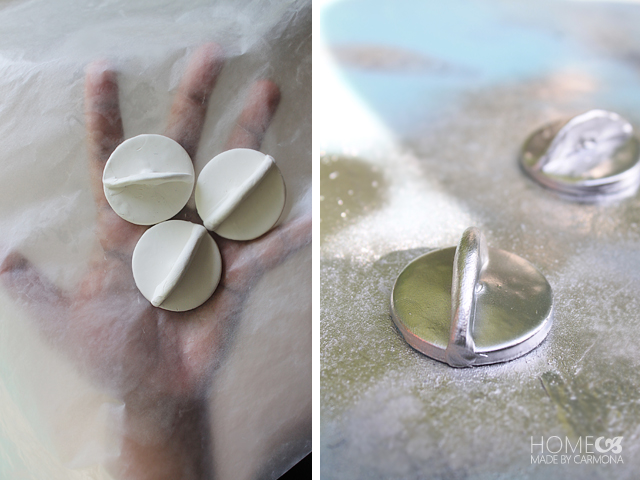
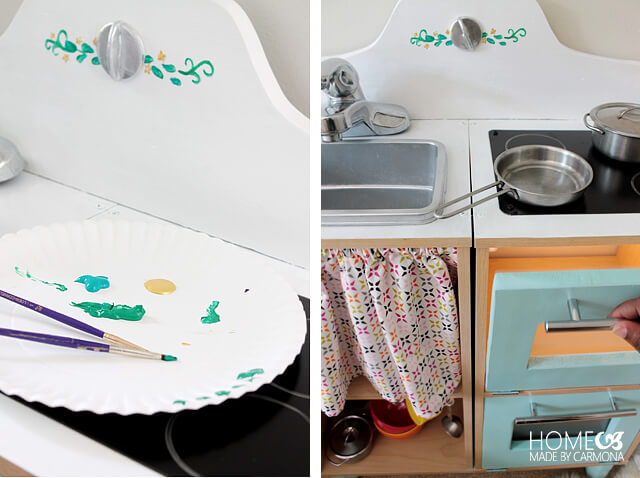
You can salvage actual knobs off a washer unit, or a range…but if you strike out, you can also create knobs from sculpy clay! Roll flat, cut out circles using a cookie cutter, then add a pinched dial to the top. On the underside, use the bolt you will be attaching, and screw it into the clay to make an impression where they can be screwed in when dry. Slow “unscrew” back out of the soft clay. Bake, and spray paint! Voila! Knobs.
When I attach my knobs, I like to add a little painted design to act as a pretty “backsplash” for my sink and range backing.
One final little touch for the inside of the oven, attach battery powered push lights to the inside to create that warm oven glow.
Last but not least, you can add feet to the bottom of your play kitchen set. While the kids are still small short stacks, you won’t need the feet…as a matter of fact, the height might be perfect without them! Then as the munchkins grow taller, you can add feet to the bottom in order to keep it raised up to the perfect pretend cooking height.
The kids are going to be thrilled with their new kitchen set, and so are you!




Delightful. Very creative.
OMG, this is super cute! Love it.