*This post is awesomely sponsored by Rust-Oleum and the Cleveland Cavs! Woop woop!
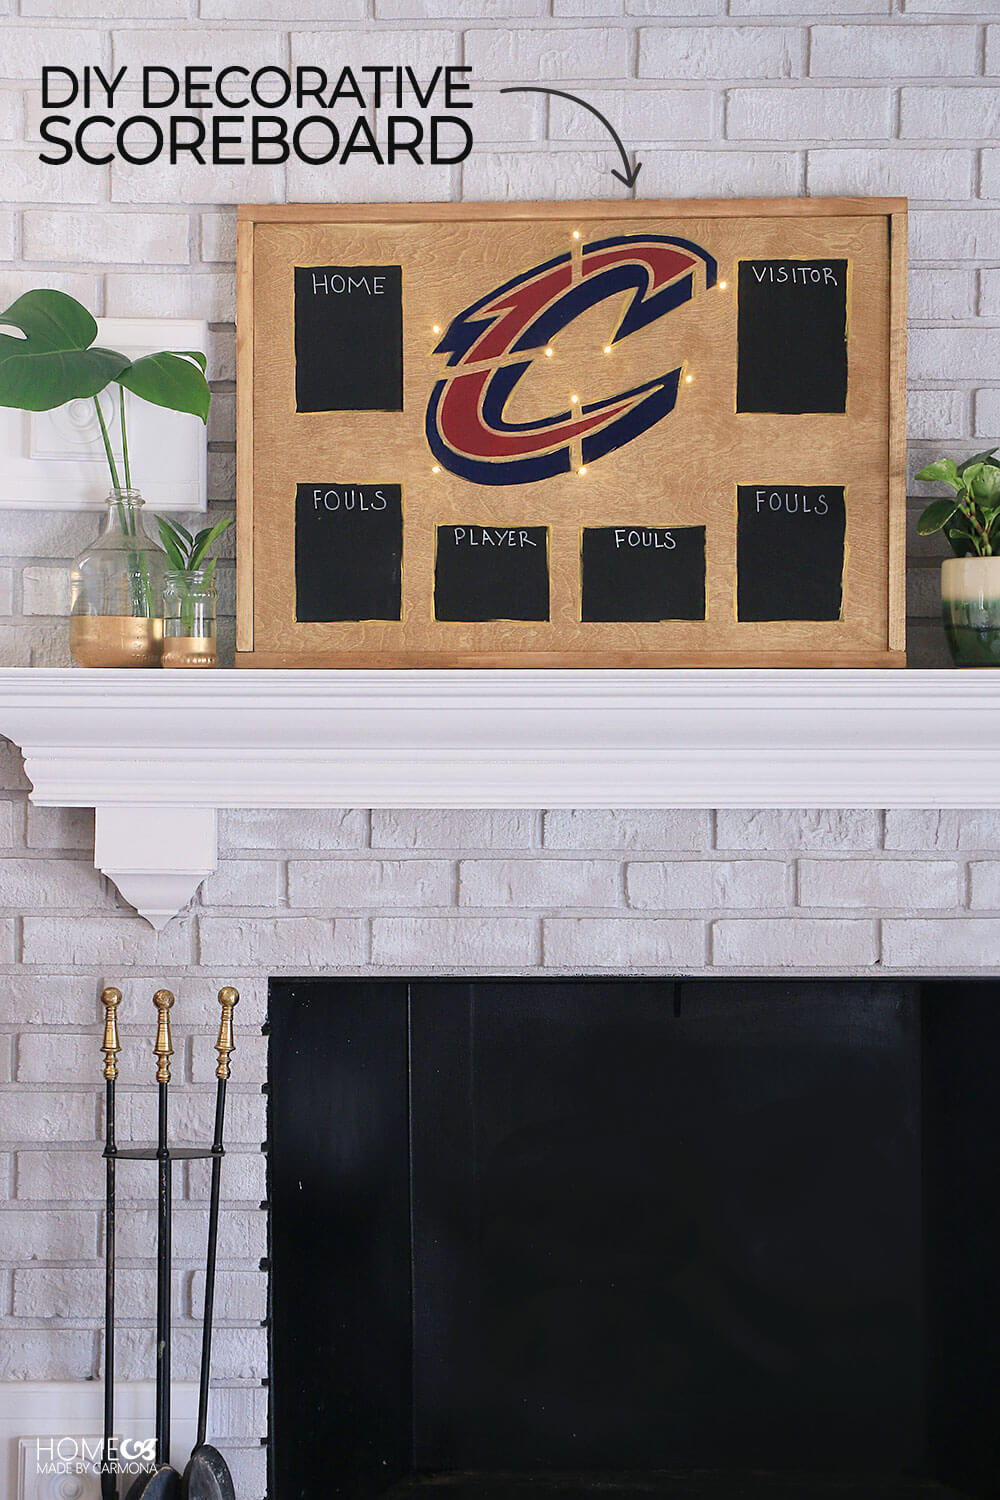
Ready for the final of a series of amazing DIY projects for all you sport loving Cavs fans out there? Today I’m showing you how to make you own cute decorative scoreboard! Now obviously it won’t have all the information on a real scoreboard, but the idea is to get crafty and make something representational that shows off your favorite team. Yes, this is decorative and you can add whatever you want! How about a few predictions before the big game?
In case you missed the last few projects, I showed you how to make these stylish and helpful DIY serving trays, an industrial folding table, and this cute basketball hoop wall art. All to celebrate your love of basketball and all things Cavs!
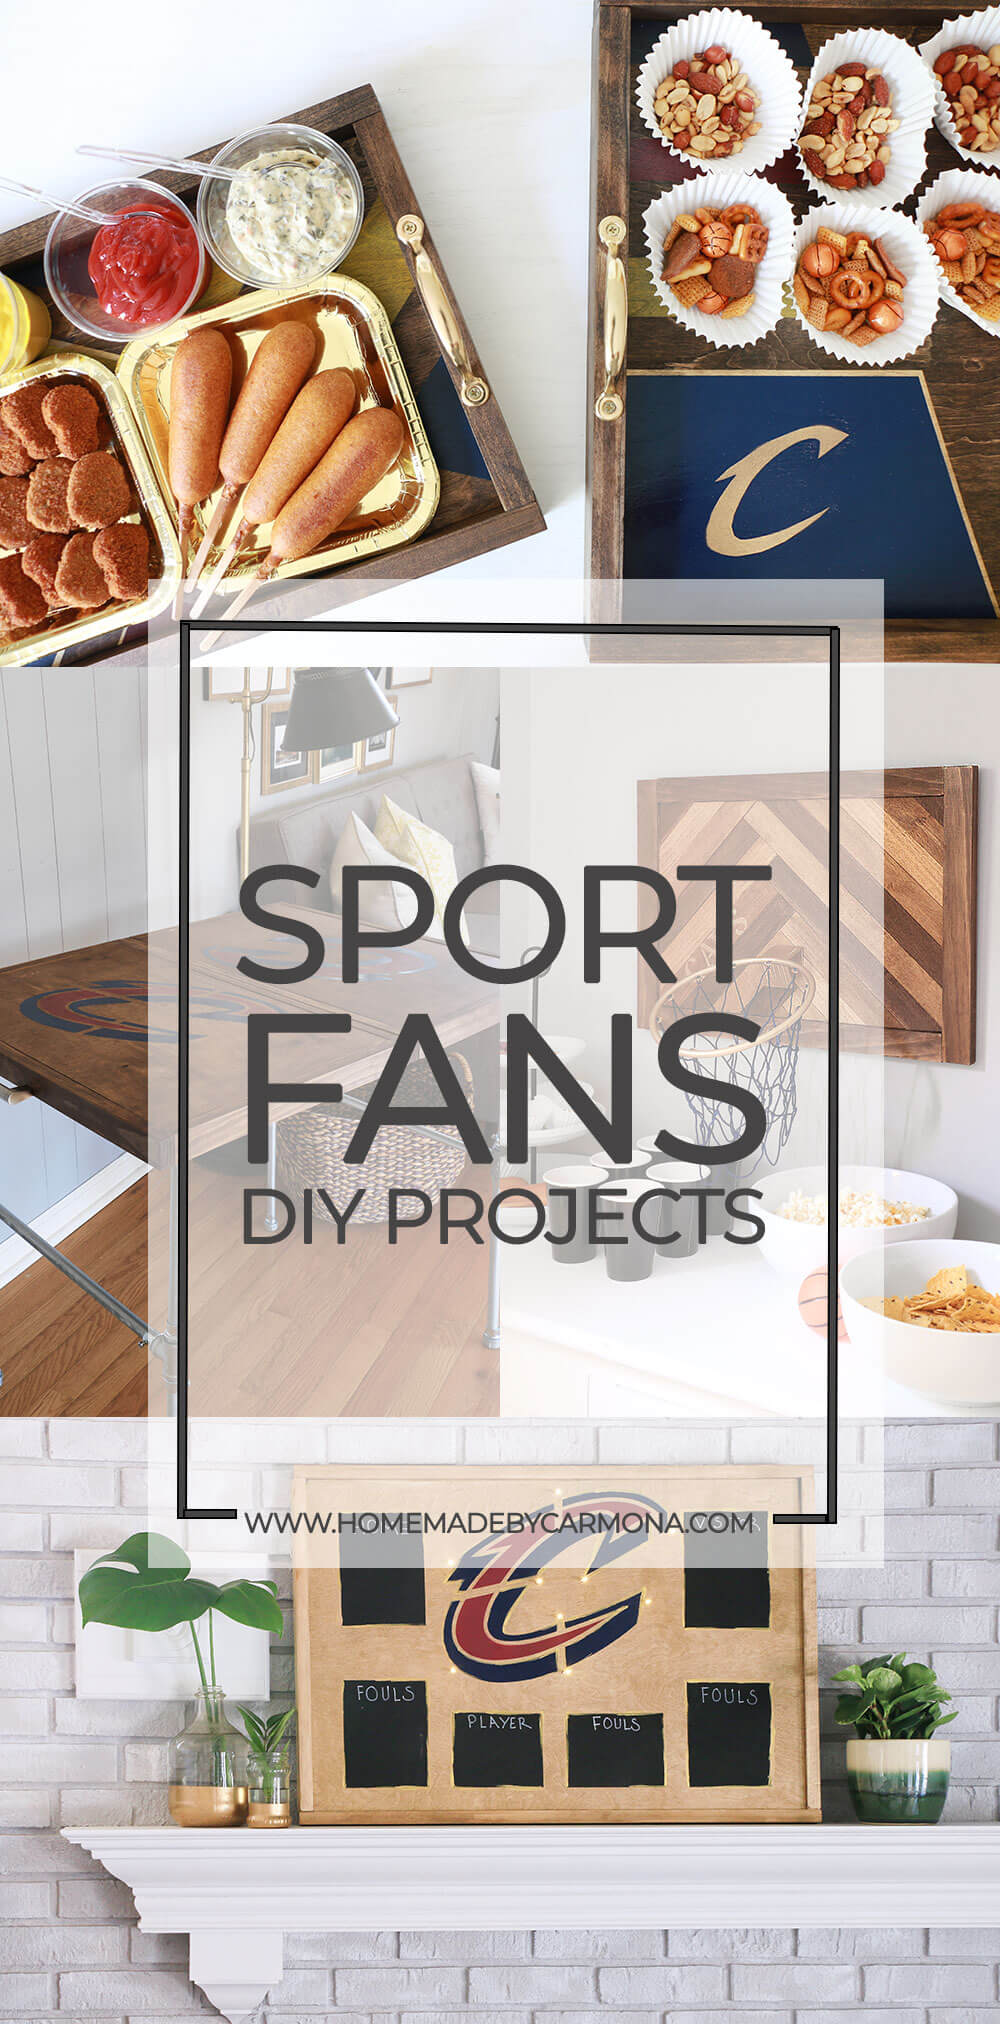
These projects are the perfect marriage of decor lovers, DIY lovers, and sports lovers!
Ready to get started?
Here’s What You’ll Need:
- 1/2″ Plywood sheet: cut to a 20″x29″ rectangle
- 3/4″ Select Pine boards: cut two to 20″ and two to 30-1/2″ boards
- Battery powered lights
- Rust-Oleum spray paint in Gloss Navy Blue and Satin Claret Wine
- Rust-Oleum Chalkboard spray paint
- Chalkboard marker
- Varathane stain in Golden Oak
- D-ring picture hanger
- 1/2″ pocket hole screws
- Painters tape
- Gold leaf paint
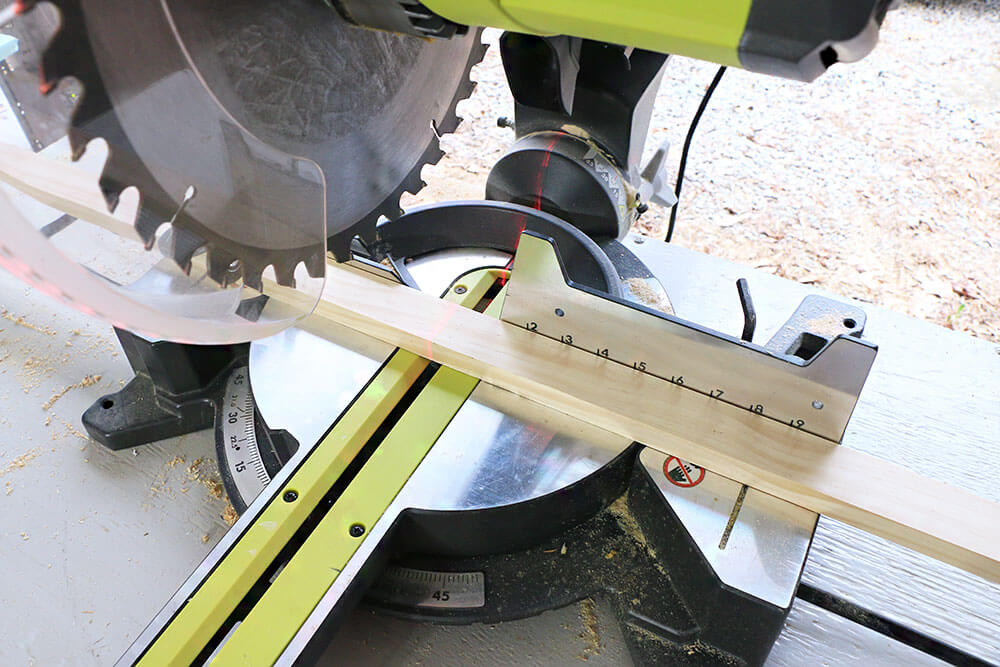
Start by cutting your wood boards to size and sand any rough edges.
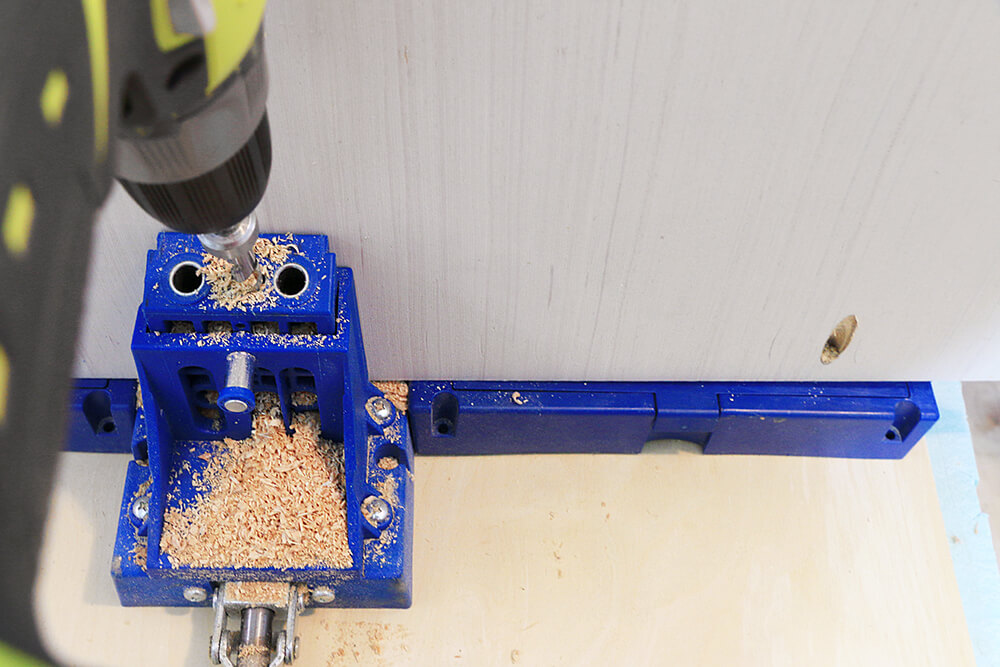
Next create pocket holes to accommodate 1/2″ screws in your 1/2″x20″x29″ plywood sheet. Three pocket holes in the longer 29″ side, and two in the shorter 20″ side (as shown below).
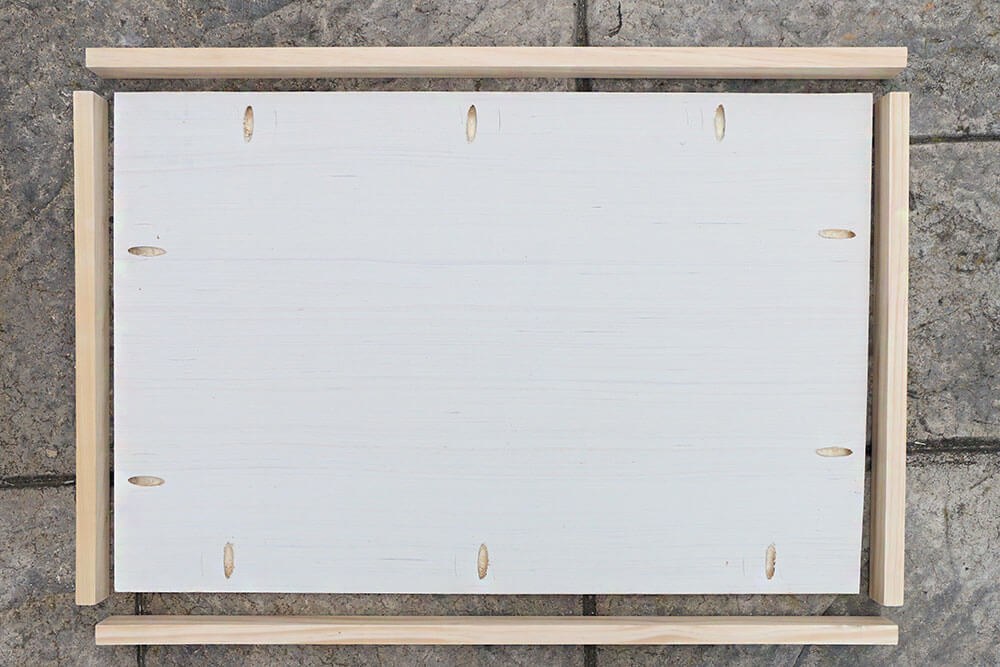
When all your wood is cut and pocket holes are drilled, this is how it will look before assembly.
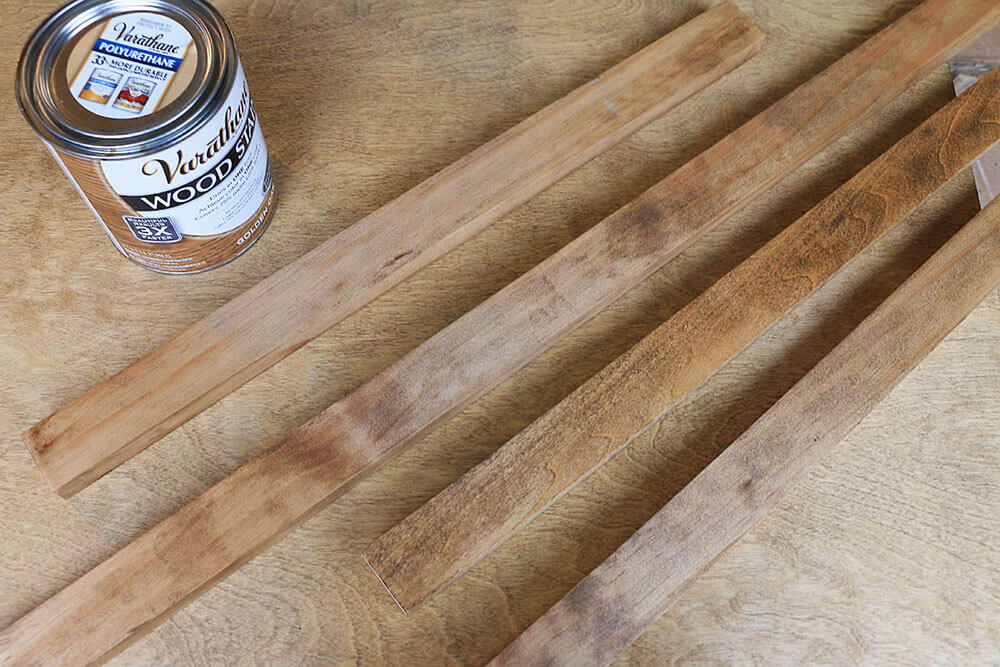
Before assembling you have a few more steps. Stain all your wood pieces and let them dry according to the manufacturer instructions.
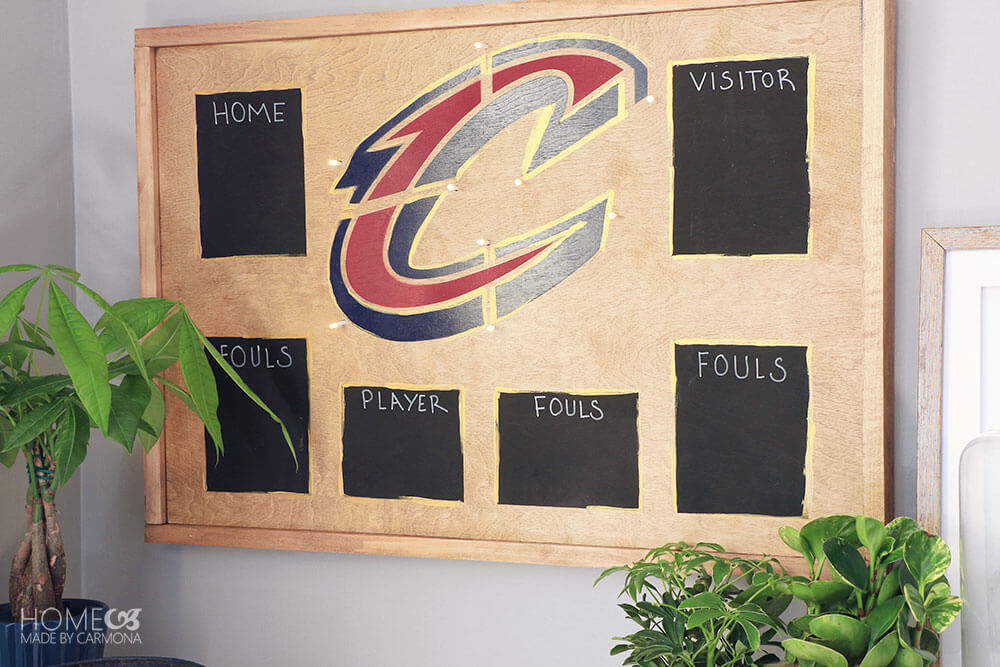
After the stain is dried it is time to add your design to the front of your decorative scoreboard. Of course more important than the scores or the board is your team logo. 😀 Hey, this is purely decorative, you can add whatever you want to.
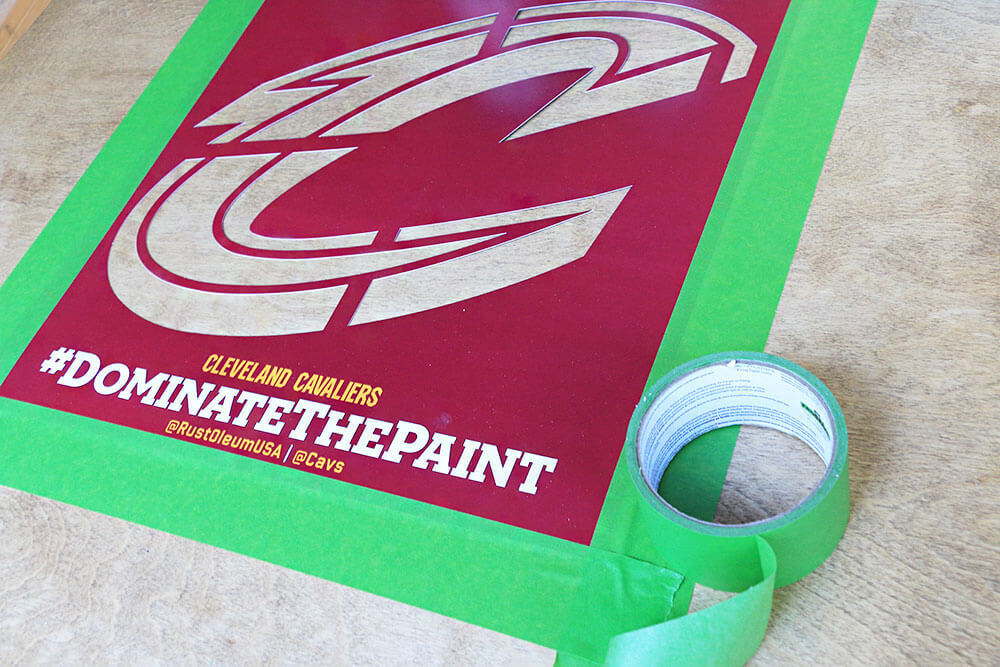
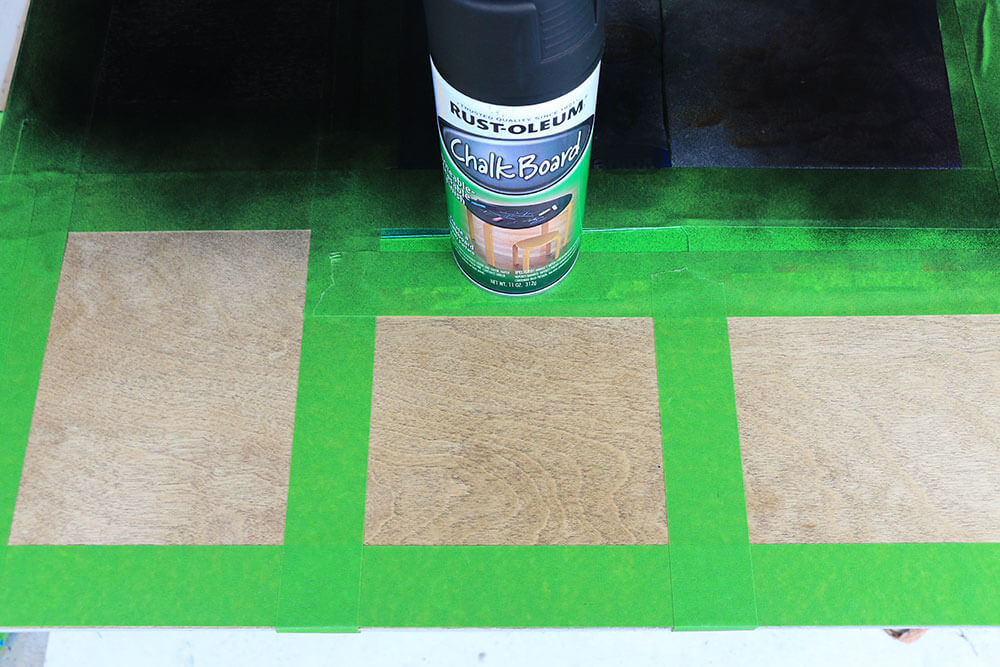
After spraying on your logo and allowing it to dry completely, cover it up and create a square for home, visitor, and foul boxes using painters tape. If you like include player and period or anything else you like. Spray paint those squares using Rust-Oleum chalk board spray.
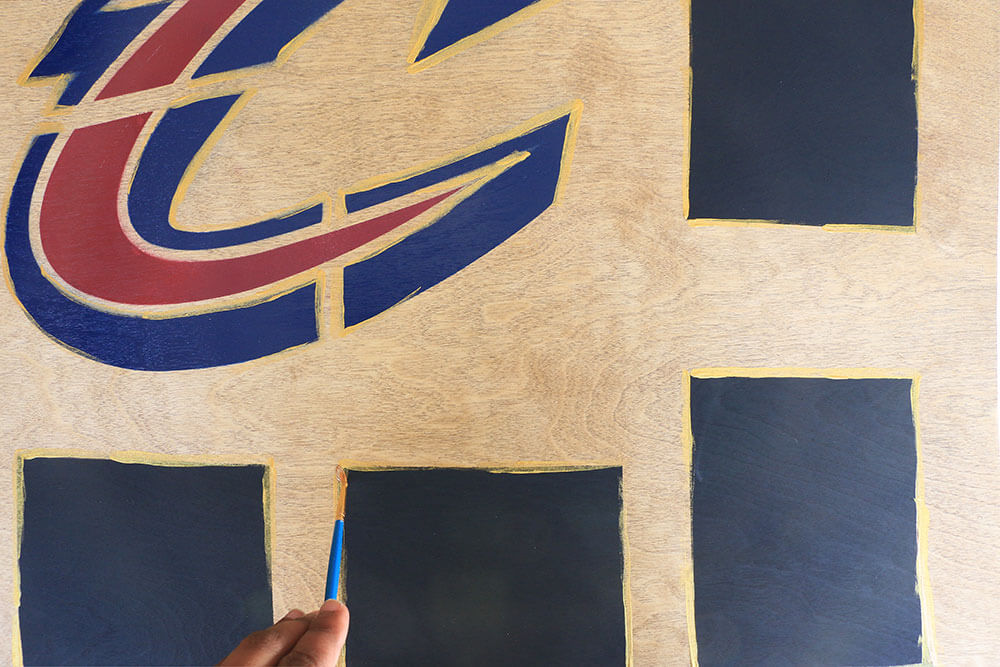
I like to add a little extra crafty touch and hand paint some imperfect gold lines here and there around the logo and boxes to add character to the piece.
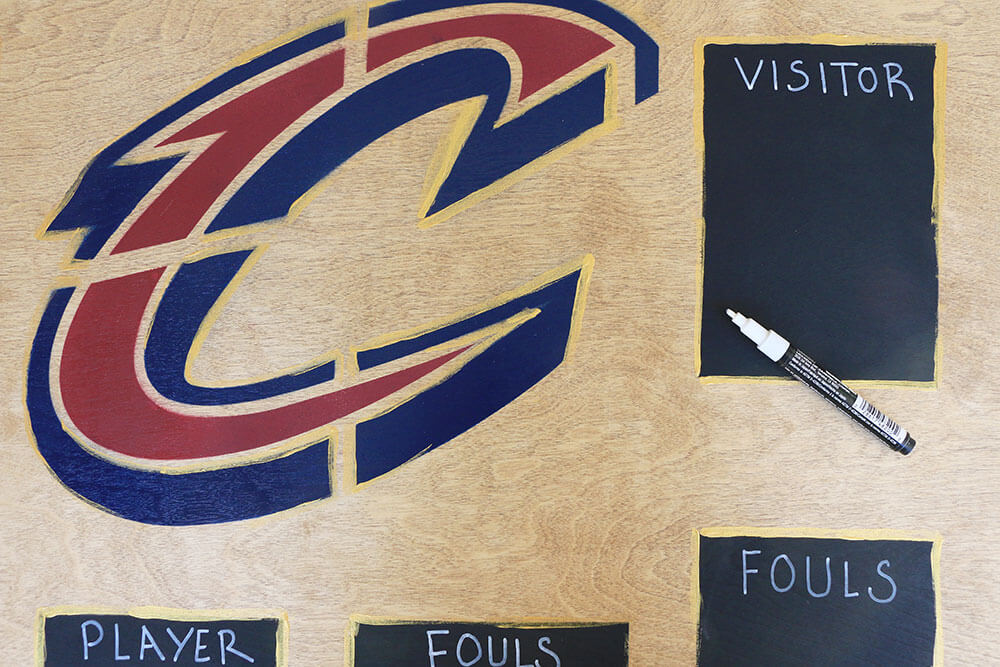
Now you can use a chalk pen to write in your boxes. Go ahead and have fun with it and add actual scores or better yet, your predictions.
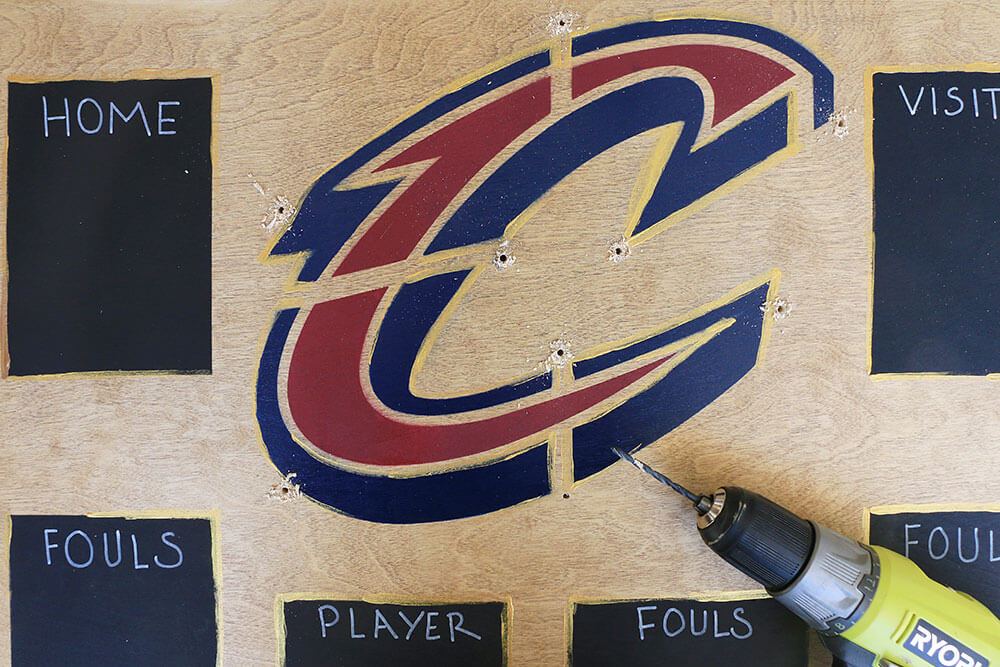
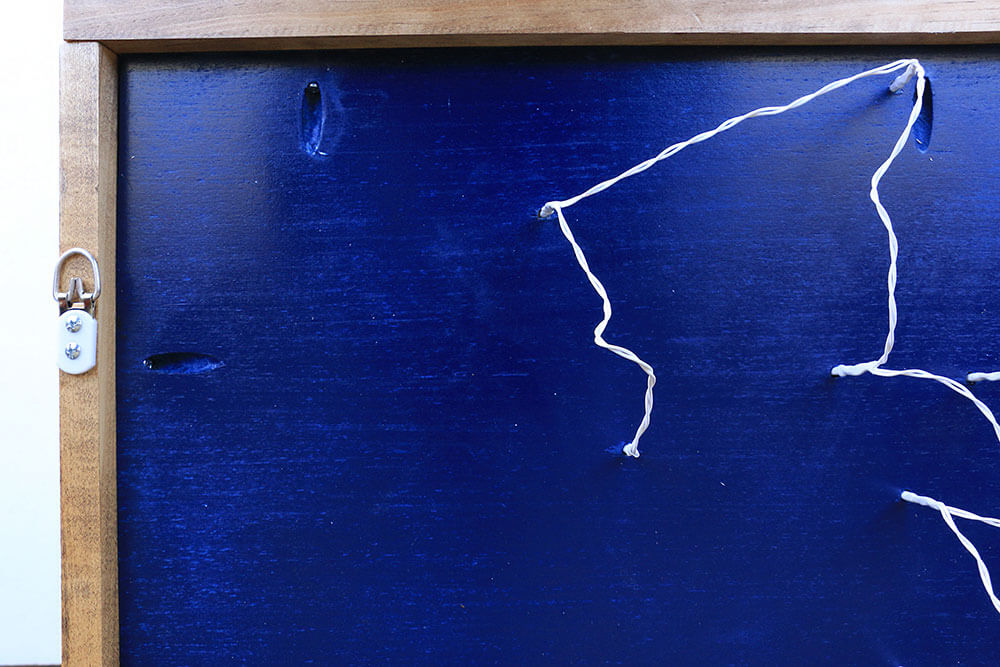
Drill holes around your logo for the battery powered light ends.
Attach the sides via the pocket hole screws, leaving a lip as deep as the battery pack for the lights on the back.
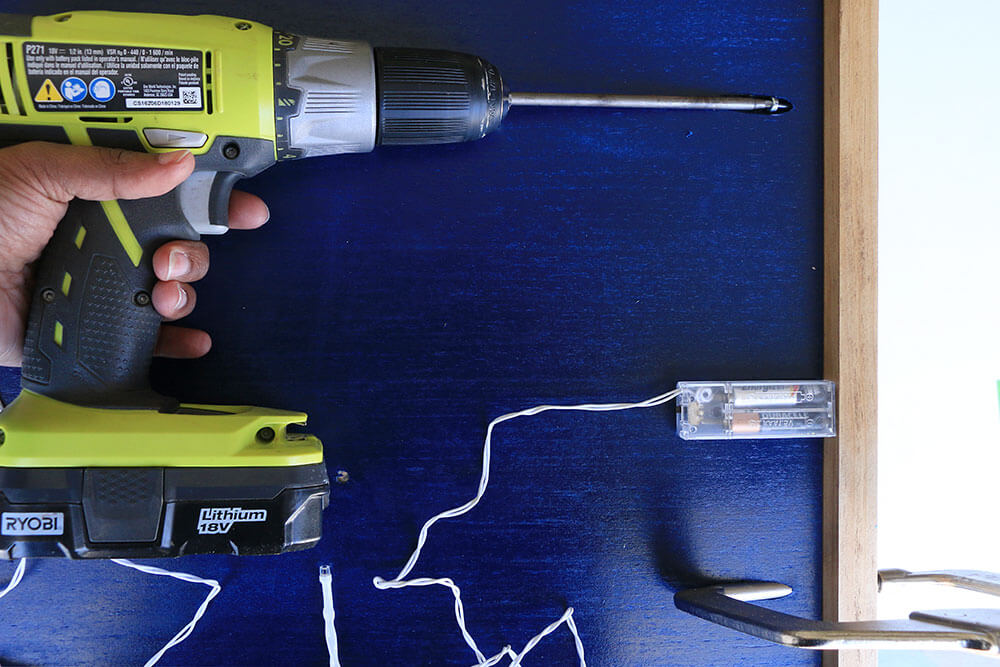
Now insert your lights, attach a couple D-rings so you can hang this bad boy on the wall, and enjoy it!
Nobody is as big a fan as you. Yep, go ahead and call it…you are the no. 1 fan. 😀
I know how awesome and creative my readers are, so if you followed this tutorial and built these trays, share it with us! Tag me at HomeMadebyCarmona on Facebook or Instagram, and share with the hashtag #dominatethepaint so Rust-Oleum and the Cavs can see how you rocked it!
*This post is awesomely sponsored by Rust-Oleum, in collaboration with the Cleveland Cavaliers! All opinions, project plans, and are my own.

[go_portfolio id=”diy_gallery”]


Leave a Reply