*This post is awesomely sponsored by Rust-Oleum, in collaboration with the Cleveland Cavaliers!
Alright all you sports lovers! Boy have I got a cute and super helpful DIY project for your game festivities.
You know how there is never enough room on the coffee table in front of the TV during the game for all the game day snacks (because who wants to get up and go to the kitchen for a refill…uh no)? Yeah, that is about to be a thing of the past.
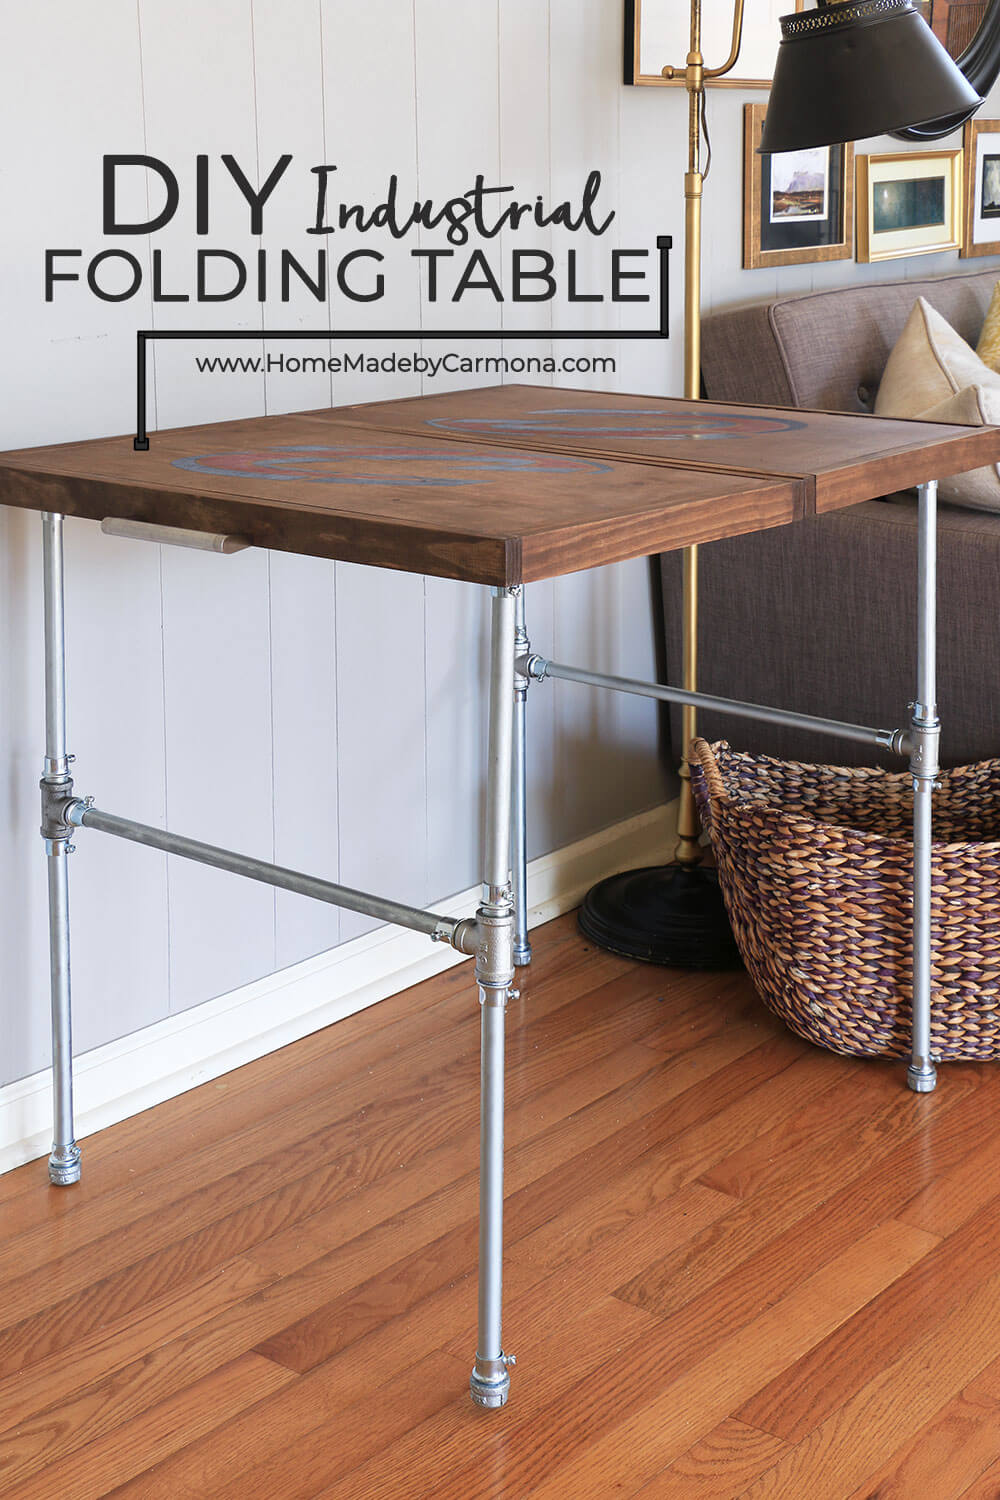
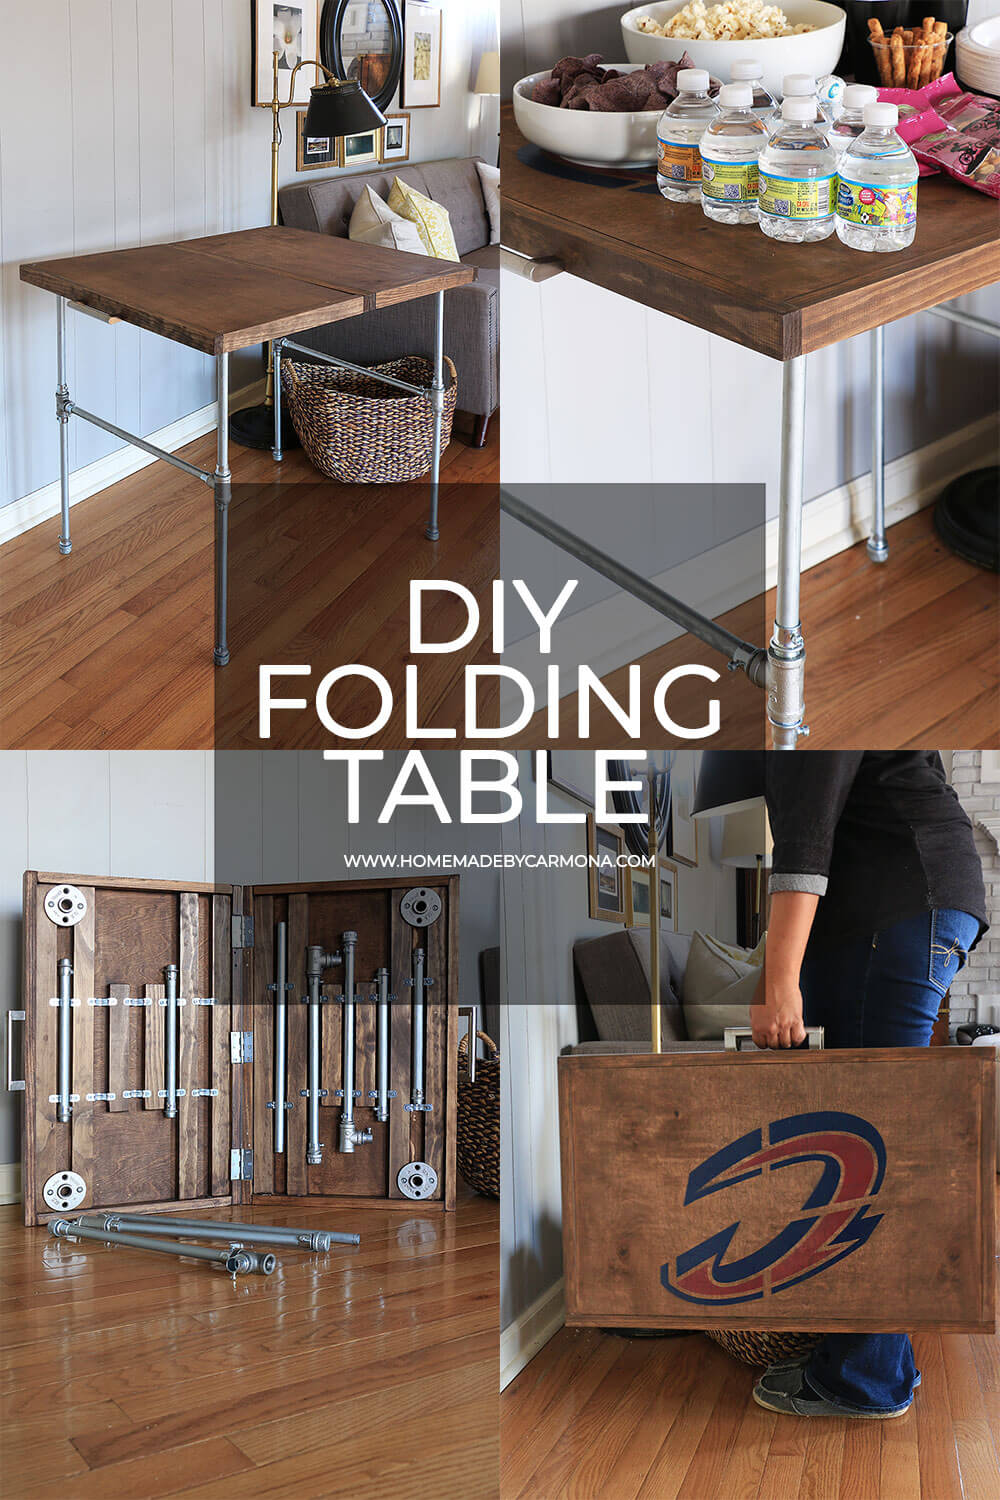
This super stylish industrial folding table is one of a kind, goes great with your decor, and you can still put it away when not in use.
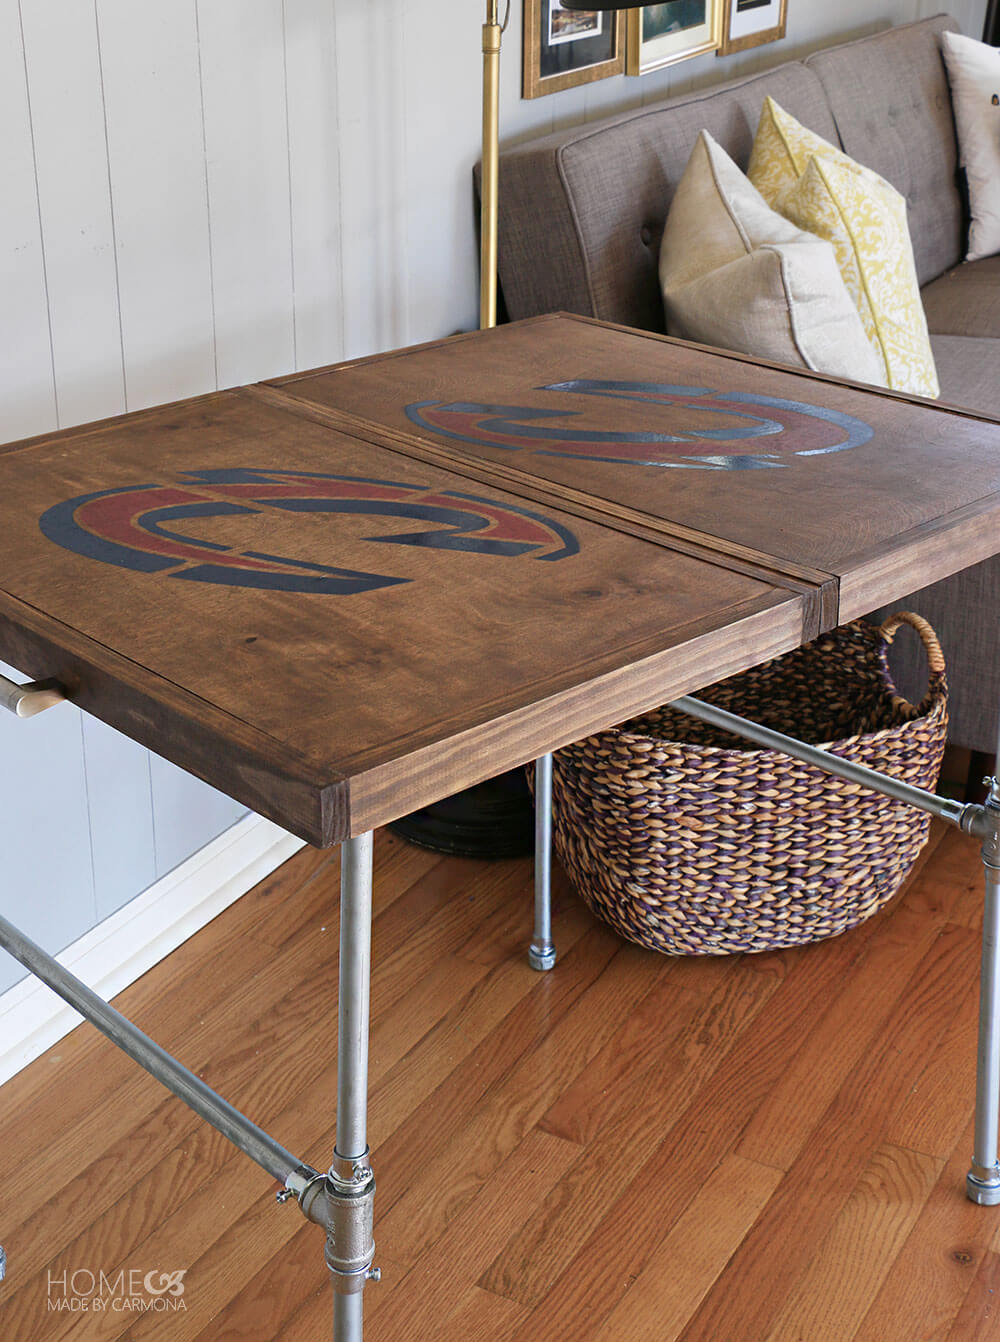
See what I mean? Perfect for all your entertaining needs! Plus, if you are a superfan you can tag it with your team colors or logo like I did here with the Cleveland Caveliers logo.
Ready to get started? Here’s what you’ll need:
[left]
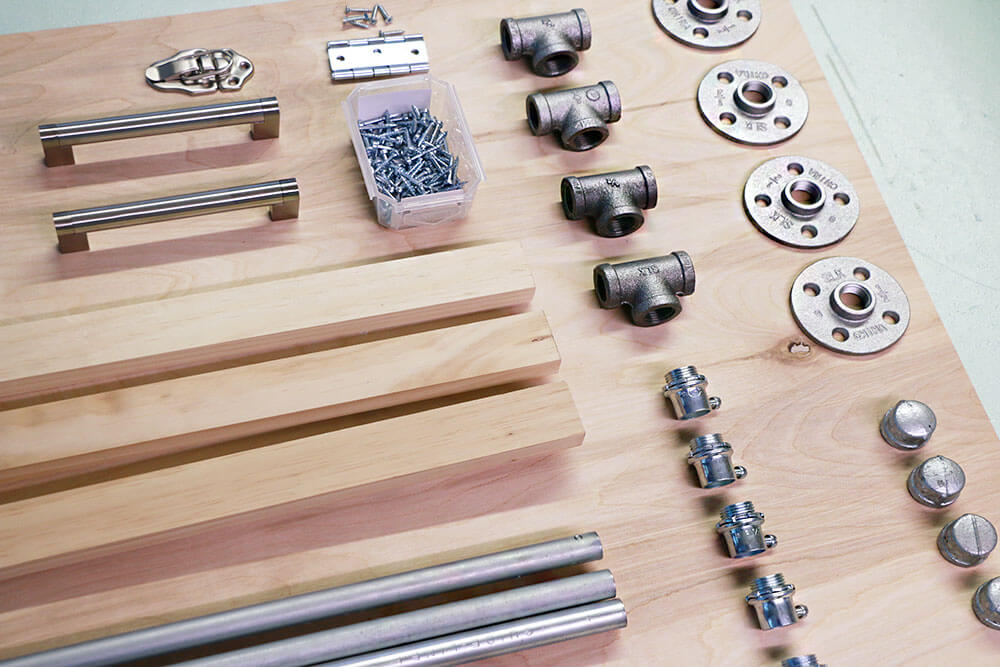
Materials
- (1) 1/4″x2’x4′ Thin plywood sheet
- (3) 1/2″x1″x72″ Select pine board
- (1) 1/2″x10′ EMT galvanized conduit (this is a lightweight pipe used for electrical)
- (20) 1/2″ EMT Conduit two hole straps (link is 25 pk)
- (20) 1/2″ EMT conduit screw connectors (link is 5 pk)
- (4) 1/2″ Galvanized malleable iron tee (female)
- (4) 1/2″ Galvanized malleable iron cap
- (4) 1/2″ Galvanized malleable iron floor flange
- 1″ Kreg screws
- (3) Hinges (comes in a 2pk)
- (2) Pulls
- Wood glue
[/left]
[right]
Tools
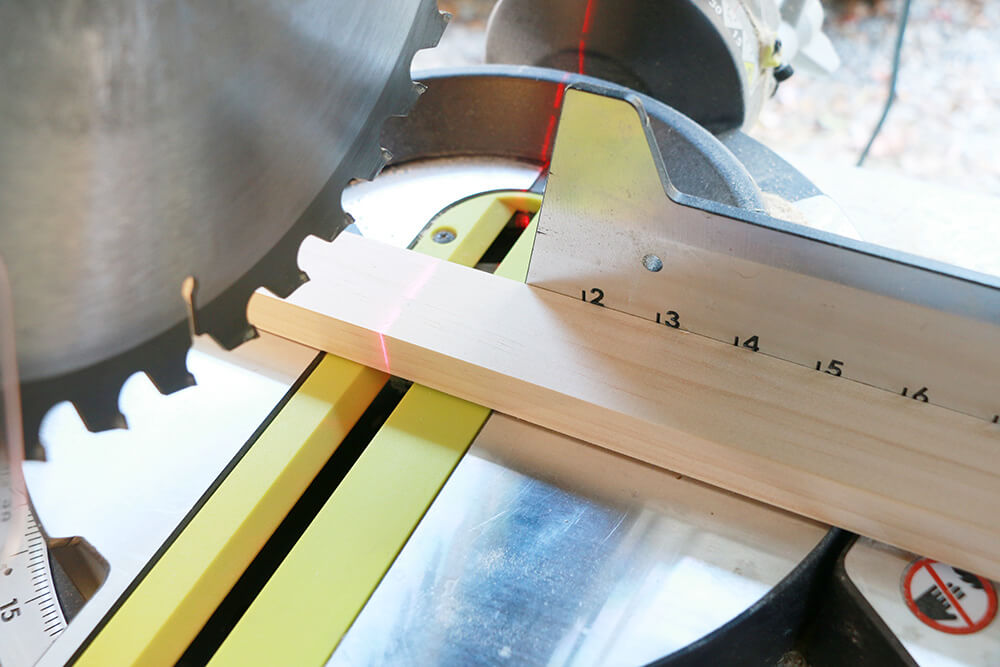
- Miter saw
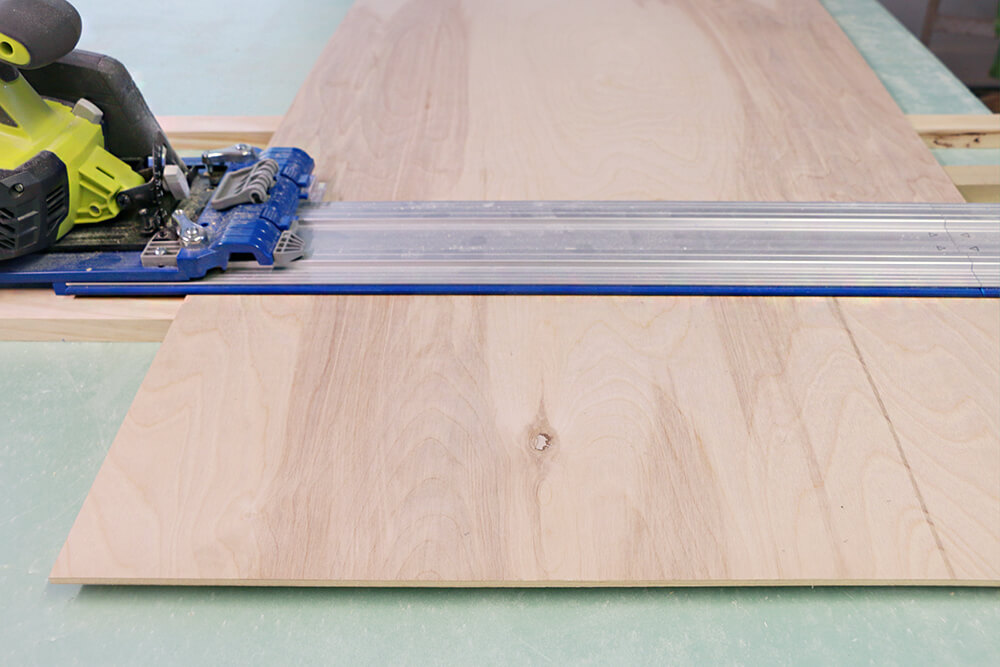
- Circular saw or jig saw
- Kreg jig
- Pipe cutter
- Sander & fine grit sandpaper
[/right]
Start by cutting all your wood pieces to size using the cut list provided below.
Wood Cut List:
- (4) 1/2″x1″x25-3/4″ Table sides
- (4) 1/2″x1″x15″ Table sides
- (8) 1/2″x1″x24-1/8″ Table storage supports
- (4) 1/2″x1″x10″ Table storage supports
- (2) 1/4″x15″x24-1/8″ Table top inset
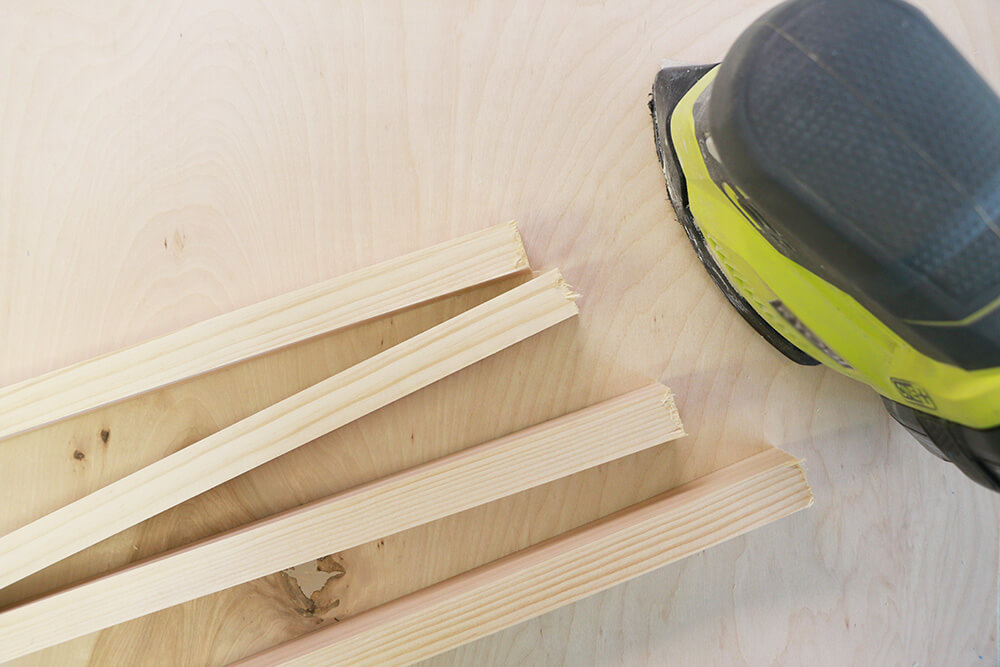
Sand any rough edges on your pine boards.
If you need to sand your 1/4″ plywood sheet you may want to do that by hand with a fine grit paper. You don’t want to cause any splintering of the wood surface.
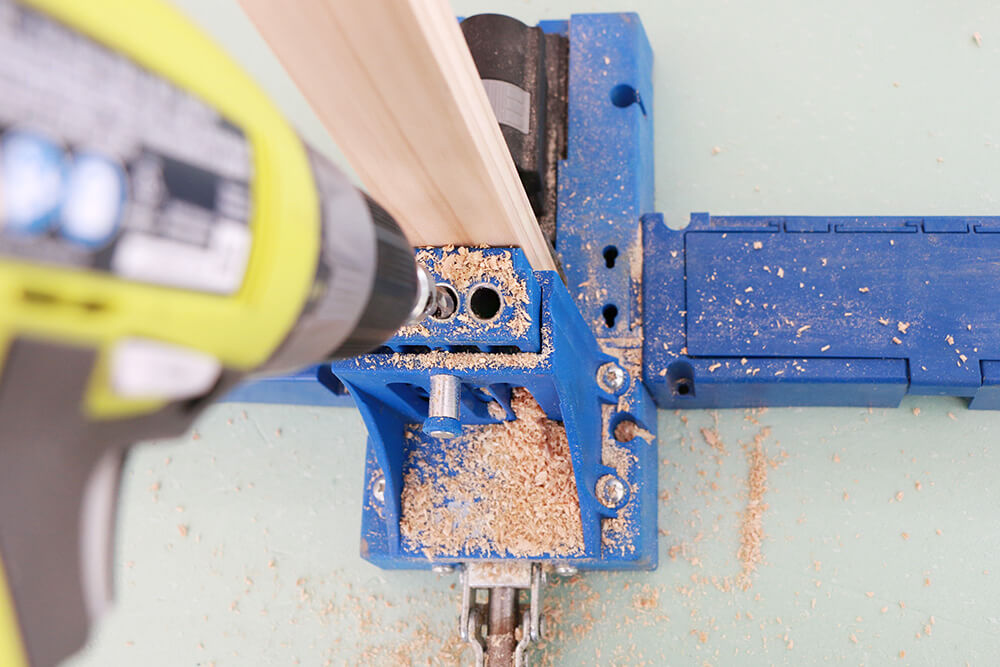
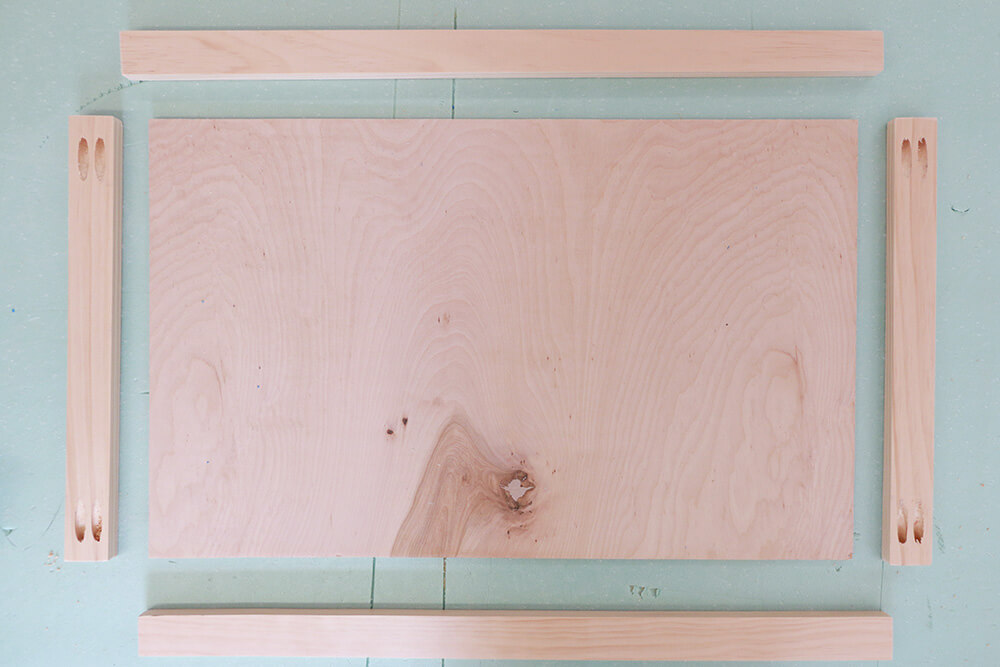
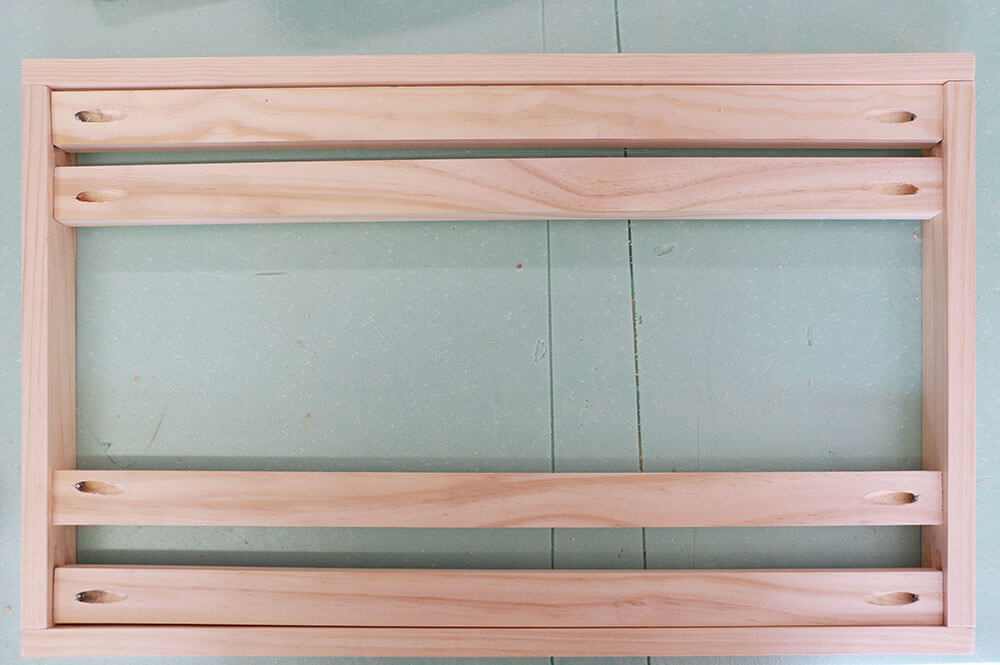
Next drill pocket two pocket holes in either end of all four 1/2″x1″x15″ table sides, and all eight 1/2″x1″x24-1/8″ table storage supports.
The image above is what one side of your folding table will look like, so prepare to do this set up twice.
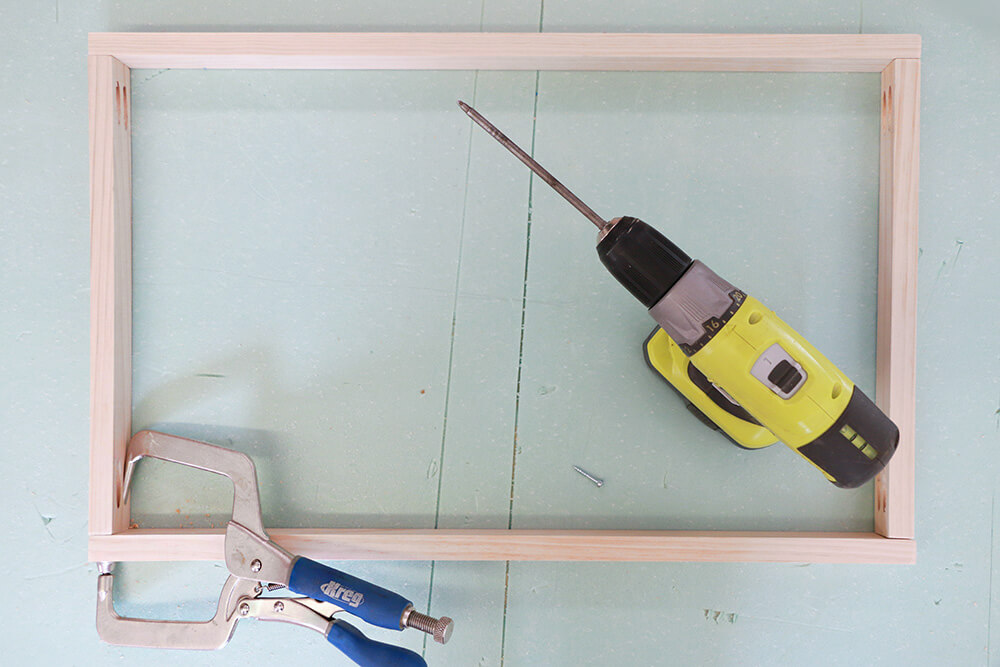
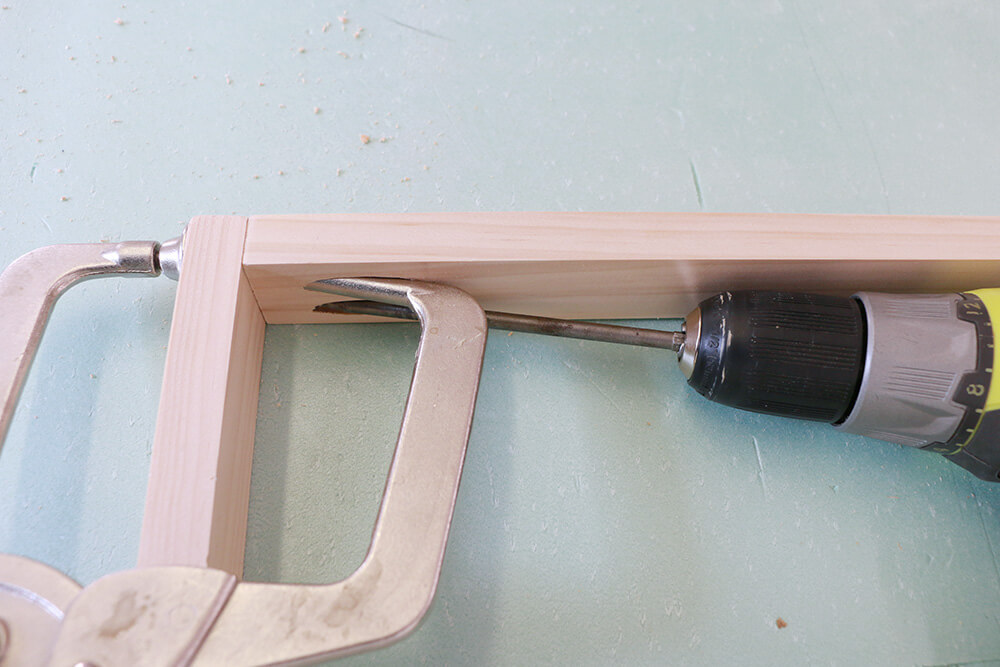
Attach the 1/2″x1″x15″ table sides to the longer 1/2″x1″x25-3/4″ sides with Kreg screws.
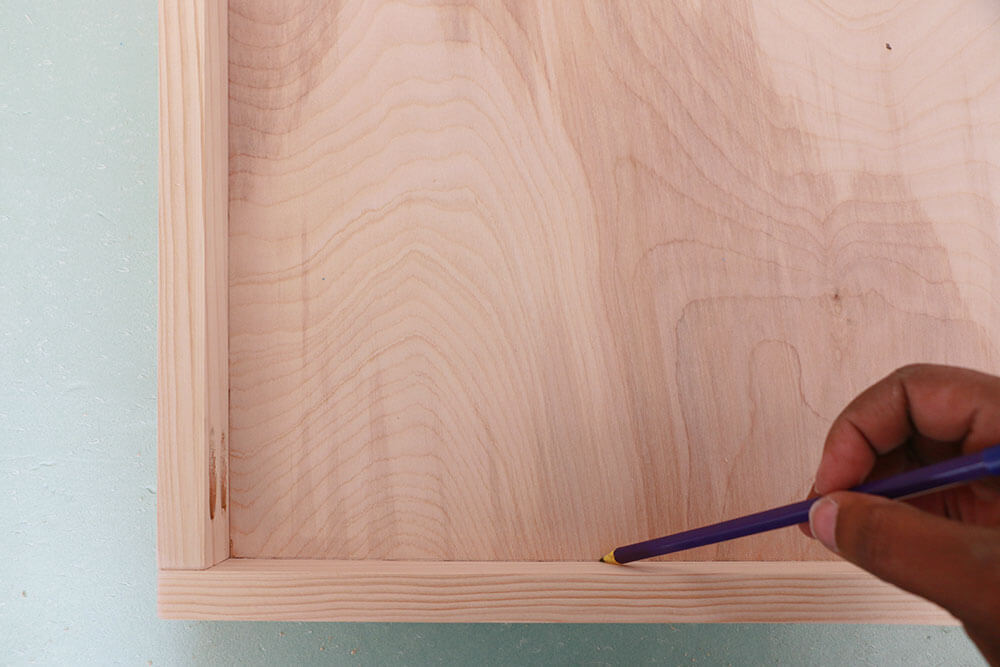
After your rectangle table base has been assembled, place the thin 1/4″ plywood sheet cut inside the rectangle on a flat surface. Trace around the 1/4″ plywood piece onto the 15″ and 25-1/8″ table sides, then remove the sheet of plywood.
The line you just drew will indicate exactly how high up you need to attach the 24-1/8″ table storage support pieces. You need that 1/4 inch space between the support pieces and the top so you can later put that 1/4″ plywood back in place again later.
Position the first two 24-1/8″ storage support piece flush against the table sides and attach with Kreg screws. The next two will be about an inch further in. Please be really precise about each support piece being exactly a 1/4″ from the top…
NOTE: yes I only drilled one pocket hole for each of my support pieces to save screws…but if you aren’t experienced this isn’t the best idea, just stick with two holes. It is much harder to attach since you can’t use the normal Kreg clamp with only one hole.
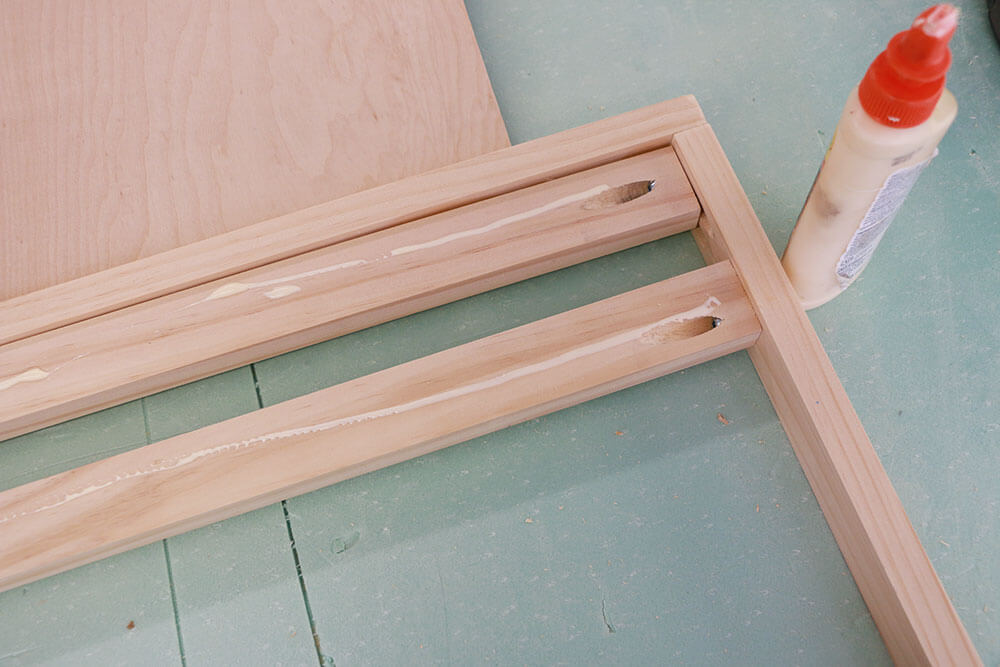
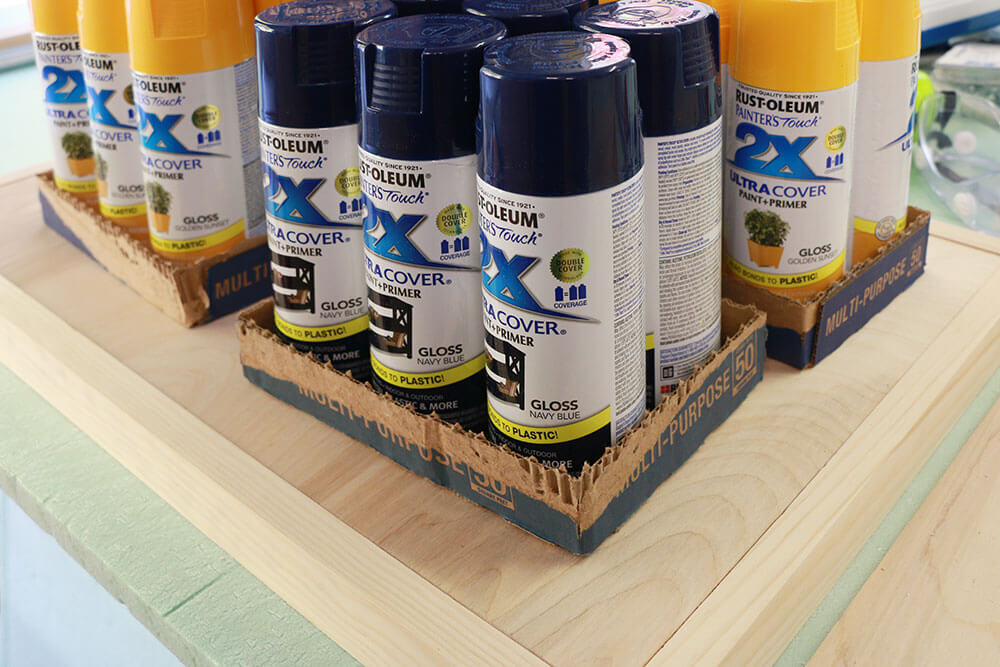
Once all your 24-1/8″ supports are added, use wood glue all across the supports and slide the 1/4″ plywood sheet back on top. Place something heavy on top while the glue dries. If you did everything correctly that 1/4″ plywood top should recess just enough to create a nice (mostly) flush table surface.
After your two table tops have dried overnight (or a number of hours per the wood glue instructions), glue the two 10″ wood strips to the center of the inside of the table. These extra supports will be needed for storage purposes later. Place them approximately 1″ apart…go ahead and eyeball it, you just want it to be even.
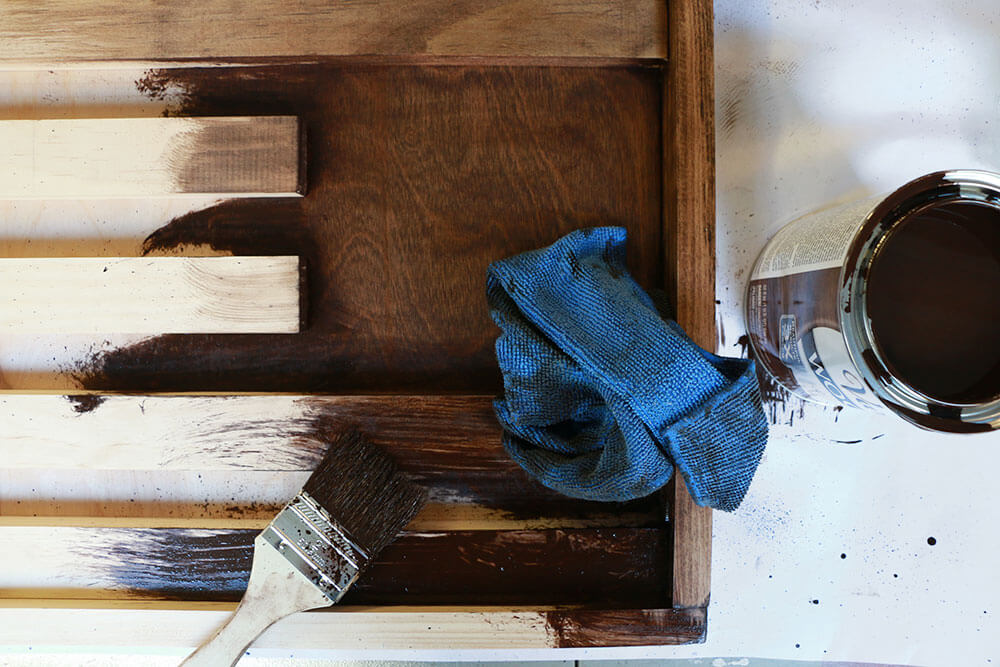
Stain or paint your table tops on both sides and let them dry completely. While the table top is drying, this is a good time to jump down in this tutorial and get started on the legs.
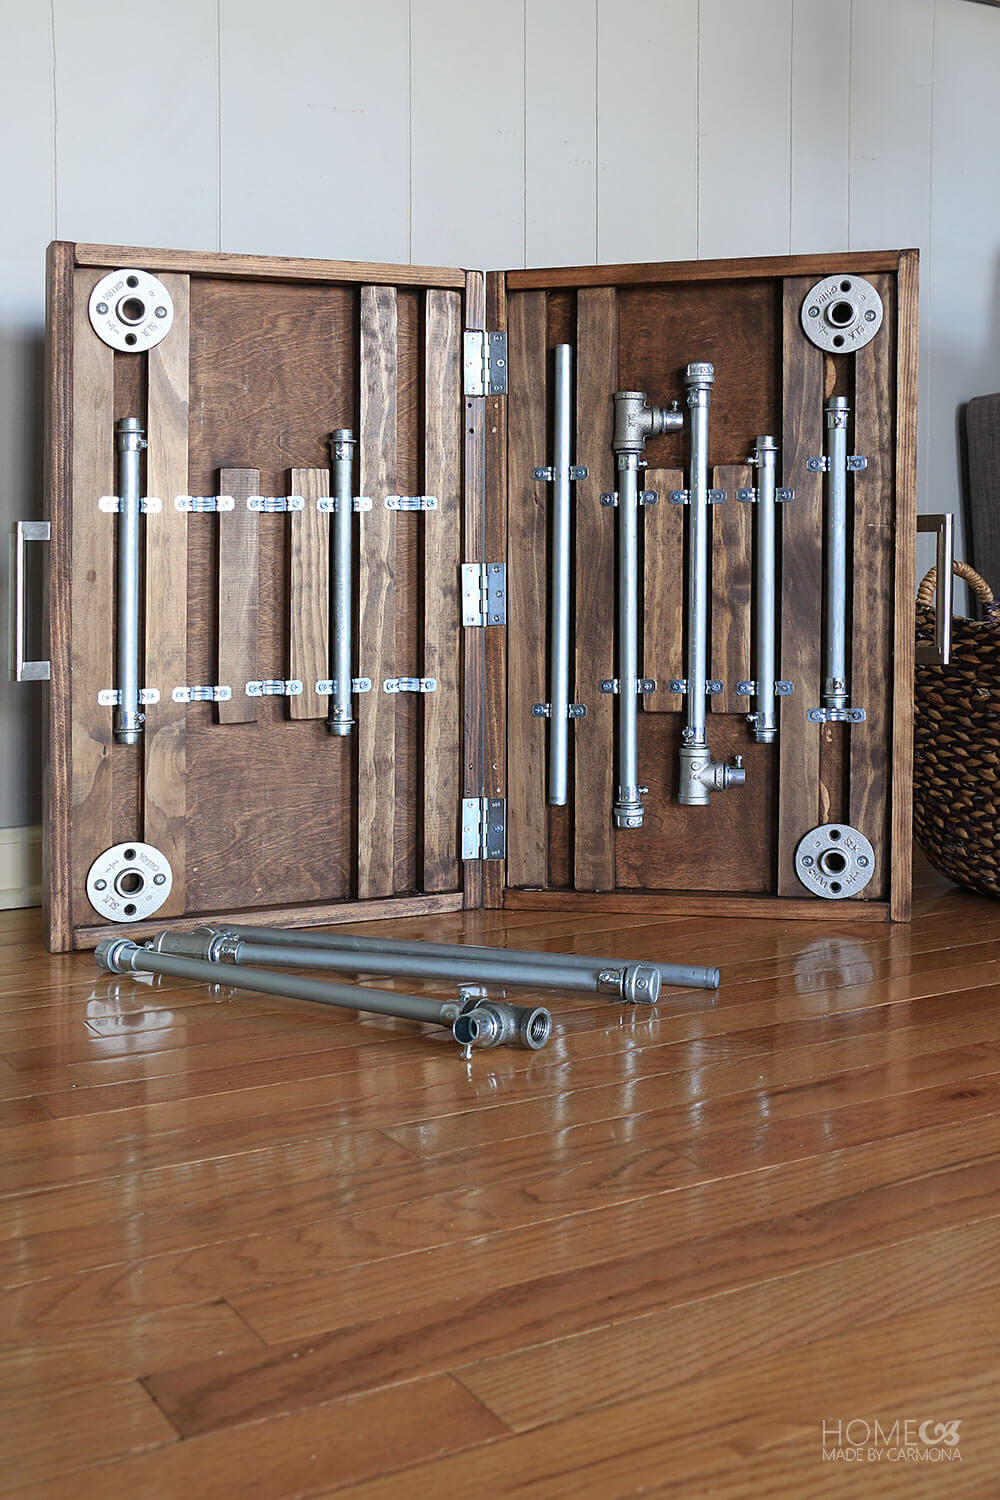
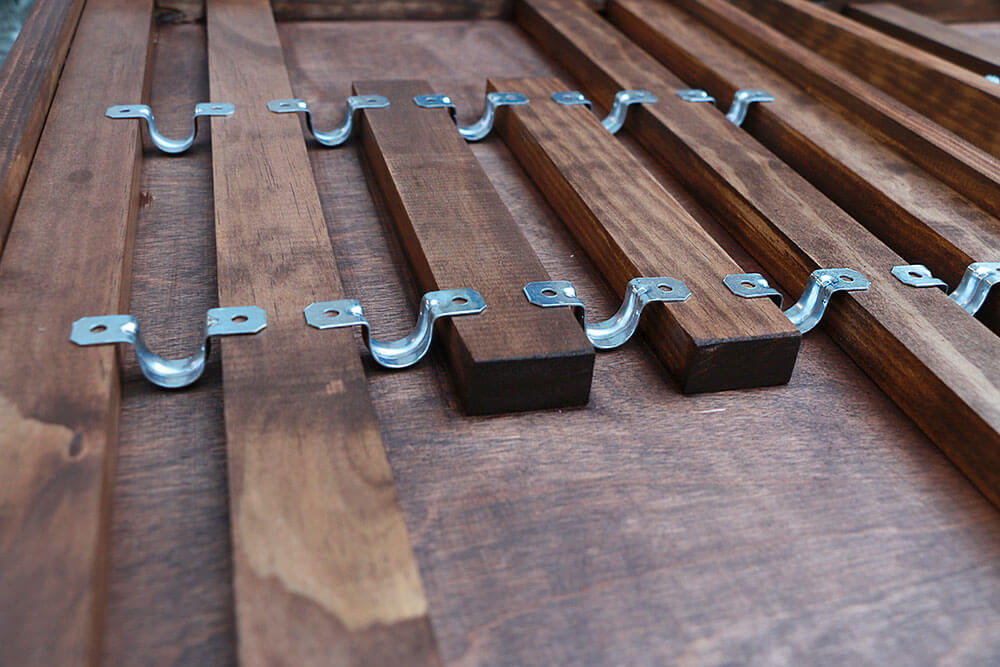
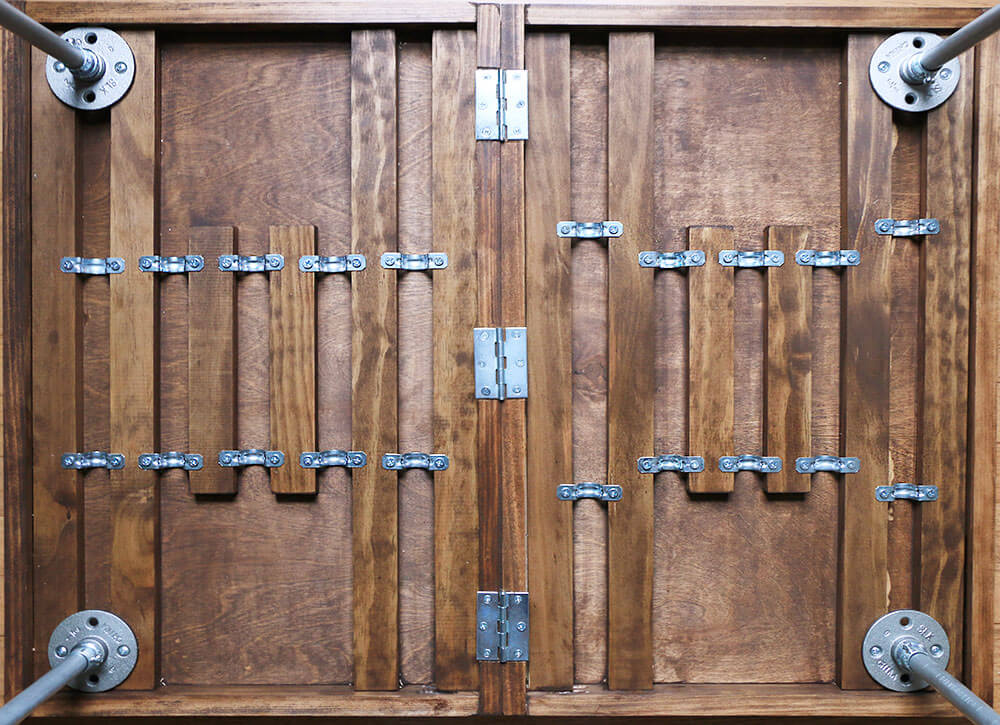
After the stain dries you are going to create storage clamps to hold your table’s legs in place in between those supports. Line up the two hole conduit straps upside down in the spaces.
Center each strap with about an 8″ length gap between and screw them on. FYI: You should pre-drill holes for this, or you may crack the wood.
Building Table Legs
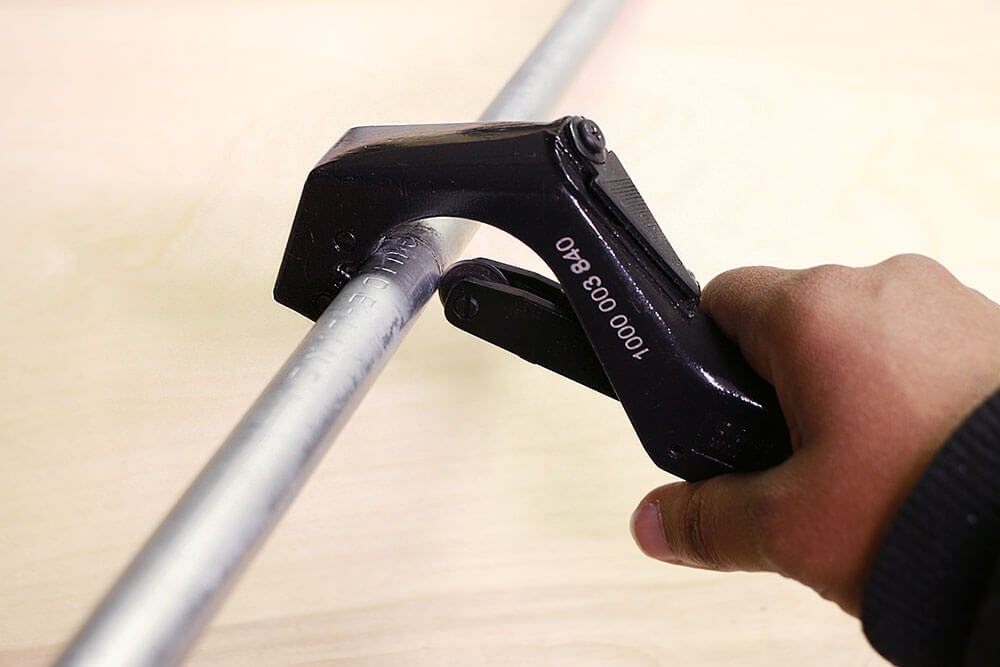
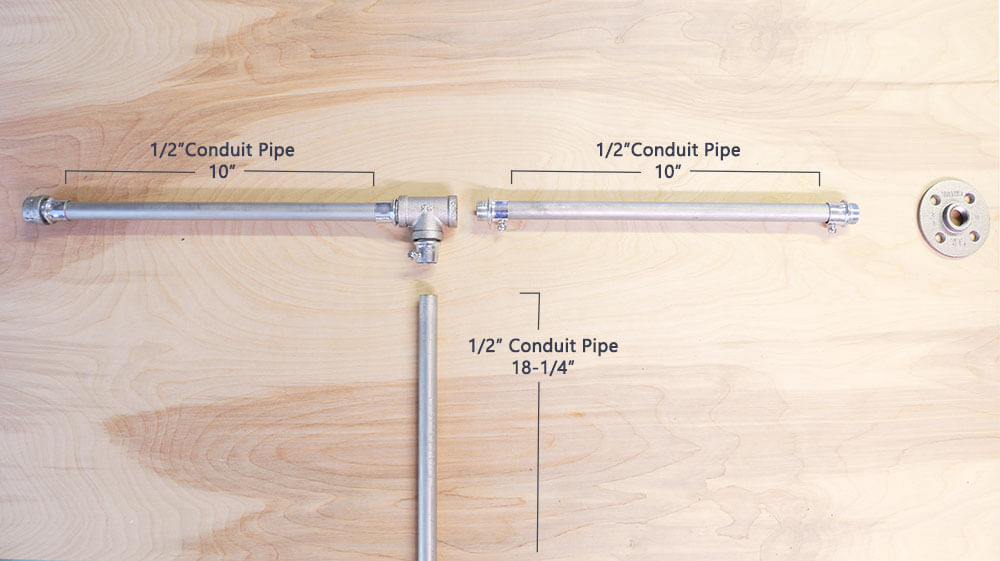
Ready to get to work on those industrial table legs? Start by cutting your conduit to size based on the cut list below.
Note: I went with conduit instead of galvanized pipe because it is sturdy but super lightweight. You don’t want your folding table to be so heavy you have to get a power lifter to come in and set it up for you. Just say’in…stick with the plans. 😀
Pipe Cut List:
- (8) 10″ Legs (or less if you want a lower more sturdy table)
- (2) 18-1/4″ Middle support
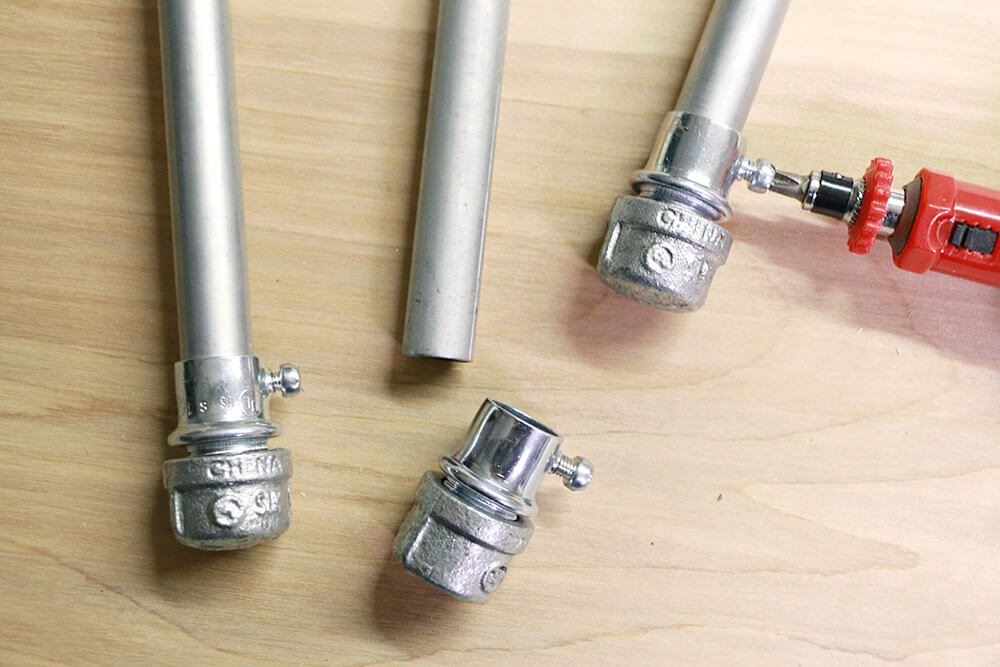
Now you are going to attach 1/2″ conduit connectors to either end of each of the 10″ conduit (pipe). Remove the washers from each connector first (you won’t need them at all), then tighten to the conduit using the screw on the side.
Twist on the 1/2″ galvanized iron cap to four of the 10″ conduit pieces (with connectors). These will be your feet that go on the ground. At the top of that piece with the foot add a 1/2″ galvanized tee and screw on a conduit connector to the right of it.
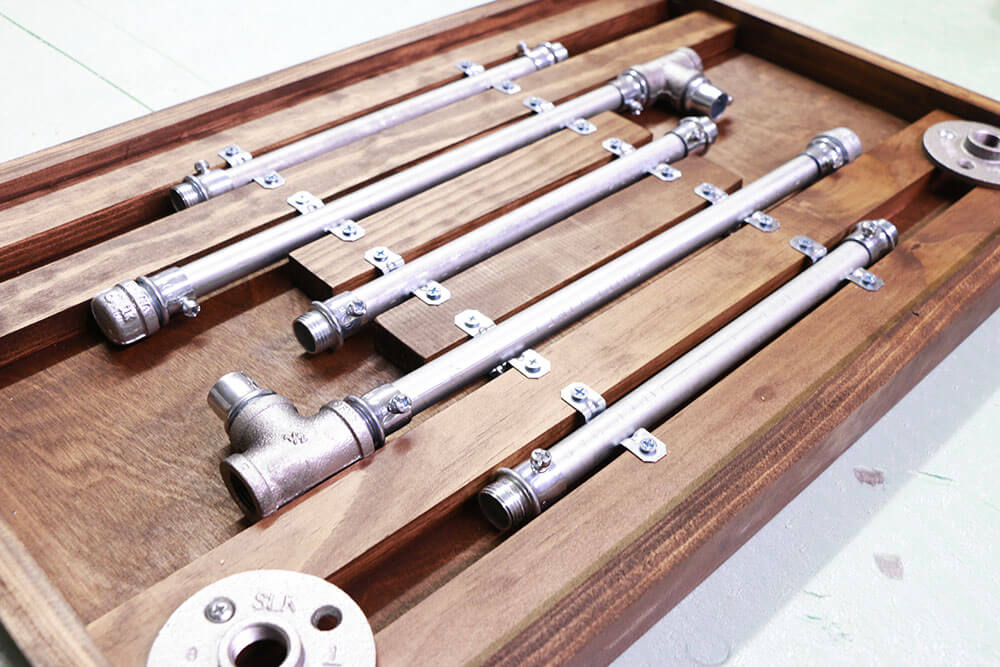
This is what the disassembled pieces should like like. These can be stowed in the underside of the table.
It is also how they should be connected when you want to set up your table.
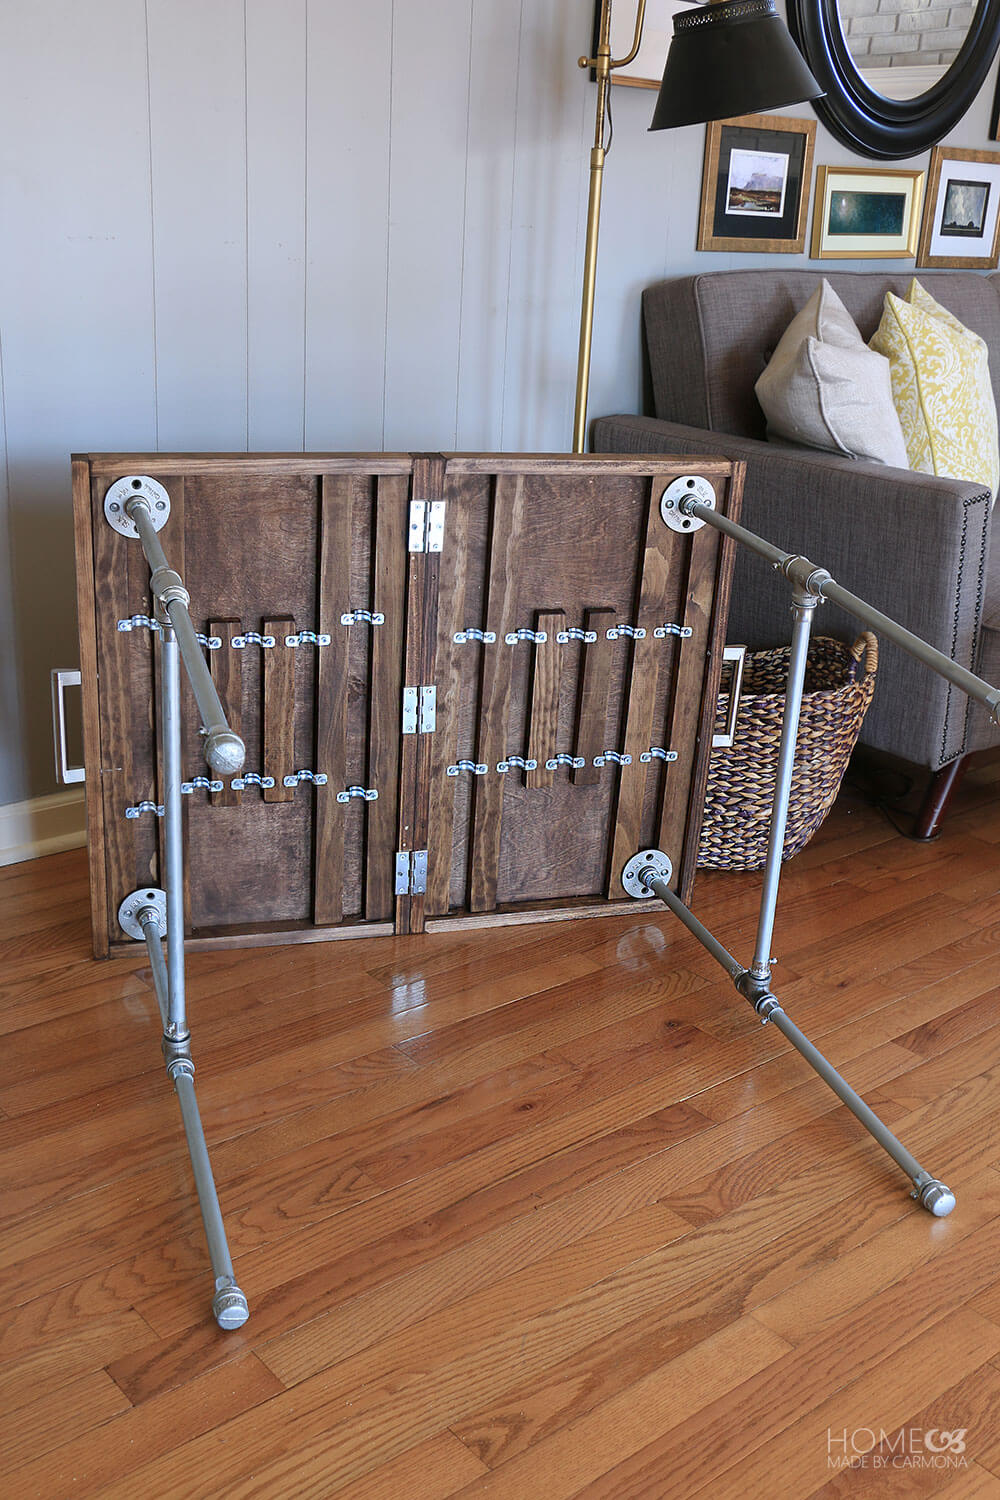
Finally attach the two table pieces together using your hinges, and screw the floor flanges to the four corners of your table. Go ahead and also add your pulls as well. Your table is all ready to be set up!
To set up your folding table you want to start by screwing the top conduit pieces into the floor flanges. Then screw on the bottom leg section that has that galvanized tee piece, and finally slip into place the middle support pipe.
You are all ready to use your folding table! Just be aware, if you don’t screw each piece in with the same amount of “thread” showing on either side, your table will have a slight wobble.
When you want to take it down, just unscrew the legs and put them away again.
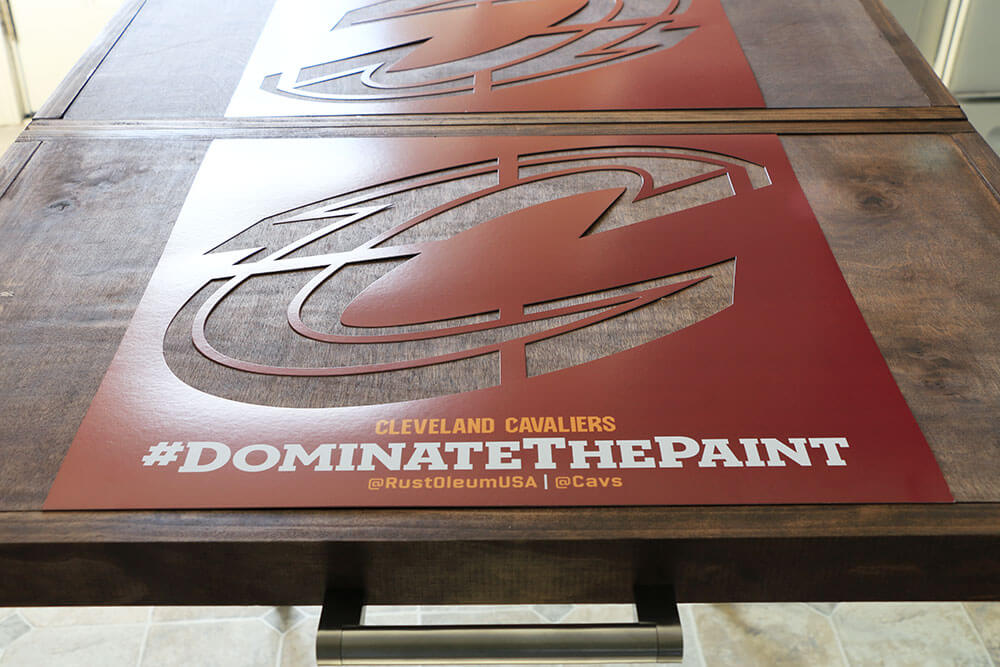
Don’t forget about the most important part…adding your team’s logo to your folding table. After all, you’ve got to show off that team spirit!
Okay, NOW you’re ready for the big game! Oh…right, and you now have the perfect stylish industrial fold away table for those parties you are planning to host.
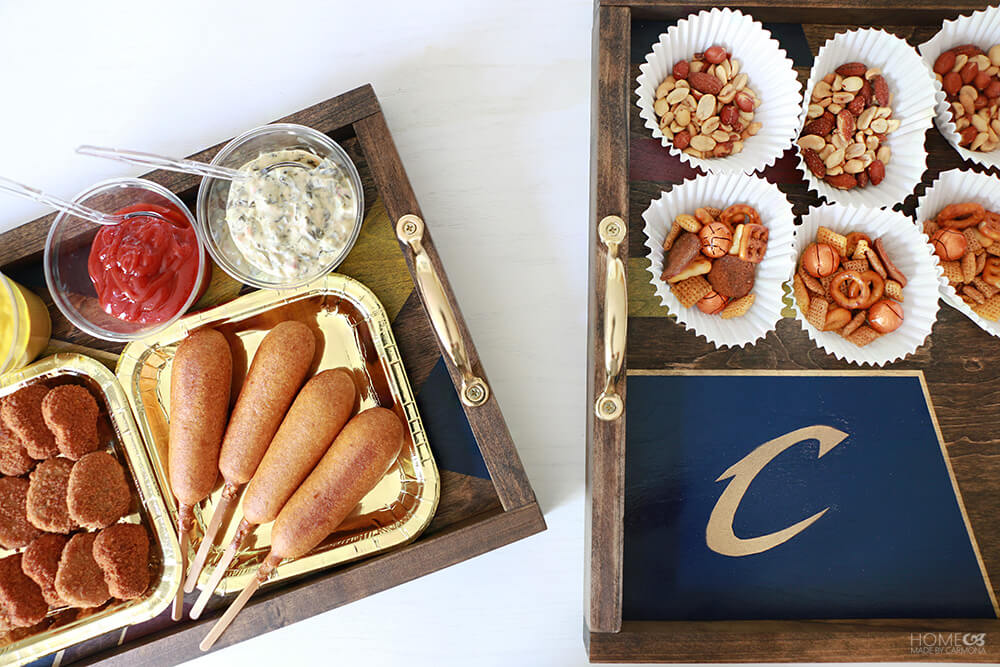
If you loved this project, you’re really going to love these awesome DIY Team Colors Serving Tray Set. These will be a breeze to DIY and are perfect for the beginner builder.
If you followed this tutorial and built these trays or the folding table, share it with us! Tag me at HomeMadebyCarmona on Facebook or Instagram, and share with the hashtag #dominatethepaint so Rust-Oleum and the Cavs can see how you rocked it!
*This post is awesomely sponsored by Rust-Oleum, in collaboration with the Cleveland Cavaliers! All opinions, project plans, and thoughts are my own.
[go_portfolio id=”diy_gallery”]



I found this right now and i’m loved it!
I’mma go and check your web out. I’m a DIY Junkie too 😀
This is seriously genius!! LOVE IT!! <3
That’s a great tip! I was looking for DIY steps online to make a folding table for myself. I never knew it would be so easy to make a folding table at home, that too one that looks great too. Would definitely consider making this next time.
Thanks for sharing.
Looks good! Also very useful, it’s a project to consider making, really. Thanks for sharing!
Absolutely love the idea, combing two of my favorites emt conduit and wood! My next project – thank you ^_^