The other day I was over at Lulu & Georgia, drooling…as usual. Is this my life? To be spent admiring items beyond my means? Drat my ridiculously good taste! *lopsided grin*
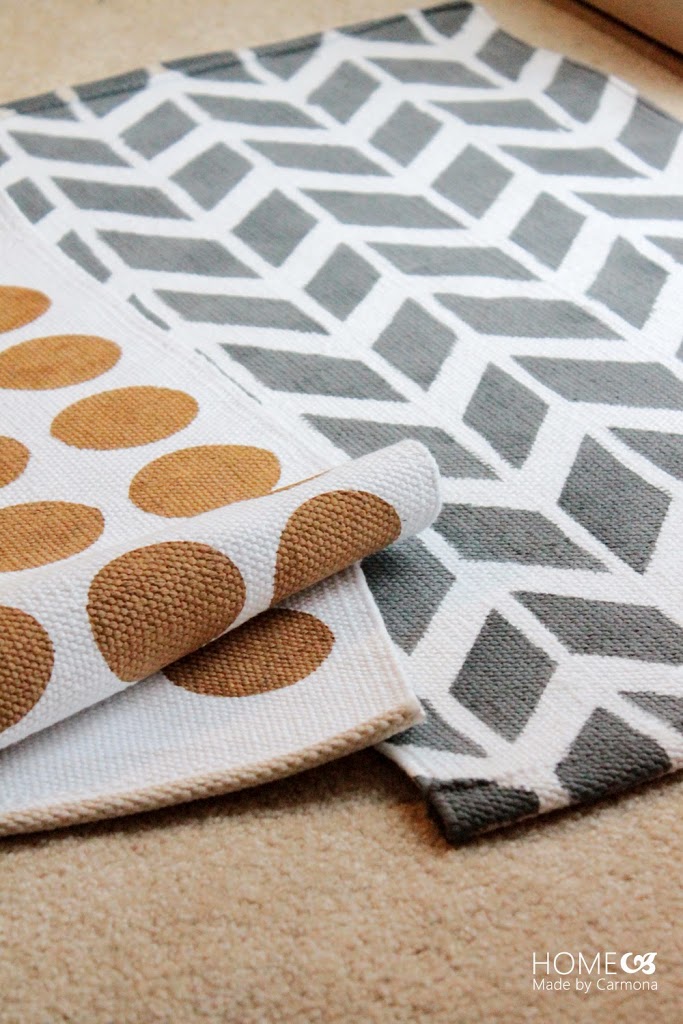
This gorgeous Paint Dot Rug and Arrowhead Rug are positively calling my name, but since they cost more than I spent to makeover my entire bathroom, I guess I’ll have to settle for a DIY version.

Materials & Cost
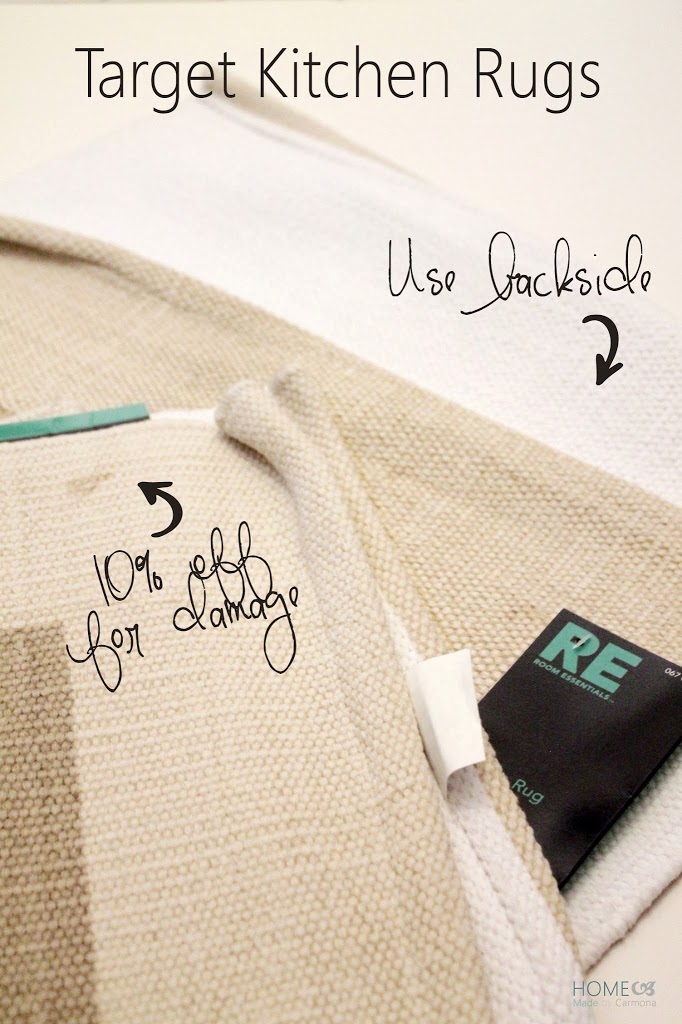
I was thrilled to find these washable cotton kitchen rugs at Target. They absorb the paint well, have plain white backsides, plus I was able to get 10% off because they all had speckles on top! Yep, in my world every cent counts! *wink*
Because I am using the backside of these rugs, it kind of makes these rugs reversible! The paint will not soak through to the other side, so if you wanted you could paint different designs on either side and get two styles for the price of one!
- (Target) Kitchen Rugs – $7.19 each
- (Walmart) 1 Folkart metallic paint, 2 fl. oz. – $1.77
- Leftover Interior Wall Paint, 1/2 cup
- 3/4″ Painters Tape
- Sponge brush &/or paint brush
I did not count the interior paint, tape or brush in my final cost for making these rugs since they are items we probably all have lying around…but if you do not have these items you should factor another few bucks into your budget.
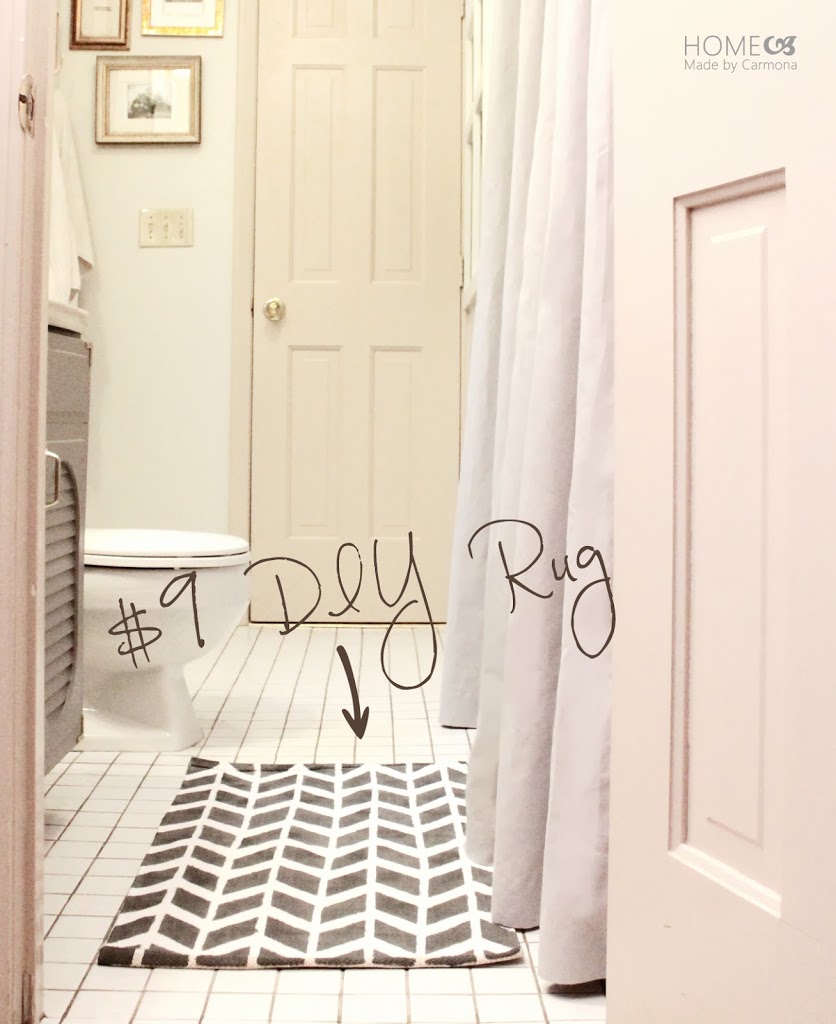
Creating An Arrowhead Inspired Rug
Start by creating a chevron design on the rug with your painters tape. Find the middle of the rug and work outward. Oh, and really press that tape down good…I had a couple areas where I pulled the tape up then didn’t press it back down properly and the paint bled a bit more than I liked.
Cut your tape strips to equal lengths, this will ensure some consistency of pattern.
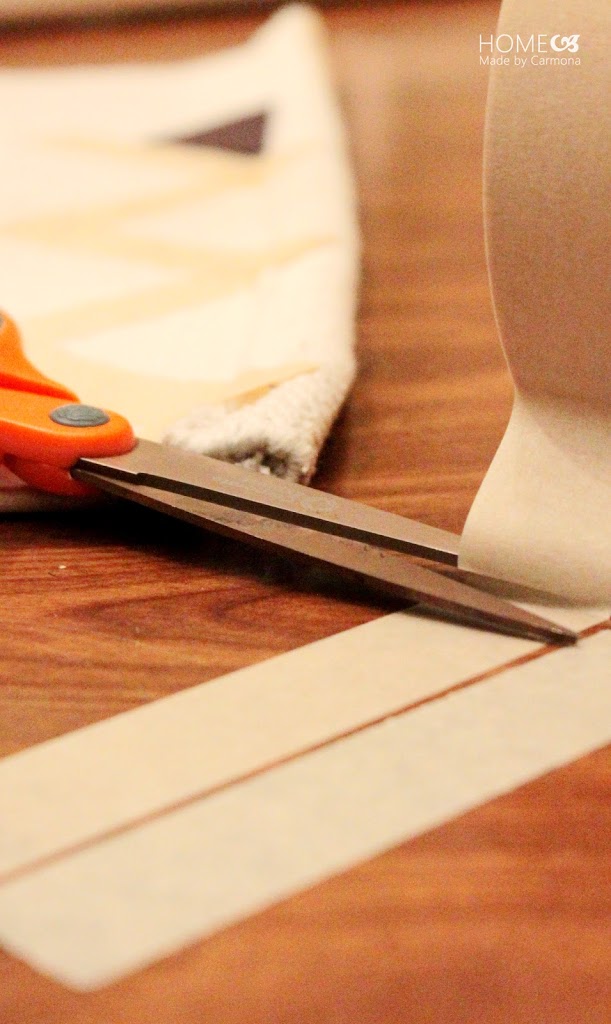
You could eyeball a chevron design, however if you really want to keep some consistency, cut out a triangle to use as a taping guide.
Continue the chevron design across the entire rug, keeping a 2 inch space between each chevron layer.
Once you have created the chevron design, cut long strips of painters tape in half and tape them across the tips of the chevrons.
Dilute your interior paint with a few tablespoons of water before painting your rug. You want the paint to be more like a dye than paint…this prevents the paint from drying hard and cracking. It also makes this rug hand washable! The first couple washes use diluted vinegar to soak it and allow any excess coloring to run off.

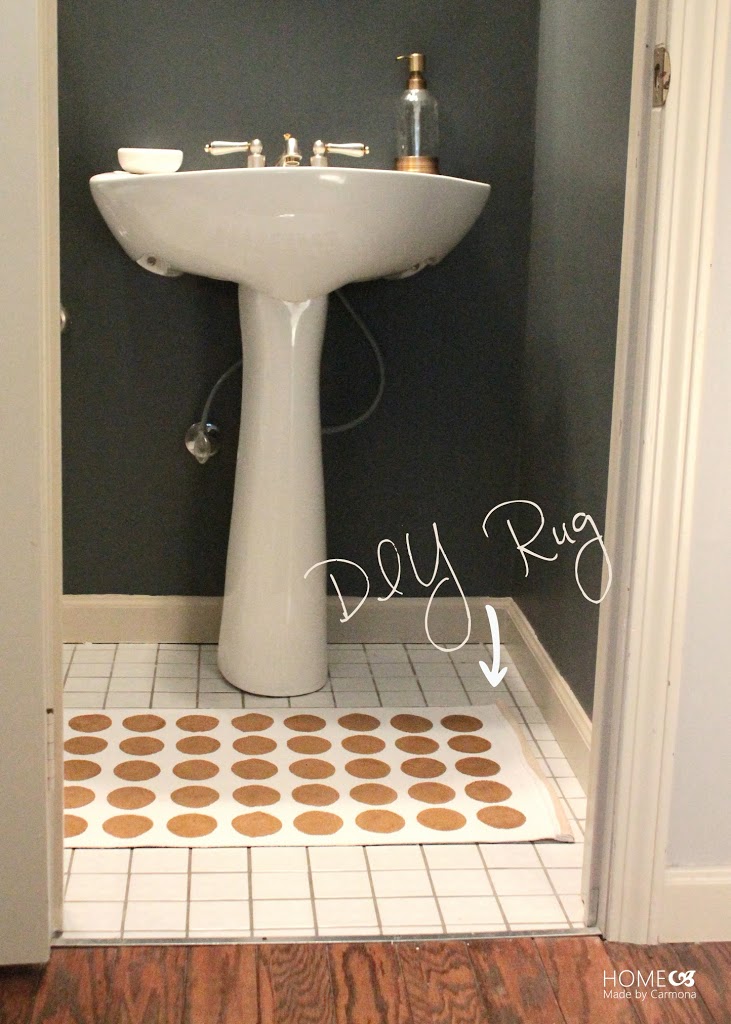
Creating A Paint Dot Inspired Rug
The irregularity of the dots are what really make this rug. Sadly this particular type of irregularity does not translate too well into DIY…it just looks like you couldn’t paint a circle! *chuckle* Plan for your circles or ovals to be much more precise. If you really want that imperfect look you do have two options: 1. You can create an intentional irregularity within a stencil and then keep each painted dot consistent with the last. 2. Make your ovals/circles more precise, but vary their distances and angle slightly.

The normal course of action would probably be to create your own oval stencil. And what stencil could be easier to create? I don’t currently own any stencil materials, so sometimes you have to break out what you have. I used the ring of a canning jar lid and squished it slightly into an oval shape. I cut 4 slits so that it would be able to lay flush on the rug surface. Once you find the center of your rug, start there and work your way outwards, eyeballing an equal space between each oval.

I used the sponge brush to quickly fill in the middle, then a smaller paint brush to be sure that all the edges were well covered.

I admit this is no Lulu & Georgia, but I love this rug in my downstairs bathroom! It adds just the pop of design and color needed.
And there you have it! Two Lulu & Georgia inspired rugs. I may be using mine in my newly made-over bathroom spaces*, however these would be just as lovely in a kitchen, laundry room, entry, or any other space!
*See the entire $83 Jack & Jill Bathroom Makeover here, or the $36 Powder Room Makeover here. These rugs were just the icing on the cake! *wink*


I love the rugs. I think you did a great job. And for me, making something yourself is way more fun than just buying it.
These rugs are so cute! Rugs are so expensive. I am on the hunt for a DIY area rug project for an outdoor area. I was thinking about painting a drop cloth but am afraid it will be too thin. I like the thickness of these. Thank you.
The tutorial was great – easy to follow step by step. I make floor cloths using linoleum (underside), fabric and ModPodge. Beautiful but very time consuming. Your ‘rugs’ are another method of making something nice for the floor. (another) Georgia
Thank you Georgia! Wow, your floor cloths sound amazing!
Just so you know… Yours are mich nicer!!
Aw, that’s sweet! Thank you!
oh these turned out WONDERFUL!!!
Aww, thank you!
Thank you so much for linking up your gorgeous rugs to our Link for Less challenge! And CONGRATS on being our winner! I hope you have big plans for your $60.00 gift card 🙂
xo,
Kylie
Winner? Oh my goodness! Thank you! Wow, you just made my week…you ladies are too fantastic! 😉
These turned out beautifully! I love the designs and the gold and slate colors you used! Great job!!
Thank you Tamara!
These are so well done. They look fantastic! 🙂
Oh my goodness…these are super fabulous!! So trying this soon!
You have some cool ideas on your blog!
Following you through bloglovin amd would love for you to visit my blog sometime 🙂
Thank you!
I love your fabric covered boxes chica!! I’ll have to try it sometime…I’m a sucker for pretty storage.
Wow they turned out great! Can’t wait to head over and check out the full bathroom makeover!
I love that arrow one and love the color you chose better than the original too!
If you ever got acrylic paint on your clothes, you know it doesn’t wash out. No need to hand wash. Contac adhesive shelf liner makes a wonderful stencil material. It works well on rugs. You just draw the design, then cut with an exacto knife. Press it onto the rug, then paint, using your stencil.
I used shelf liner on a runner in my hallway last month, it worked wonderfully! So yes, that is truly a great tip!
Lol! I do have some paint pants that prove your washing theory…the only thing I would be careful of is cracking if the paint is laid on too thickly.
Thanks for sharing!
Gorgeous, girl! Nice job:)
Aw, thanks chica mama!
Are they machine washable? Thanks
I would not machine wash them, they are hand washable however. Just be sure to really thin your paint when you make your rugs. Also be aware you should allow it to dry for 48 hours, and the first couple washes the excess color will run out.
Absolutely Brilliant!!!! I would never think to DIY rugs! I’m with @Kathryn – if it is too expensive I think I am just out of luck! I have said it before, but again, thank you for sharing your talents so I can “copy” you!
How is it that you can think of these things!? I love it. I see things that are cute but I couldn’t afford that and say “Oh well”. Nope, not you! You are blessed with talent and definitely serve as inspiration for my unable-to-decorate-on-my-own mind!
Aw, thanks Kathryn! Lol…it’s just one part determination, two parts desperation. 😉