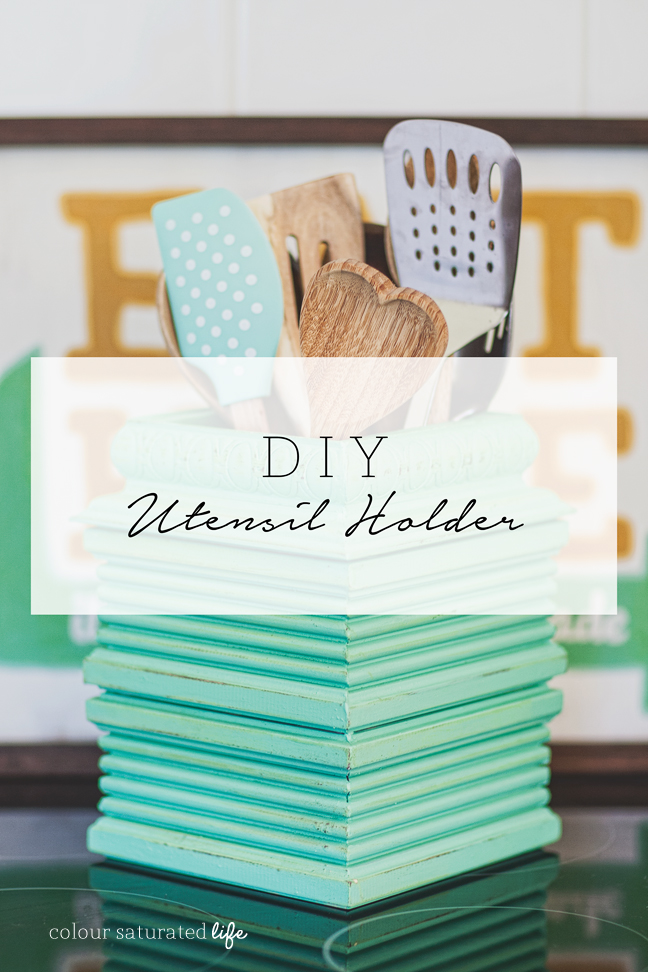
Hi! It’s Gilly again from Colour Saturated Life back to give your visual senses an onslaught of colour. I have another cool DIY for you, this time we are dressing up my kitchen and injecting some much needed colour.
[left]If you are anything like me you spend a lot of your time in your Kitchen….cooking, baking, cleaning, etcetera. And as you know I like colour but my Kitchen is kind of lacking…..painting the cabinets is not an option and I like my walls grey so the only way to inject colour is through accessories or wall art. I have been wanting to change out my utensil holder for a while as it is kind of drab and not really my style.[/left]
I have looked around for one but nothing really appealed to me. So I thought why not make one? With all my DIYing and furniture projects I have a lot of wood scraps lying around so I found some gorgeous bits of skirting wood (baseboards) and decorative trim I could cut down to make my utensil holder.
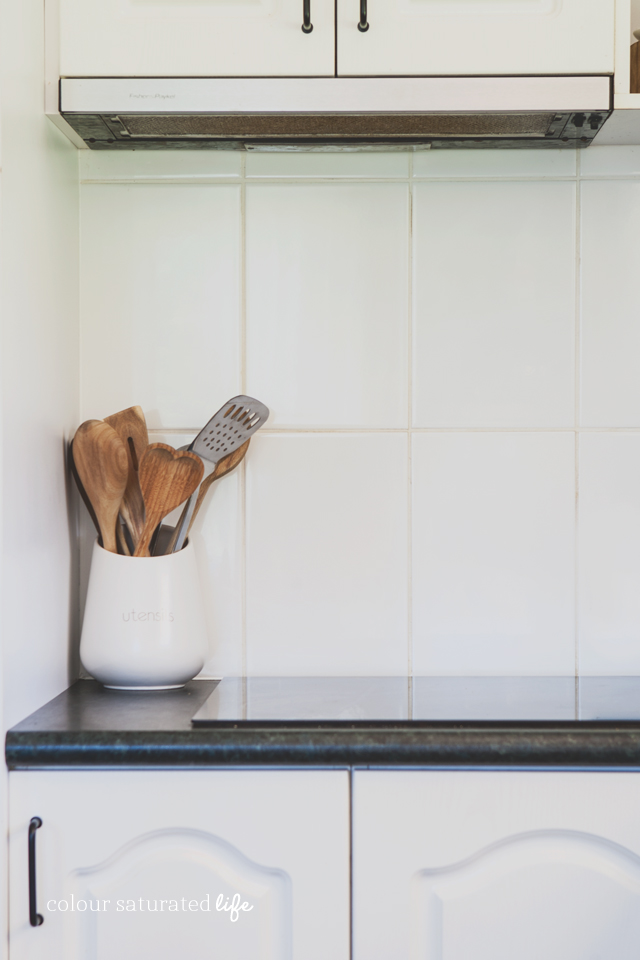
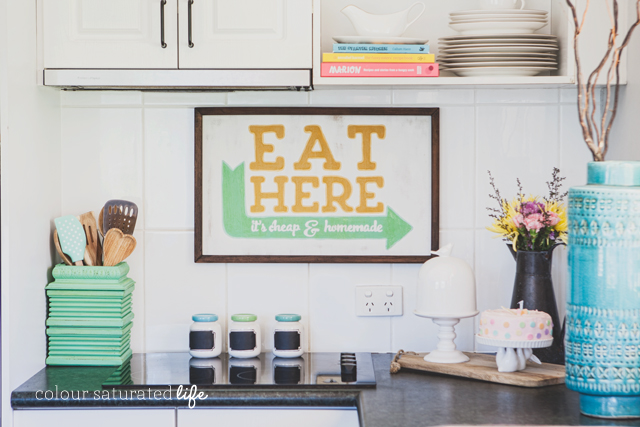
This is the before of the stove top corner where I keep my utensils.
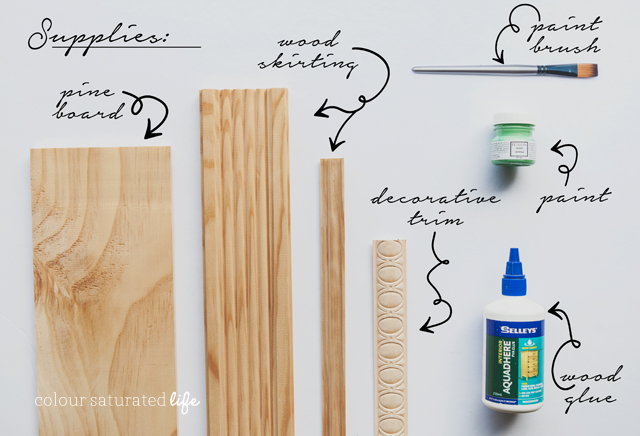
Supplies:
- Paint – I used Fusion Mineral Paint in Ceramic
- Paint Brush
- Wood Glue
- Clamps (not shown)
- Pine Board (1/2″ Thick)
- A Variety of Skirting Timber and/or decorative trim – You know them as Baseboards (I used two different types & one decorative trim that were leftovers but you can buy these new)
- Drop Saw (not shown)
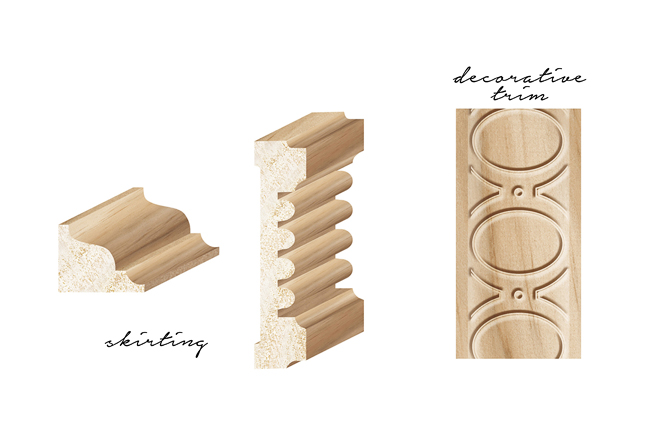
Below are the profiles of the skirting I used. You may not be able to find these exact ones but you should be able to find similar ones.
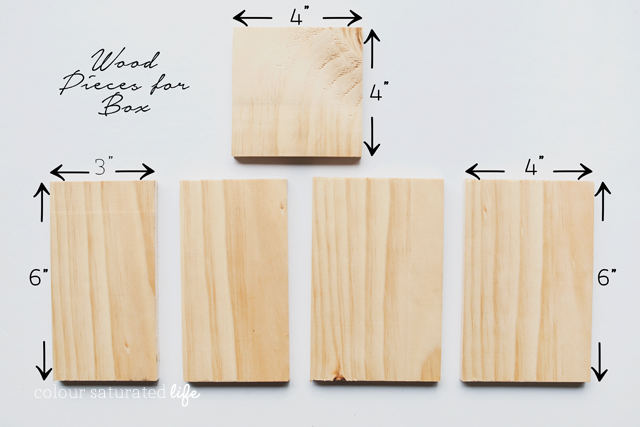
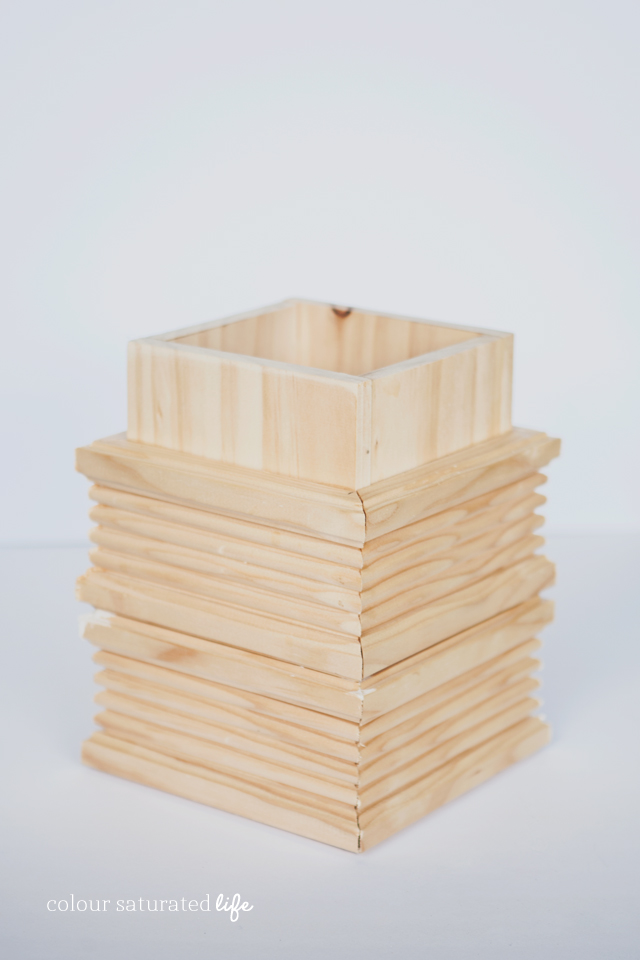
First you need to make a wood container as a frame to apply the decorative timber to, mine I made 4 inches square and 6 inches high.
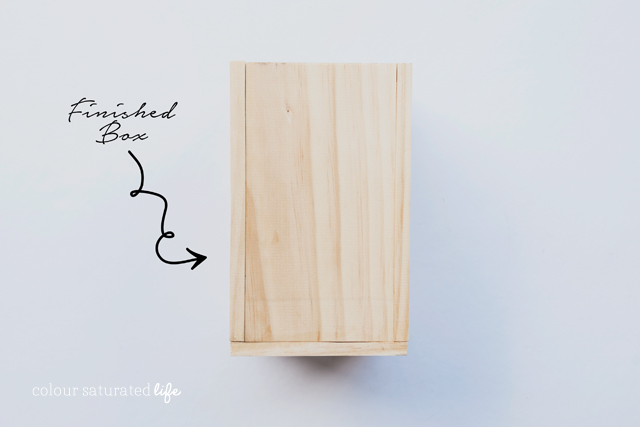
I cut these from one board and then glued and clamped them together. I left the glue to dry overnight.
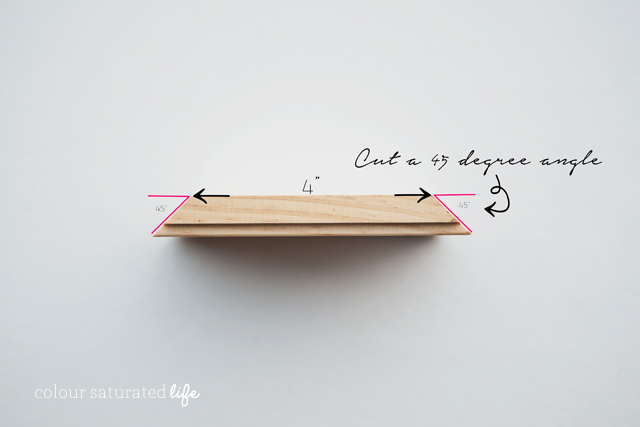
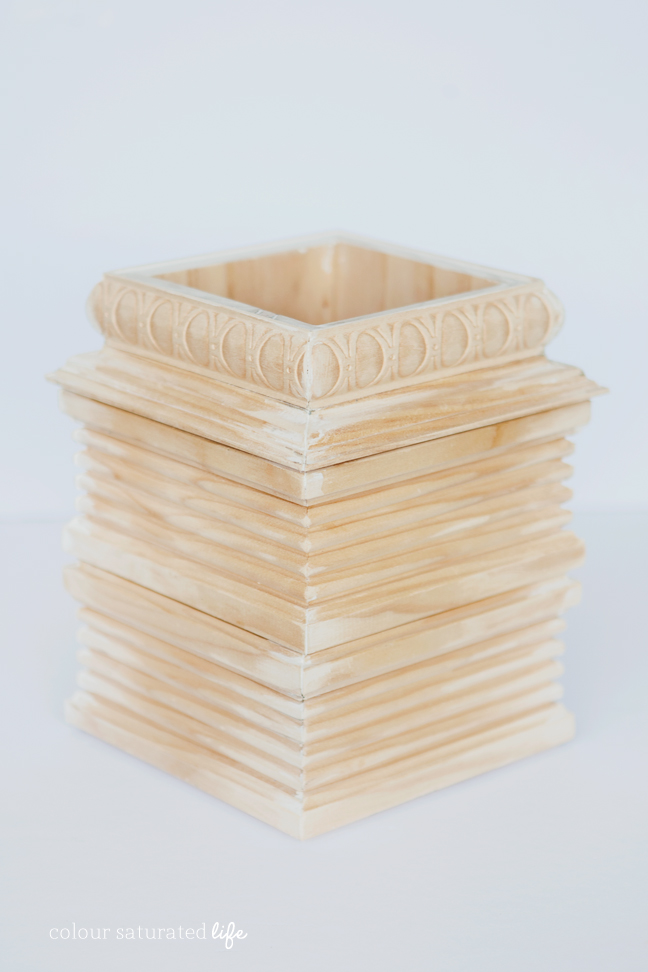
Now all the skirting and decorative trim needs to be cut to size.. I cut all the wood on a 45 degree angle and 4 inches long so I could box them out around the wood container.
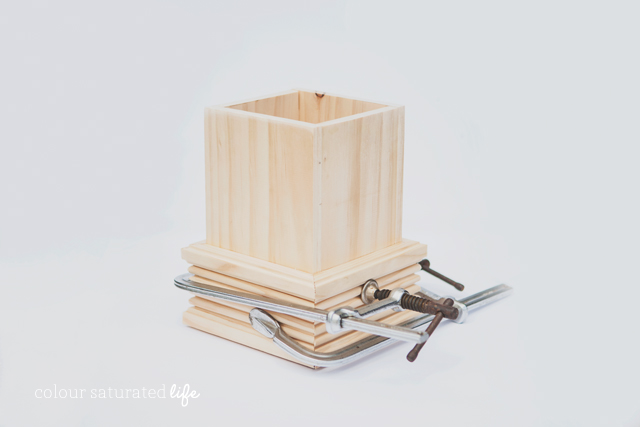
Once all the wood is cut I glued them to the sides of the wood container and let them dry. I did one layer at a time – from the bottom up.
Any gaps can be filled with wood filler.
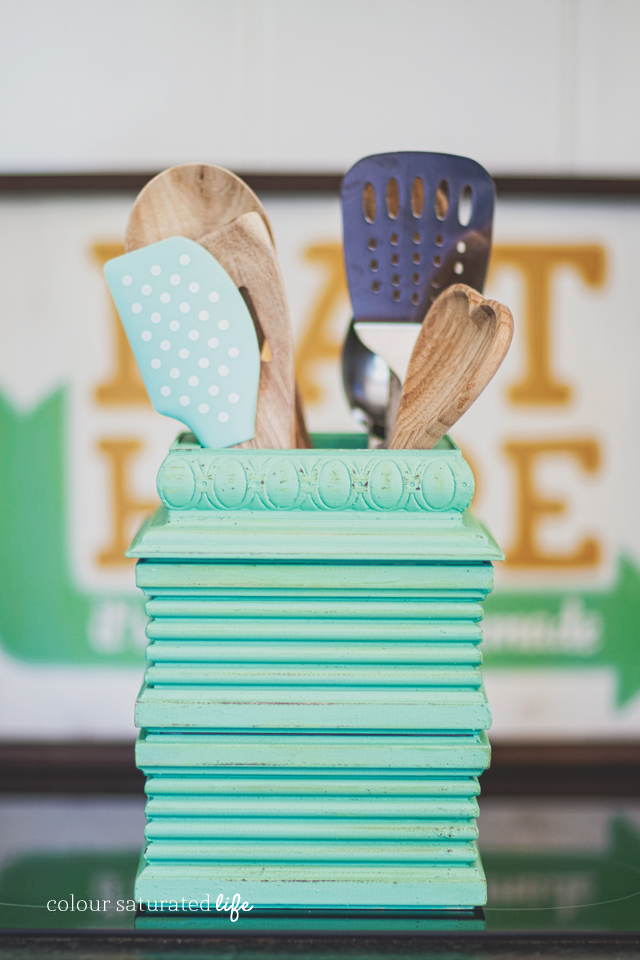
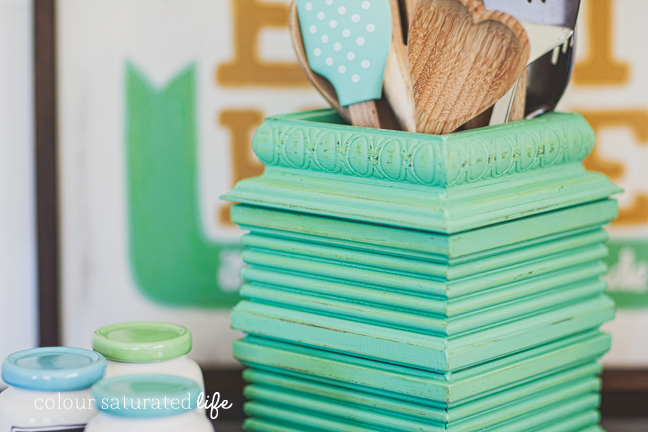
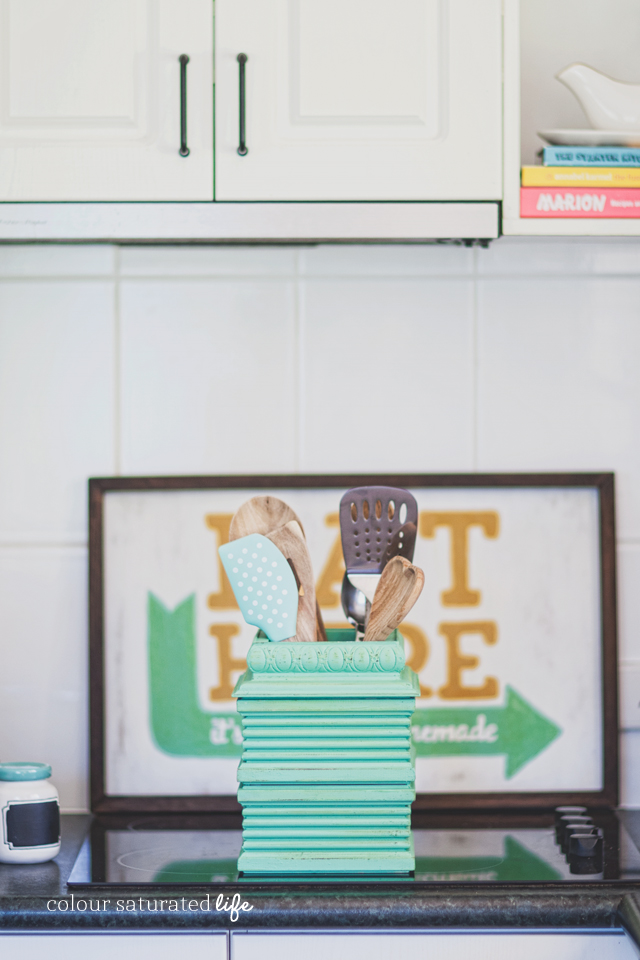
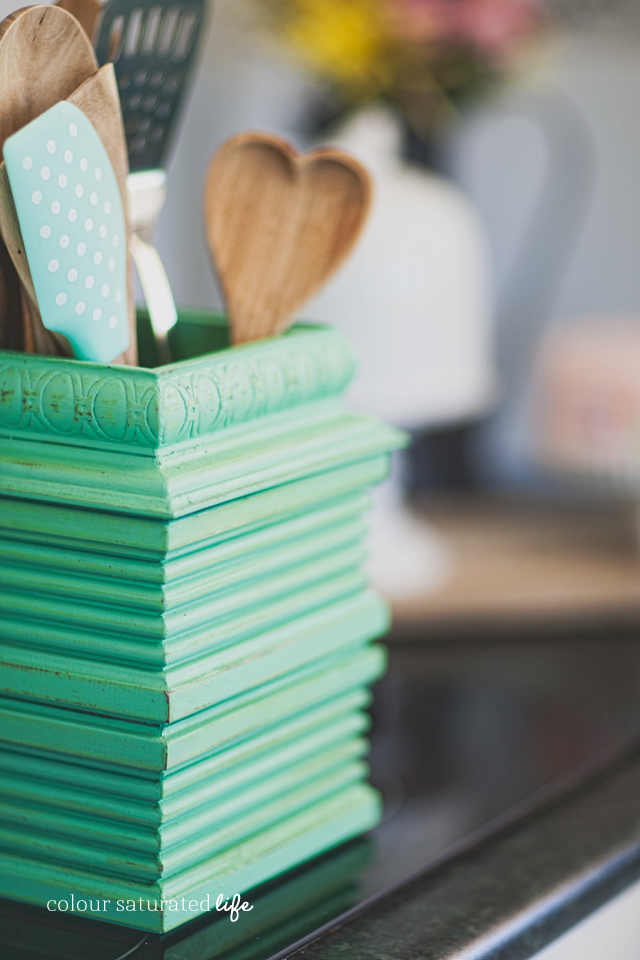
Once you have all your wood glued into place and filled in your gaps then you can paint! I used Fusion Mineral Paint in Ceramic and I only needed one coat of paint. I painted the inside as well as the outside. I also lightly distressed the paint to give it a vintage feel – that is just personal taste. I love how it looks and now I have something colourful and unique to put all my kitchen utensils in!
On my blog on Monday I will be sharing how I upcycled an old mirror (another leftover) to make the vintage inspired sign for my kitchen you see here. I love that this little corner of my kitchen now has some colour. Hope you have a wonderful weekend and I will see you next time!
FOLLOW GILLY HERE








Great project! It looks like it was bought from a shop, but it still has that shabby-chic look. Love it!
Thanks Carmia!
Gilly, love this, Hun, You are so creative, and thanks to your easy to follow instructions, and materials I can easily get here in the UK, I will definitely be trying this! Thank You.
Thanks Chrissy! So happy you are going to give it a go!
This is so cute! You’re so creative!
Thanks Chelsea, that is so sweet of you to say!
SOOOOO pretty!! What a great step bu step tutorial!!! I want to make one!
Thanks Christine, that’s a huge compliment coming from the DIY Queen! 🙂