Something needed to go above my daughters dresser, it looked a bit sparse sitting in the corner all by its lonesome. Mirror? Or perhaps a few framed photos? I love the look of a finely decorated wall space, but I’m also a die hard practical.
Finally I settled on something I knew my ever artistic daughter would put to good use…a pinboard!What a great way for her to showcase her latest drawings (and hopefully keep all that paper off the floor).
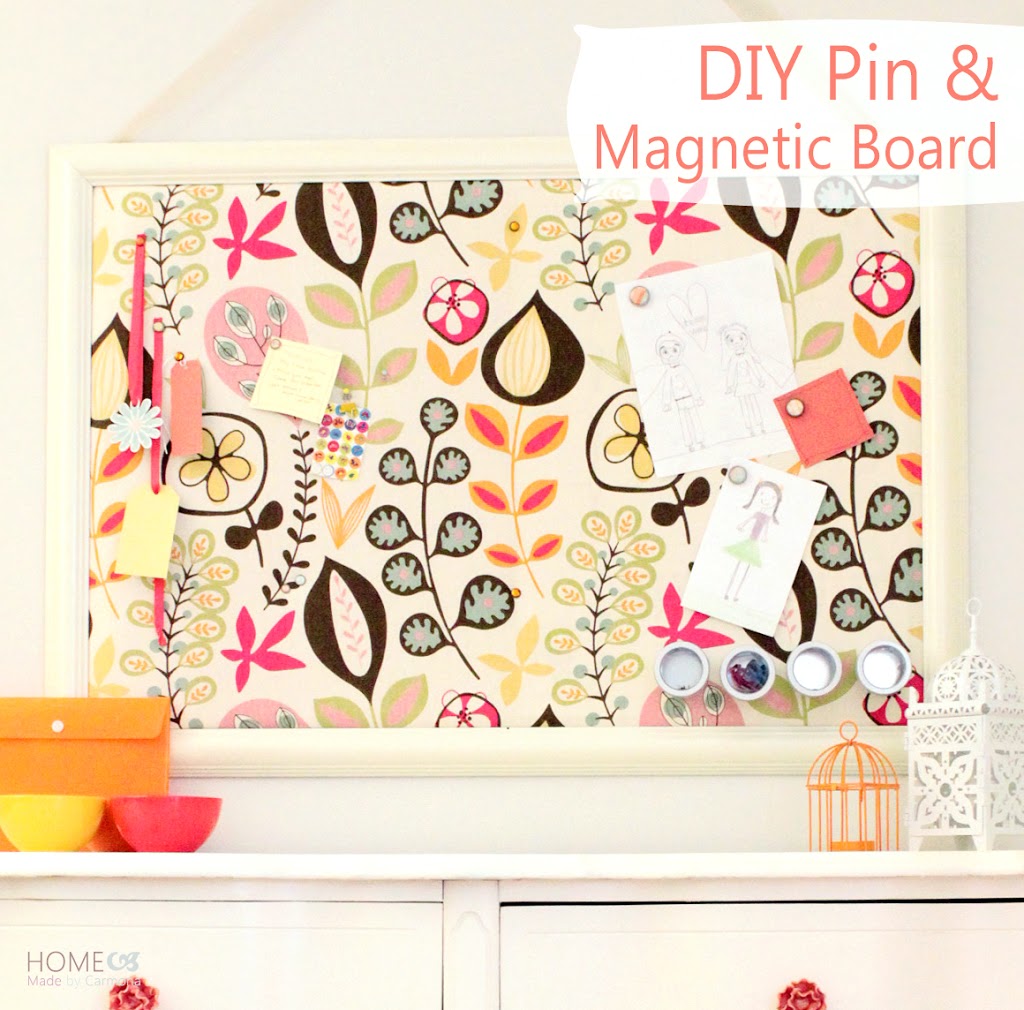
Pinboard/Magnetic Board
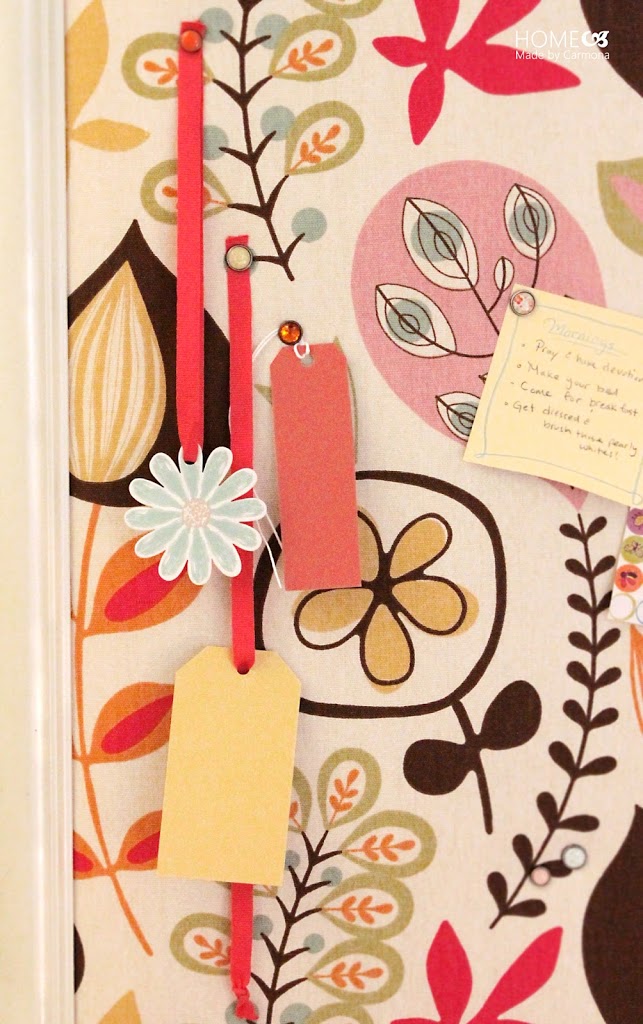
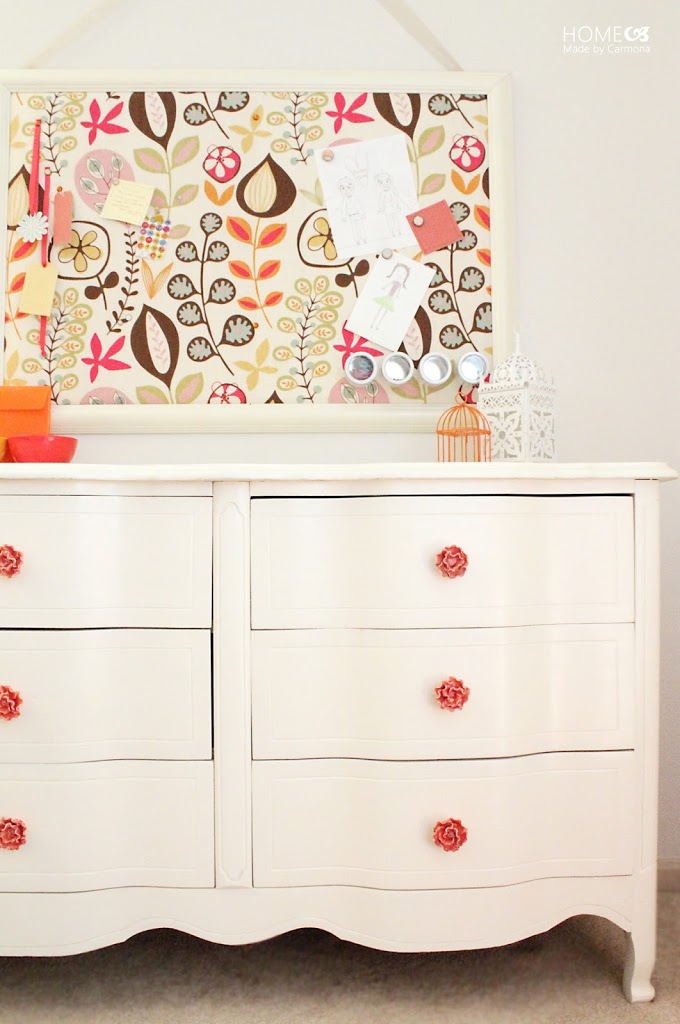
I wanted to create more than just a pinboard, I wanted to provide her the opportunity to pin up notes, but sometimes she has pictures or other items she doesn’t want pin holes in. So why choose? There are benefits to either… So I created the left side as a pin board to accommodate tacks and push pins, and the right side is magnetic only.
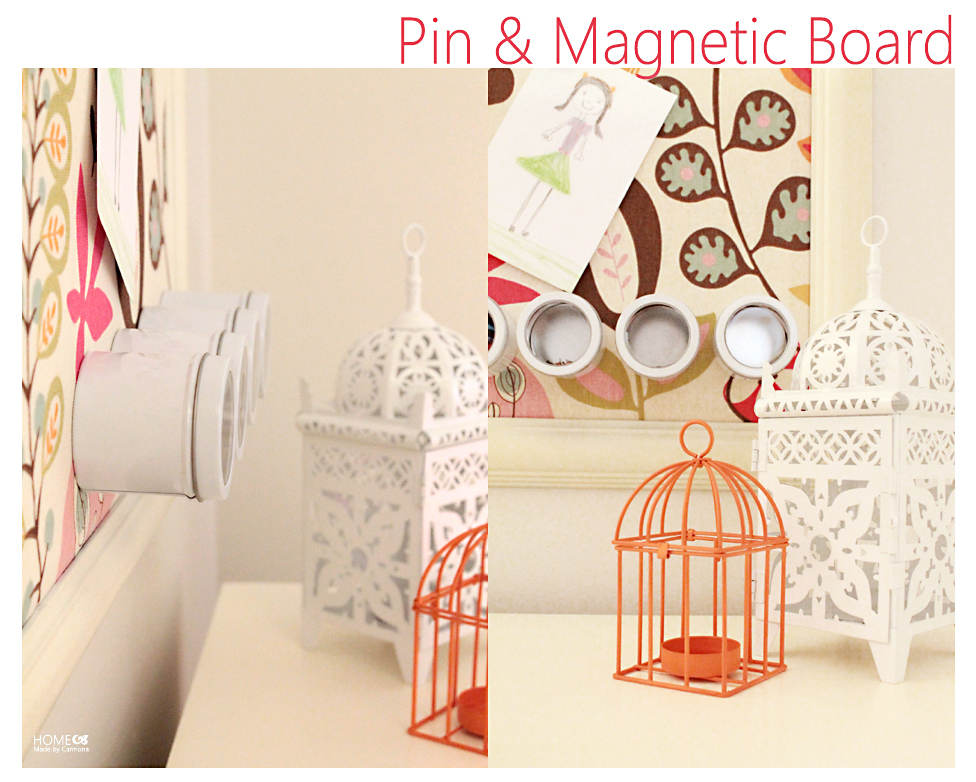
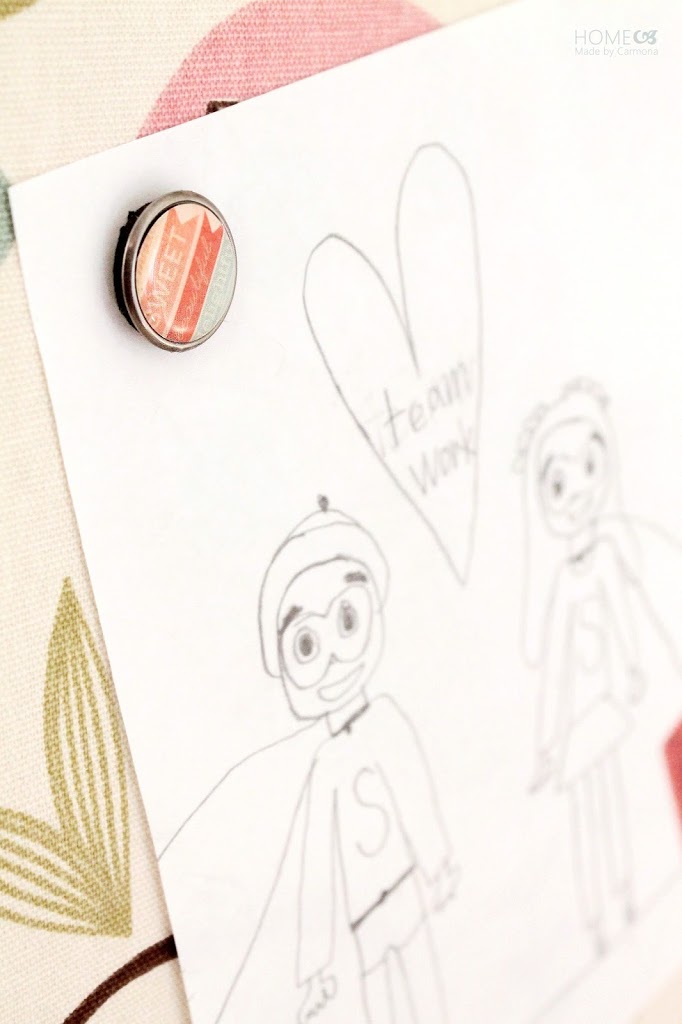
One of the benefits of having half magnetic board is using these little magnetic storage canisters I found on sale at Michaels for $1 each. My daughter can store push pins and magnets, paper clips, hair clips, and any other knick knacks she desires in these magnetic canisters.
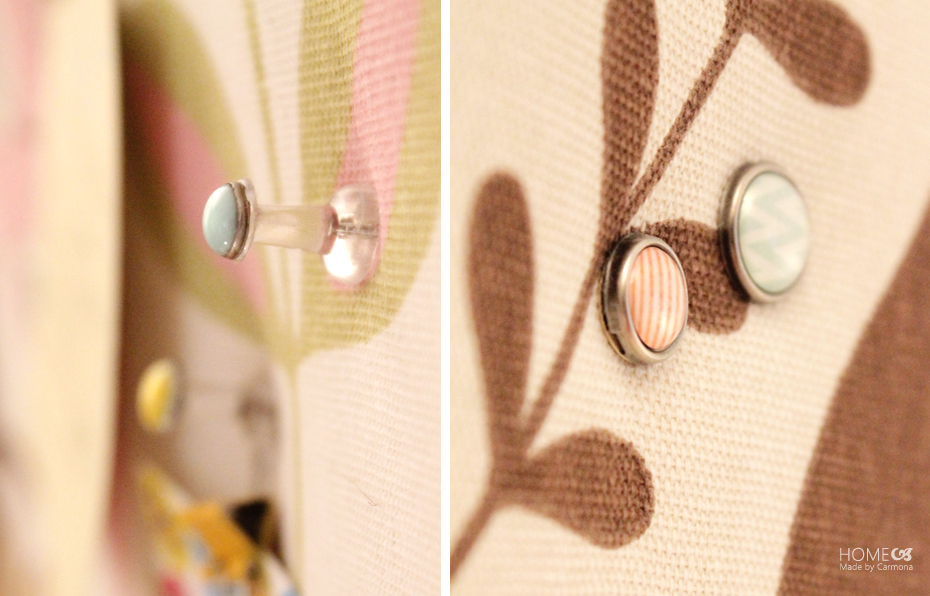
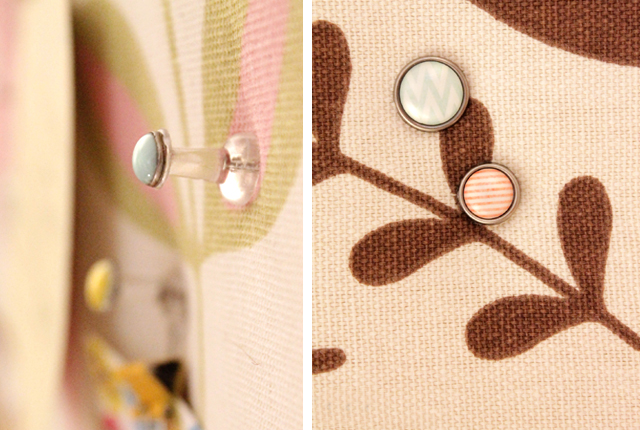
Another fantastic (and super easy) project is to make pretty magnets and push pins for your pinboard! But I’ll share the details on how to do that in the next post. Read how here. First let me show you how to make the board itself!
Necessary Materials
- Picture Frame (no glass)
- Foam Board
- Sheet Metal (or disassembled dry erase board**)
- Cork Roll (or thin squares)
- Batting (optional)
- Spray Adhesive or Adhesive Strips
- Furniture Staple Gun
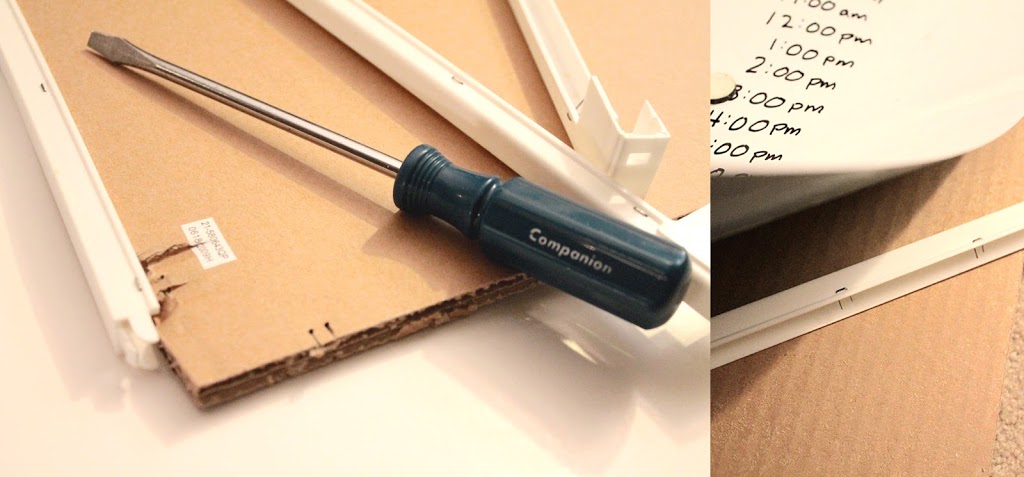
Steps to Make
Step 1: Cut the foam board to fit in your frame snugly (if there is a frame backing use that as a template to cut to size…but it must be a snug fit!). The foam board acts as the new backing to the frame, as well as additional cushion for your push pins. Pins will pass through the thin cork into the foam board and not your wall!
Step 2: Adhere the cork to one half of the foam board, and magnetic board to the other half. You can use a spray glue or use the adhesive strips that usually come with the cork squares.
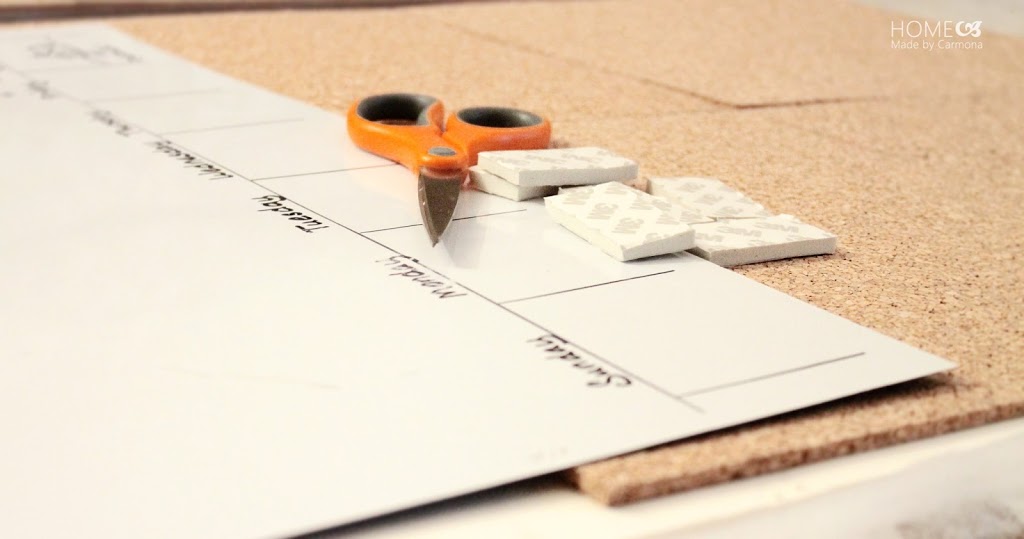
Step 3: Cut your batting and/or choice of fabric to overlap the area of the foam board by a couple inches. (The batting is optional, as it is purely for aesthetic purposes…it rounds out the look of the pin & magnetic board so it doesn’t look too flat)
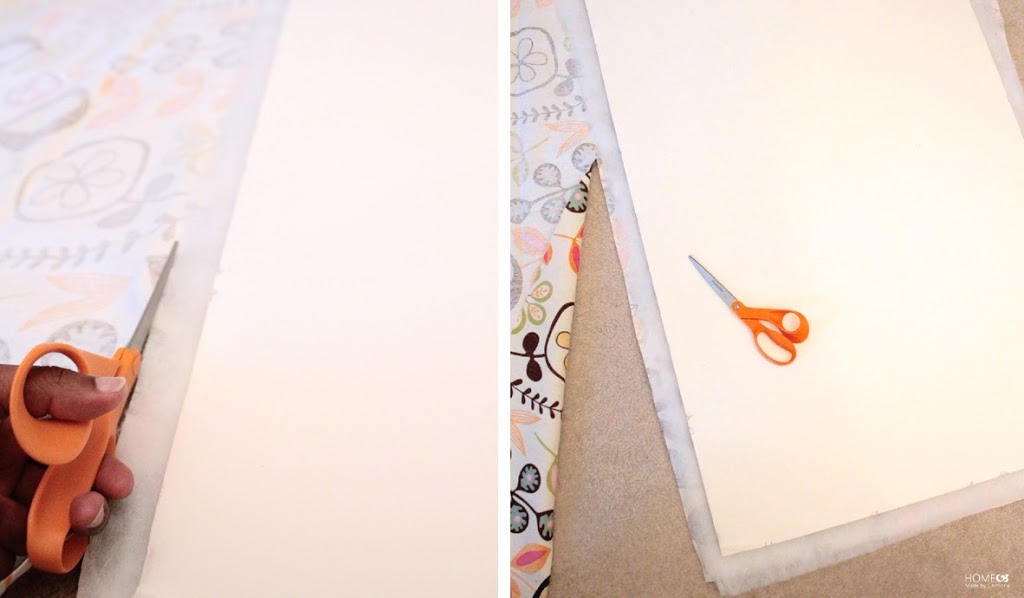
Step 4: Wrap the foam board/magnetic sheet/cork combo with your batting and fabric. Pop it into your frame (it should hold the fabric snugly in place), and use duck tape to secure the fabric flat against the back.
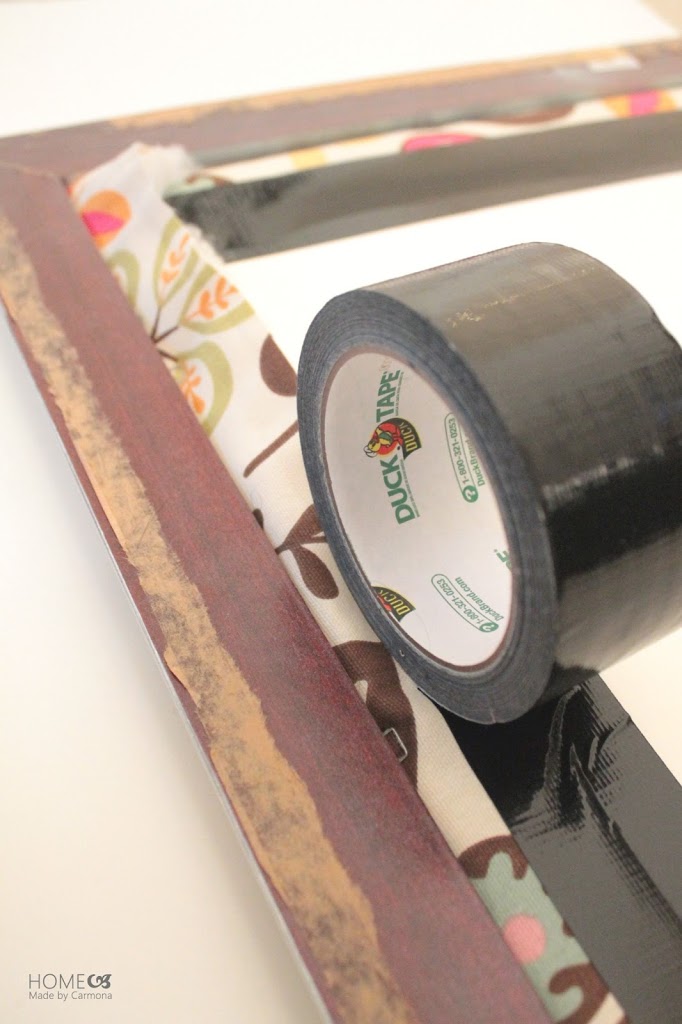
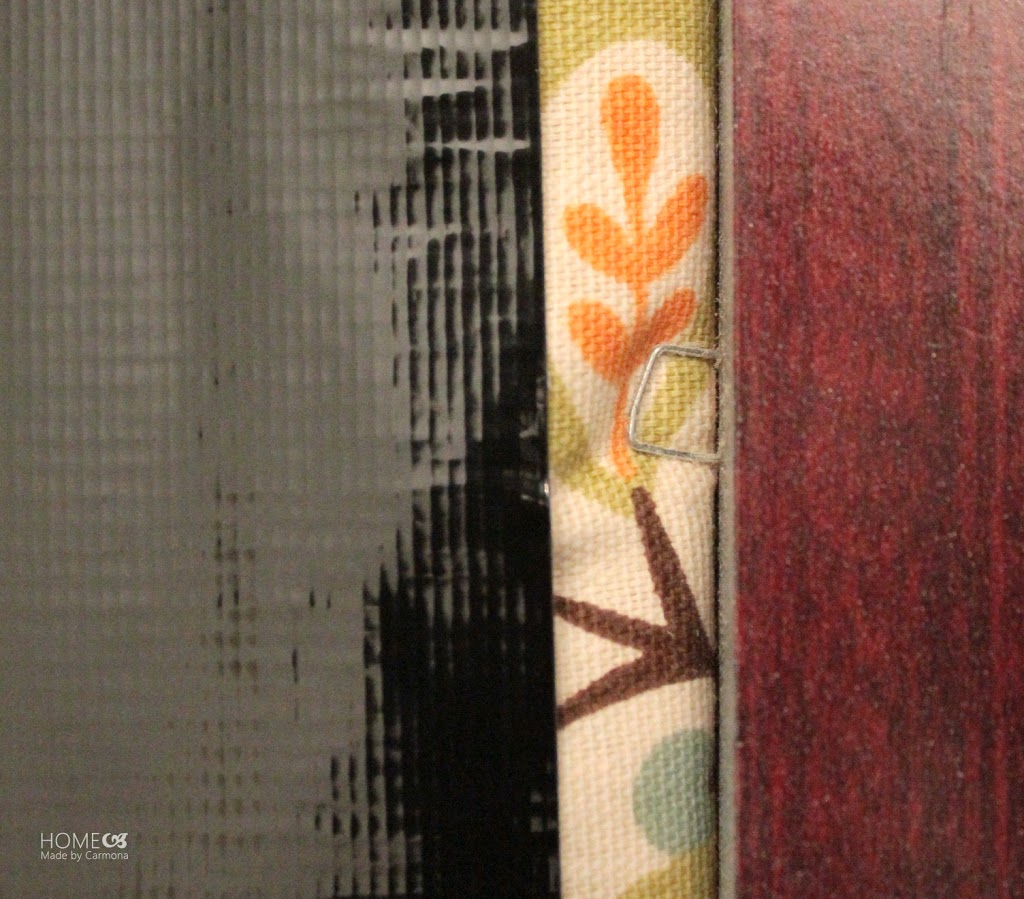
Step 5: This part is purely securing your foam board within your frame. You will use the same technique framers use: staple into the frame staying flush with the foam board. If you need to, use a tool to push the staples down tight against the backing. Optionally cover the frame backing with brown paper or the wrong side of wrapping paper (just so you don’t have to see the ugly backside when you move!). Hang, and you’re done!
My daughter loves her pin & magnetic board! She rotates her favorite drawings, and notes, and I believe it will be even more useful as she grows and learns all about living an organized life! Doesn’t it look lovely above her newly updated dresser?
 Start with a frame the size of your choice, and purchase missing supplies at a local craft store, or find them online here: *This particular fabric was purchased at JoAnn Fabric Stores.
[accordion title=”Linky Love”]
[/accordion]



This is very creative idea. I love your magnet board. This is really an amazing use of die pin and magnetic board. I also try to do this for my child.
This is really a amazing article about the magnetic push pins. I am really glad that I have found this post and I thank you for letting us know about this information….
Hello it’s me again,
What can I use to adhere the magnetic sheet to the corkboard?
Thank you
I simply used a spray adhesive…or just use a glue gun! The glue is a temporary hold until until you wrap your batting and fabric tightly around it. That is what really holds it in place long term. 😉
Good luck! Let me know if you need any other info! 🙂
I love your pin/magnet board! I’d like to do something similar. I already have a cork board, so would I just cover one side with tin?
Thank you! Yes, just cover half with a magnetic sheet! 🙂
This is a great idea to organize you accessories and keep them handy. I was
searching for articles to buy accessory organizer where i came across your post.Very creative! Keep posting similar stuff. Many thanks once again 🙂
I love these pin boards! I am a very visual person so whenever I need to get stuff done, I write a to-do list. Having a board like this in my house would be the perfect place to pin all of the stuff I need to do! I definitely want to make something like this. Thanks for your cute idea! http://www.vistavisuals.com.au/index.php/products/pinboards.html
What type of magnets did you use? I am doing the same project but want to make sure the magnet can go through the foam board. Thanks!
They are just your regular craft magnets. The foam board will go behind the magnetic board…only the fabric and batting covers the magnetic board and cork, so it will not interrupt magnetic pull at all. 🙂
Hope that helps! Good luck on your project!
I was looking for a tutorial like this for ages! Now, I can do mine 😀 Thanks!
Melanie ~ http://www.iheartsharingthings.blogspot.fr
Loving this! You’ve been featured at Give Me The Goods! Stop by and grab your Feature button! Amber@ Dimples & Pig Tales
Thank you Amber! I appreciate the honor! 😉
Where is that adorable fabric from!?
JoAnn Fabric Store, in the Home Decor fabric section! 😉 You can get a 30%-50% off coupon if you sign up for their mailing list. You can also find one in their store ad if you live where there is a JoAnns.
I love your magnetic board the fabric is beautiful. If you get a chance, please link up to my linky party going on now: http://suburbsmama.blogspot.com/2013/08/sunday-linky-20.html
Thanks Rita! Linked! 😉
I love this! Thanks for sharing such a great idea! 🙂
This is super cute! I need one of these in my house:) We would love for you to share at our fun Super Summer Saturday link up here: http://www.thechirpingmoms.com/2013/08/super-summer-saturday.html Thanks! Julie
Thank you Julie, I will! 😉
The fabric you used is so lovely! Great project!!
Your post caught my eye because I have been wanting to make a magnetic board for my office and I bought the exact same fabric for my daughter’s room. Must be fate! I like that you did both the magnetic and the pinboard. Hopefully I will have enough leftover fabric. Thanks for sharing!
Great minds think alike?? Lol. No, wait…great minds have the same taste in fabric. 😉 Good luck with your magnetic board, and thank you for reading!