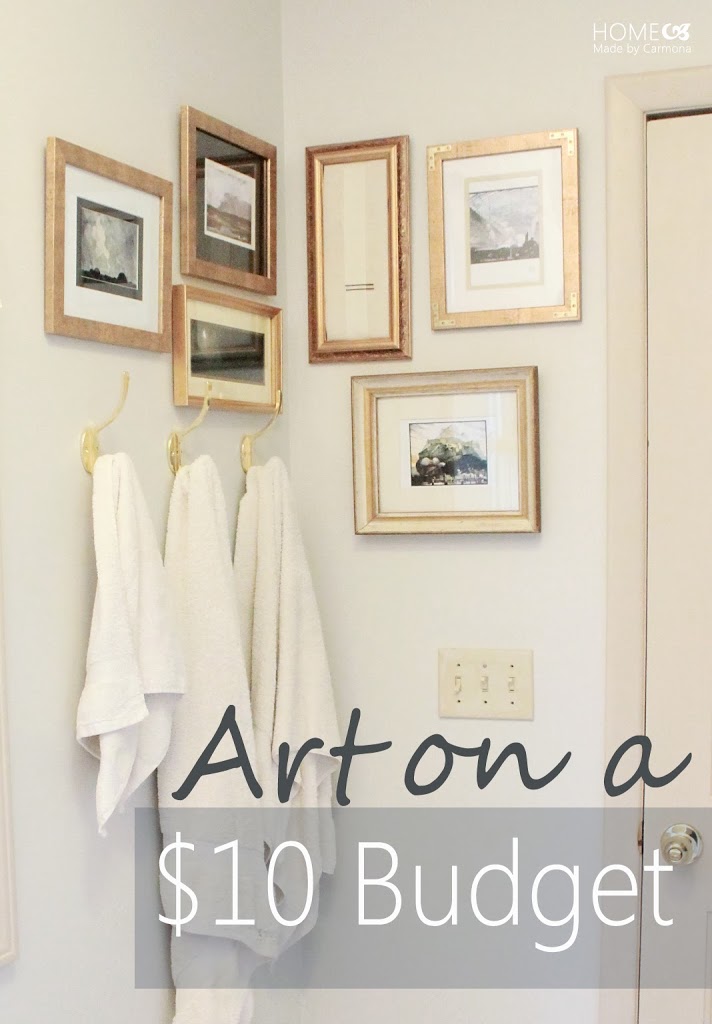
This bathroom makeover is on an extremely small budget, which means I’m going to need extremely small budget art. Sometimes you have to be a little clever and do a lot of mixing and matching to get your desired effect on a minimal budget.
Cheap Frames
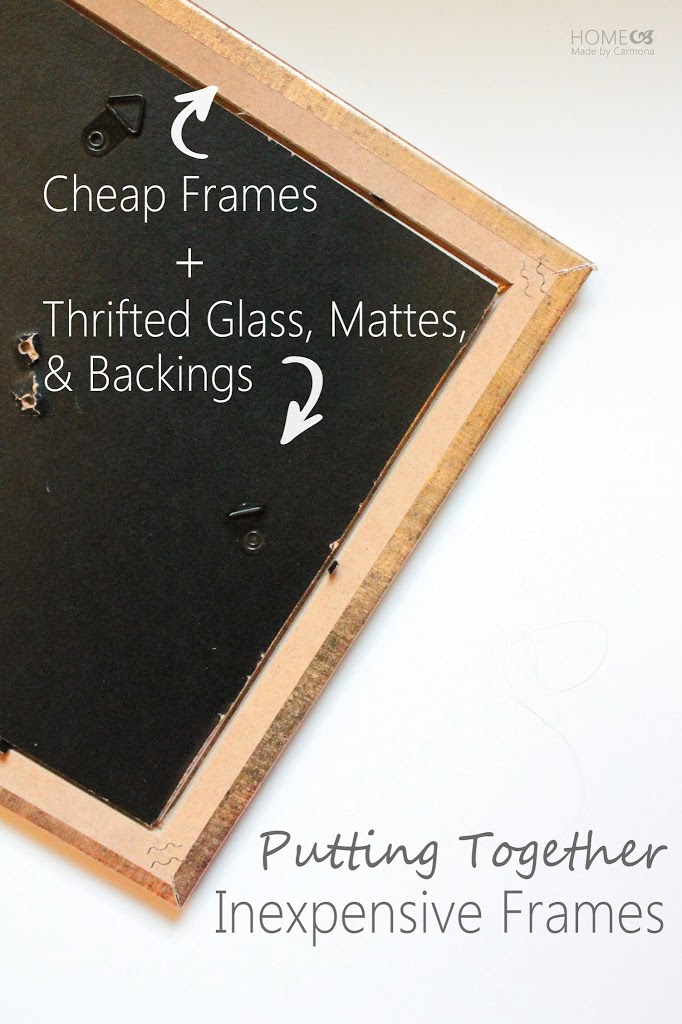
I picked up some cheap frames from Walmart. Yep, let’s call it what it is…cheap, not just inexpensive, cheap. The set of 3 identical gold frames aren’t even painted wood, just some mdf wrapped in printed paper, and it didn’t even come with glass or a backing. Of course, they came in the golden hue I was looking for, and I couldn’t beat the price at a $1.97 each.
So how do you create an art arrangement without glass or backings? Well, I made a visit to my local Goodwill and picked up a few really ugly framed art for 50 cents each in the same general size as my Walmart frames! Sneaky huh? I now have glass, mattes, and backing for my new frames. It doesn’t even need to fit exactly, see the tiny gap? It doesn’t seem to make a difference once the tabs from the Walmart frames are pushed down.
I was pretty thrilled to find two other (much nicer) frames for 50 cents each (yay for half price day!)…I love Goodwill!
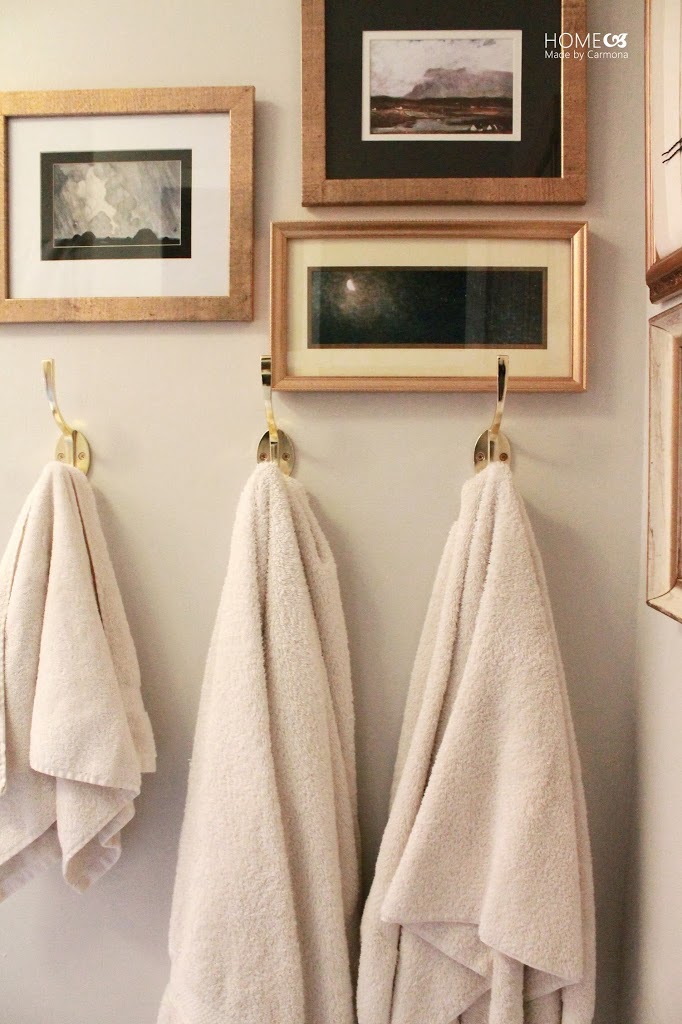
Making It Pretty
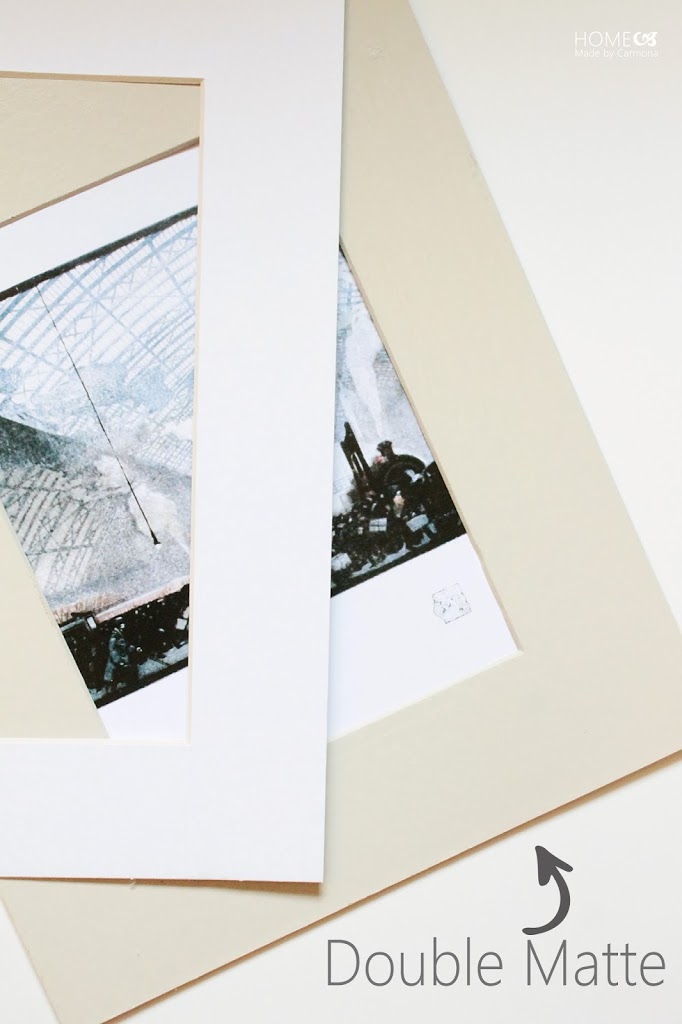
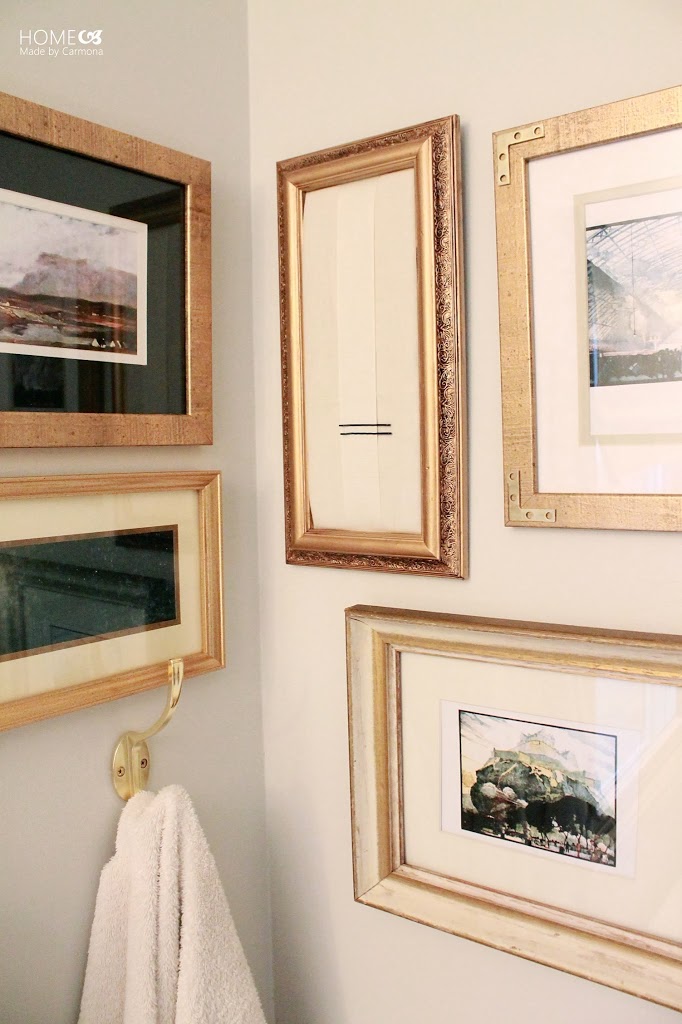
Bring some quality to your art with the little things. Matte for one, a double matte always looks more professional than a single layer. I salvaged a few black and off white mattes to pair with the ones I got from the Goodwill pictures.
Don’t stop there! Thrifted frames can often use a little something-something, like spray paint, or super glued bling! *grin* I used a few braces to style the painted vanity in this bathroom, and I wanted to repeat it in another area of the room. I think it would have made an even greater impact with gold braces on a black frame…but since we are going for gold on gold in this bathroom…
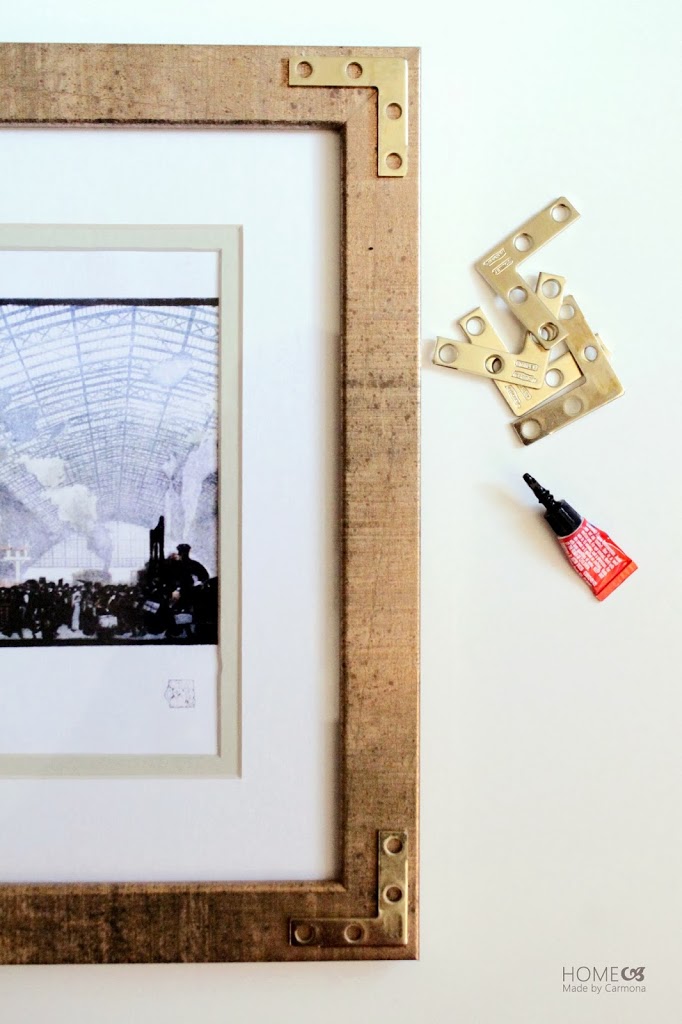
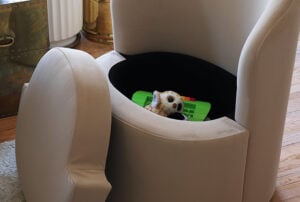
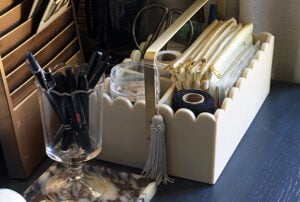
With this frame, I sprayed it gold then rubbed it with some gel stain. A final coat of clear protective spray, it was ready for its debut! In the next post I’ll share how I turned it into a hair clip holder!

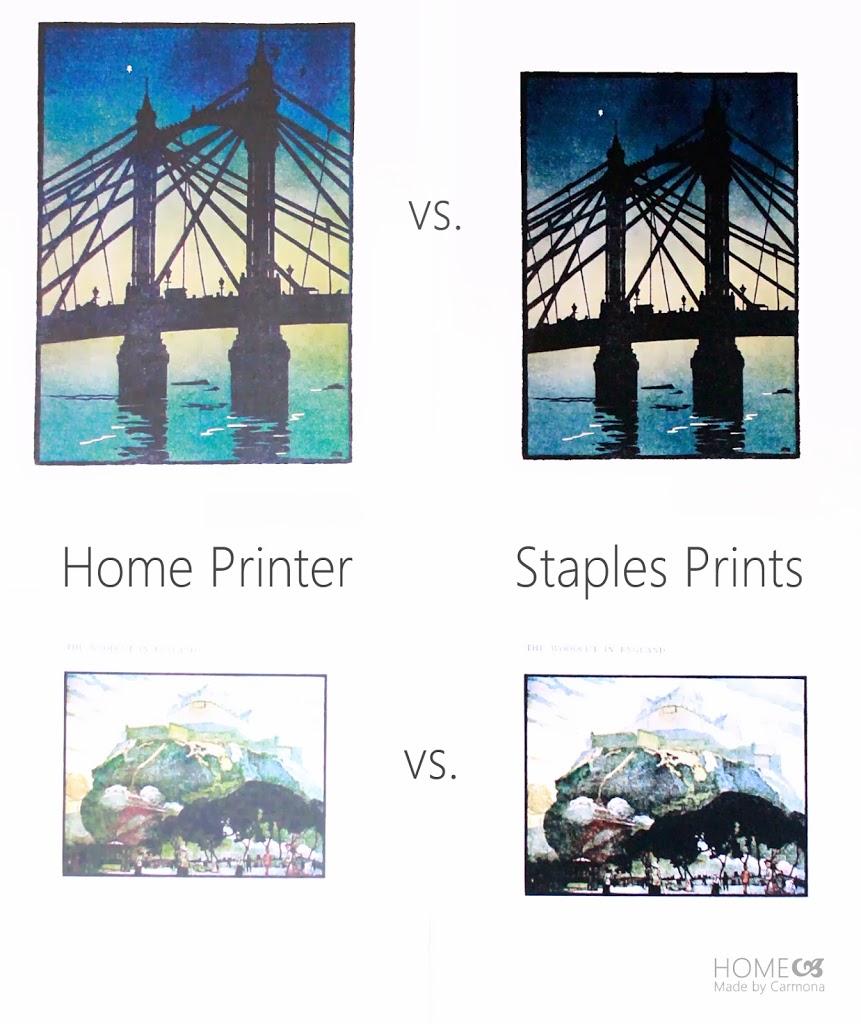
Free Prints
Maybe it’s just me, but I seem to have horrible luck when it comes to finding great art. I sift through Etsy, then get scared off by the idea of paying $20+ per print. Not that there aren’t rooms I want high quality art in, but let’s be realistic…when you crack open some pretty framed print you found for $50 at a home decor store, you might be surprised to find a flimsy piece of paper that has been printed on, and often a matte with a painted rim made to appear that it has been double matted! It gets me every time!
Sometimes you can find lovely prints that are public domain online. I decided for this project to only use prints from a great website called Vintage Printable. Here are links to all the prints I used (and a few I considered)!
- The Woodcut In England
- British Bridge
- Landscape – Irish 4
- Landscape -Irish 6
- Landscape – Irish 9
- Landscape – Irish 15
- London – Pancras Station
- Seascape – Couple Walking
- Insect – Butterfly
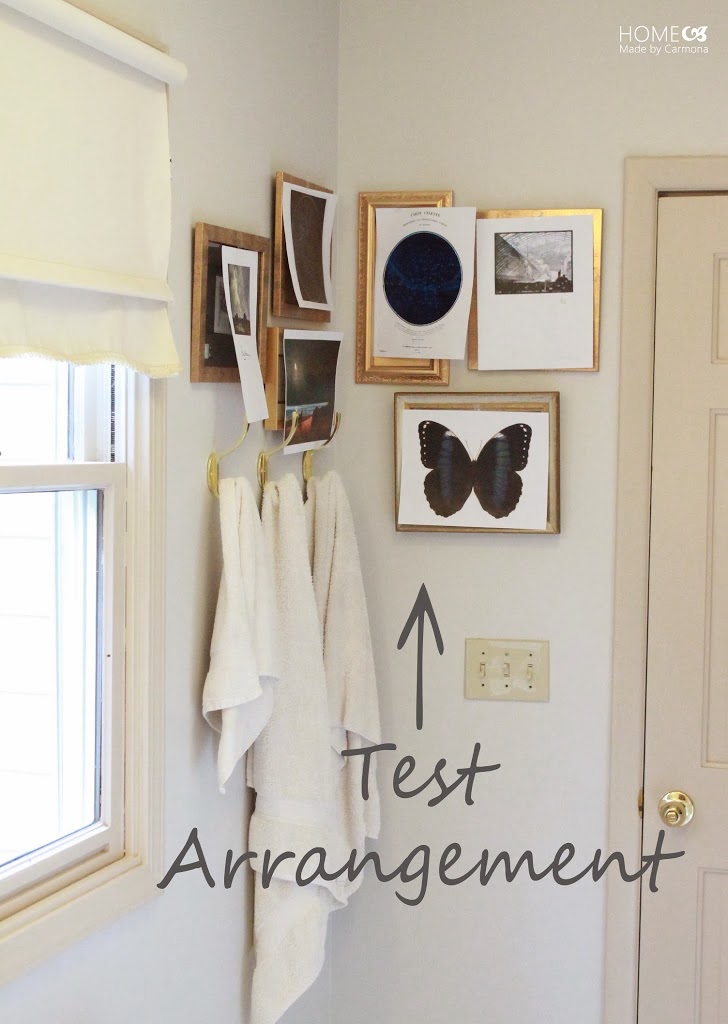
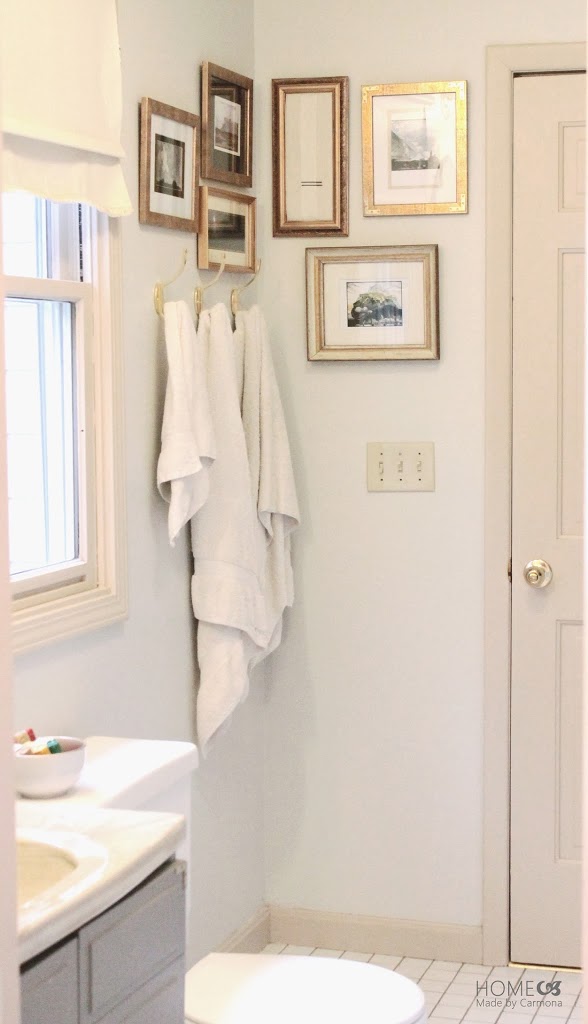
Testing The Arrangement
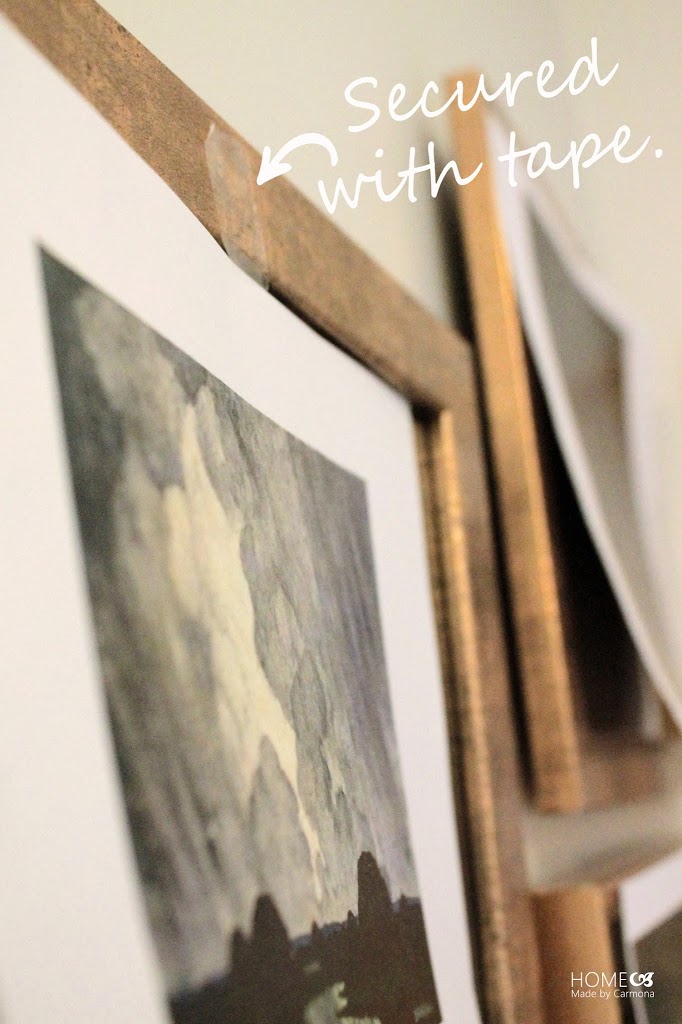
I like to hang my frames before deciding which print will go where. Sometimes you get them up there and aren’t thrilled with the compilation. Use a little painters tape (or regular tape at the very edge) to see the grouping and figure out what you like.
My first take… I really liked the butterfly, but it didn’t make the cut after adding a matte. Two others were also cut, while others where simply moved around until they complimented each other properly.
Project Cost Breakdown
- Walmart frames: 3 @ 1.97 ea. = $5.91
- Goodwill pictures (frames, mattes, & glass): 5 @ 50 cents ea. = $2.50
- Staples prints: 3 @ 49 cents ea. = $1.47 (minus my Staples reward = $0)
- 3 extra mattes: Salvaged from old photos I already owned and hated = $0
Like This? You’ll Love These!
Related Posts: Items worth thrifting for a gorgeous home | Budget bathroom ideas |


Very nice trick indeed. However, i’m not sure that 10 dollar budget is valid in every case. No matter what, this is nice. I like the corner metal plates very much. Will do them in gold foil for sure.
Brilliant – and I’d not heard of that vintage printables site. What a wonderful find!