I sat there for what must have been 30 minutes straight, staring at the chopped down pile of my previously glorious trees. I love the woods around my house, but those mean ‘ole electric company guys chopped down a mini forest’s worth to run a new line to my house. So I sat there a little sad, and quite puzzled at how we were suppose to move such long large logs. *Sigh* Well, those guys were just doing what they had to… but by gum, I wasn’t going to let all that wood sit there and rot! My precious trees would have purpose even in their dismembered state! So yes, expect to see all kinds of wood log DIY’s over the course of the summer…in that 30+ minutes I must have sat and sketched about 20 different project ideas, many of which I scrapped immediately, and others that will require some trial and error, but I guess we’ll be having some fun with logs this year!
…Expect to see all kinds of outdoor log furniture, and wooden log DIY’s over the course of the summer…in that 30+ minutes I must have sat and sketched about 20 different project ideas
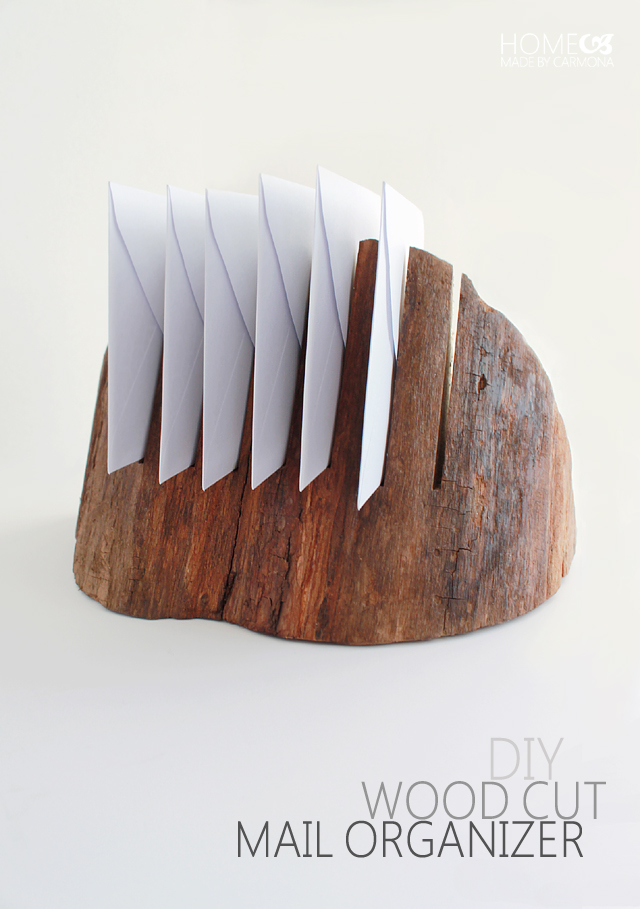
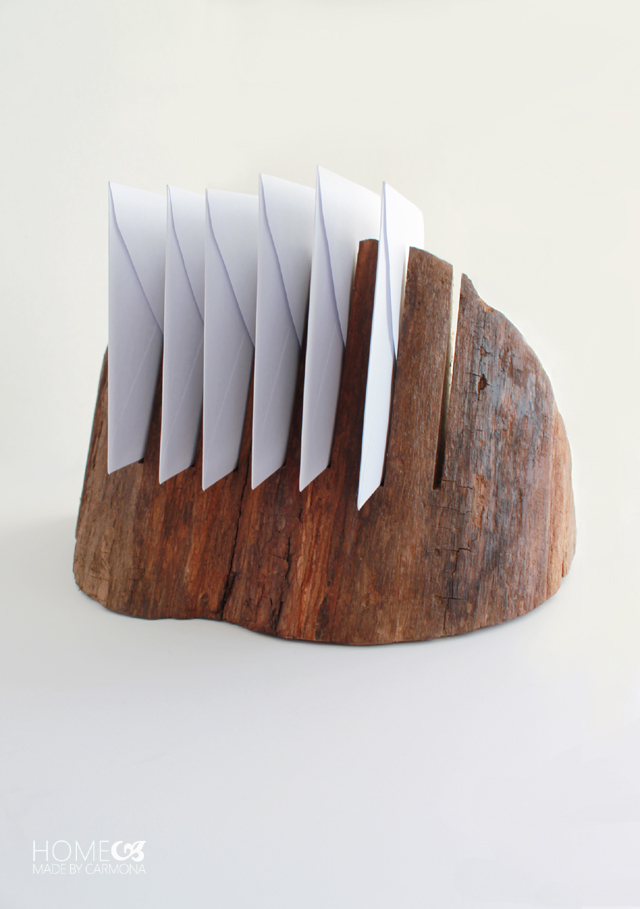
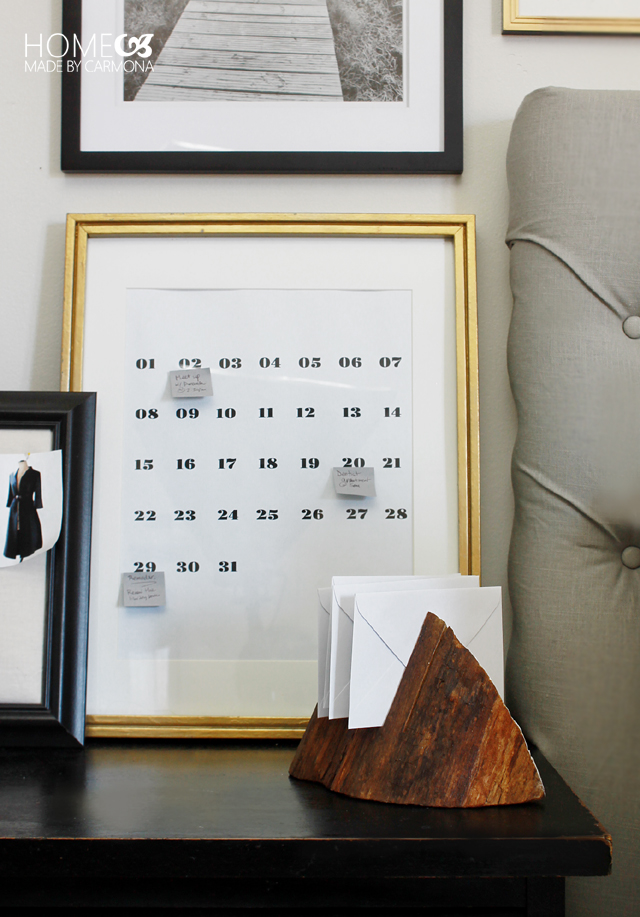
What should I call this? Mail organizer? Letter holder? Hmm, I’ve seen it called both in stores… ok well let’s go with “mail organizer” for now, since that is precisely what I require…some serious mail organization in my life!
I love this Mail Organizer project, it was simple to make but stunning. I also love bringing in natural elements into the home as something useful and necessary, but also high style!
How To Make A DIY Mail Organizer
[line]
Materials:
- Wood log wedge
- Polyurethane
- Enamel gloss acrylic paint (optional)
- Gold size and gold leaf (optional)
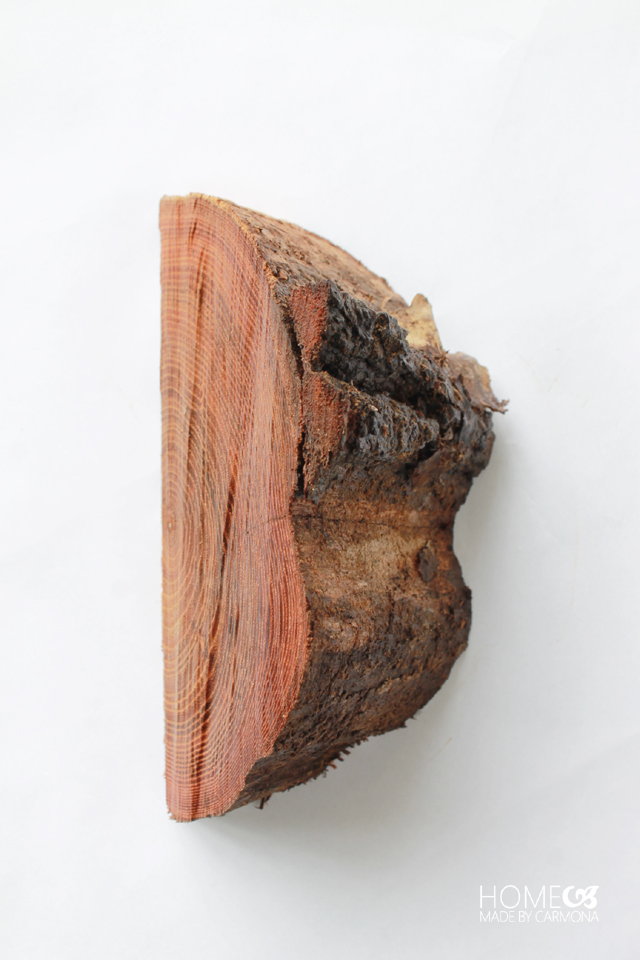
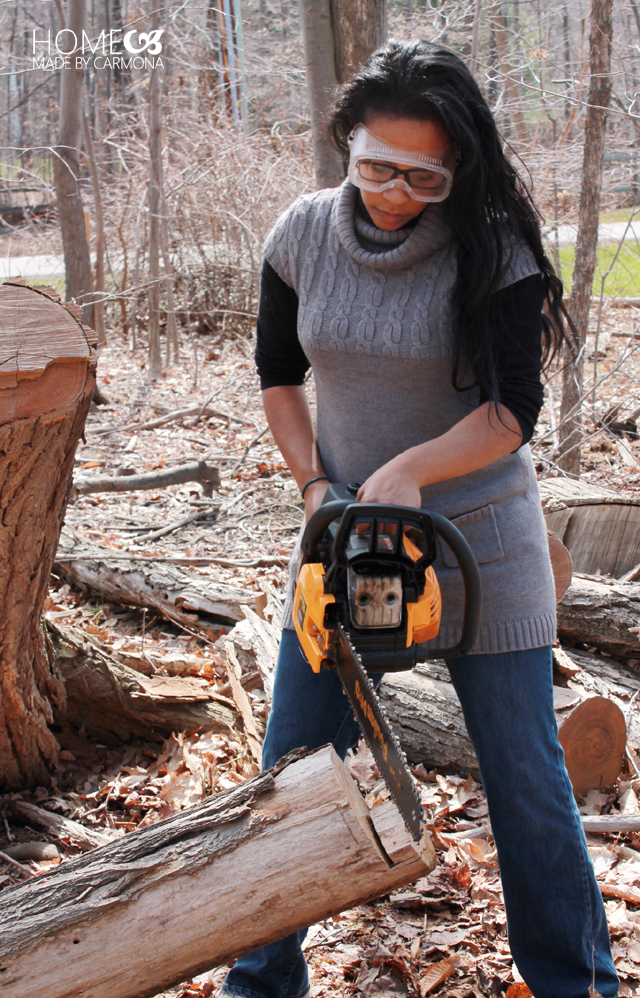
Start by cutting a nice sized wedge off a log. Yeah I know, I said it like it was no big thing. Well for some of you it isn’t a big deal, but for others you’re wondering where you can buy a log wedge… honestly, I don’t know. I say hit up one of your country friends, and rock the chain saw. 😀 Haha, and what about that stylish eye wear? I know, it’s just stunning.
Cut several pieces in varying size and shape, then choose your favorite!
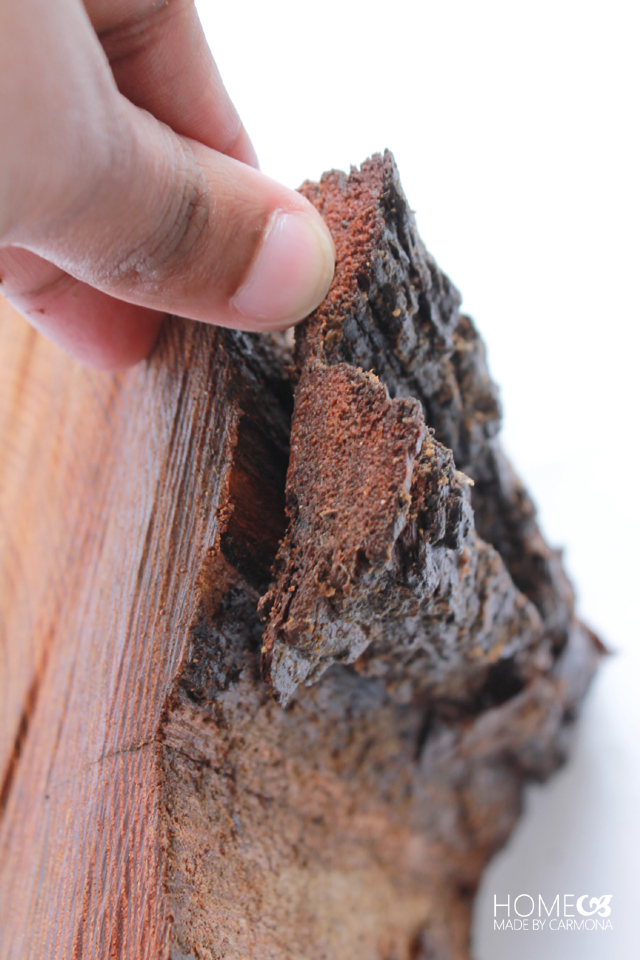
Next remove all the bark. While a live edge mail organizer would be amazingly cool, it doesn’t cut well. Plus I’m not keen on all the bugs hiding under the bark.
Wash the log well to get rid of the dirt and creepy crawlys. I used a scrub brush to clean all the nooks and crannies.
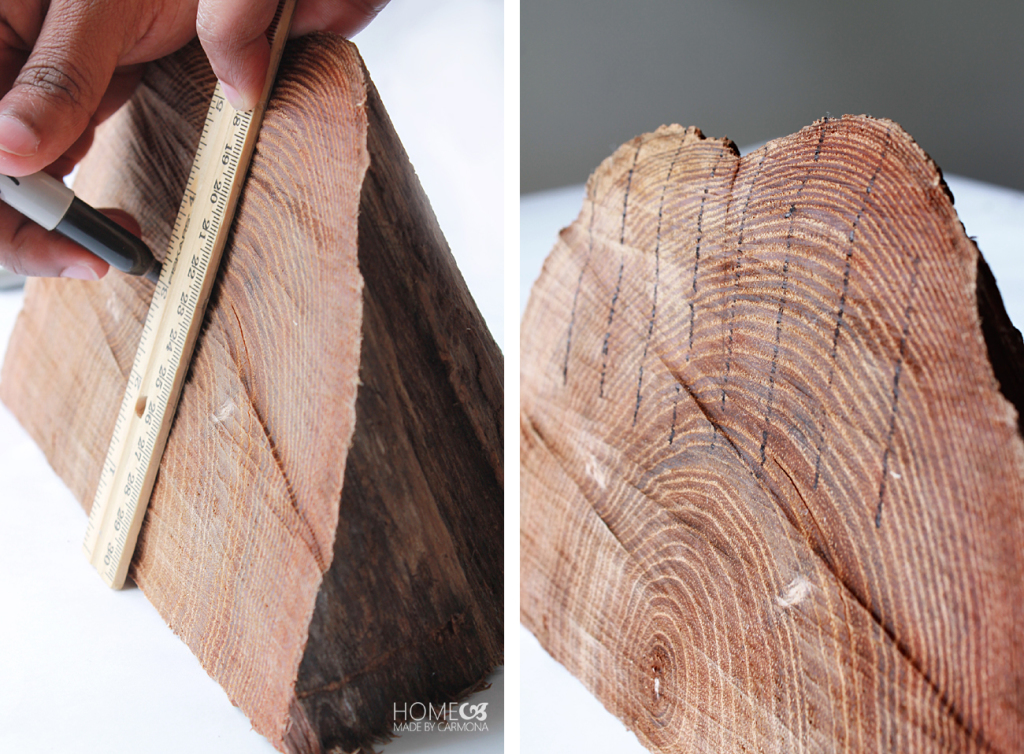
Then you are ready to mark where you want each of your cuts to go. I just eyeball the width and mark with a sharpie. This is mainly a guide to help you know where to stop, and how far apart each cut should be.
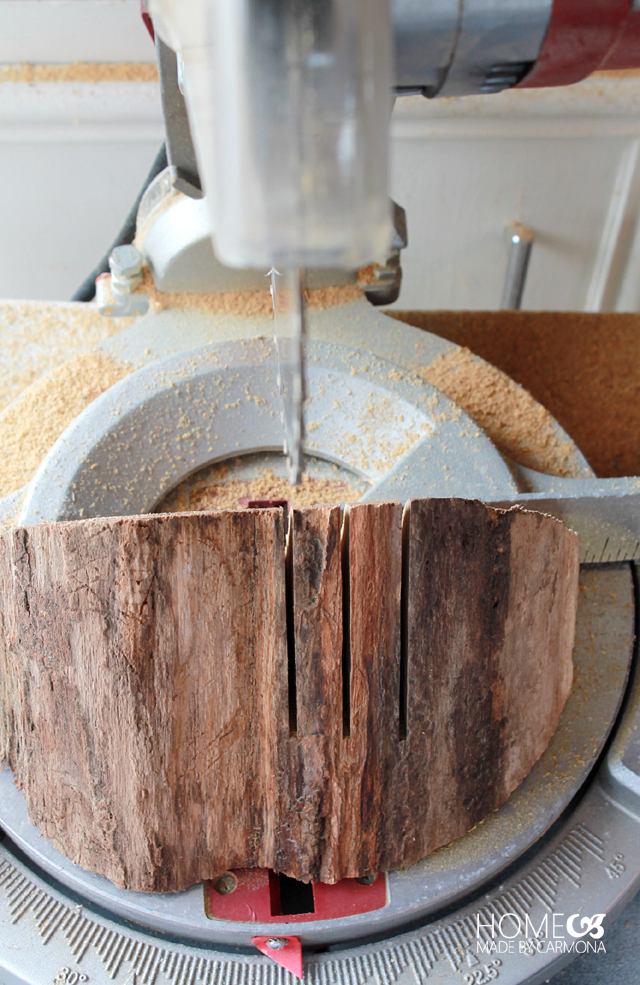
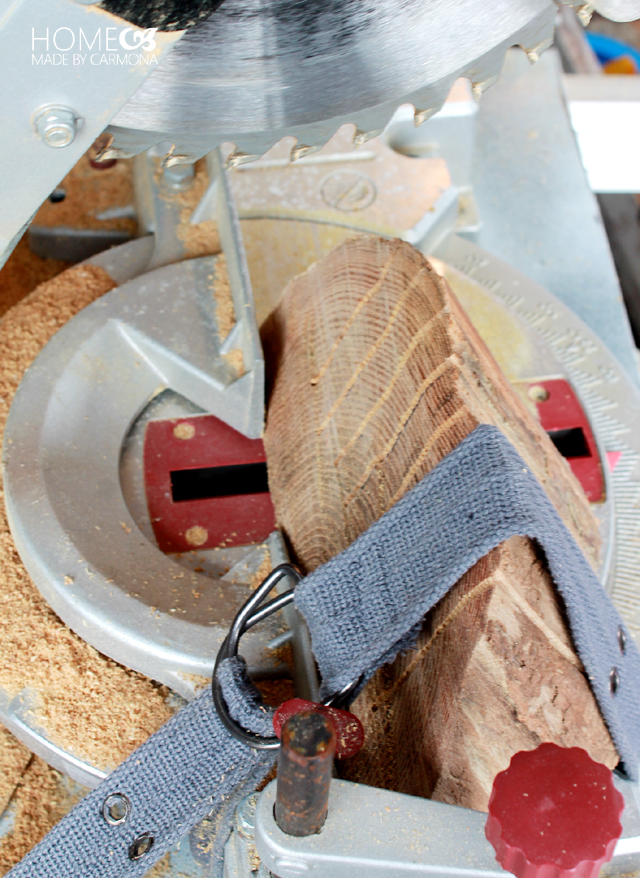
Now you are ready to make your cuts. I’m using my miter saw to make the cuts, but a table saw would work as well.
Line the blades up with the marked lines on the back of your wood piece. Be sure when you cut into the wood you bring the blades down to the same level so the cuts line up well.
I thought you might get a kick out of my makeshift solution to hold the wood securely in place since my clamps are broken. I’m thinking a trip to the hardware store is in order.
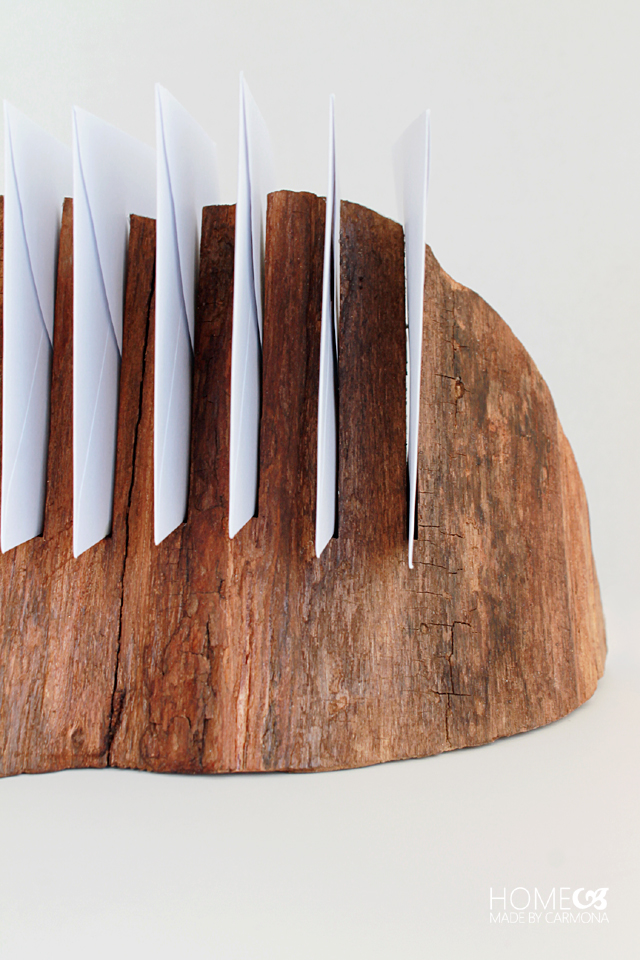
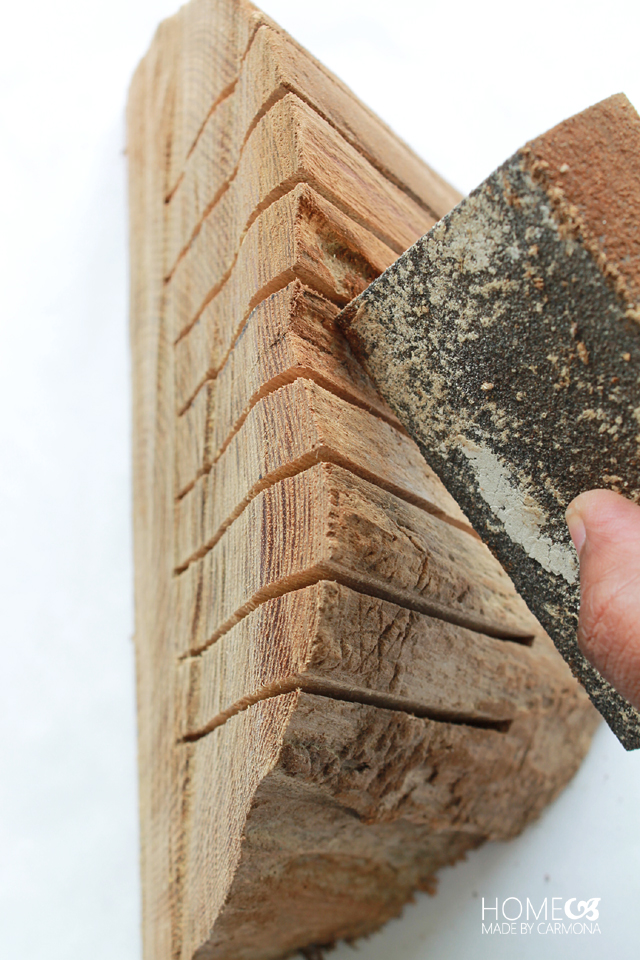
As beautiful as the wood grain is in it’s unsanded state it was important to sand the final product so no rough edges or splinters end up in my (or my munchkins) fingers.
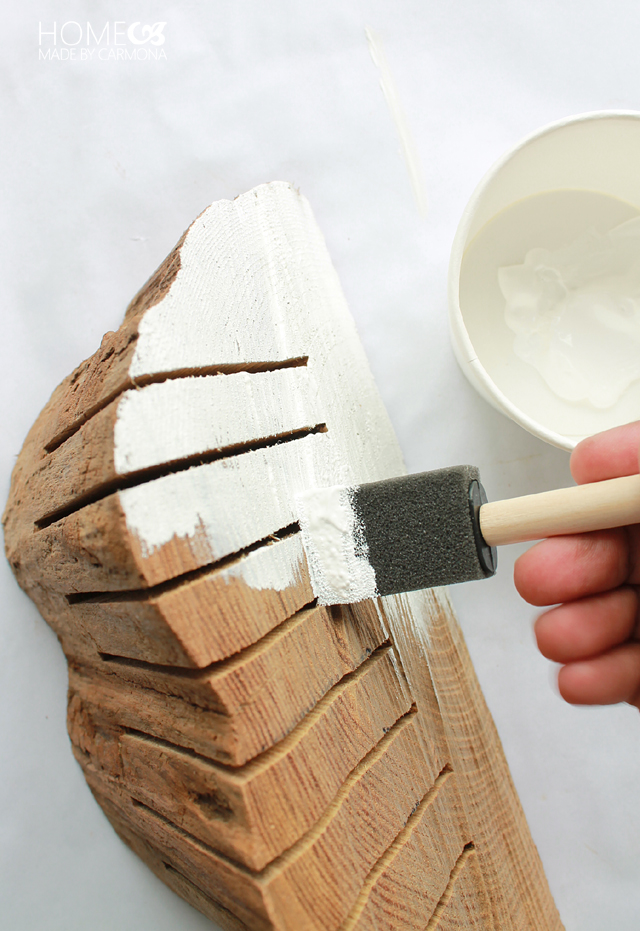
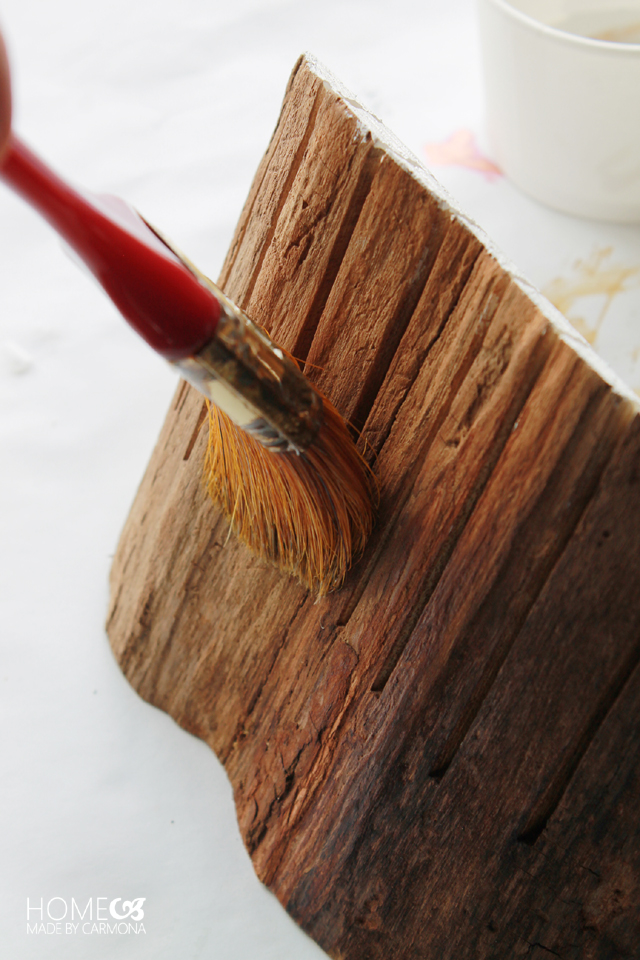
The rough chainsaw side was not quite as pretty in it’s raw state, so I thought I would dress it up a bit. This part is completely optional. Paint one edge with a high gloss enamel paint, and let it dry overnight. TIP: If any paint globs get in the cuts, be sure to get rid of them or they will dry there and block the slices where your mail needs to go.
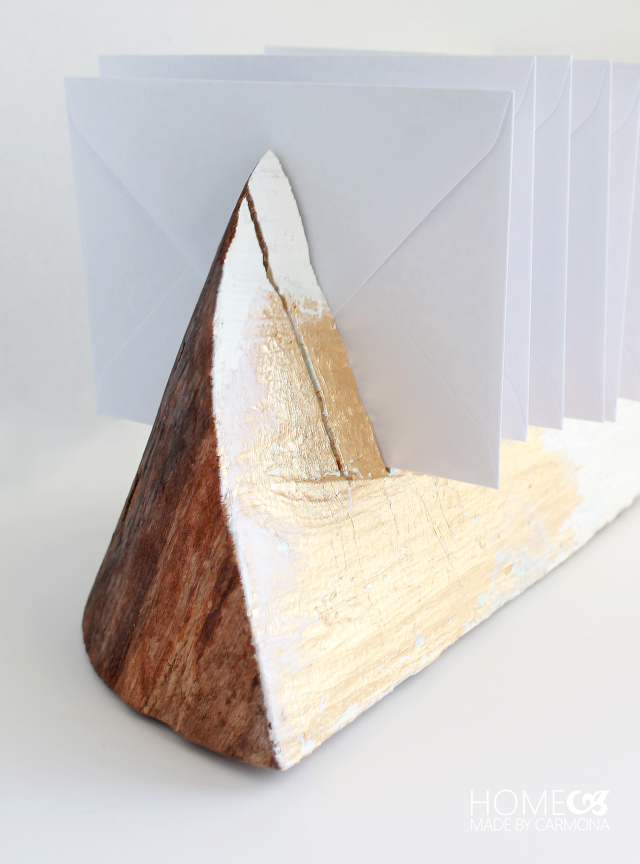
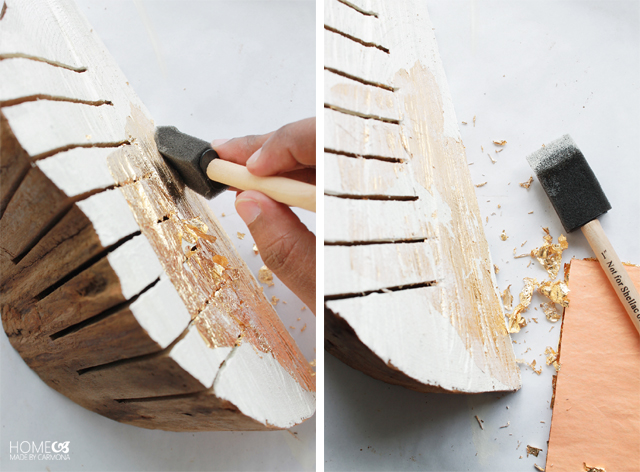
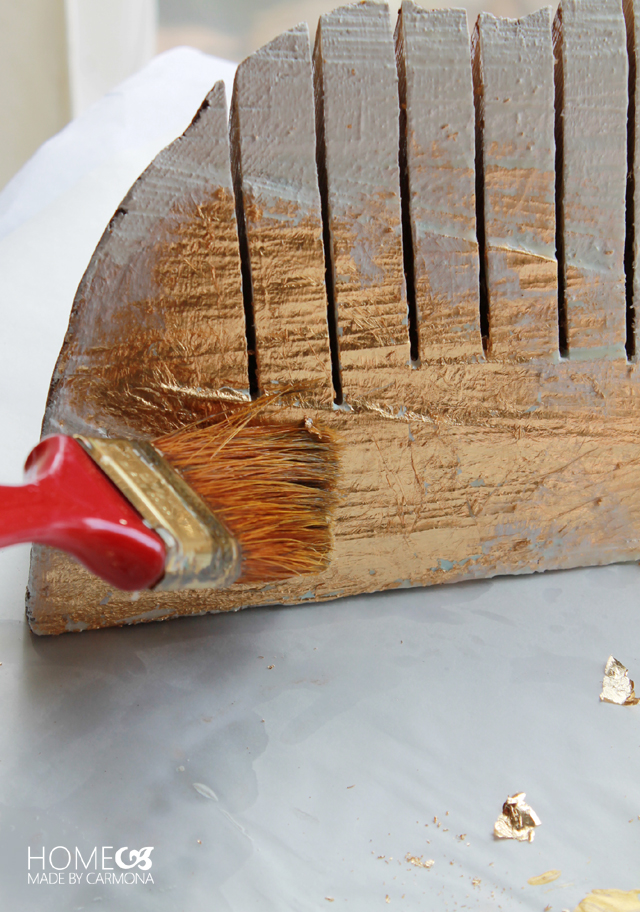
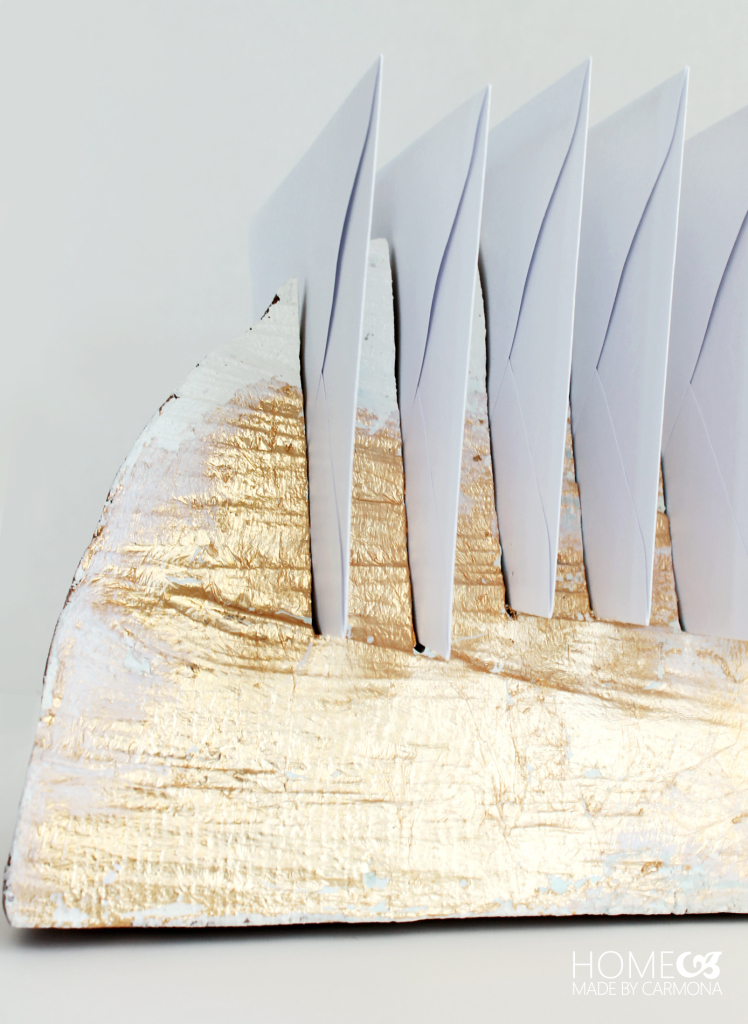
Yet another optional step is adding gold leaf, which I think is beautiful! Start by brushing on the gold leaf size (the special adhesive glue). When it has dried to a clear tacky state you can lay a piece of gold leaf directly on top of the area you chose to size. Let it sit and dry completely for about 20-30 minutes. Use a soft sponge brush to gently brush off the excess, It is ok if not all the gold leaf is laying down perfectly….this will be resolved during the sealing step. Finally, use that same brush to paint on a little white where the gold leaf and the white painted wood meet. This helps it blend a little and make the transition look more natural.
After that dries, it time to seal the piece. I used Minwax fast drying Polyurethane and brushed it on with a soft bristle staining brush.
Also seal the paint/gold leaf side. This prevents the gold leaf from coming off, and any rough bits that were not adhered well to seal in.
If you would like to add a second coat of poly once the first dries, you are welcome to…but one coat seem to do it for me. It will need to dry overnight again before it is ready for use.
This project will have lots of imperfections, don’t try to do away with those imperfections…rather amplify them. The beauty of the grains, the roughness of the chain saw cut, the irregularity of the gold leaf…all of this contributes to a stunning one-of-a-kind artisanal piece!
I like the affect of the gold leaf, and I think if I make a second mail organizer I will forgo the white paint and just add gold leaf directly on the wood. That would be a stunning complimentary look!
My existing letter holder / mail organizer was just a bit too bulky for my side table, so it is getting relocated to the office while this simplified one takes it’s place. Basically it is like streamlining my incoming mail. Now once I reach eight pieces of mail, I have to take action. I’ve learned that the more junk space I have to fill, the more leeway I give myself. Weird mind trick right?
I love the simple natural elegance of this wooden art piece with a function!
You can see the full dramatic before & after of my bedroom space and other fantastic projects for the bedroom here.
[go_portfolio id=”diy_gallery”]



This is something new on blog i have found. I appreciate your efforts to make easy for us.
Thanks
Good on you for using a chainsaw! I love power tools and natural elements. Fantastic project.
Thanks! Hahaha, well my husband (probably wisely) won’t get anywhere near a chainsaw or power tool of any sort. So I get complete control of what tools I prefer. Woot!
Well you’ve combined two of my biggest loves, nature and gold leaf. Great project!!
This is so creative! Much better than letting mail pile up all over the counter!
I had no idea what you were making when you posted the sneak peek! Ha! I love this! The gold leaf is gorgeous. Can’t wait to see what you come up with for the rest of the wood.