
I am one of those people who decorates for the season long after the season has passed. Nope, not because I’m trying to hang on to the joy of it longer, but rather because IF I managed to actually decorate for the season, it took all season (and part of the next) before I actually had time (or money) to do it! Not to mention how fast every season but winter seems to fly by. Hehe, can you tell I’m not a fan of winter? However I am a fan of fall, and I finally found a solution to getting in some seasonal decor without breaking the bank (or taking up a chunk of my precious time).
Shadow Box Fun
The beauty of decorating with a shadow box is that easily customized, inexpensive, and doesn’t require you to make a bunch of new holes in your walls for hanging decor (or buy loads of Command hooks either). Plus it can stand alone, be propped up in a lovely decorative vingette, or blend in with a great gallery wall.
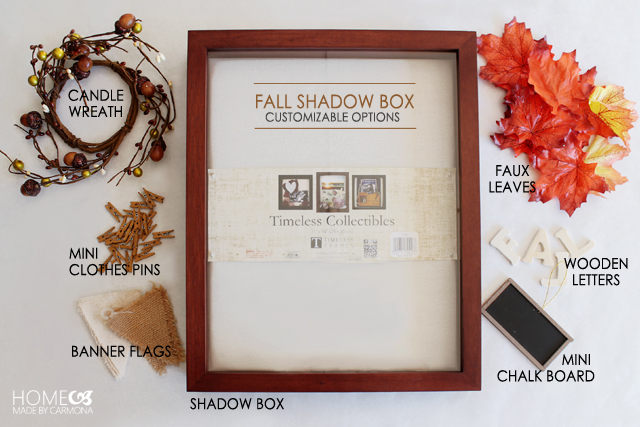
Here’s what you’ll need:
Customizing Your Shadow Box
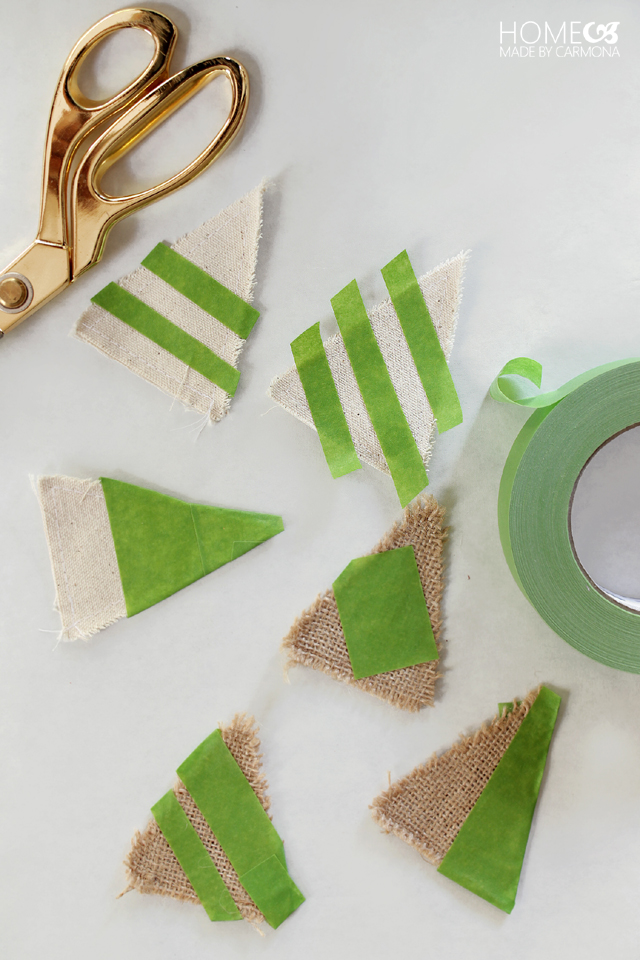
Sure, these cute little decorations are already glorious, but imagine taking an extra 5 minutes to customize them and add your own special touch to it. Take the time to tape off designs on your banner flags/triangles.
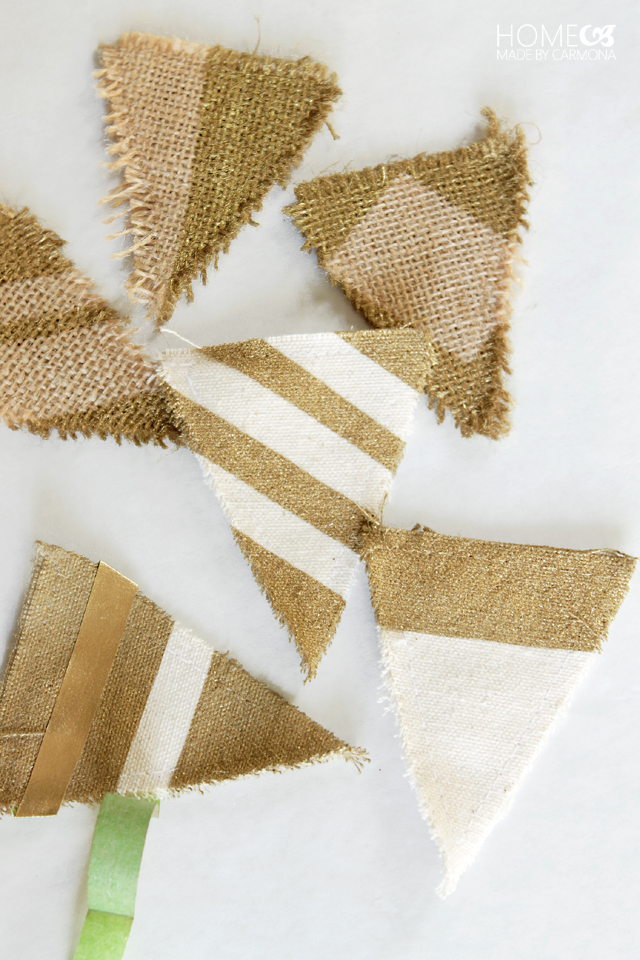
Spray paint them gold (or whatever color you love most). Just by painting them, these little triangle flags are so cute, they could stand alone in your shadowbox!
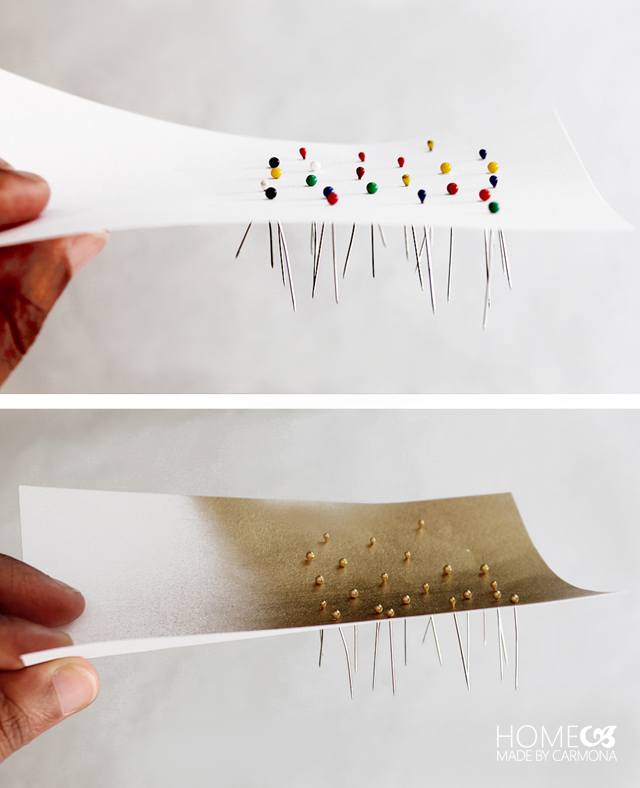
You’ll need pins to hold each of the items in place. But ugly mismatched pins will stand out like a sore thumb, so stick them through an index card, and spray paint them too. They will blend so much better now!
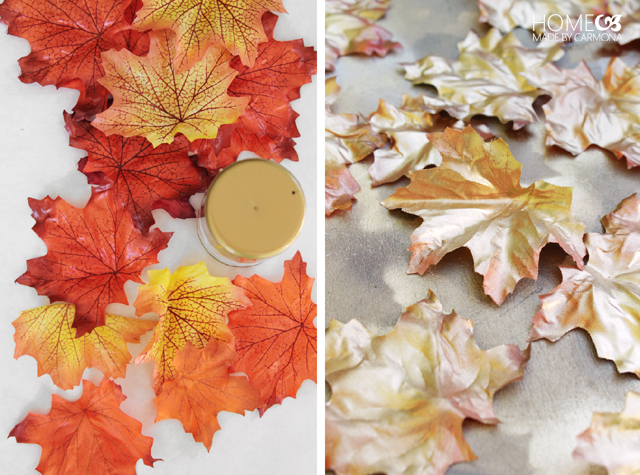
I love the bold colors of fall leaves, but I’m afraid these faux leaves aren’t quite matching the style and design I’m going for, so I spray paint them leaving just a little of that yellow and red to show right around the outer edges. You still get that fall feel, but with a more cohesive (not to mention glamorous) air.
If your shadow box came outfitted with a fabric covered cork board backing, then you can begin filling it will all your decorative goodies. If not, cut some thin corkboard (found as a roll or in squares) to size, adhere it to the picture frame backing (if there is a removeable cardboard insert, use that), and wrap it in fabric. Pop that into the back of your frame and start decorating.
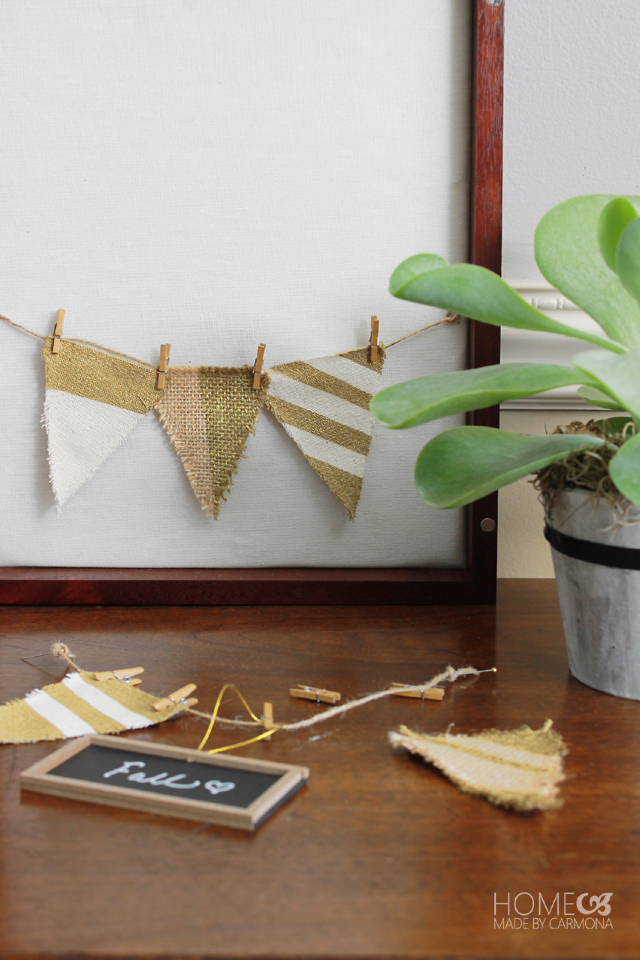
You can create a myriad of lovely designs. Just play with it a little to see what you like. I used a little twine, and some mini clothes pins to hang the triangle flags from in this version. I think this is my favorite one…simple but so cute!
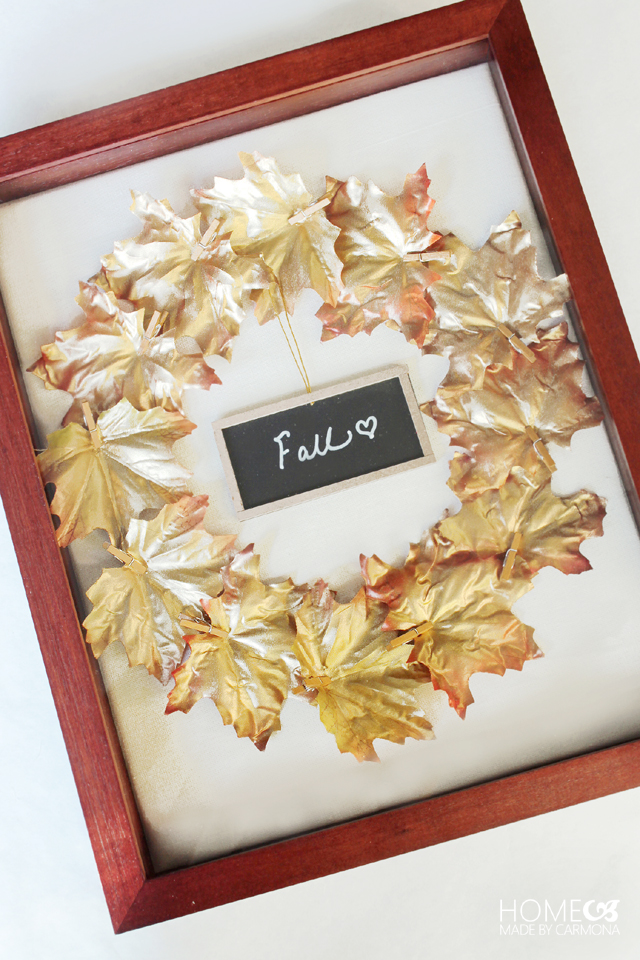
Here I used my gold sprayed pins to pin each leaf in a wreath shape. Hide the pins by overlapping the leaf to cover.
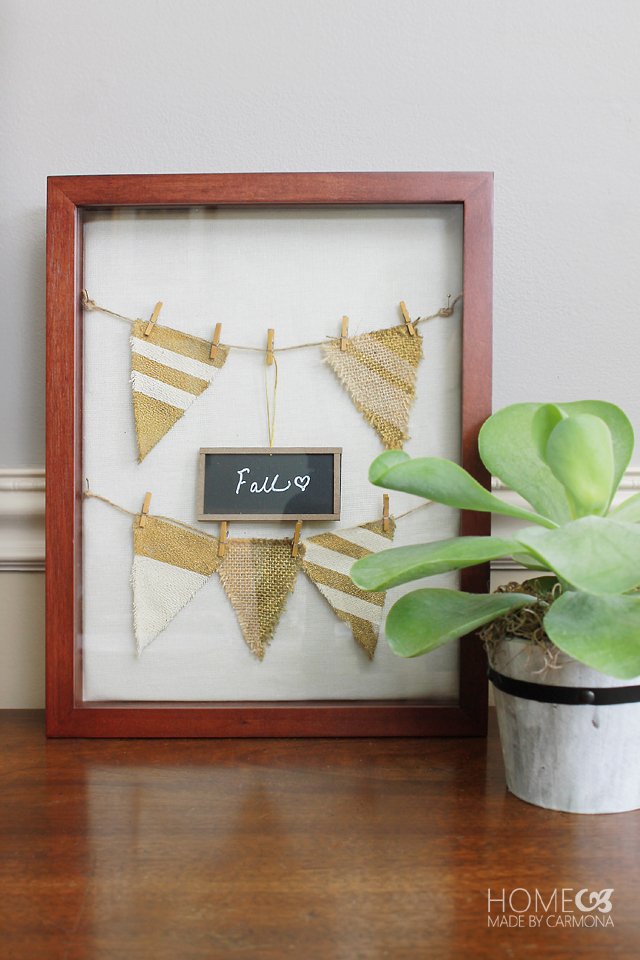
With this design version I used a little bit of everything, a mini wreath, some leaves, triangle flags, and mini clothes pins.
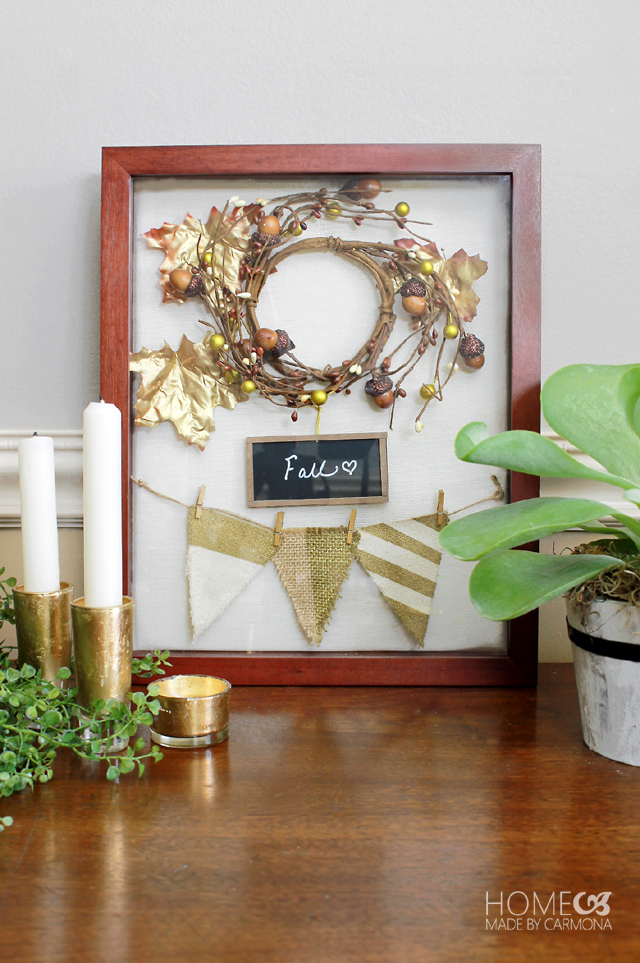
The options are endless. If you like you can change up the design every few weeks throughout the entire season and still not break the bank. Then when a new season begins, why not change your theme altogether?
So? How do you decorate and display your shadow boxes? Share with me via Instagram or upload to my Facebook page. Don’t forget to tag me and add #HMCmaker so I can share your marvelous creativity with the world!

I purchased my materials at Pat Catan’s and spent $36 for everything. In case you don’t have one near you, I’ll be sure to list these fun fall themed items here for you to find online. Some are the exact item I used, some (which are only found in-store) are great alternatives picked out just for you. Find the exact picture frame I used here on Timeless collections.
[col1]
![]()
[/col1]
[col2]

![]()
[/col2]
[col3]

![]()
[/col3]
[col1]
![]() [/col1]
[/col1]
[col2]
![]()
[/col2]
[col3]
![]()
[/col3]
[col1]
![]()
[/col1]
[col2]
![]()
[/col2]
[col3]
![]()
[/col3]
[line]

[go_portfolio id=”fall_projectst_gallery”]


They’re all so pretty!