*This post is awesomely sponsored by Kreg Jig (thanks guys!). All opinions expressed (and of course this project), is my own.
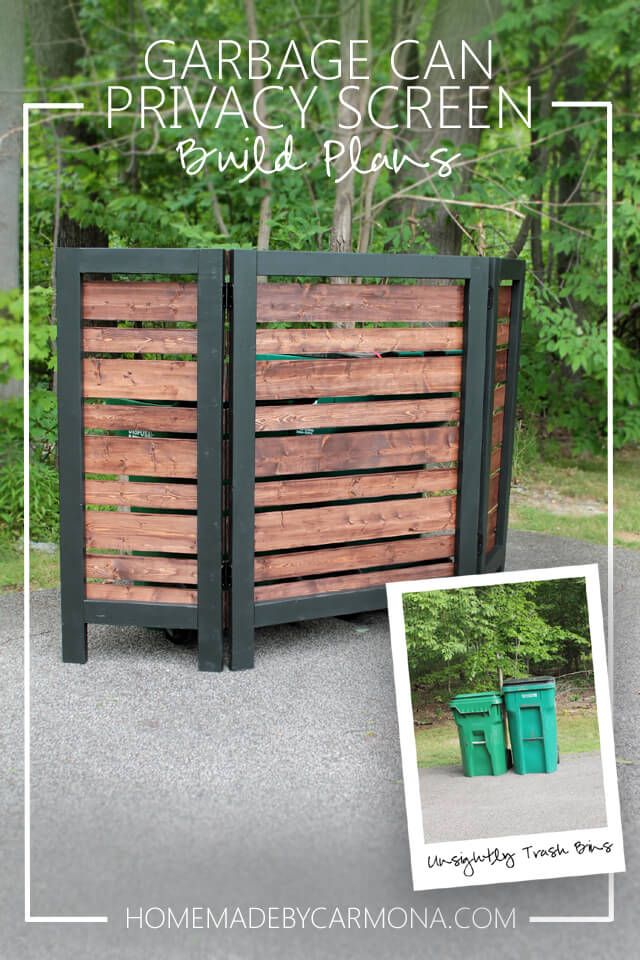
I HATE ugly exposed trash cans and recycling bins, so I’m pretty thrilled with this project!
This week you toured two of my favorite outdoor areas to lounge in my yard, but I have one more corner of my property to show you.
I didn’t show you before because it didn’t seem all that exciting…well, to some anyway. Let me tell you, I HATE ugly exposed trash cans and recycling bins, so I’m pretty thrilled with this project!
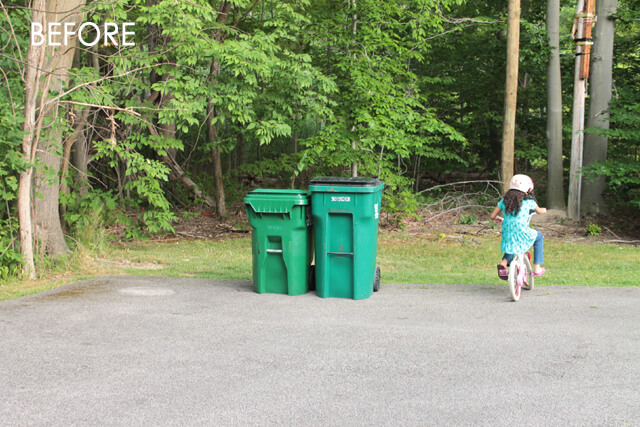
(See my cute little munchkin riding her much-too-small-for-her bike? She helped me with this project! She painted her little heart out!)
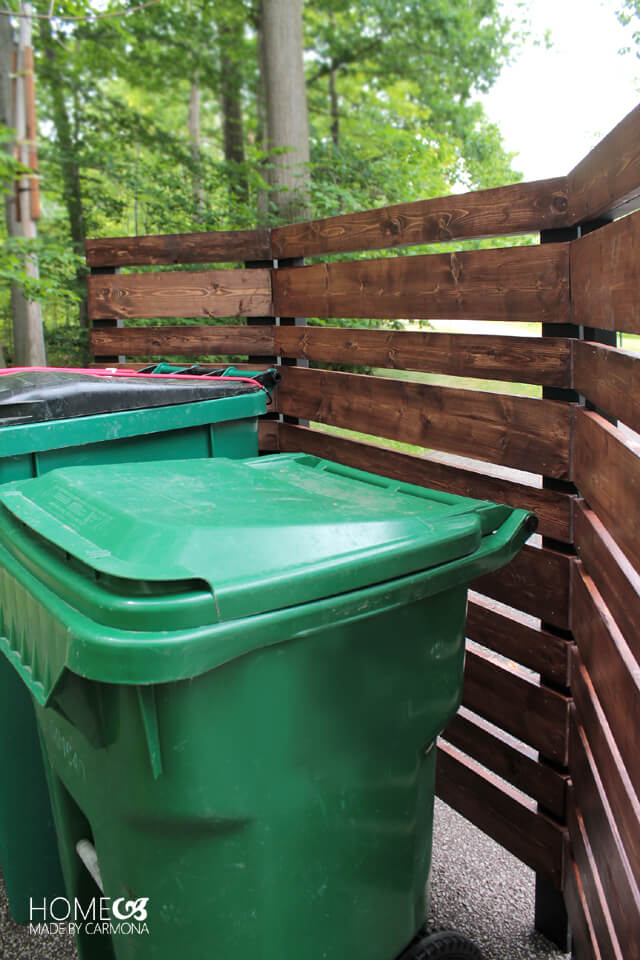
This Privacy Screen is a super easy build, a great project for beginner builders, although it certainly takes some time to do all the staining. If I didn’t have young helpers who still think “painting” (aka staining) is fun, it would have taken me three times as long.
I think it was well worth the effort. A modern stylish screen is just so much better than seeing whatever unsightly outdoor appliance plagues you… air conditioning unit, outdoor meters, garbage cans, bicycles…your neighbor (I’m not judging). 😀
I put the full tutorial on how to make this bad boy over on BuildSomething.com, Kreg’s new DIY project plan site.

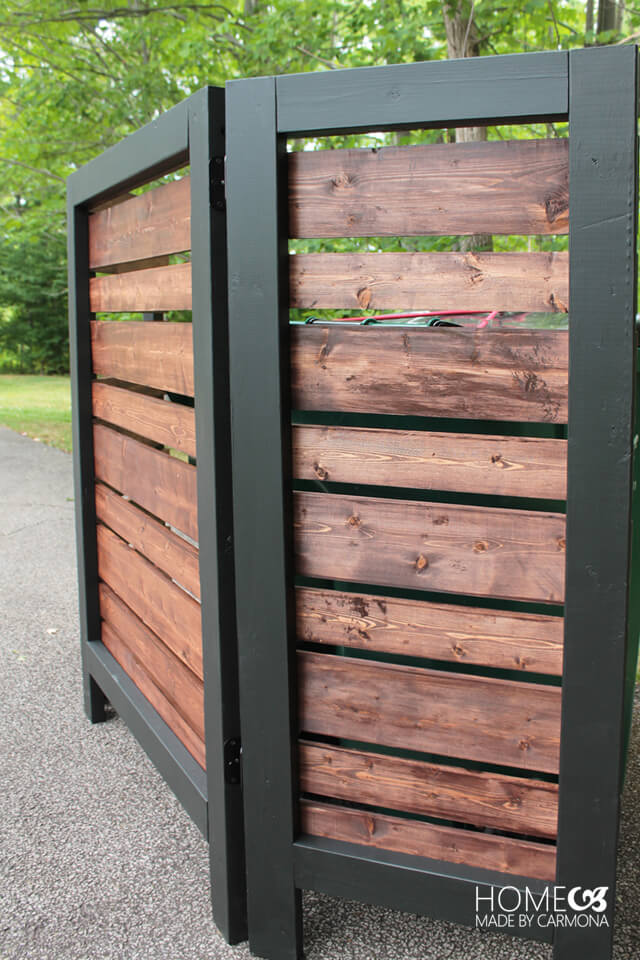
What excites me most about the design is that you can choose either side of the frame. Whichever style suits you most (all slats, or a show off a little frame). The back is just as pretty as the front!
You could also customize this plan to be bigger or smaller depending on your needs, or build a whole set for a great divider!
I may just build another set for to create a decorative divider (and maybe plant hanging wall?) for my deck or garden. What do you think?
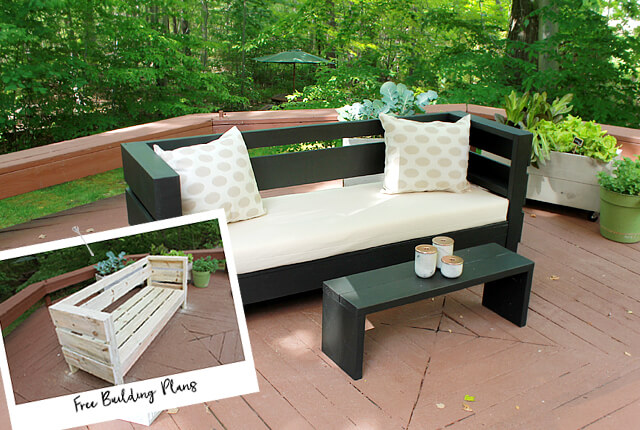
Last month I showed you how to build this incredibly awesome (if I do say so myself) outdoor couch, and now my plans to build this privacy screen, and in the coming months I’ll be partnering with Kreg on several more amazing projects. Keep your eyes peeled!
By the way, if you are an amateur builder (like I am), then you’re going to feel like you just got new superpowers after building these pocket hole joined projects. You’ll see! 😀 I used my new Kreg Jig 5 Master System, and my new RYOBI power tools, and I am on a building roll!

*A special thanks to Kreg Jig for sponsoring this post. The ideas, projects, and opinions are my own (as always). But I have to say, I was thrilled to collaborate with Kreg, because I truly am a huge fan of my Kreg Jig!

[go_portfolio id=”diy_gallery”]


Thanks for the idea’s/plans. I had to modify it a bit to serve my HOA requirements, but here’s how it turned out. https://imgur.com/a/O56YSRy . I appreciate the inspiration.
Oh, one question though. What gauge nails/nailer did you use to nail the slats to the 2×4’s. I am new to using nailers and used my 18 gauge nailer with not so great results. Ended up having to use a few wood screws.
This was a great and simple privacy screen design. I adapted it to cover up a gas meter and it worked very well. If you have not purchased or used a Kreg tool budget some time to practice on scrap pieces.
Hi, was this privacy screen fence posted on your YouTube channel? I am a subscriber and could not locate. Thank you
What can you do to prevent this screen from blowing over – my pavement is not completely flat, and we live in a windy area.
I would like a set of garage can privacy screen plans
What kind of stain did you use?
It would be helpful if you shared what size boards you used. It looks like 2×6 all around and 2×4 at the bottom.
No worries, you must have missed the link I shared to view the full detailed tutorial I created, plus all the materials and sizes needed. I’m happy to put it here for you: https://www.buildsomething.com/plans/P7768AED53C31CCA0/ModernStyledPrivacyScreen
Thanks for reading!
Any chance you can post the stain colors you used?
Thank You!
Sure! I used black (solid stain color), and a mahogany stain. 🙂
Do you know what band the mahogany stain was? Thank you!
Whoops, sorry… it is Minwax Mahogany Gel Stain 😉
Absolutely beautiful! Thank you for sharing this project!
Can you share your stain colors? I didn’t see them on the kreg site either. Thanks!
I really need privacy when I am emptying my garbage. Somebody might see what I am throwing away 🙂
Oh hahahahahaha!
Oh man, I guess that should really read Garbage can screen / privacy screen. *holding my sides*
I love this project! Did you have any issues with it tipping over?
Thank you Ashley! No problems with tipping at all! It is fairly heavy (lots of wood pieces), so as long as the side panels are turned in adequately, it isn’t going anywhere! Come wind, come animals, come kids… 😀
Even when my little kiddo on the bike ran headlong into it a few times with her bike it didn’t even sway! 😀
OH, this will be great for our large eye-sore AC unit! 🙂
Absolutely fantastic; very stylish. I know exactly where I can put one, great job! And thank you for the inspiration. Marina
This is soo cute! I can’t keep my trash cans outdoors, they stay in the garage. However, this would still work inside the garage!! Great idea. 🙂