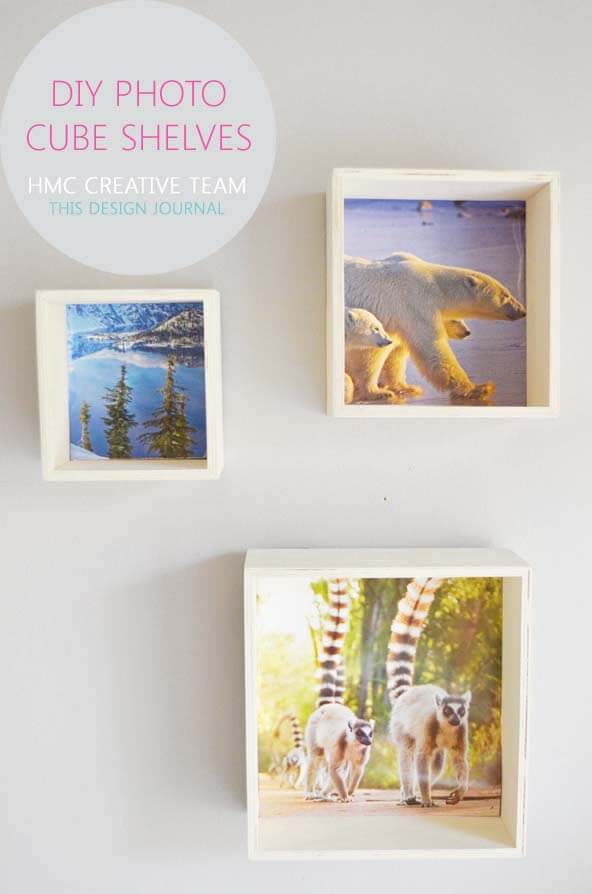
Hi everyone, I am Anima from This Design Journal and am back here with another DIY project that I am pretty sure will win your hearts with its simplicity.
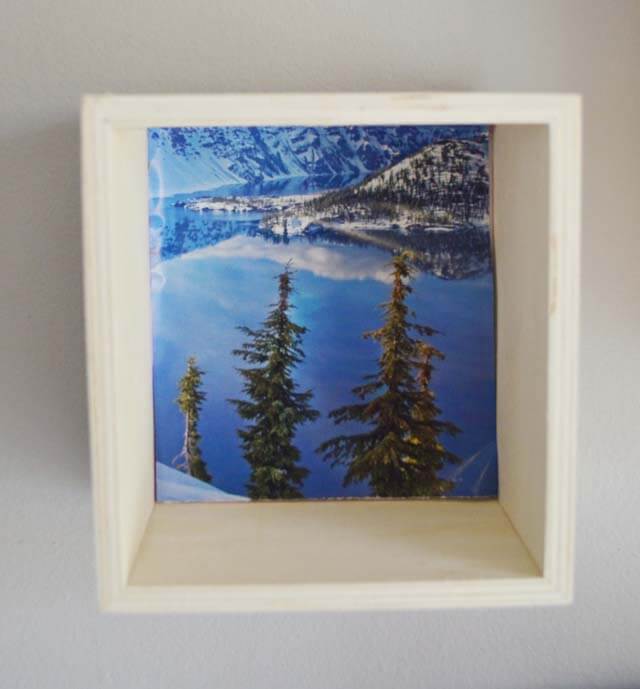
[left]These photo cubes / shelves are not only simple but also charming, multi functional and above all adds an element of surprise.It all started when I spotted these set of wood wall hanging cubes in Michaels. The are raw, unfinished and come in 3 different sizes. I could immediately picture them floating on our walls with small curious sculptures or plant pots. What a frugal way to dress up a bare wall in a minimal way. All I did was to spruce them up with a backing – to turn them into kind of shadow boxes or photo cubes.[/left]
[right] [/right]
So here is the how- to :
Supply List :
Raw wood shadow boxes/ wall hangings ( I got mine from Michaels)
Foam Board /Thick cardboard pieces
Spray Adhesive
Printed photos/ Calendar cut-outs/ Pretty gift wrap
Scissors
How-To
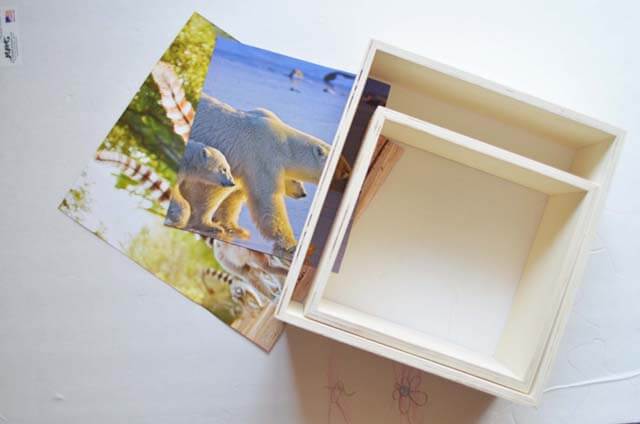
Once you gather all your supplies, this is a work that would take barely 15 minutes. First thing to do is to measure and cut out the photos and foam board in the size of the inner lines of the wood cubes. It is important that the size of the cut-out is almost accurate here because our aim is to push the foam board inside the cube so that it snug-fits to the inside. This avoids glues and staples and the mess.
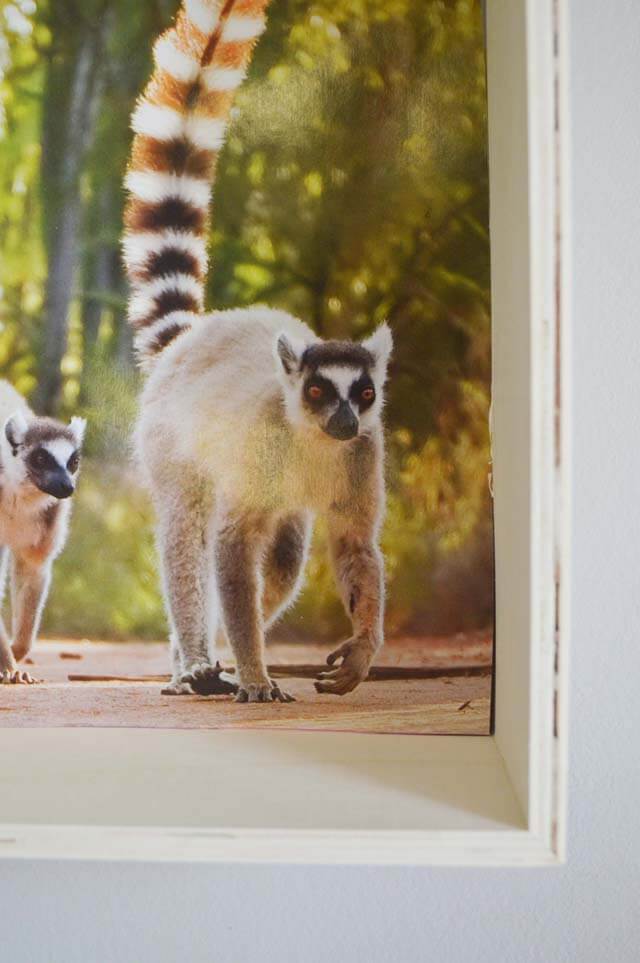
Once you have the cut-outs in all three sizes, next thing to do is to glue the photos onto the foam board. What I like most about this is that you can change out the photos as your mood strikes – the process is so simple, it barely takes minutes.
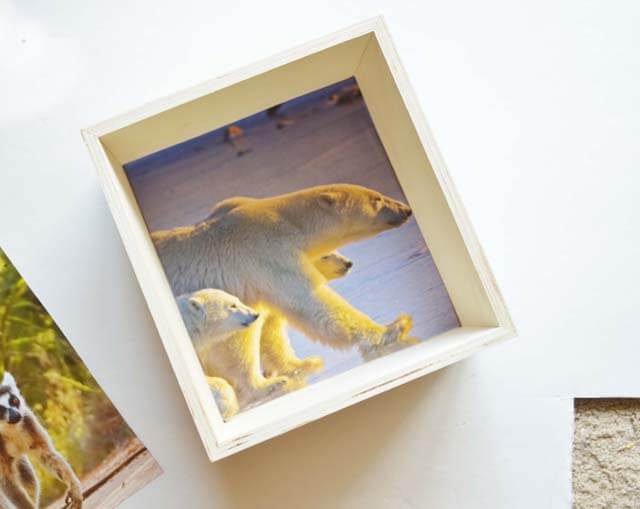
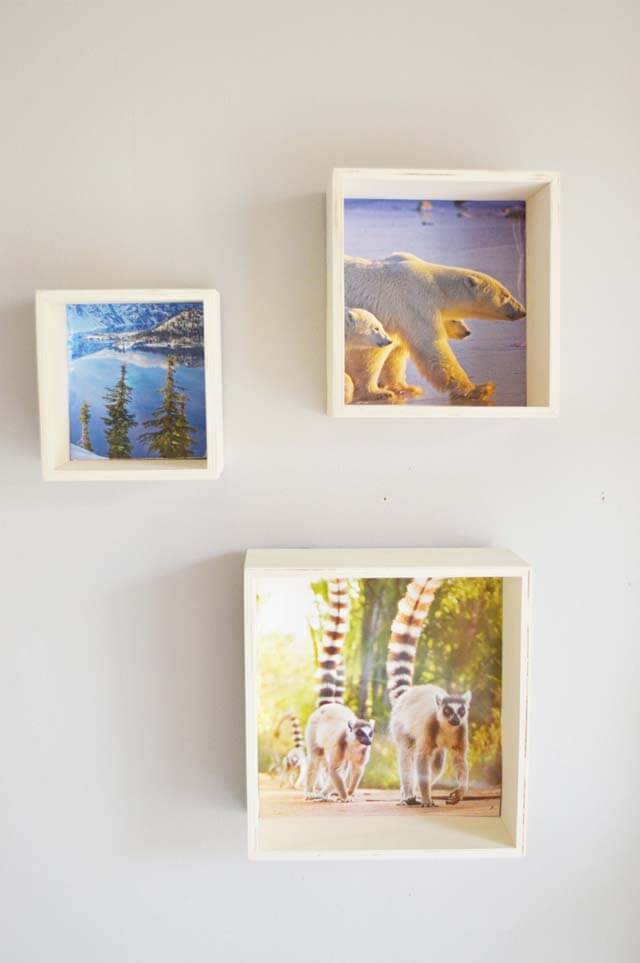
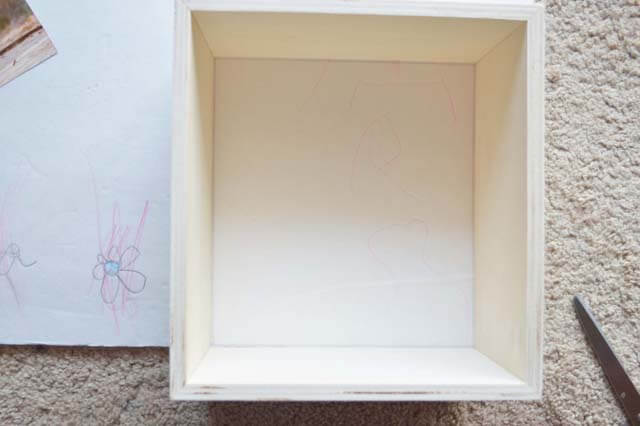
Once you make sure that the glue is dry, push the foam board inside the cube – leaving an inch or two in the front. Be sure to leave a little space in the front to keep a small plant pot or ring holder or any small object for display though I loved it bare the most, especially if it is your kids pictures inside 🙂
Now it is time to hang up – The Michaels one comes with hanging hardware attached – but these would be light weight – so you can easily hang them with command adhesive strips too.
So what do you think ? Fair to call simple and worthy of few minutes of your time ? I would love to hear from you. If I am new to you, please do check out my previous post here, and my blog here.
Thank you for having me here and see you next time!
~Anima
FOLLOW ANIMA HERE


 [col1]
 [/col1]
[col2]
[/col2]
[col3]
 [/col3]

[go_portfolio id=”diy_gallery”]


Great project! The Michaels store near me doesn’t carry the boxes so I went to home depot, chose out a plank of pine and had them cut to size, then drilled and screwed them into boxes.. well, I’ve done one so far and I’m very happy with it. Two more to go and then the photos!
Love these!!!! So cute and great way to decorate those walls that just need a little something something.
Hey Steph, thank you. Love how easy it is to change it out when mood strikes 🙂