Hi everyone, I am Anima from This Design Journal. I am thrilled to be part of Ursula’s Creative Team and I am so excited to bring you lots of simple creative ideas to make your home a thoughtful and welcoming space.
[left]
[/left][right] [/right]
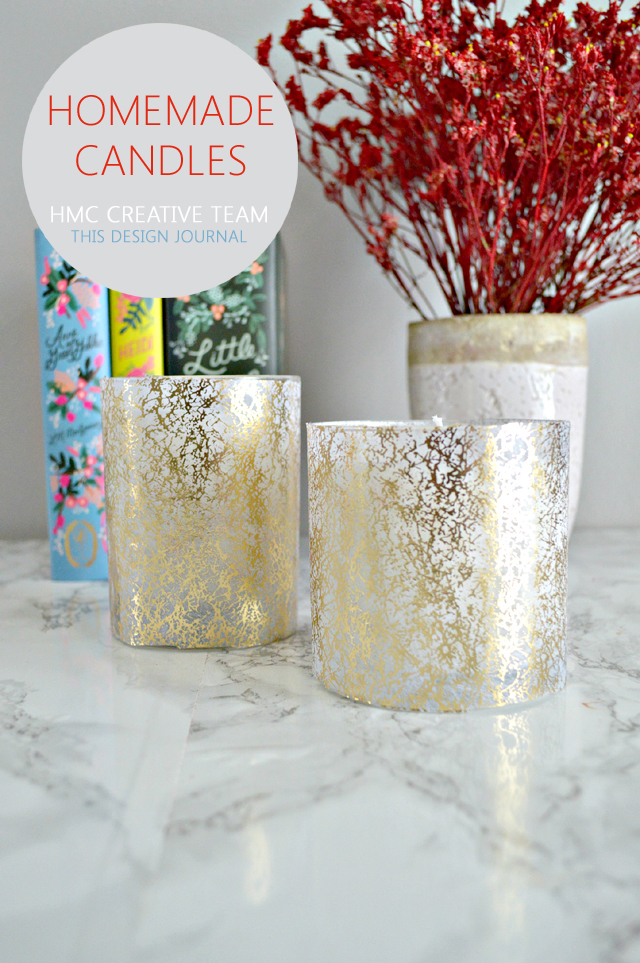
We are making our own candle that could rival the designer brands yet extremely simple and fair on the wallets

[left]
For Candle Making
Soy wax Flakes ( Here )
Natural Wick ( looks like it is important to use non-lead ones) – Find it Here
Glass Jars
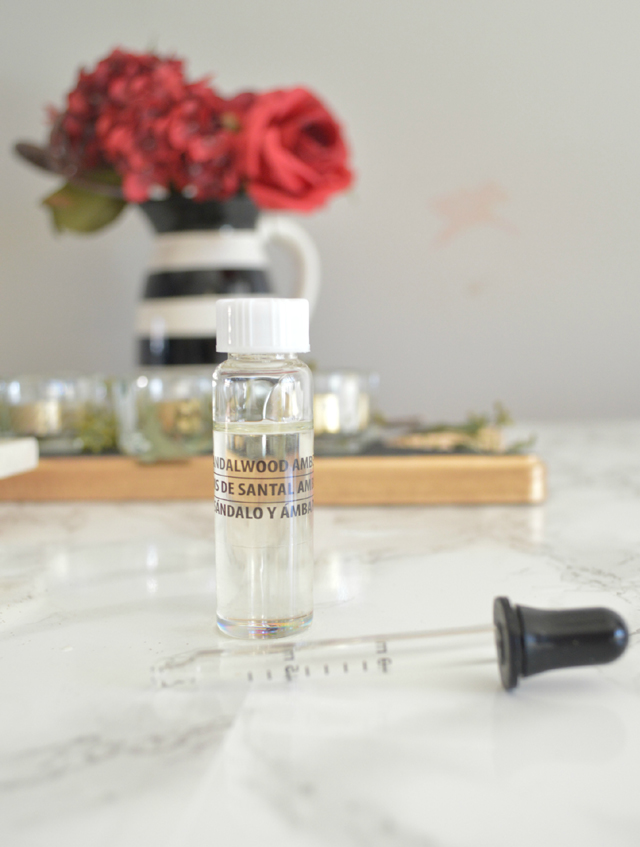
Essential Oil ( I found this sandal wood one from Michaels)
An old soup can or glass/stainless steel jar
Sauce pan/wide mouthed vessel
[/left][right]
For Decorating the Candle Jar
Plain glass tumblers from Thrift store
Pretty paper ( Any pretty paper or fabric you love will work)
Mod Podge
[/right]
How-To
Prepping the Jar
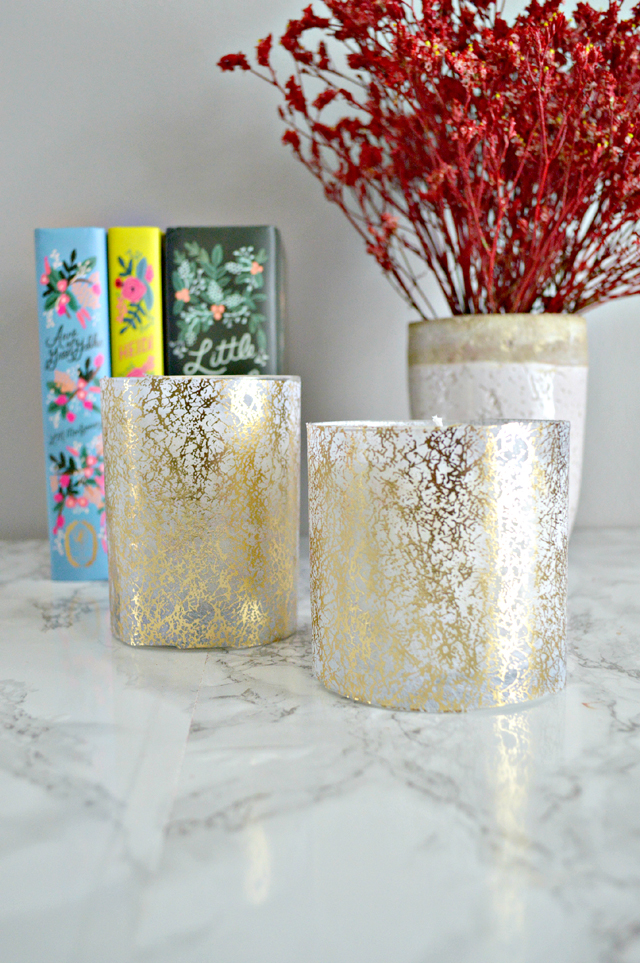
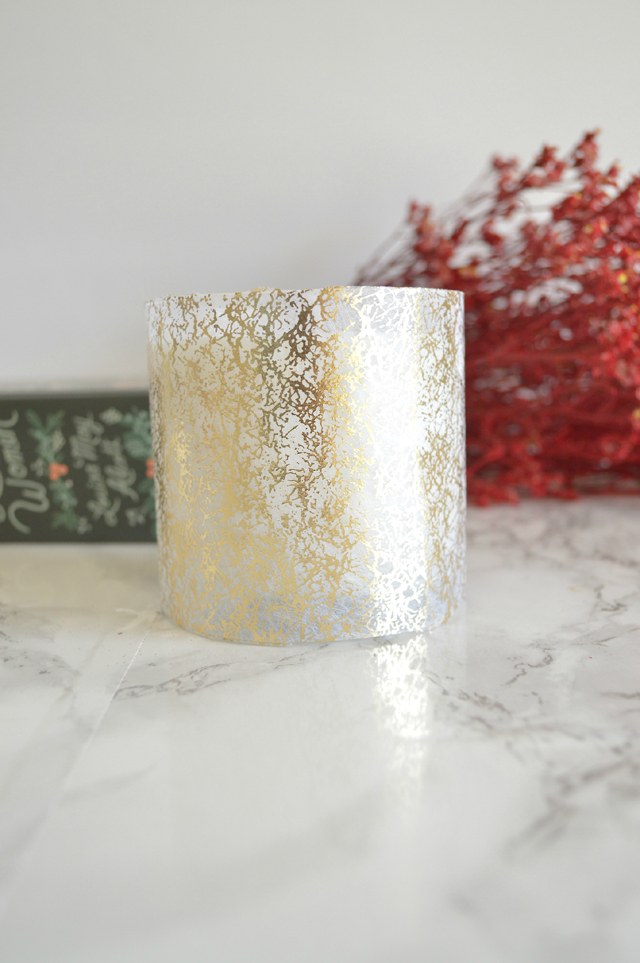
Step 1 :First thing I did was to decorate the candle jars I intended to use. It is easy – as easy as cutting down the paper to cover the glass and applying mod podge to glue it on. To cut it down perfectly – lay the glass flat down on side and mark the height. Roll the paper around the glass and cut enough to cover it well.
Step 2 : Apply a thin layer of mod podge and attach the paper to the jar. Mod podge works better than glue here, especially if you are using a thin paper as in my case. Let it dry well. Apply another layer of mod podge for extra protection – but you can skip it if you want.
Make the Candle
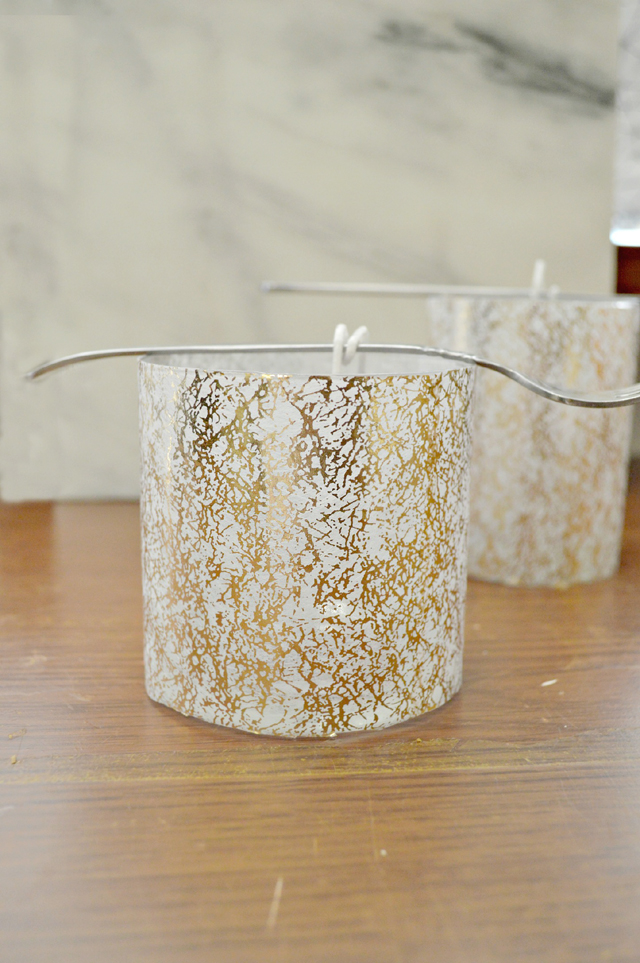
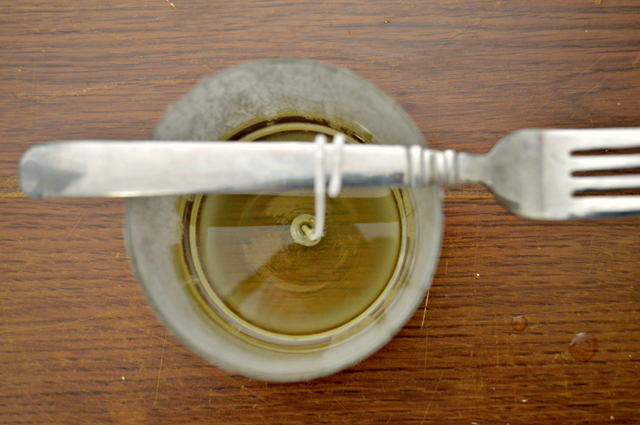
Step 1 : Use hot glue gun to adhere the wick to the bottom of the candle jar (the one we just decorated !) . Roll the end of the wick over a fork to keep it in the middle of the jar ( Trust me the wicks won’t stand straight without support.)
Step 2 : Heat water in the sauce pan. The water need not be boiled because the wax easily melts at medium heat.
Step 3 : Fill 3/4th of soup can with wax flakes and keep it in the heated water. It takes around 3,4 minutes for the wax to melt completely.
Step 4 : Mix about 1 Tbsp essential oil in the melted wax and stir well with a skewer. Add more if you want stronger smell and your soup can size is bigger.
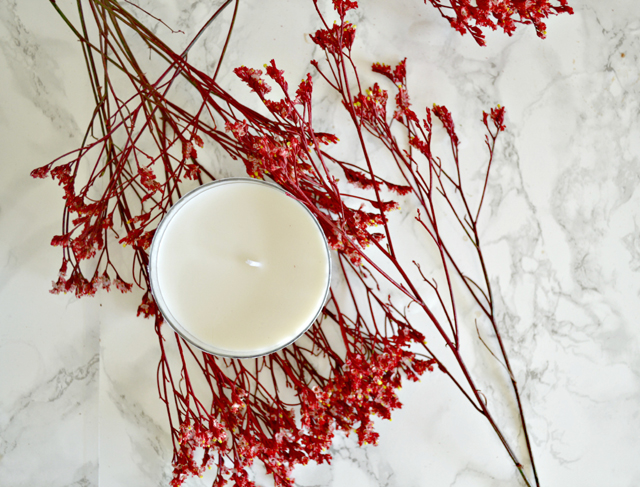
step 5 : Pour the liquid into the jar carefully . You may have to repeat step 3 and 4 two times to fill a jar of standard tumbler size.
Step 6 : Once the wax is completely cooled down ( which takes about an hour – may be less, but I didn’t dare touch it before that) the wax will turn a very pretty ivory color, you can cut short the wick to size and it is ready to use.
There are about 8 steps mentioned here, but some of them can’t be considered steps right! like heat water in a sauce pan!!! But once you start doing it, it is extremely simple and enjoyable process.
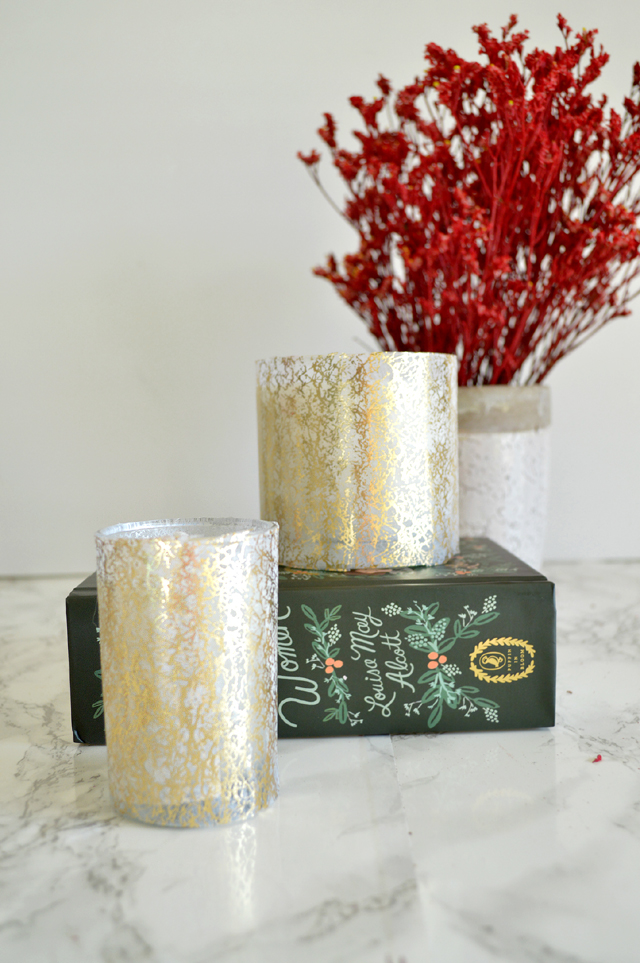
And what do you gain out of it? Well other than saving some hard earned money (candles of that size is easily $8 I believe, much more if designer brand) , you have the satisfaction of making your own, it is an incredible feeling to enjoy your own handi work and of course you can brag to any one who will listen that you made it ( I do that – now I make for friends who ask for the source, say what? )
Hope you enjoyed my first ever post here. Do stop by my blog to see another candle centric DIY and get your candle making mojo on.
FOLLOW ANIMA HERE


 [col1]
 [/col1]
[col2]
[/col2]
[col3]
 [/col3]

[go_portfolio id=”diy_gallery”]


Hi! I use soy candles for my home to keep the fragrance. I would try your tips here for something new. Thanks a lot! 🙂
Thanks for the tips and inspiration, Amina. I used to design and create floating candles, as a child. After reading your article, I just may revisit my old hobby and fall in love with it, again.
I have always wanted to do something like this! Thanks for the inspiration!