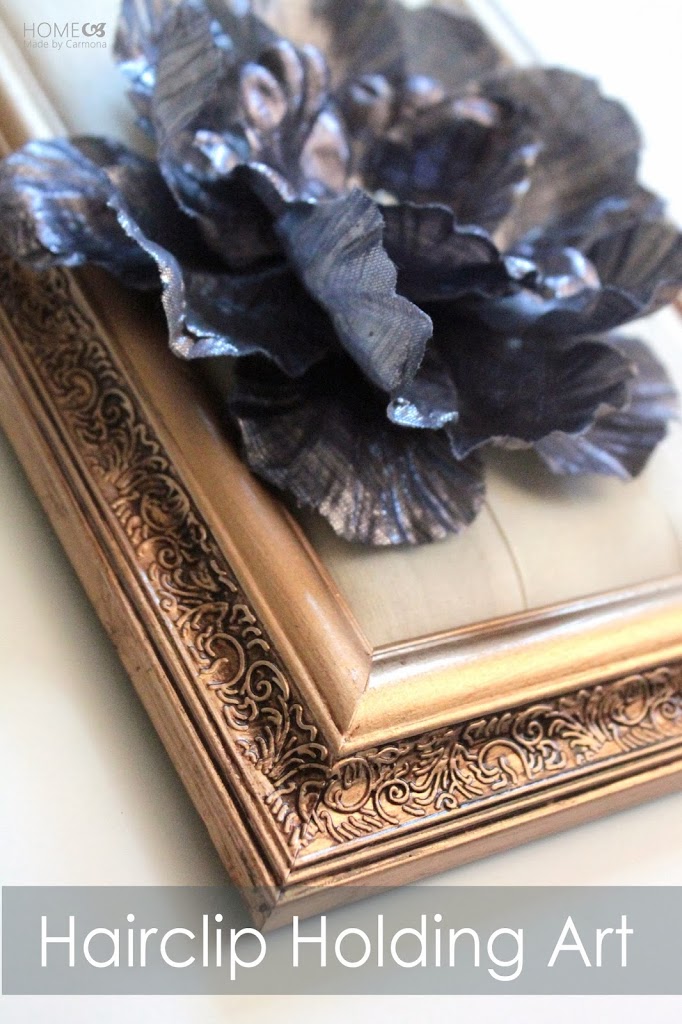
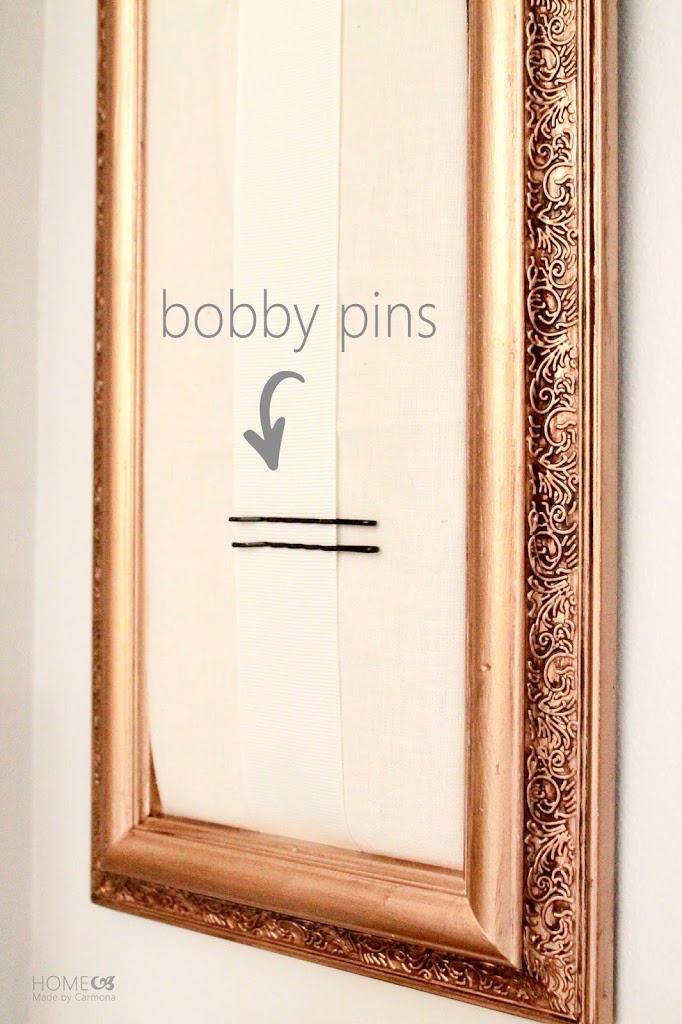
 I’m working on the art grouping in my kids Jack & Jill bathroom, when I realize that I’ve misplaced the glass to one of my frames. Aw bum. I am tearing the place up looking for this tall thin piece of glass, but to no avail! I am terrified one of the kids will “find it” by accidentally stepping on it or scraping their hand along whatever surface I left it on… my poor paranoid mom mind is having visions of a maimed child with a large shard of glass through a foot or hand. *grimace* I “quarantine” the room I am working in and make all three kids sleep in one bedroom…you know, to keep them from being maimed. Two days later (yep two days) I give up in despair (telling the kids they will never be able to enter that room for the rest of their lives), swearing never to absentmindedly set anything down again (which lasted all of two seconds). Resigned, at least I know what I’m going to do with the glass-less frame…create a hair clip holder for all our fancy clips that can be displayed on the wall!
Now, before you go call child services, I did find that missing piece of glass…after I completed my project! Get this, it was where I put it for safe-keeping, on the top of a high bookcase. *face palm* Sooooo how many years after having a child can you claim baby brain?? *wry grin*
The Perfect Frame
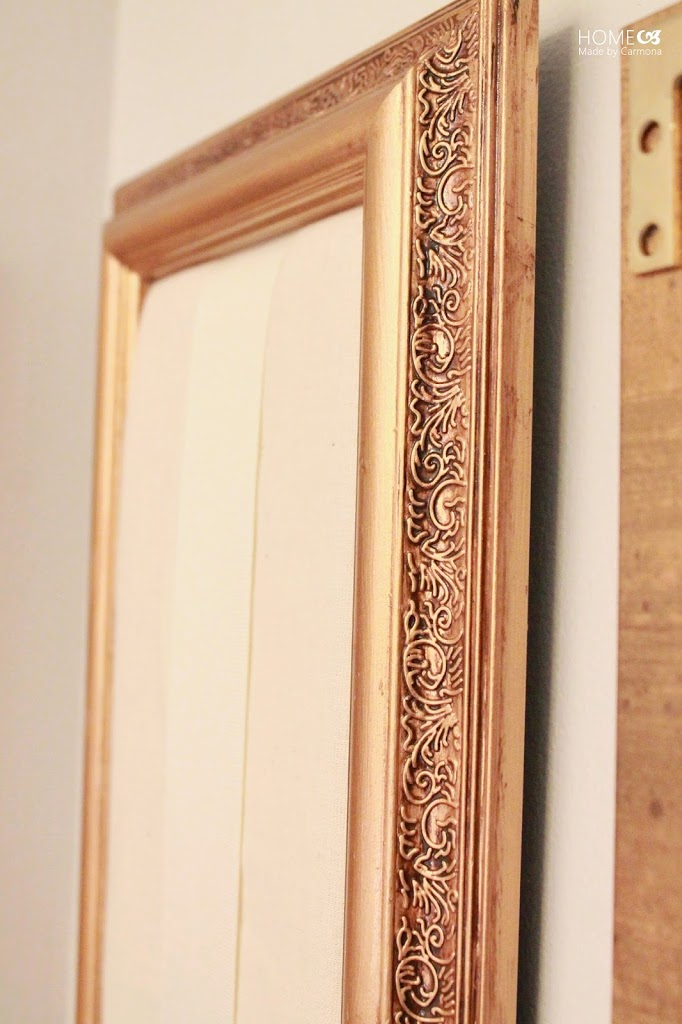
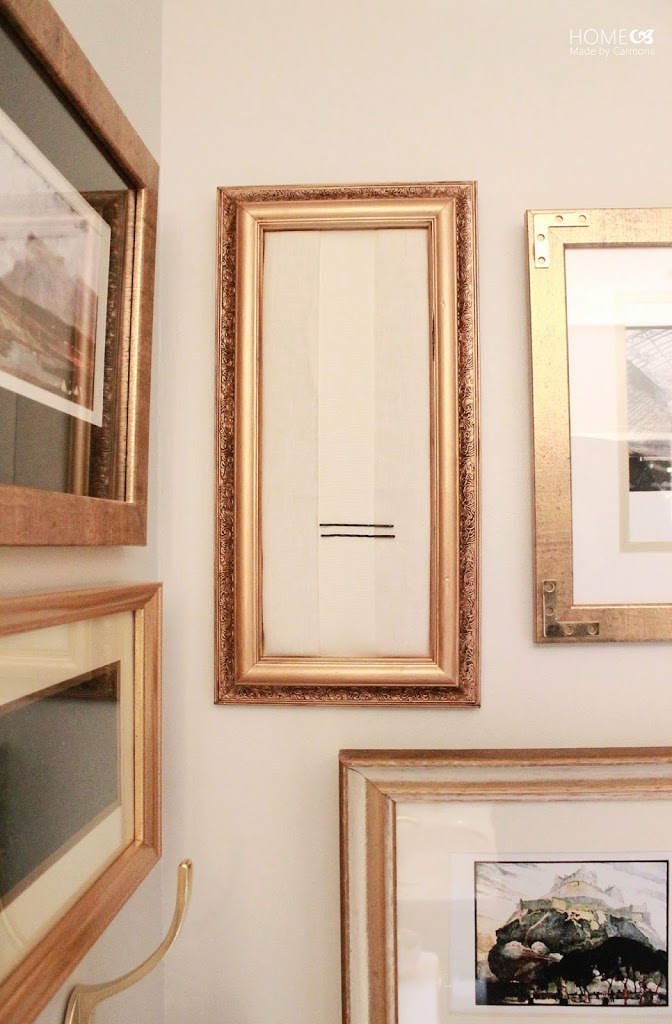
The perfect frame for this project might just be the ugliest frame you have around, or one that has mysteriously lost it’s glass. I spray painted this frame gold, rubbed it with some dark gel stain, and gave a clear protective spray before it was ready for my little project.

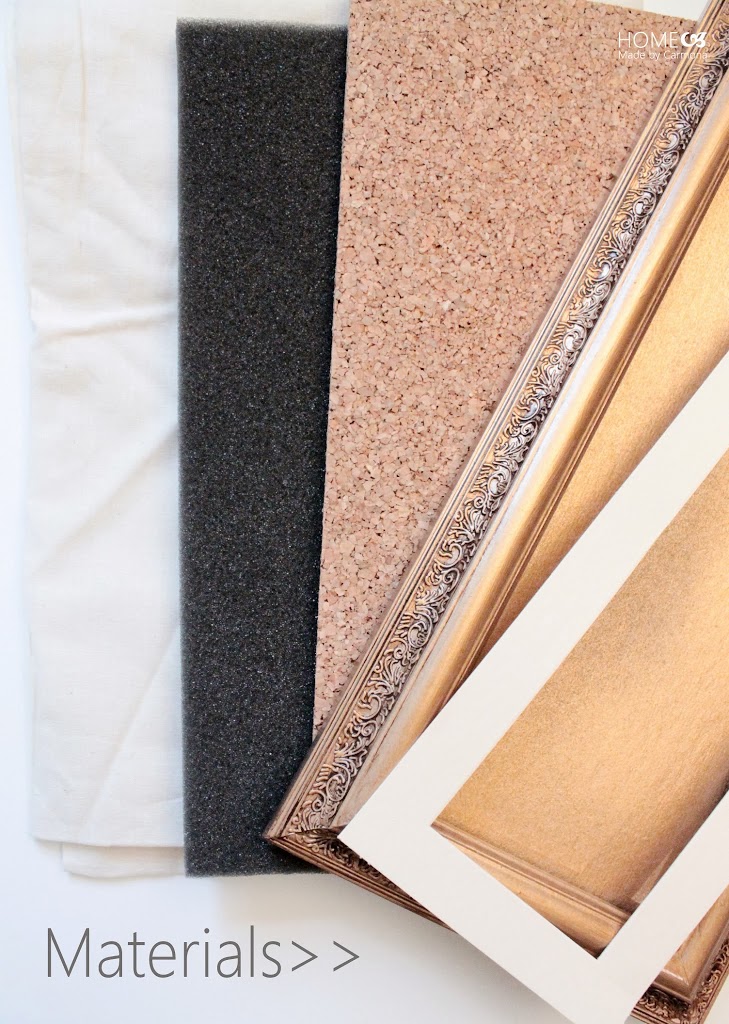
Materials
- Glass-less frame
- Fabric of choice
- Ribbon
- Foam or batting
- Thin cork (optional)
3. There are several styles you can go for with your ribbon: a simple straight down the middle approach (like mine), or you can create a criss-cross design with your ribbon. This is a little more tricky to hold in position while putting into the frame, but doable with an extra set of hands!
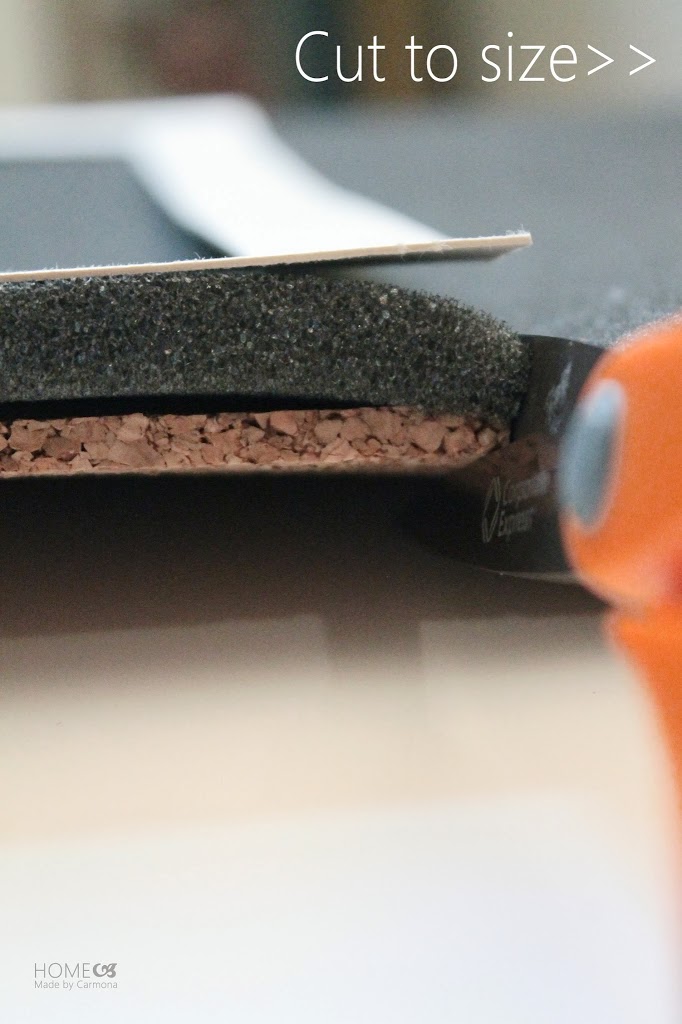
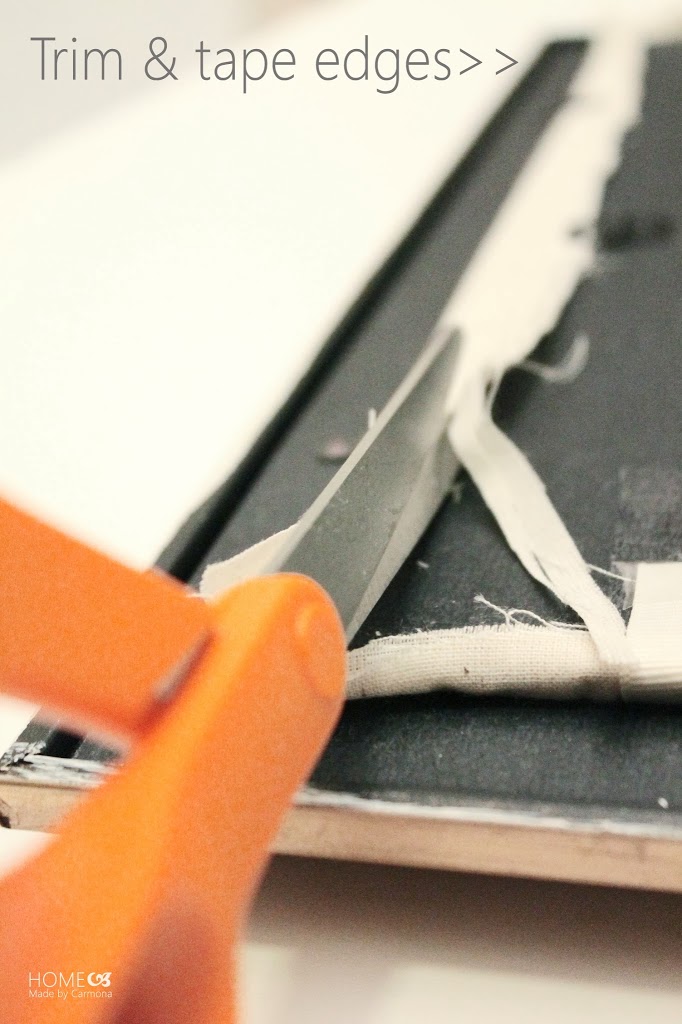
4. Set your frame face down, and position your fabric wrapped foam/cork/batting and ribbon in the empty frame. You are going to place the frame backing so that you can pull the fabric and ribbon taut around the outside of it. Once the frame back is secured it should hold the fabric and ribbon very snugly in place. If necessary, trim any excess fabric and ribbon leaving at least a half inch all the way around. Optionally duck tape the edges to the frame back…this will tidy it up a bit and help prevent fraying edges.
It fits well, nestled among the rest of the art grouping I finished a few days ago. In case you missed it, you have to go peak at how I created the art grouping on a total budget of $10! I even put some links to these prints for you… Perhaps there will be a few clever tips you hadn’t thought of. *wink*


Appreciate it! Loads of material!