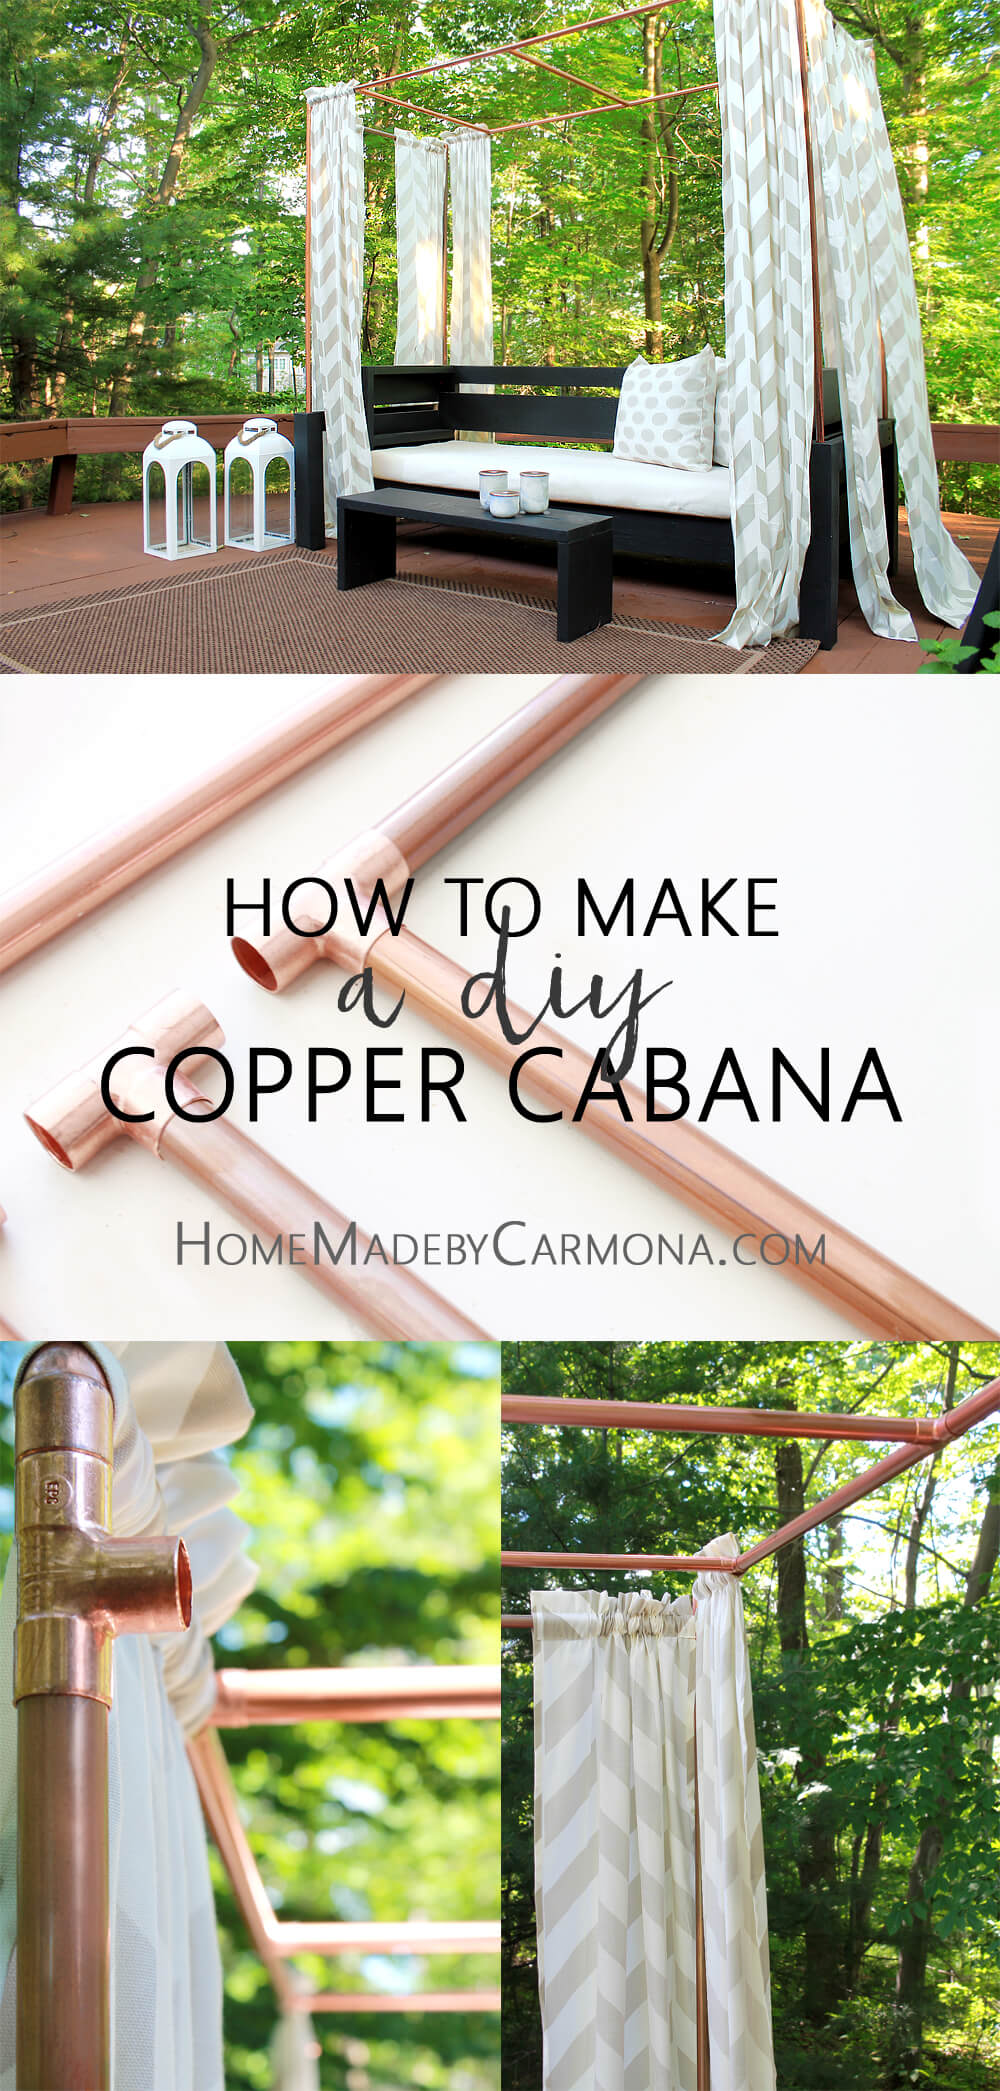
Looking for unique take on a DIY cabana? Try this easy DIY cabana made from copper pipe!
Recently my good friends at The Home Depot reached out to me with a fun DIY challenge; they wanted to know what I could create using piping. Are you kidding, I’ve always wanted to get my hands on pipes and see what I could make…challenge so totally accepted!!
I decided to go with a unique take on a cabana, which is usually entirely built from wood. Using pipe means it can be easily assembled and disassembled without the building experience typically needed.
Of course copper was my first go-to pipe. Who can resist all that gorgeous coppery goodness? But you can use whatever type of pipe you like best.
Copper Pipe Vs. Other Pipe
I know what you’re thinking. Copper is a bit more expensive than PVC, but it is such a show-stopper, AND it patinas when left in the elements.
Patinaed copper is a pro for some, and a con for others who want to keep that metallic hue. If you want to keep the metallic look, then seal it with a clear spray paint to help prevent that green patina from forming in the elements.
TIP: Use cloth gloves when handling the copper pipes, or the natural residue from your fingers will leave marks. After sealing with a clear spray, you can handle as normal without the gloves.
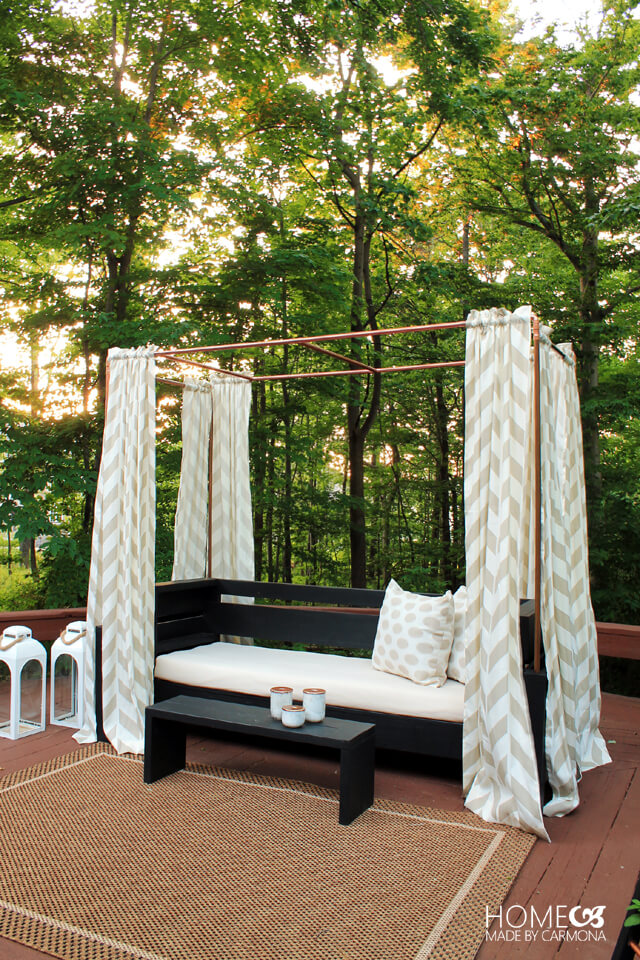
How To Design & Assemble Your Cabana
This is a loose tutorial since you will make it to a size that fits over your own outdoor sofa, or other furniture choice.
Step 1: Sketch Plans & Shop Supplies
This doesn’t have to be fancy… just draw out the basic layout of your cabana with desired lengths so you know how many parts you need to buy.
To understand how it will connect, draw in your 90-degree elbow parts, and Tee fittings. Then make your shopping list accordingly.
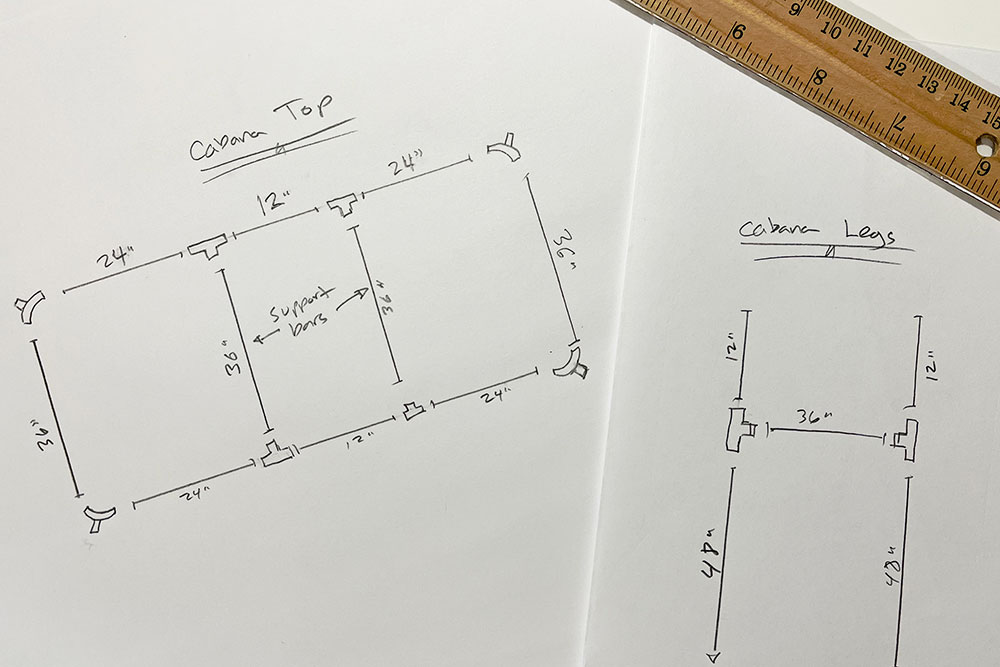
TIP: The more “support bars” (as shown in the drawing), the sturdier it will be. Don’t make your cabana too big, or it won’t be sturdy.
You can either go 1/2″ (which is what I went with because it’s cheaper), or 3/4″ for a sturdier option. Just make sure you purchase all your fittings and pipes in the same diameter.
Step 2: Seal & Cut To Size
Now that you have your plan and purchased parts accordingly, it’s time to cut the pieces to size.
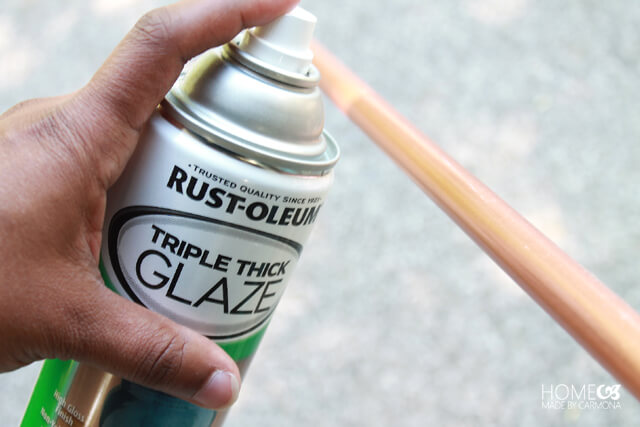
Optionally seal with a clear protective coat of spray paint if you want to retain the coppery metallic hue.
Next, measure according to your custom plans, mark with a pencil, and use a chop saw to cut the copper pipes to size. You can also use a pipe cutter tool if you don’t own a chop saw.
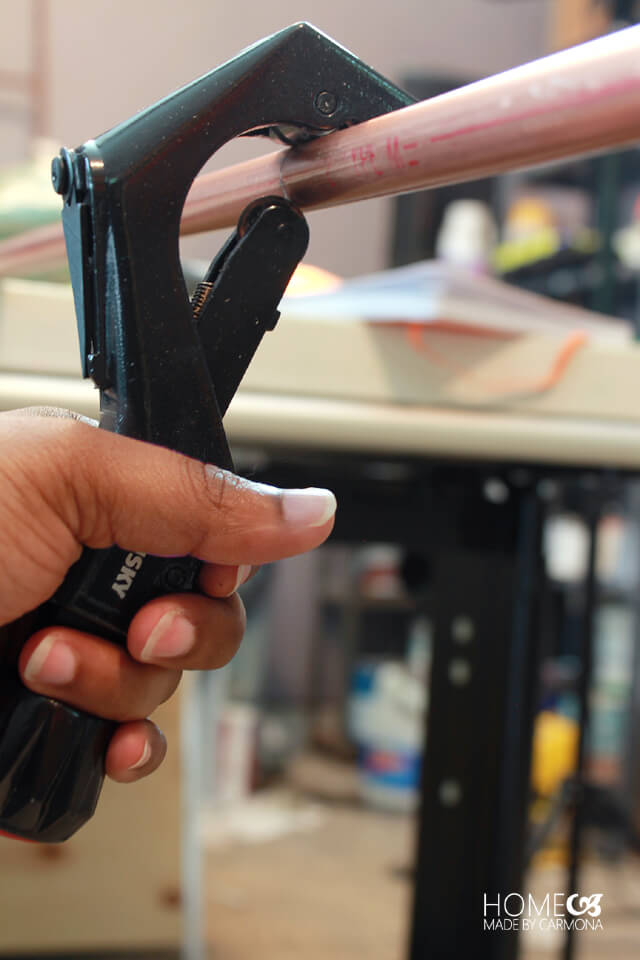
Remember, you are cutting the pipes to the size that works for YOUR unique design. And don’t worry if you think your design may not work… you can always size them down and make adjustments to your design as you go.
Step 3: Attach Fittings
Attaching the parts is just as easy as pressing the pipes firmly into the fittings!
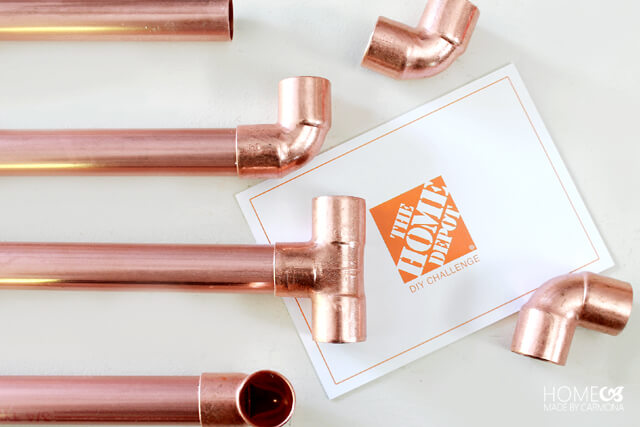
While you can secure fittings and pipes with a bit of copper bonding glue, I don’t recommend you do it for all pieces. And if you choose to use it, first do a dry assembly and ensure everything works as desired.
Step 4: Make A Base / Secured To Surface
Once you have built your cabana, you will want a way to secure it to the floor.
There are a couple ways you can do this:
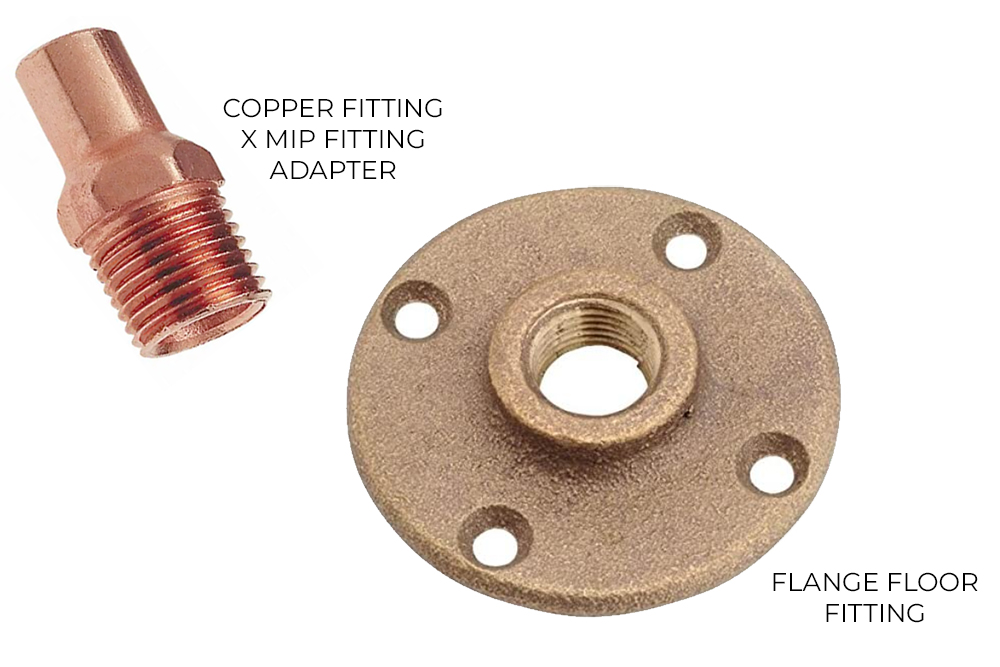
- 1. Use a male-threaded copper adaptor with a flange fitting. Screw the flange to a wooden surface to secure the cabana in place.
- Use a wooden block, drill a hole to insert the pipe ends.
Make The Most of Your Cabana
I love how it turned out! Since there are so many trees that keep us well shaded, I opted to keep the top uncovered so we could enjoy looking up at the treetops while lounging. Of course, you may want to use your cabana for shade, so you would add a curtain panel over the top.
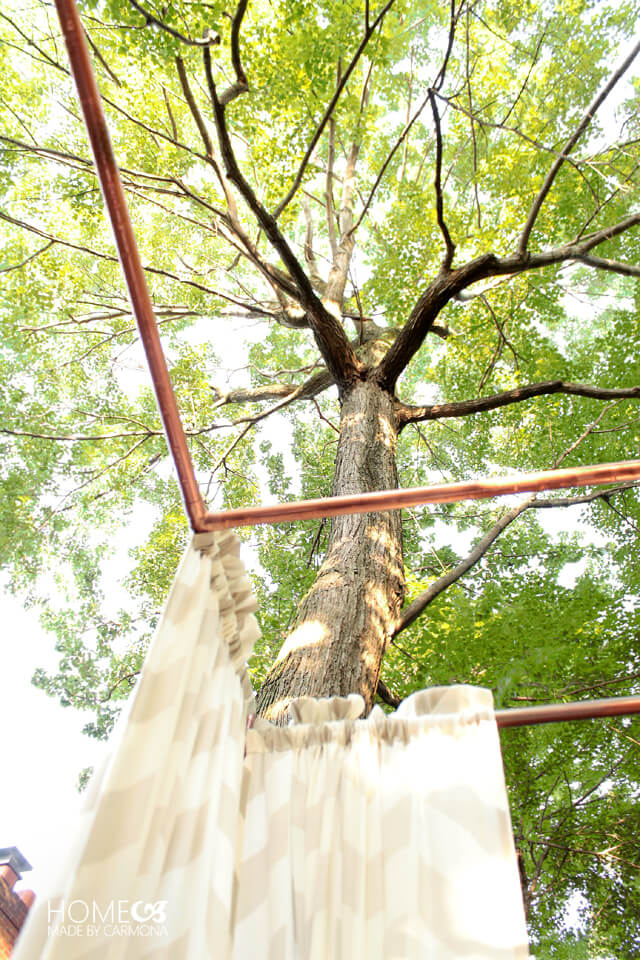
The cabana can stand up to rain, and I don’t remove the curtains…I simply chose curtains that were a thick blended material so it would be wrinkle resistant. When they get wet, they simply hang dry! I would recommend looking for a plain white, or light colors that won’t fade in the sun.
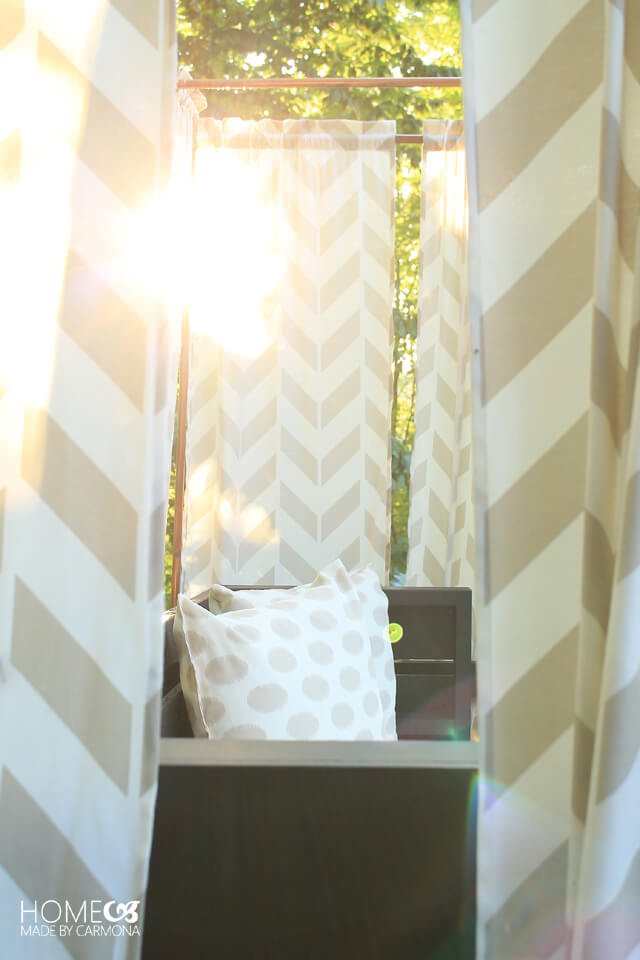
This project added such a lovely elegance to my deck. I’m looking forward to adding more items of sophisticated elegance to my outdoor spaces in the future!
As you can probably tell, my cabana fit perfectly around my DIY outdoor sofa (tutorial found here), and that was by design. However it is a freestanding unit, so you can put a cute little bistro table, a single lounge chair, or anything you like under yours.
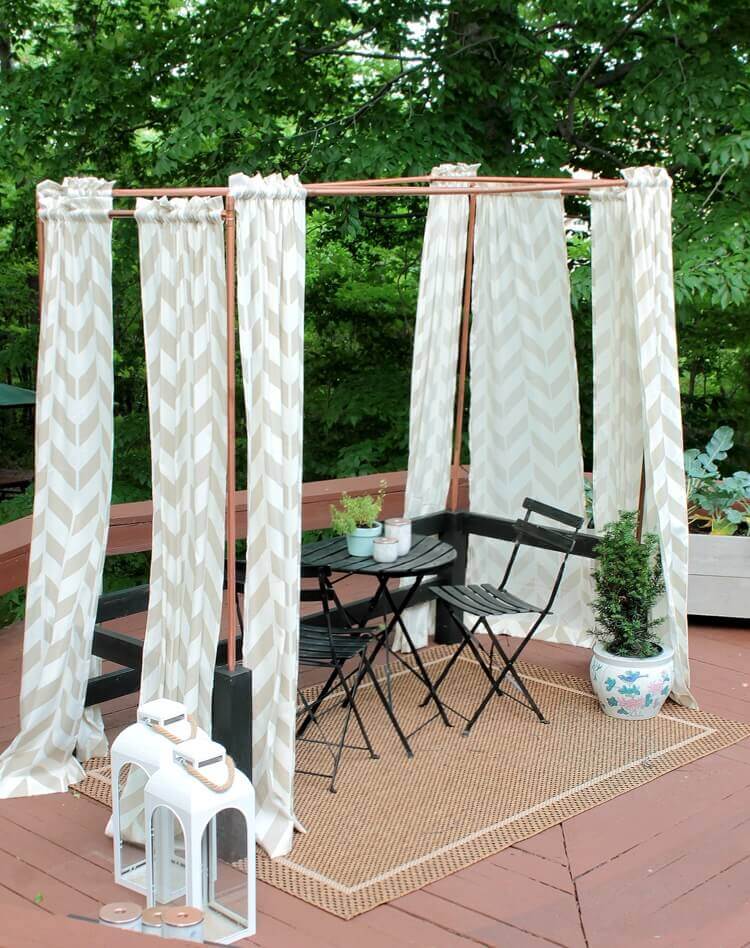
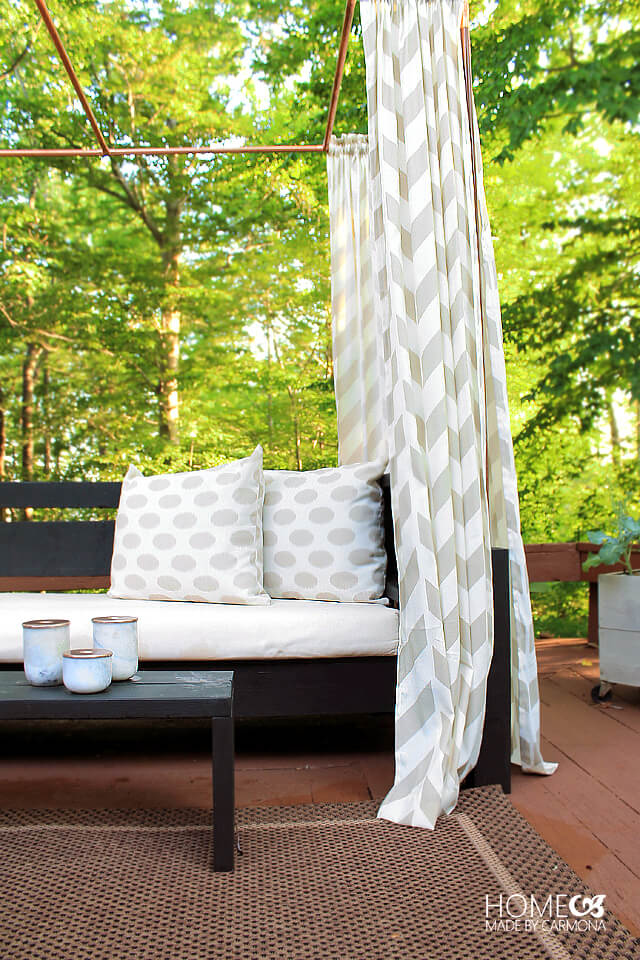
Stop and check out a full tour of my deck and outdoor spaces here. I think you’ll love all the outdoor projects that came together to make it beautiful!
*A special thank you to The Home Depot for sponsoring this post. All opinions, ideas, and projects are my own.


Hello, I was unable to find the blog post as well. Could you please send me a link? Thanks
Oh no! I will look into what happened to this link. Thanks for letting me know.
Hello,
I cannot seem to locate the plans for your copper cabana. It’s not accessible through Home Depot site.
Thank you
Dear Ursula,
I cannot find your step-by-step tutorial on how you build this gorgeous copper pipe cabana. I tried the link you provided but it just leads to the Blog page and there very many entries.
Is it possible that you can share it again?
Many thanks,
Anne
I can’t find the blog of how to build this, doesn’t seem to be on the Home Depot site any more. Could you send it to me, please?
Any chance you have a copy of the post with building instructions – I am not seeing in on Home Depot’s site anymore through your link above.
Hello,
Can you tell me how much it cost to complete this project? Thank you.
Hi Katherine, I don’t remember exactly how much I spent, but I know it was under $100… it will really depend on the current cost of copper.
Thanks so much for getting back to me! 🙂
I love how you come up with these ideas! It’s beautiful. What kind of clear coat did you use for the pipes? I’m doing a project and would like it to tuen out fabulous like yours. =)
Hey cutie! How fun! I used the Rustoleum Triple Thick Glaze spray. It did the trick marvelously! Good luck on your project. 😉
I love this!! What a great idea! It is so beautiful!!!
I love this…might have to add it to my “to do” list…thanks for this fabulous idea!
Beautiful idea! Love the copper, especially for fall!
Lovely! I was reading one of my mother’s magazine recently, and you were the featured Maker. I got so excited, I know her! Of course, I realize I don’t really “know” you, but as a fan of your blog, I feel like I do. Keep on inspiring!
Oh thank you! That’s so sweet of you! Hm, may I ask what magazine that was?
It was the BHGs March issue with you fab painted rugs. Keep up the good work.