Hi there! I’m Iris, from IrisNacole.com! I’m so happy to be joining Ursula and you all today to share some pantry organizing tips that I hope will help you out! I have a confession to make though. One of the biggest struggles I have around my home is finding a place for all my junk, and keeping it all organized once I do. I tend to pile a lot of junk on top of each other and call it a day, until the mess becomes so overwhelming to me that I put some effort into pulling it all together. With a kitchen renovation currently underway in our home, we have been living out of boxes and so plates, pots, pans, and cups are all just sitting inside moving boxes in our kitchen/dining area, piled to the maximum capacity.
[left]It’s driving me crazy and I know I can’t do anything about it until the kitchen is put back together, so in an effort to alleviate the stress caused from that situation I thought making an effort to get our extremely messy walk-in pantry organized once and for all might help. At least something would be organized, right? I had actually attempted to create a pretty effective pantry about a year ago, but I didn’t think about the needs of our family at the time and so it didn’t really work out for us. I think this go round will prove to be more beneficial in the long run having learned from my past mistakes.[/left]
[right]
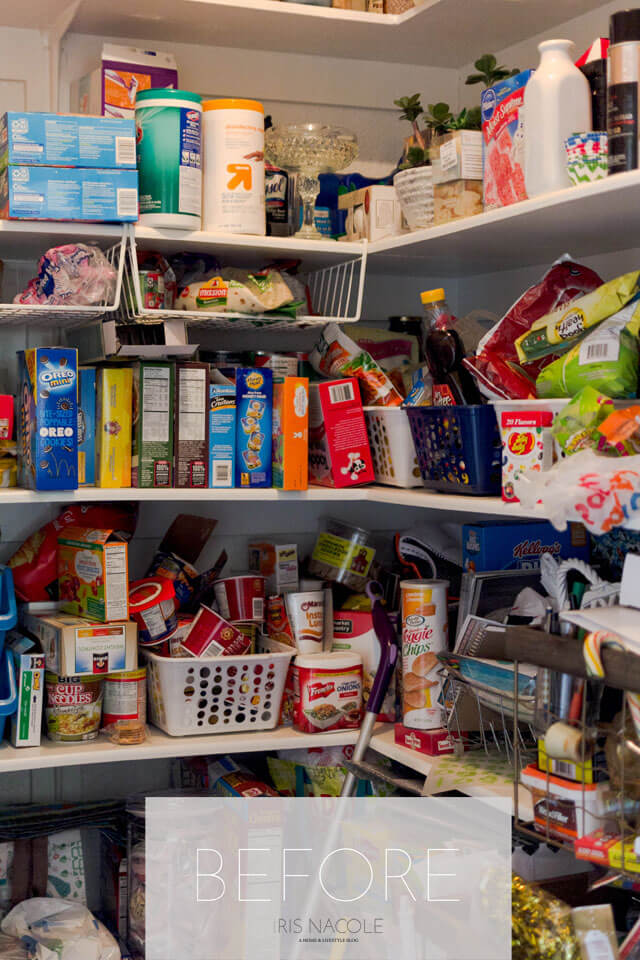
Here’s what the space looked like before I started the cleanup this time. Remember, this is about a year after a failed attempt to organize the space. Yikes!
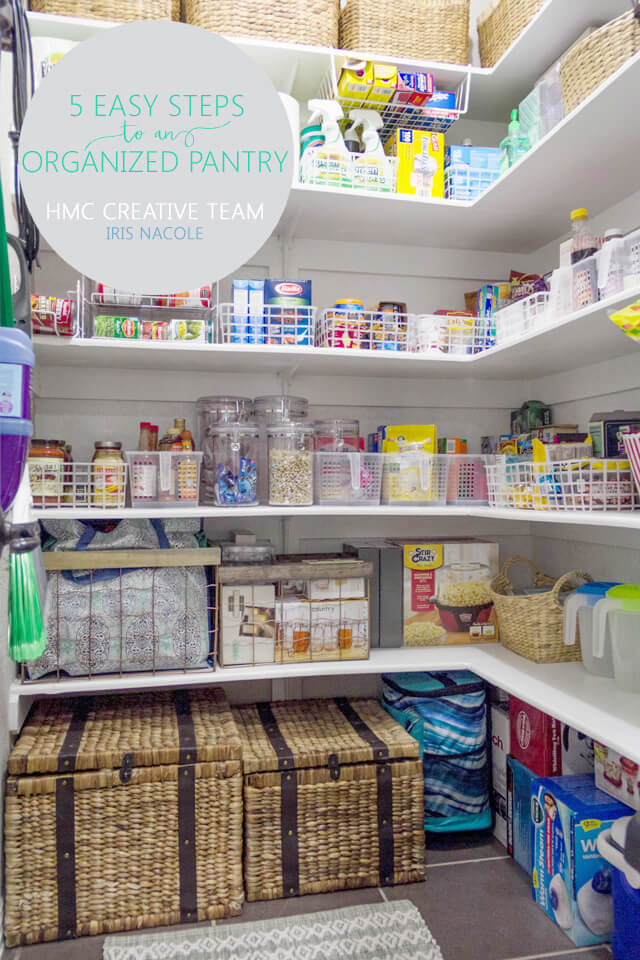
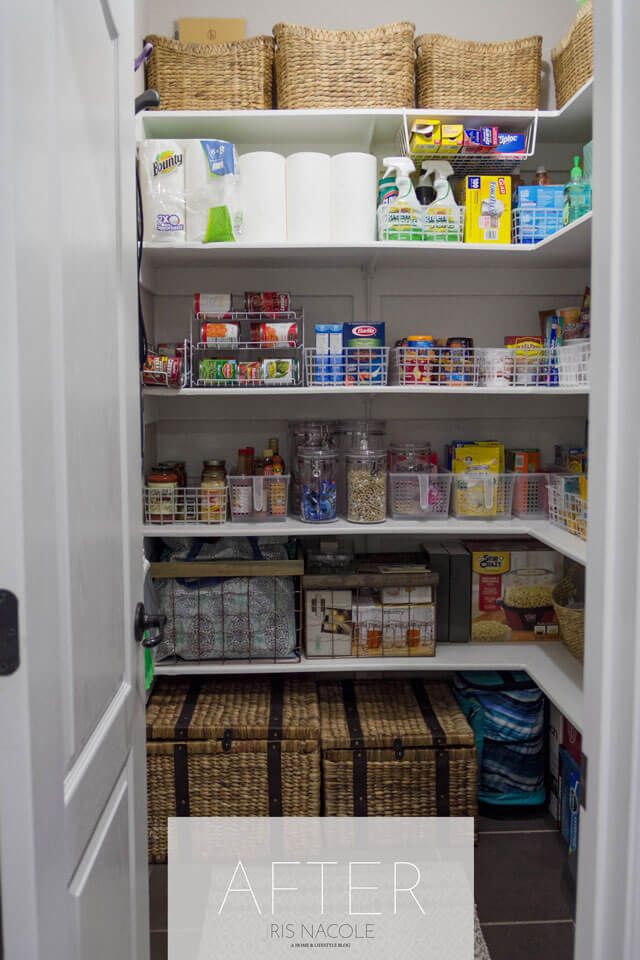
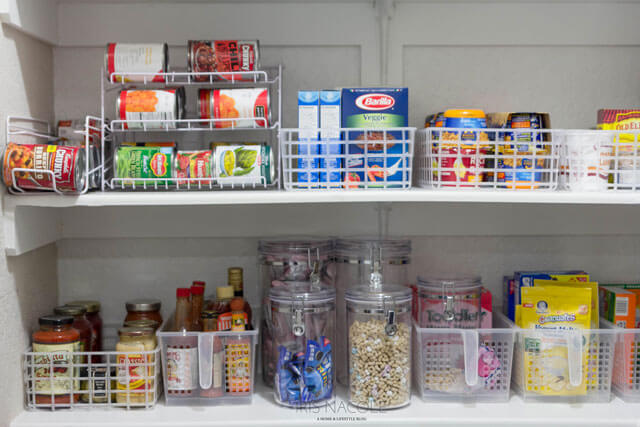
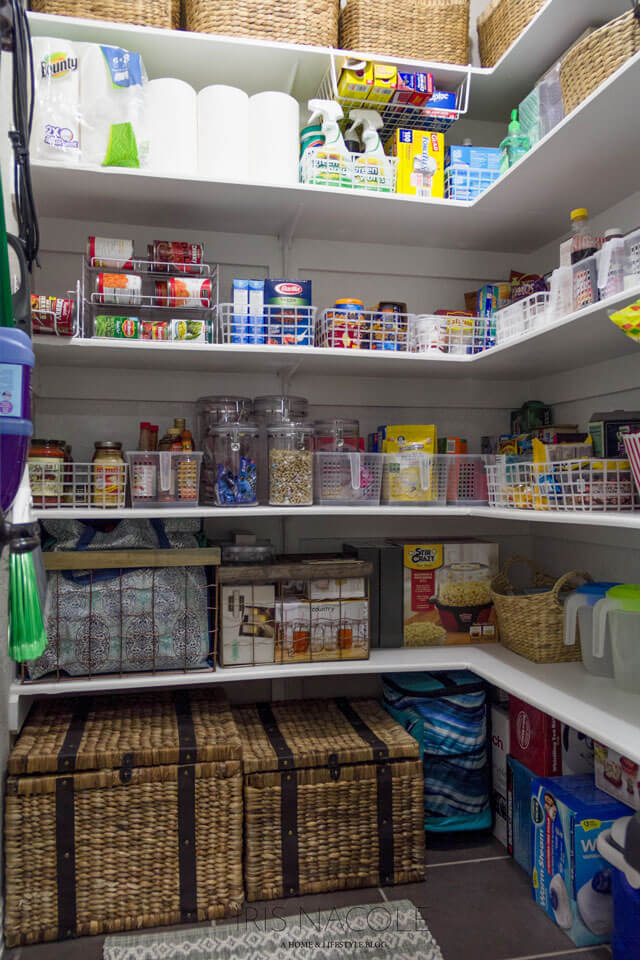
Here it is now!
That’s better! I think I was on the right track with my first attempt, though I can see that not following through with the project I had in mind at the time did exactly what most things like that do. It failed. So what did I do differently this time to make it work? Well, it’s as simple as following these five easy step!
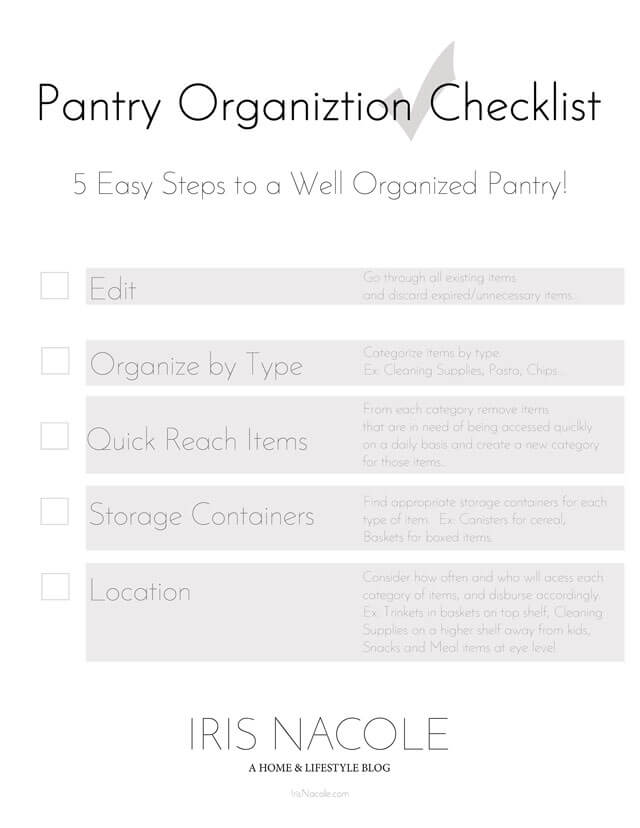
First, I had to edit. The room was such a mess that I had to clean out all the excess on the floor to even get to the food, so that took a bit of time, but once that was done it was easy sailing from that point on. Be sure to check the expiration dates on everything! I swear, it has only been a year since the last time I attempted to organize this space, and even still I found so many items that had expired long before that point. That’s what I get for not fully committing to the process though. Lesson learned.
Next, separate things into categories. For example, pastas, or cereal, maybe make a section for baking items only? You will know what suits you best, but in general categorizing items makes it much easier to find once everything has been done. Once you do this, you might find that you are overstocking on some items, and under stocking on others. I was surprised to see how many cookies we had in our pantry! I mean, I rarely eat anything but fresh chocolate chip cookies, so I’m going to blame it on my husband and son’s love of all cookies. Haha! Either way, I know we don’t need anymore for a while!
Now you can actually skip the next couple of steps, other than organizing things onto the shelves as you see fit, but for me, I found that having a dedicated space for each type of food/item makes it much easier to keep track of everything, and gives me a good idea of when I will need to make a trip to the store to restock that item. That meant I needed to find the right baskets and containers for the job.
If you are familiar with me and my blog at all, you have probably picked up on the fact that I love baskets. I have them everywhere, and if it weren’t for places like HomeGoods, or TJMaxx, I wouldn’t be able to afford so many, so I am very glad to have plenty of those stores to visit and shop at. Other places I like to find baskets at are Target, The Container Store, Ross Dress for Less, and the Dollar Tree. For this project I chose to visit TJMaxx, and The Container Store. I also used some baskets that I had left over from other projects.
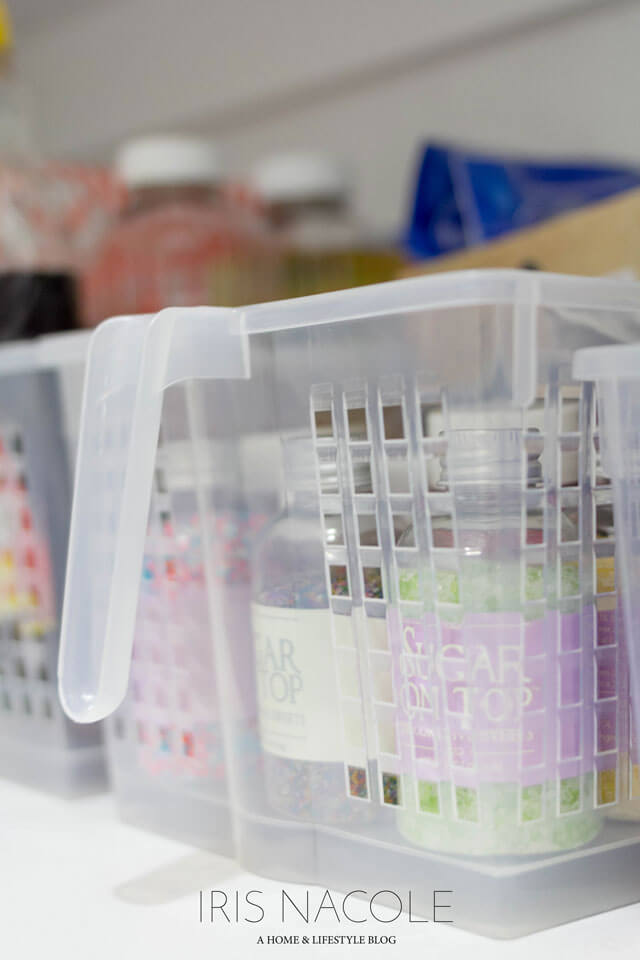
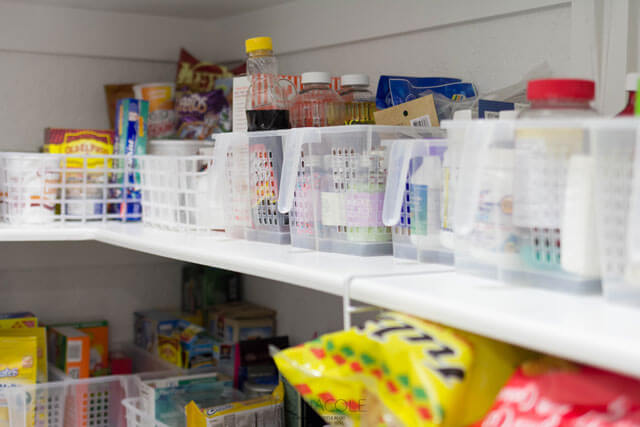
The Container Store has these great plastic baskets with handles that I was drawn to immediately. Not to mention the prices were amazing! I bought some in each size so I could vary what I put inside of them. I also found these larger plastic baskets which are a steal for the price.
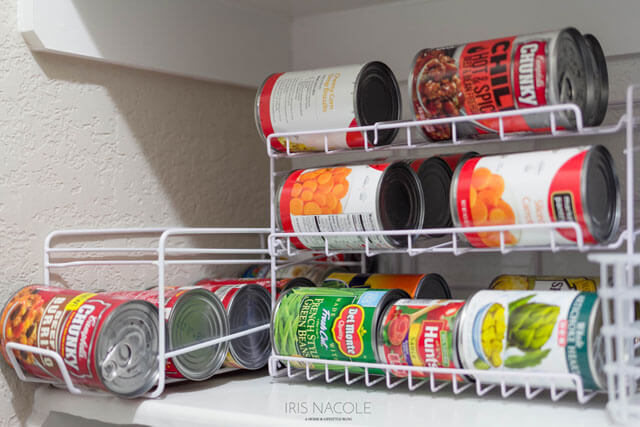
The next things I looked for were canisters for our cereals, quick grab snacks, and wire can dispensers for our soups and canned vegetables. They were easy to find, again at The Container Store, and TJMaxx.
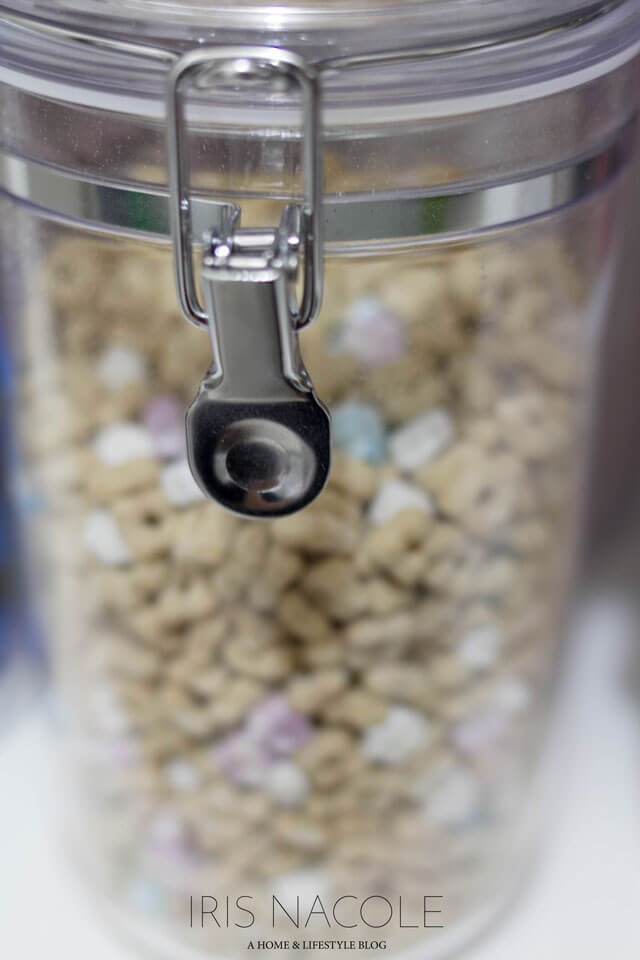
The following steps are pretty much personal preference, though I highly suggest taking the time to complete them. Before, you had your pantry items separated and categorized. Now think about what you use the most out of those items. You’d probably want them to be front and center at all times to make it easy to get to on the go. I refer to such items as “quick reach items“, so pull those items from each pile so you can create a separate space for them. You’ll see that we have bagged Oreos in a canister along with other snacks my son enjoys right up front. Sure that might seem like an unnecessary thing to do to some, but for us, if we are in a hurry, not having to sift through the cookie basket to find the right one will save me some time, and some aggravation.
Once you have those items picked out, start filling your baskets according to the type of items you have. For example, a basket dedicated to family meal pastas, and a basket for pasta dedicated to smaller meals. These are the sort of things that I skipped during my last attempt and I think that’s why it failed in my household. It’s much more organized if you have things segmented into type/need and importance. Continue to fill your baskets as you go, placing items as you see fit for your needs. Once that is done, consider the location you’d like to place that basket or container. I suggest taking into consideration who is going to be using those items the most, and how easily it would be for them to get to the items. Everyday items should be placed at eye level for easy access. Also, if you have kids and have things like medications or cleaning supplies in the pantry, think about placing those on a higher shelf so that they can’t reach them. Safety first!
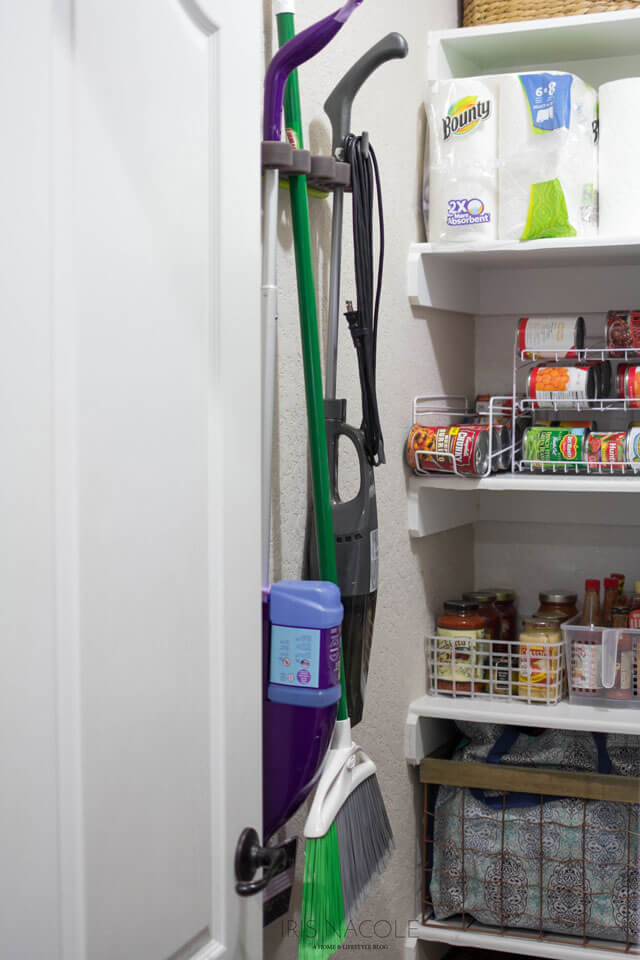
As an extra step. If you have a walk in pantry like I do, you may want to consider using a wall mounted organizer to keep things like brooms and vacuums up and off the ground if the pantry is the space you store such items. This way you can avoid tripping over those silly things when you go in and out. It’s so much easier to get in and out now that the floors are clear!
Here’s another look at the pantry after I implemented all five of these rules. Everything is in its place, and easy to find. No basket is too full, making it easy to see the items inside. What you aren’t seeing in this picture is the ample amount of empty space on the bottom right shelf. I’m so proud of that space! I think I’m going to dedicate it to holding supplies of upcoming holiday events. As you might know, I love to decorate for the holidays!
I even made a printable checklist for you to use when you decide to tackle your own space! It’s my hope that these tips help you achieve a more functional and organized space, and that it brings you a bit of sanity in this hectic world of ours. I’d love to have you visit my blog, IrisNacole.com for more decorating, and organizing tips! I’d also like to thank Ursula for allowing me to share this with y’all today! Ursula, it’s an honor for me to work with such a dedicated and talented lady such as yourself.
~Iris



Love these tips, Iris! I love how you used see through baskets too. That helps tremendously to be able to see what’s inside right away. My pantry is tiny, so I can really benefit from these ideas. Thanks! 🙂
My pantry is a hot mess! Love these tips and great checklist!