If you know me, you know I am a huge fan of painting your own designs onto pillows and rugs, and now curtains. You get a truly custom look for less in the space, not to mention the DIY bragging rights! Oddly, the one thing I have never before used are stencils, so when Royal Design Studio reached out to me, I was thrilled to try my hand at stenciled designs! I have admired their phenomenal (and quite extensive) collection for a couple years now, but without the space to give try it out on until now.
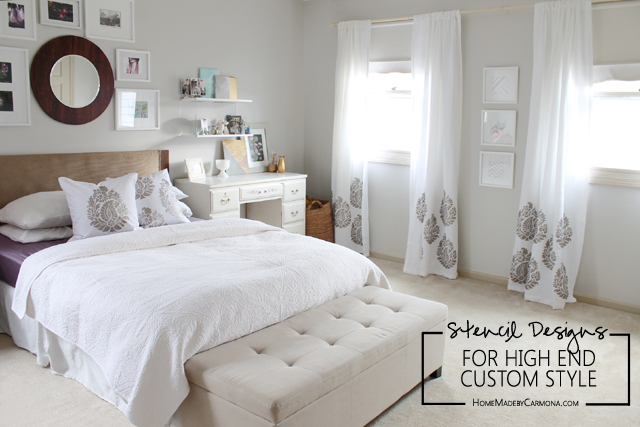
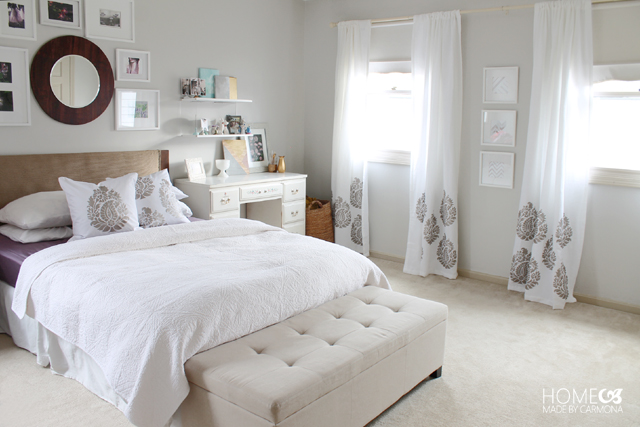
My daughter’s bedroom update has been coming together nicely, but it really needed that final element to help bring it all together. A stylish stencil design on the curtains and mirrored on some throw pillows creates a cohesive feel in the space.
You get a truly custom look for less in the space, not to mention the DIY bragging rights!
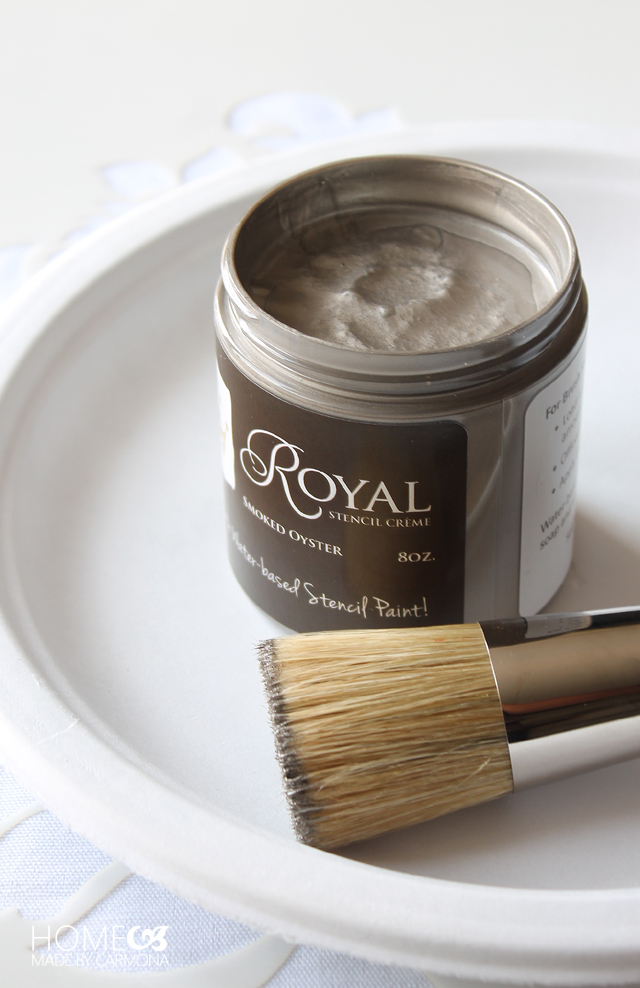
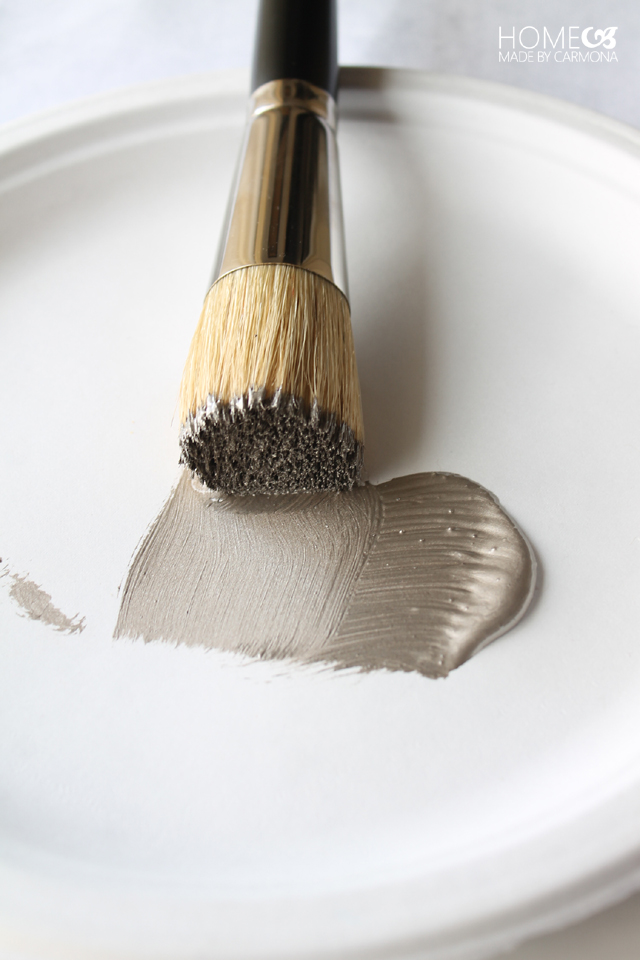
For this project I am using the Royal Stencil Creme in Smoked Oyster, and their specially designed 2″ Allover Stencil Brush (which is best when using one of the cremes). This creme is so silky, you almost want to sit and play with it. Well maybe that’s just me…does that make me weird?
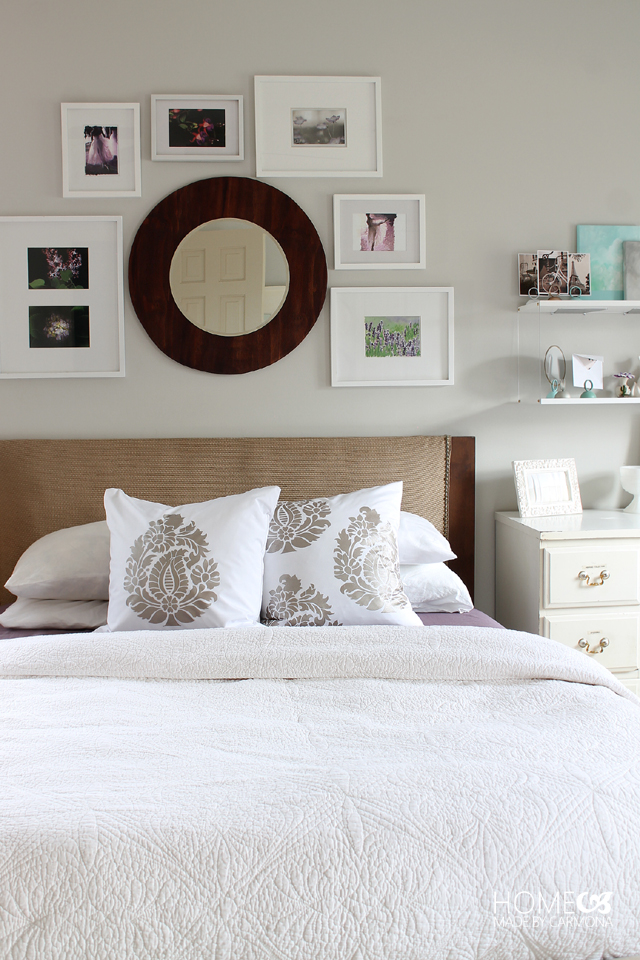
My daughter and I worked together to decide the perfect stencil style for her bedroom: enter the Rani Paisley Indian Damask wall stencil. You can’t go wrong with a paisley damask! It adds a touch of something ornate to any style, but in a contemporary manner.
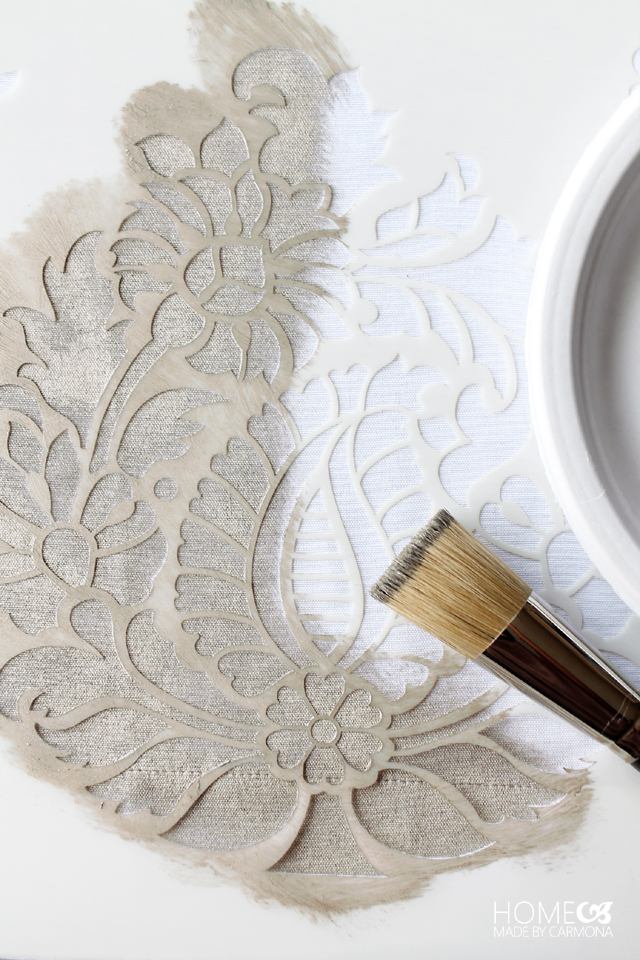
I discovered that using the stencil was much simpler than I imagined! Once you lay your material + stencil on a flat surface it is as easy as taping the 4 corners of the stencil down to the material, and painting in a circular motion! Just be sure to put a little paint on the tip of your brush, and off load the excess before brushing the paint onto your stencil.

I was absolutely delighted when I pulled back the stencil the first time. It was perfect (which I admit surprised me since I was a little sloppy with my brushing). Ah, the magic of the stencil! I let the paint on the stencil dry a bit before moving and matching it up to the next section…which was also fabulously easy with the cutouts they place on the stencil to help you line it up exactly. So in case you are wondering what the little random cutouts are around the main shape; yep, that is for you to know exactly where the stencil needs to be placed next.
It seemed pretty fool proof, so I handed it over to my daughter to have her first stenciling experience, and it came out perfectly! If you are nervous about your first time stenciling, you can find a full how-to with tips here on the Royal Design Studio website.
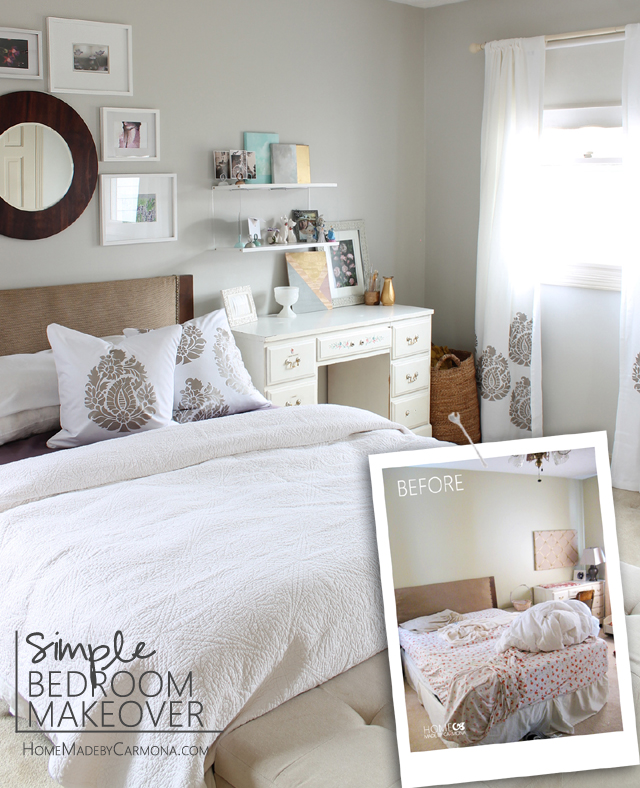
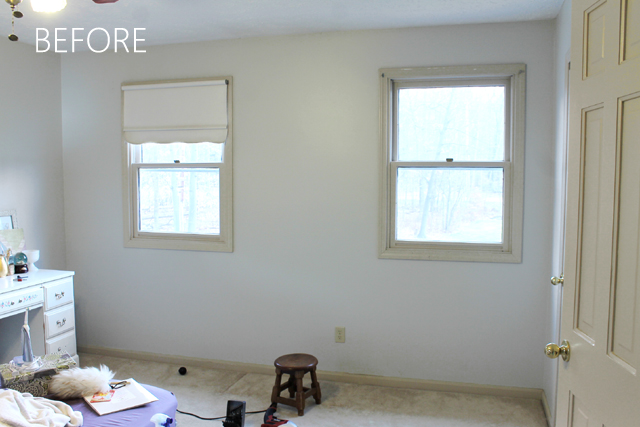
Before I show you my newly design laden curtains and throw pillows in the space, I have to share the before so you can see how just a few simple touches came together to create a stunning new space!
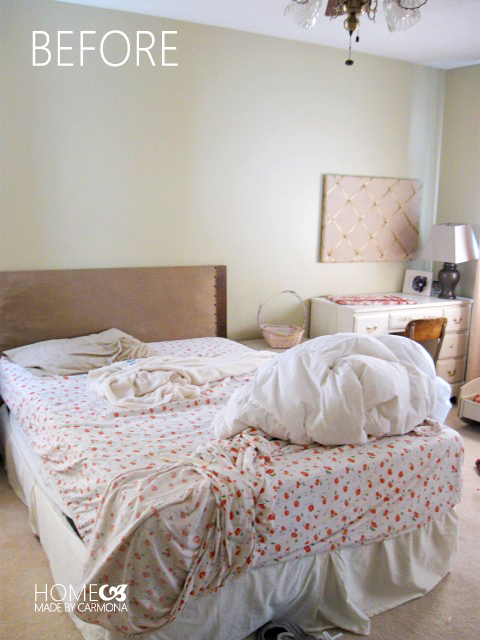
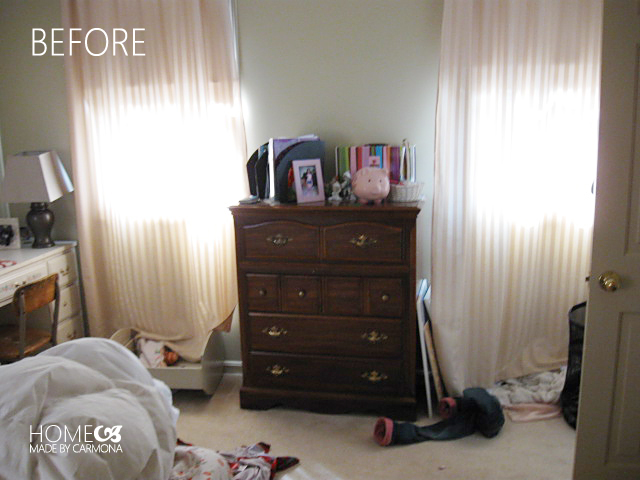
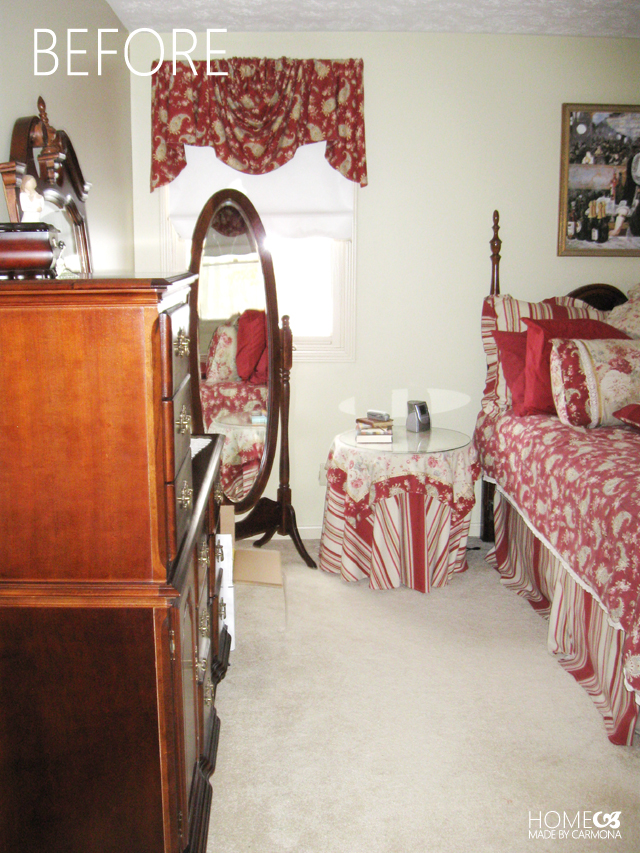
The pictures above are after we first moved in. Ugh. This house actually got uglier when we moved in. The previous owners had it beautifully organized, although it wasn’t my taste. Here is what it looked like just before we moved in.
Then this is after I painted the walls…it was still a bland boring wall of windows.
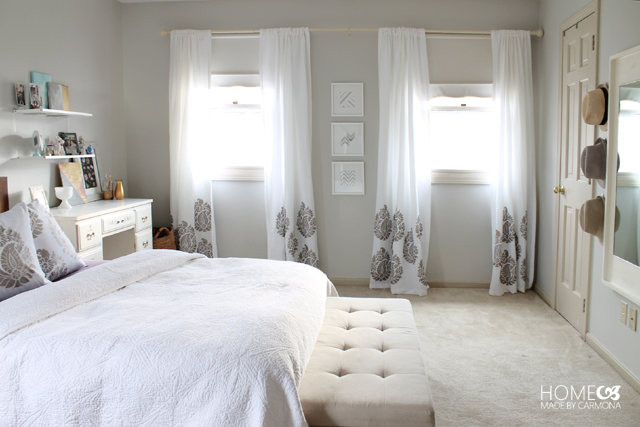
See what I mean? A fresh coat of paint, some wall art, a nicely made bed, and the stenciled accent pieces make a world of difference! This bedroom is light, airy, and simply gorgeous now.
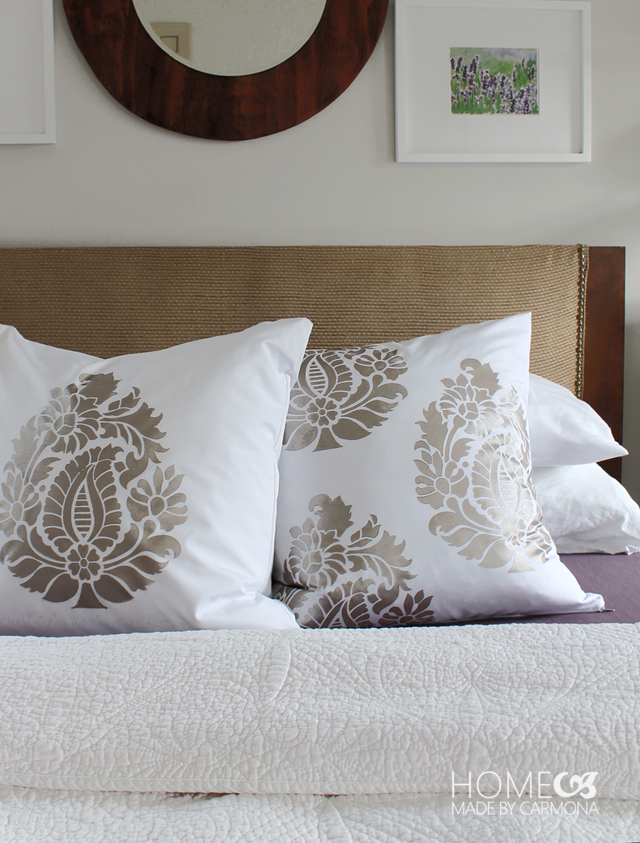
How cute are these throw pillow covers? One stenciled design in the middle, and another with a few paisley’s slightly off kilter to add some interest.
Take a closer look at those pillows. I am so amazed at how flawless the design is! I definitely have a new obsession, and I think a few walls in my house will be experiencing that new obsession quite soon! 😀
If you really want to add some interest in a space, consider using Royal Design Studio stencils on accent walls, quilts, DIY art, furniture, floors, and more.
Is there a space in your house you think could use a little interest and design? What is it? I’d love for you to share your project with me, and which Royal design stencil you are thinking of using. You know me, always excited to see what the HMC makers, movers, and shakers are up to! 🙂
**A special thank you to Royal Design Studio for sponsoring this project. The opinions and project ideas, as always, are my own. For more design inspiration (and even discounts!), follow Royal Design Studio on Facebook, Pinterest, and Twitter.

[go_portfolio id=”diy_gallery”]


Wow! This is beautiful!!!!
I have to do this. Thanks for sharing Ursula.
Thanks Ursula for a great design idea, I have never thought about this before!
Wow, I could have never guessed those designs were done with paint and stencil! Beautiful! I’m impressed there was no bleeding and the edges are crisp. Thanks for sharing!
Shonee
http://www.hawthorneandmain.com
That stencil paint looks incredible! I really need to find something to try it on. So pretty how it ties everything together.
Thanks so much Corinna! 🙂