So, what do you do once you’ve bought or painted the perfect picture for your space, and then discover that it is too small for the matte? Apparently you panic, then you make a run to a store that does custom framing, then you hyperventilate when you hear how much it will cost, then you say “no thanks”, run home and get creative!
Well, ready to get creative? *grin* I guess I’m going to be the matte maker this time around. I was the artist last week, so why not attempt a matte revamp?
Well, ready to get creative? *grin* I guess I’m going to be the matte maker this time around. I was the artist last week, so why not attempt a matte revamp?
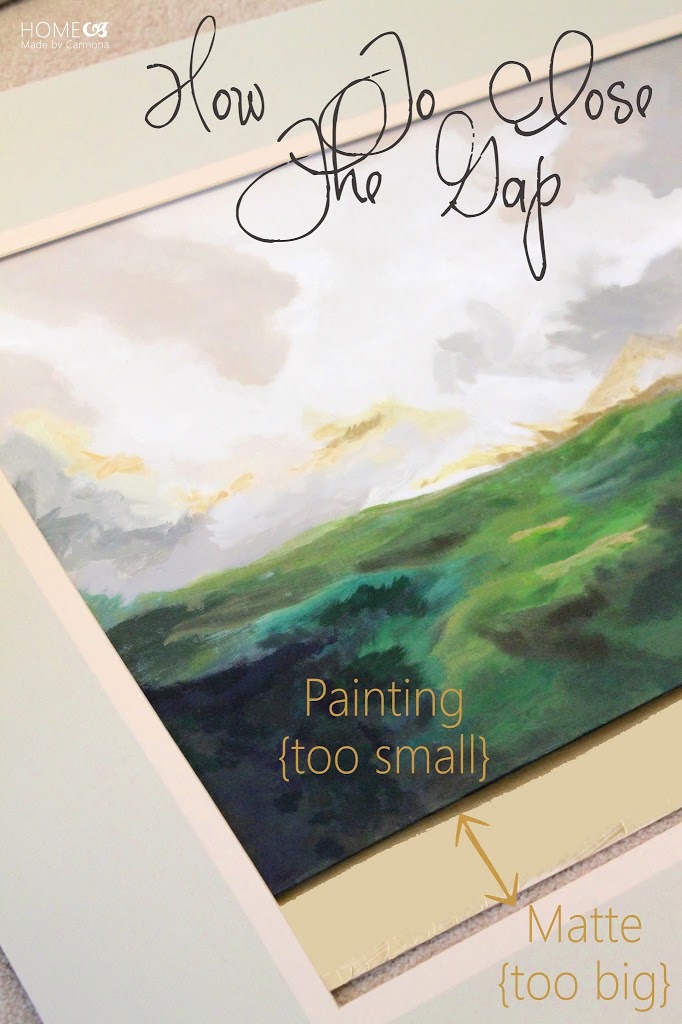
Ok, you’re wondering how I could miss something so obvious. *chuckle* I didn’t really. This size canvass was on sale for a mere $5, and any larger size would have been north of $30! I decided to save my money and buy a new matte or re-size the current matte. Well, you know me, I chose the cheaper solution. In my defense, I’m po’.
How To Re-Size Your Matte
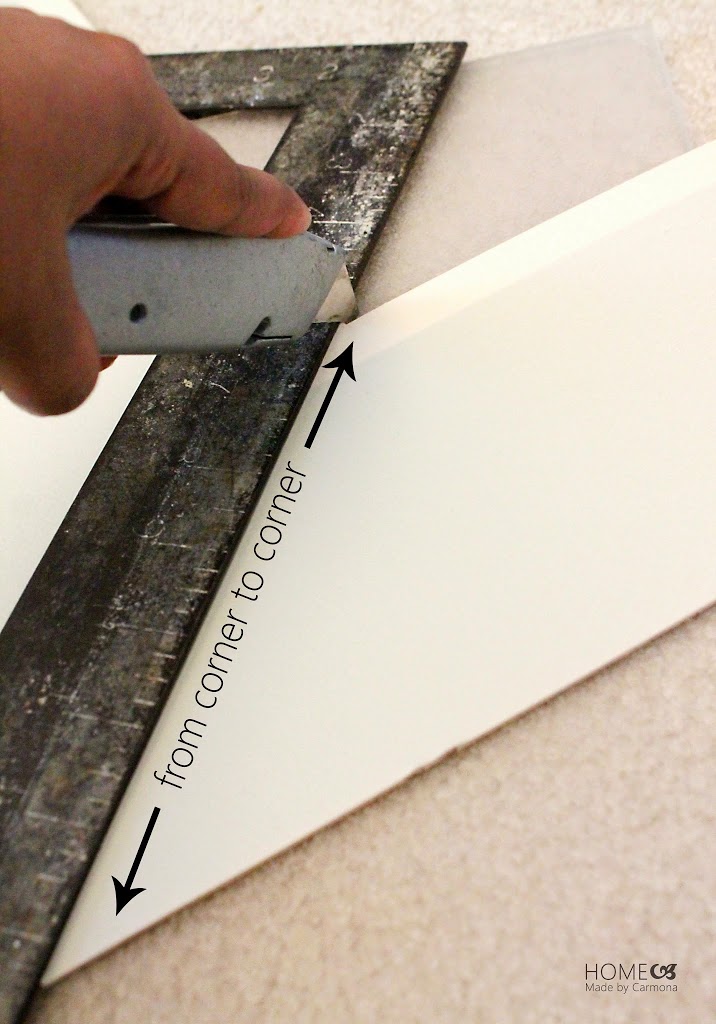
1. Select the two adjacent corners you want to shorten. Cut the matte from inside corner to outside corner. {Tip: Use a straight edge to ensure a pristine cut}
2. Overlap matte to shorten to desired new length, use straight edge to help you cut a new edge. {Tip: Be sure you hold your exacto knife at the same angle as your original cut for a snug fit}

3. Snugly fit new edges together, and tape {Tip: tape either the back of the matte, or a in a spot that will not be visible if double matted}

Final Tip: No need to do this to all 4 corners. Cut the two adjacent corners that need to be shortened, following the steps above. THEN just score the other two corners to make it look as if it has been cut.
Painting Your Matte
Occasionally there will be color discrepancies after re-sizing an old matte. The visible edges of mine were lighter than the rest of the matte. My solution, paint the matte to my preferred color! Matte’s are a thick enough material to handle acrylic paint…but don’t water your paint down, you don’t want to warp the matte.
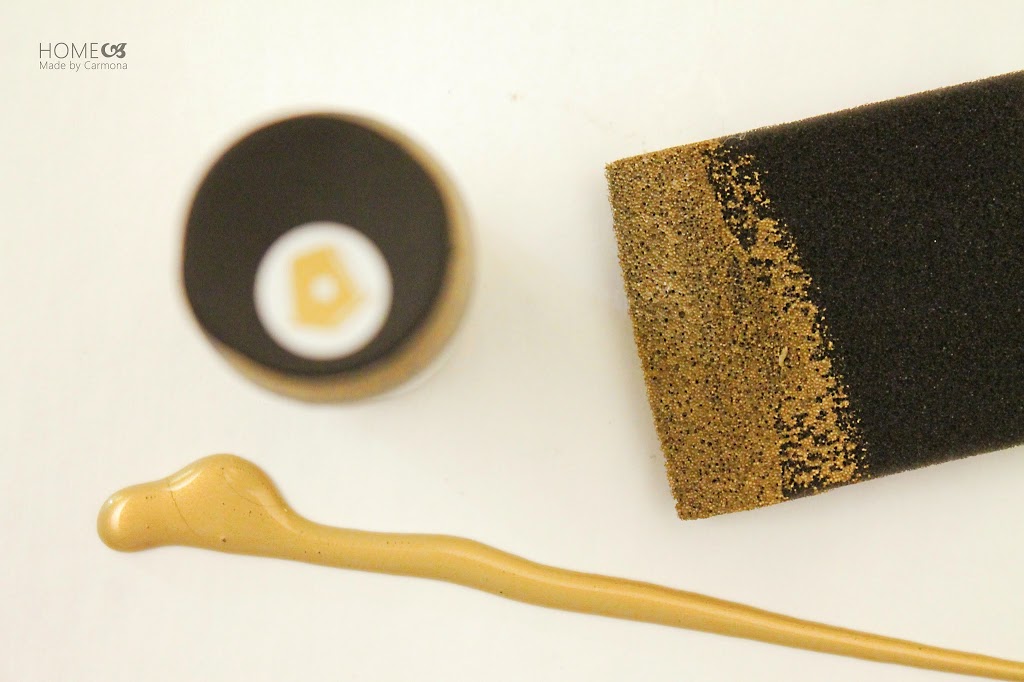
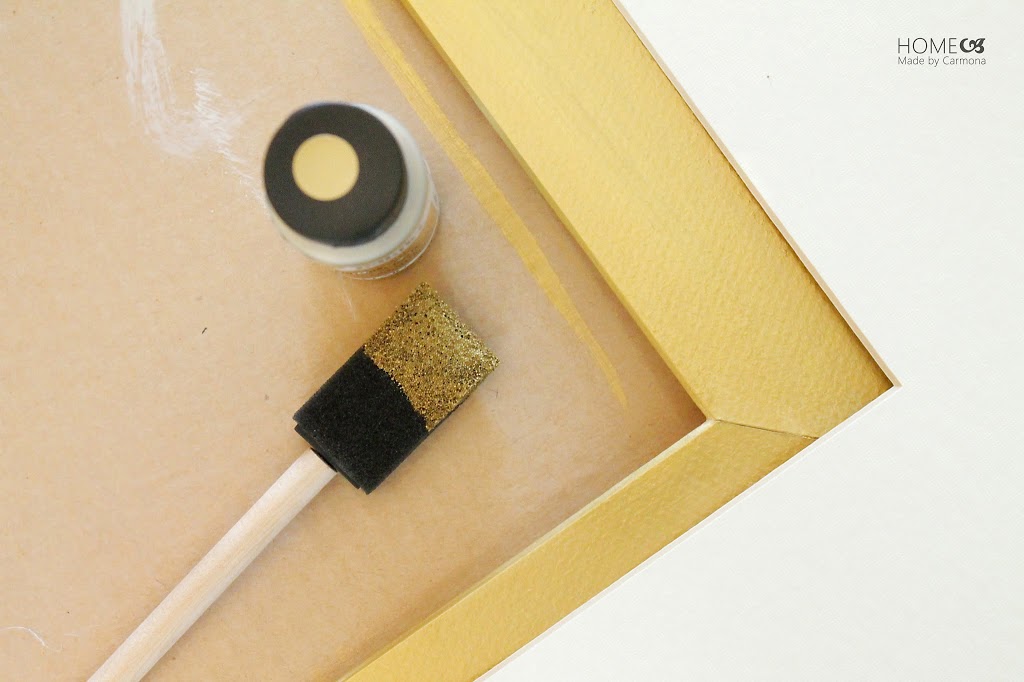
I’m using the same gold folkart brand paint that I used on my painting. After all, shouldn’t your matte be an extension of your painting and highlight its best qualities?
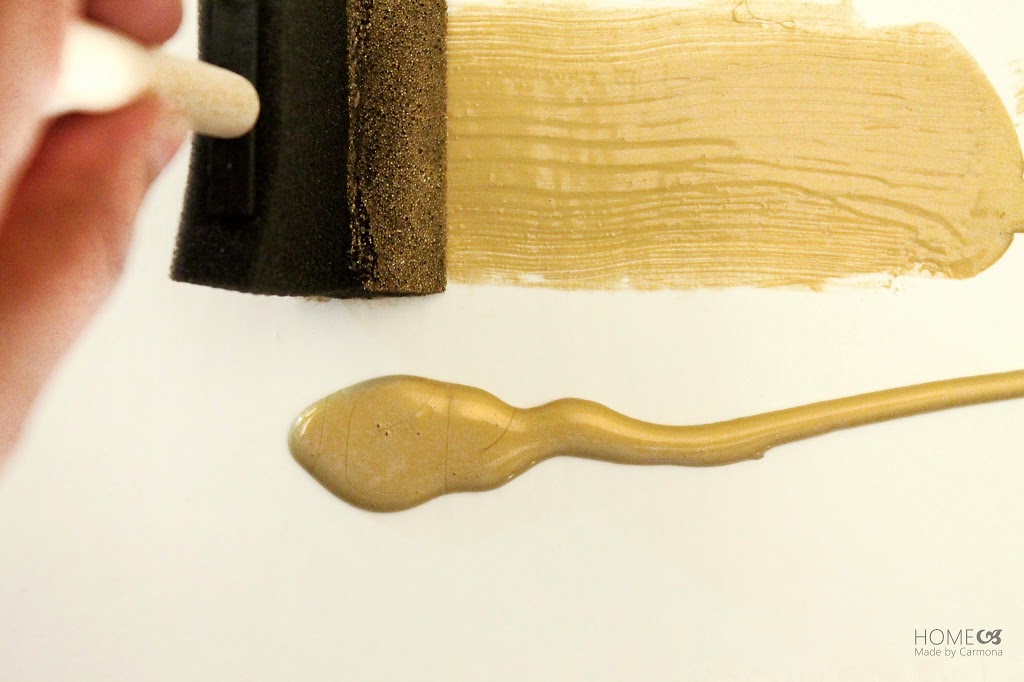
A blob of metallic gold paint (or your paint color of choice), and a sponge brush, and presto you’ve added the finishing touches to your brand new matte.
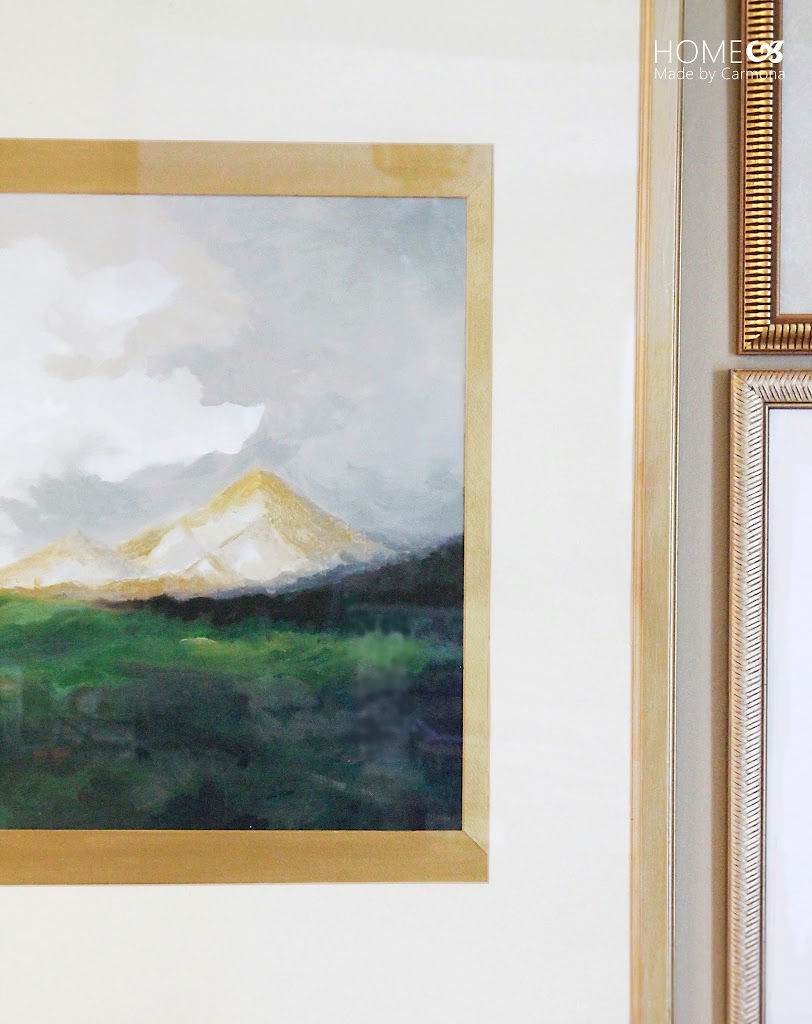
My matte is ready, my DIY art is ready, time to hang it! Click here to see how I painted the piece below.
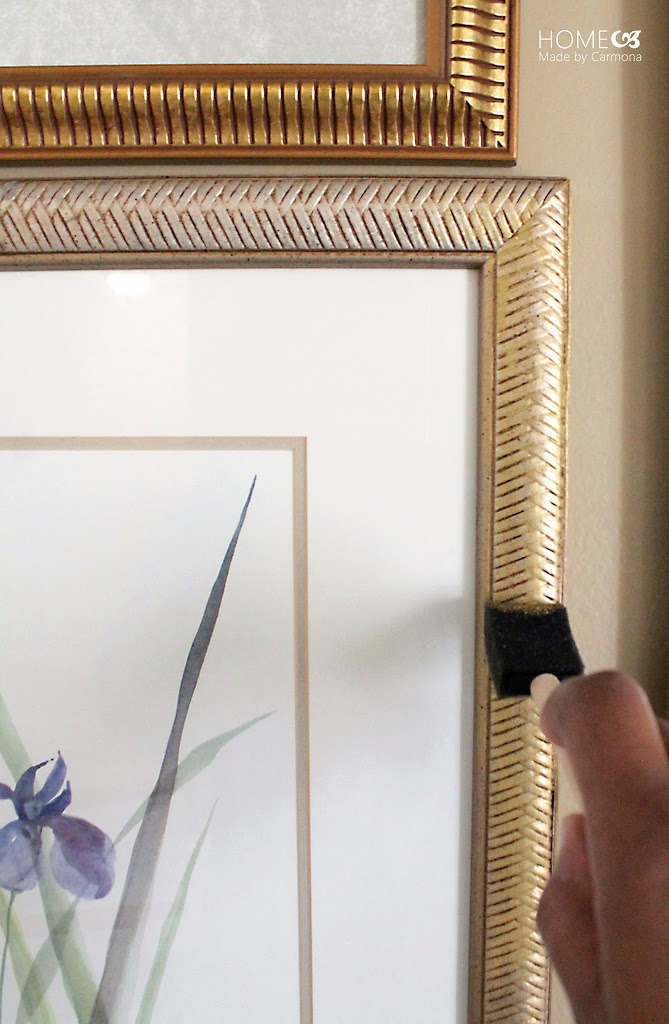
While You’ve Got That Paint In Your Hand…
Oh, and one last little tip while you have that paint in your hand… If you love the design of your frame, but the hue is just a little off, a thin transparent layer of the paint of choice may just make all the difference!
Happy matte making you artist you!


Oh my goodness, Ursula! You are a genious! I have seen other sites providing information on different topics such as yours, but I REALLY enjoy your style and finesse (sp?). You also have beautiful handwriting. Thanks for posting and Merry Christmas.
Great info!! I’m framing my homemade photography for Christmas gifts, not very crafty but you have great directions. I live in Pittsburgh but used to live in Concord, saw the NH article about you.
Thanks!!
Welcome!! I love Concord, but I’ve heard great things about Pittsburgh! Thanks so much for stopping by! 😉