I often find myself swooning over someone else’s gorgeous gallery walls and wishing and dreaming for a few amazing art filled walls of my own.
The thing about great art is that it can be quite costly… come to think of it, even “inexpensive” pre-framed art can be quite costly, especially after you’ve purchased several $30-$50 pieces. I’m slowly building up my gallery walls, but to get there a little faster and save a chunk of change, I’ve painted a few of my own landscape and abstract pieces! They’ve turned out wonderfully, but now I’ve got my eye on those chic floating frames you often see surrounding a canvas painting. Uh huh, yet another expensive desire… well, if I can whip out a painting, then why can’t I whip out a DIY floating frame to match?
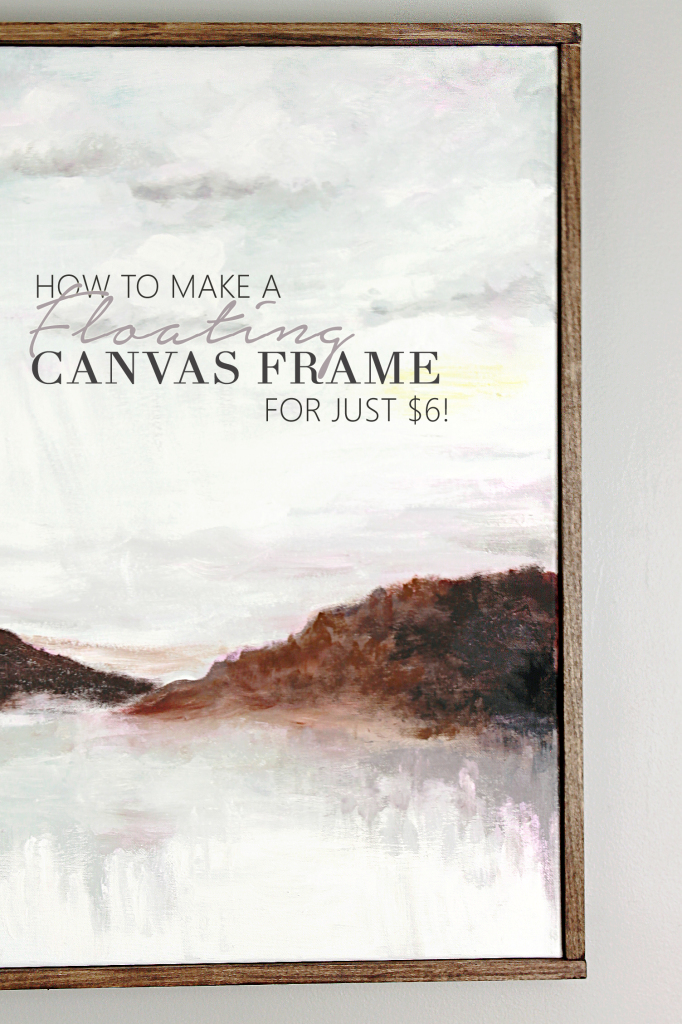
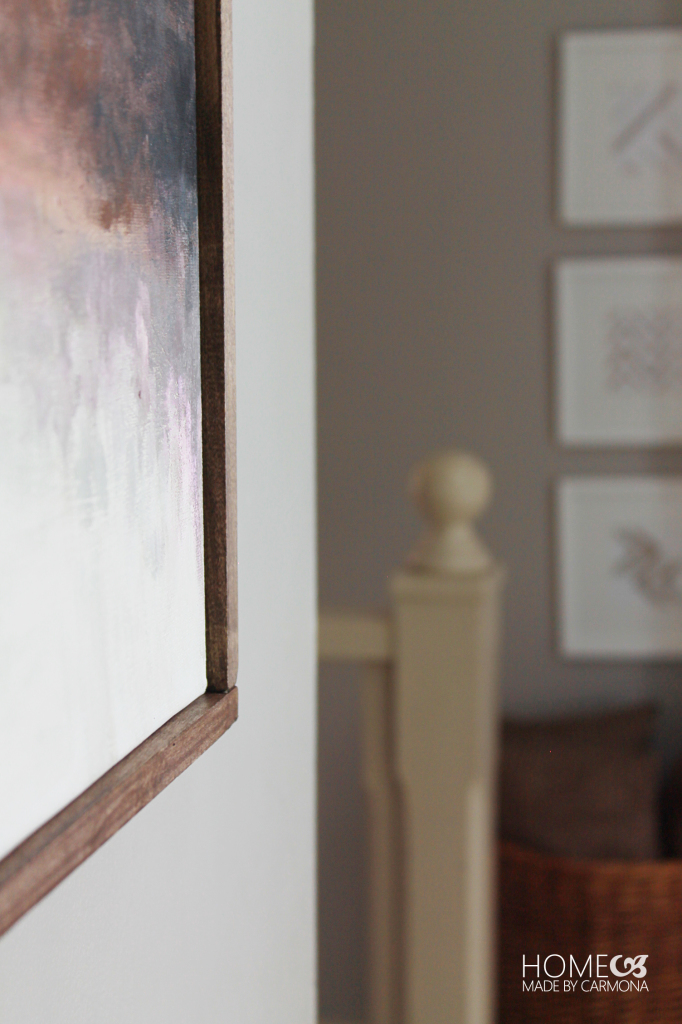
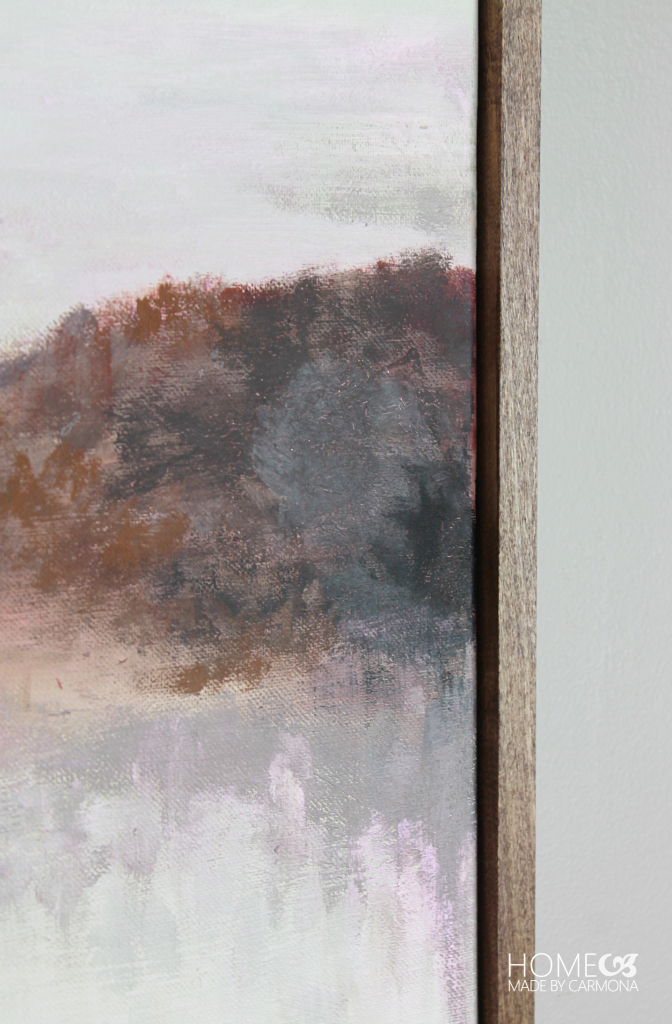
[left]That is just what I’m going to teach you how to make today! Creating a floating frame for your canvas art is fairly simple, and while you would spend anywhere from $100-$300 to purchase a floating frame (depending on the size), you will only spend between $6 – $20 to DIY your own floating frame (even up to the extra-large size floating frame)! This medium sized frame cost me $6 to make! Each 1/2″ piece of wood only cost $2 and change (almost $3), and I only used two pieces cut to size to make this frame. I already had screws and wood stain, so I’m not factoring those into the cost of this particular frame.[/left]
[right] [pullquote width=”250″ float=”left”]You would spend anywhere from $100-$300 to purchase a floating frame…you will only spend between $6 – $20 to DIY your own floating frame![/pullquote][/right]
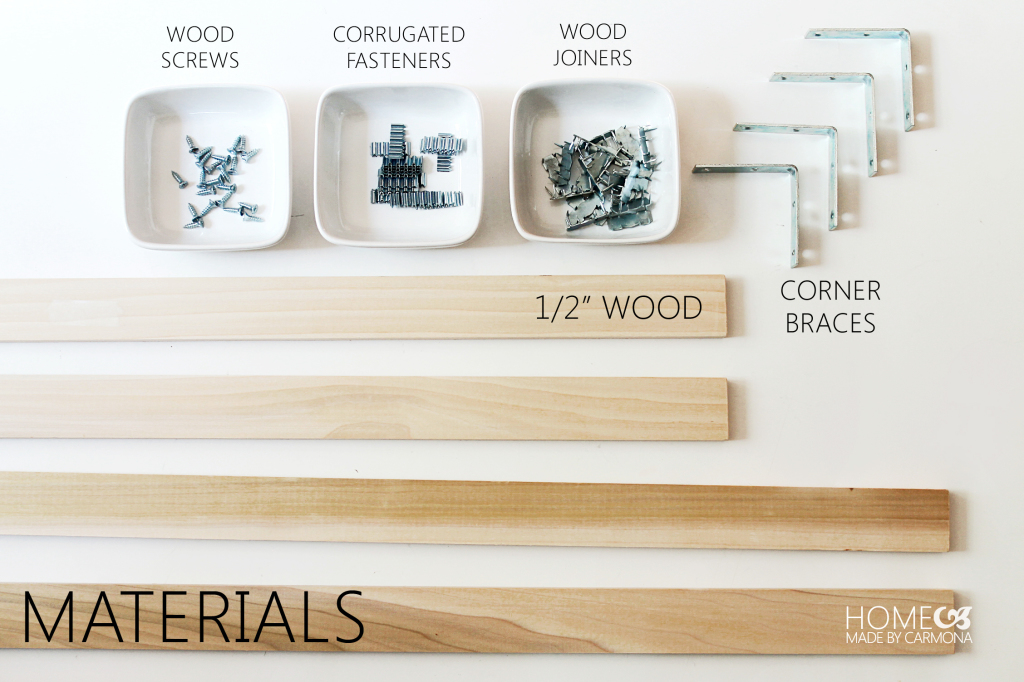
Here are some of the materials you MAY need (not all are required, I’ll explain below).
You should know that there are two types of canvas frames. One creates a nice snug fit between the canvas and the frame, the other leaves a little gap to create that floating effect. They are both beautiful, and honestly the difference might not mean much, but for those who have a specific vision in mind, I’m going to show you both ways. Let’s start with the snug fit frame, as it really only requires wood and screws.
How To Make a Snug Fit Frame
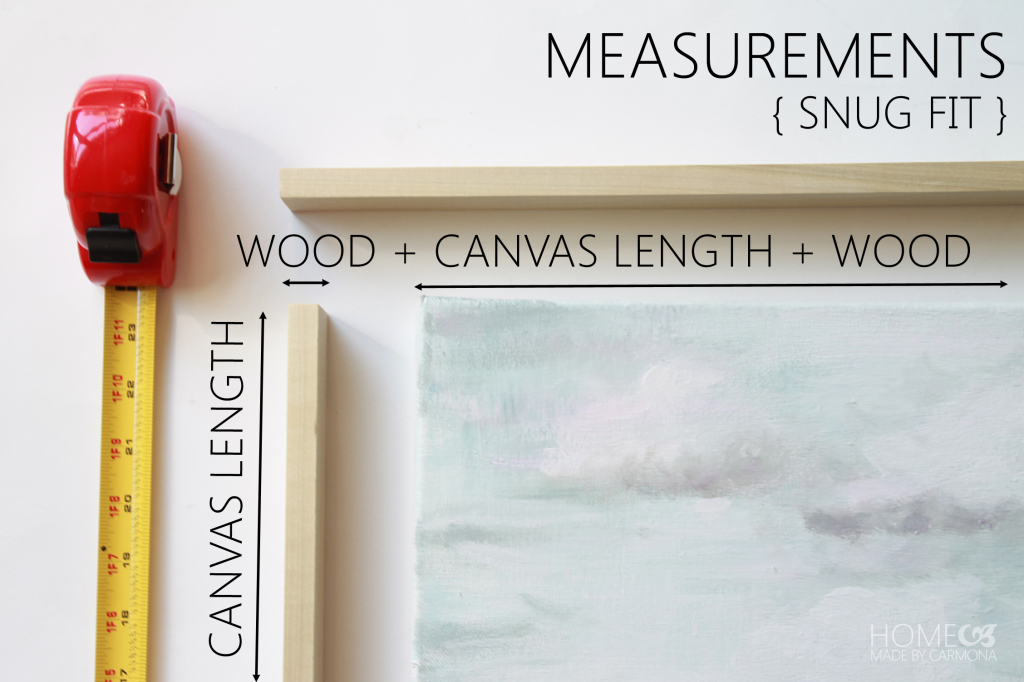
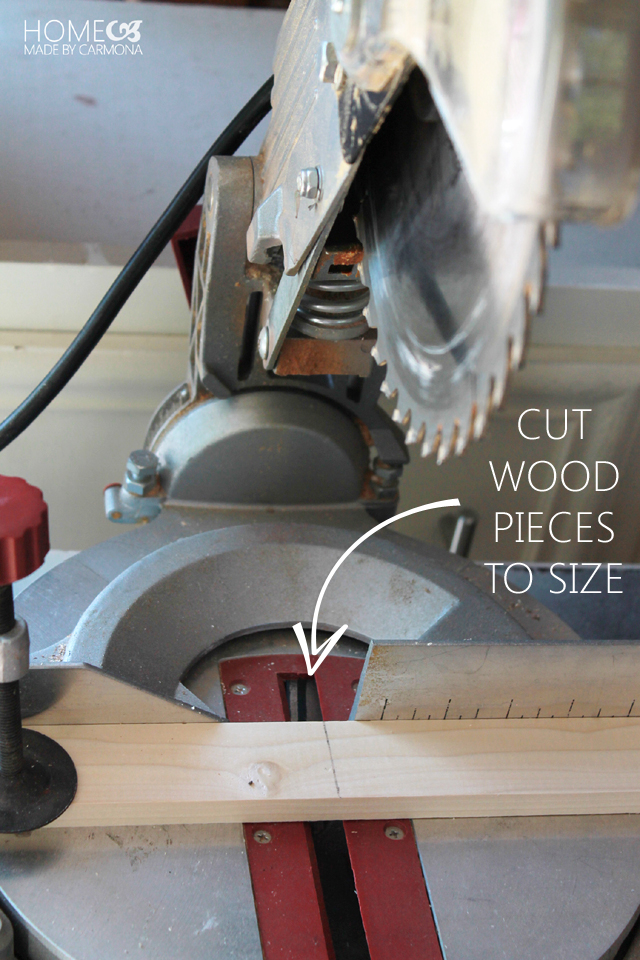
Measure & Cut Wood Strips To Size
Materials for the Snug Fit Frame:
- Wood pieces long enough to overlap the 4 sides of your canvas: I like 1/2″ wood strips, but you can use whatever thickness you prefer.
- Screws sized to pierce through the thickness of your wood: be sure the screws are at least a 1/4″ longer than the thickness of the wood you chose.
- Paint or Stain: whatever finish you desire!
To determine the measurements: Two wood strips should be the exact measurement of the canvas height. Two more wood strips should equal the exact horizontal measurement of the canvas, plus the thickness of the wood twice (which for me is an additional 1/2″ + 1/2″).
Don’t forget to double check your measurements before you cut!
When you are done, you should be able to lay all 4 wood pieces snugly around the canvas and have flush edges all around!
Drill Pilot Holes
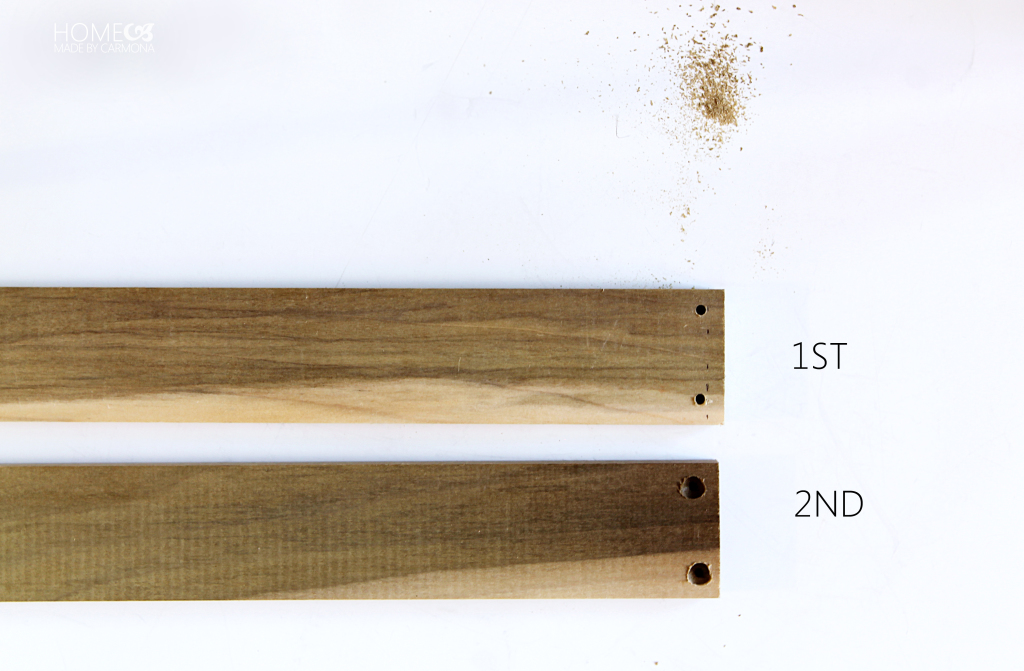
Next you will be drilling pilot holes in the two wood pieces that overlap. Start with a bit smaller than the screw diameter, and drill all the way through. Then a larger drill bit and drill shallowly (just enough to sink your screw heads into so they don’t show).
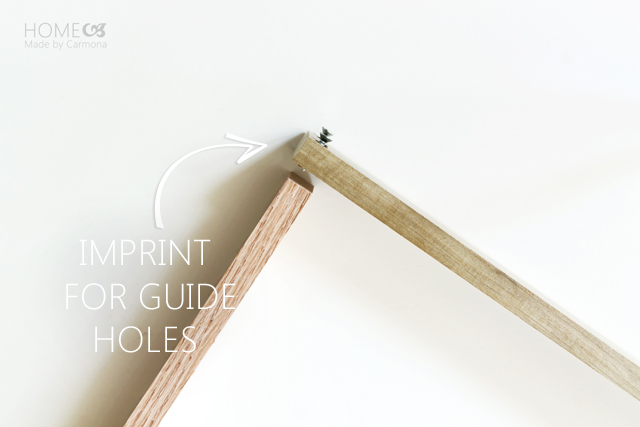
Now, this is a nifty little trick so you know where to drill the pilot holes in the second set of wood slats without making any mistakes or shifting the wood. Next insert your screws just enough for the tips to poke through, line it flush with the wood it will join to, and press together to leave an imprint. Now drill pilot holes into the imprint left. All these guide/pilot holes are important so that the wood doesn’t split and your seams are precisely joined.
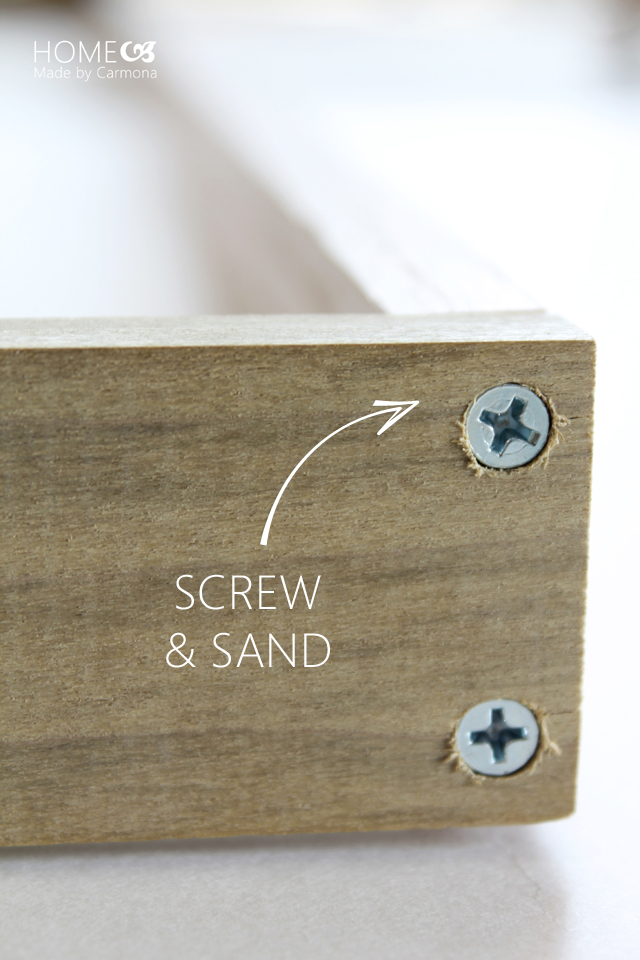
Insert Screws & Sand
Now you can screw all your wood pieces together. The screw heads should sink so that it is flush with the wood. Sand any rough or splintered edges…including those around the screw heads.
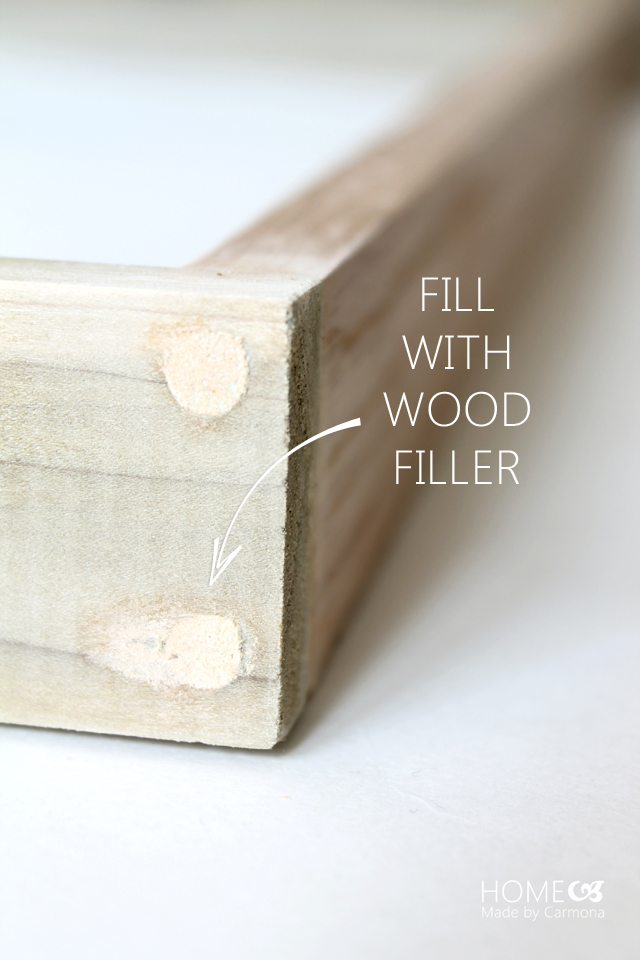
Fill With Wood Filler
Now go ahead and cover the screw heads with wood filler. You want to fill any voids so that your frame is seamless! Sand it with fine grit paper once it is completely dry and paint or stain it to your color choice!
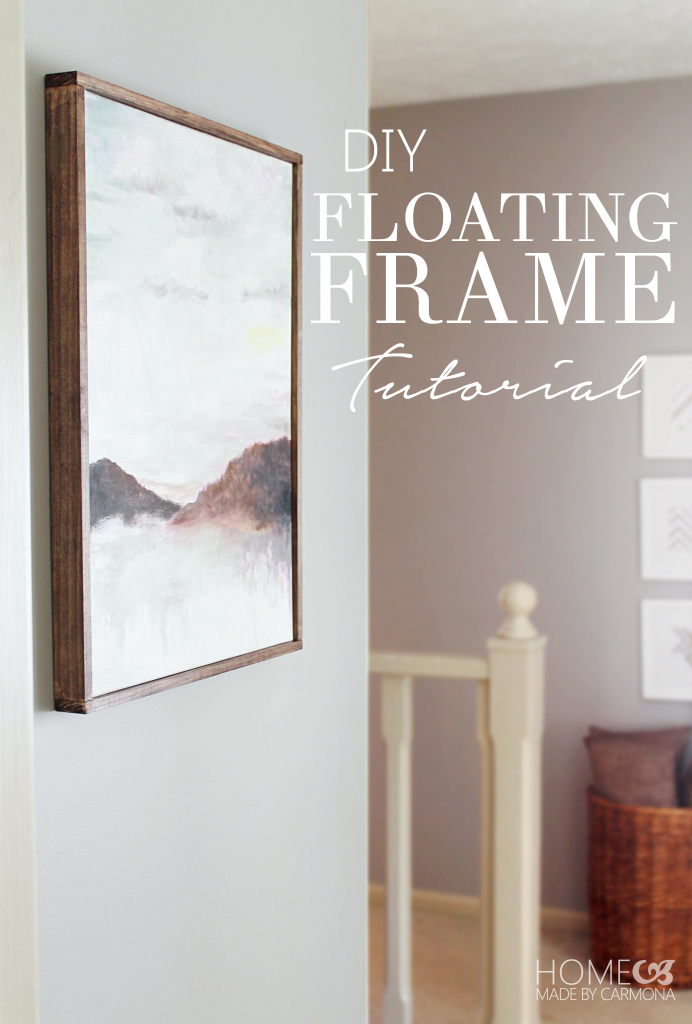
Isn’t it stunning? I can’t wait to make more and begin to fill up my walls with art!
Now, there is a second method you might prefer…one that allows space between the canvas and the frame to gain that “floating” effect.








I have noticed a few people asking how to attach the frame to the canvas. If the canvas ant frame thickness is the same, you can use a staple gun and put one leg of the staple in the edge of the frame and the other in the canvas frame and staple the two together. Use as many staples as necessary to hold it in place. It will hold it firmly in place. If the canvas frame thickness is less than the frame, lay some cardboard under the print to build it up until they are level and staple together.
Silly question but what kind of saw do you use?
Not a silly question at all! A compound miter saw.
If my canvas is 0.75 inches deep and I’m using 1/2 inch thick pine board should I find boards that are 1/2” thick and 3/4” inch wide….so the canvas and boards are the same? You do t mention that in the directions that I can find.
Of course.
Thank you. This is very clearly explained and well written. 🙂
I know this is kind of an old post, but by chance do you know what stain you used? I really like how yours came out. I already have some furring strips that I want to use for a frame. Thanks!
I used Minwax dark walnut stain, it is one of my favorite finishes!
Where did you get your wood/what length and type of wood did you buy? I just did this project today but my wood was much more expensive— even though I got simple pine! I’m dying to know how you got yours so cheap.
I have seen it called “craft wood” at some stores, and I’ve also used/seen “furring strips” at other stores at great prices. It is different thickness depending on where you go. I got mine originally from The Home Depot.
Hi great tutorial. I just dont see how you attach the canvas in the snug fit frame? Som kind of backing or glue ? Thanks, Lene
You can screw it onto the frame from the inside of the canvas if needed. I actually didn’t attach mine at all, because it fits snugly enough to hold it in place. Then if ever I want to change frames, I can do so by just popping it out.
where did the corner braces come in?
The corner braces are for the “floating” fit, which is found in part 2, the next post linked at the bottom of this one. 😉
If u have a canvas print that the pic is “bubbling”, is there any way to get the bubbles out? Once done can I use kraft paper to cover the back again? Also, when making the frame how much room should I leave if I wanted to put a pc of non-glare glass over the pic? Just chg the measurement of the wood frame?
I’m afraid I don’t know what to do if a canvas print has bubbling. So sorry to hear that is happening to your canvas. Yes, kraft paper is a great way to cover the back if you like it to be covered. If you want to put a piece of glass over the picture, you would need to be able to use a router and create a niche for the glass to slide into. You would also have to set your canvas deeper into the frame rather than have it line up with the edges of the floating frame. It is a bit more work, and requires some skill with a router or table saw, but it is doable.
Assuming your canvas print is on stretcher bars, if your frame is too snug around the canvas, there is no room for the wood to expand. As the wood in both the frame and the stretcher bars expand, it puts uneven pressure on the bars, causing the canvas to warp and create “bubbles.” To fix this, remove the frame. If the canvas does not flatten out, LIGHTLY mist the back of the canvas with water and leave it for a few days to allow the canvas to shrink and resize itself. If that still does not work, you will need to have the canvas restretched. You need the frame to be at least 1/8″ larger than the canvas to avoid this problem. If your print is valuable, do not try the misting method, take it to a professional art restorer. Good luck.
What type of wood do you use? Could you just glue the sides together rather than using screws? Maybe using a couple of screws when put together for strength? Thank you.
Loving the tutorials and really easy to follow! Will let yiu know how it goes and send a pic!
Just curious: how does the canvas stay in the frame? Just by fitting in snugly? What kind of hanger did you use on the back?
Thanks for the tutorial!
Karin
Hi! Yes, the snugness of the frame is really all you need. But if it isn’t snug enough, no worries! You can use corrugated fasteners at the back to hold in place. There is more about that in part 2 of this tutorial (the loose fit).
I simply hang the canvas normally with picture frame wire, then slide the frame onto the canvas…it is all so lightweight, that it works!
Hope that helps! Thanks for following!!
Great tutorial! I’ve also been drooling over the framed canvases lately, can’t wait to try this out!
Excellent tutorial! Tweet and pin by me.
Thank you! And thank you for the share!! 😉