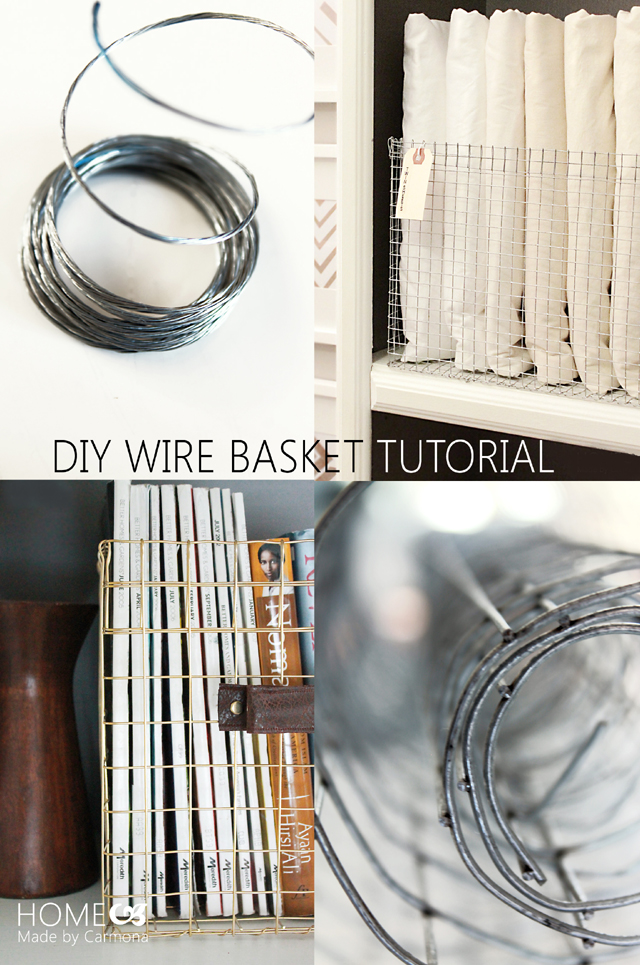
I have wanted wire baskets forever! Ever since seeing them in a lovely Pottery Barn catalog. But $20-$30 for a single large basket? Uhhh, yeah right, even if my husband said “honey I want to buy you something special” I’d have to say no… are you kidding, do you know how many beautiful things I could stretch that $30 into? Or the $60 it takes to own three or four! So you can’t imagine how thrilled I was to discover that you can make your own DIY wire baskets!
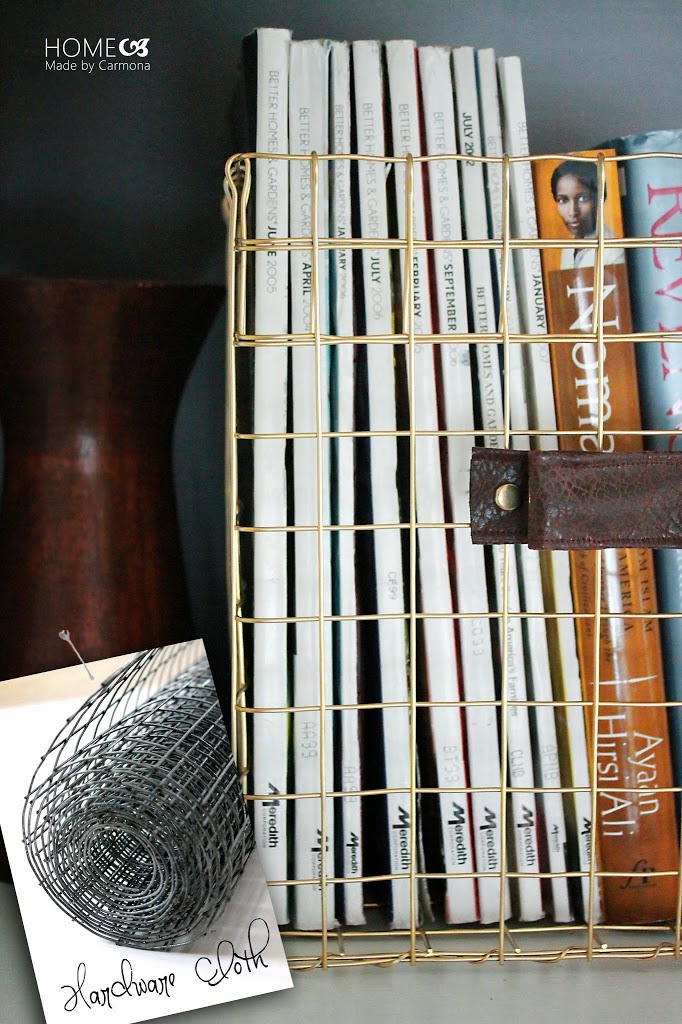
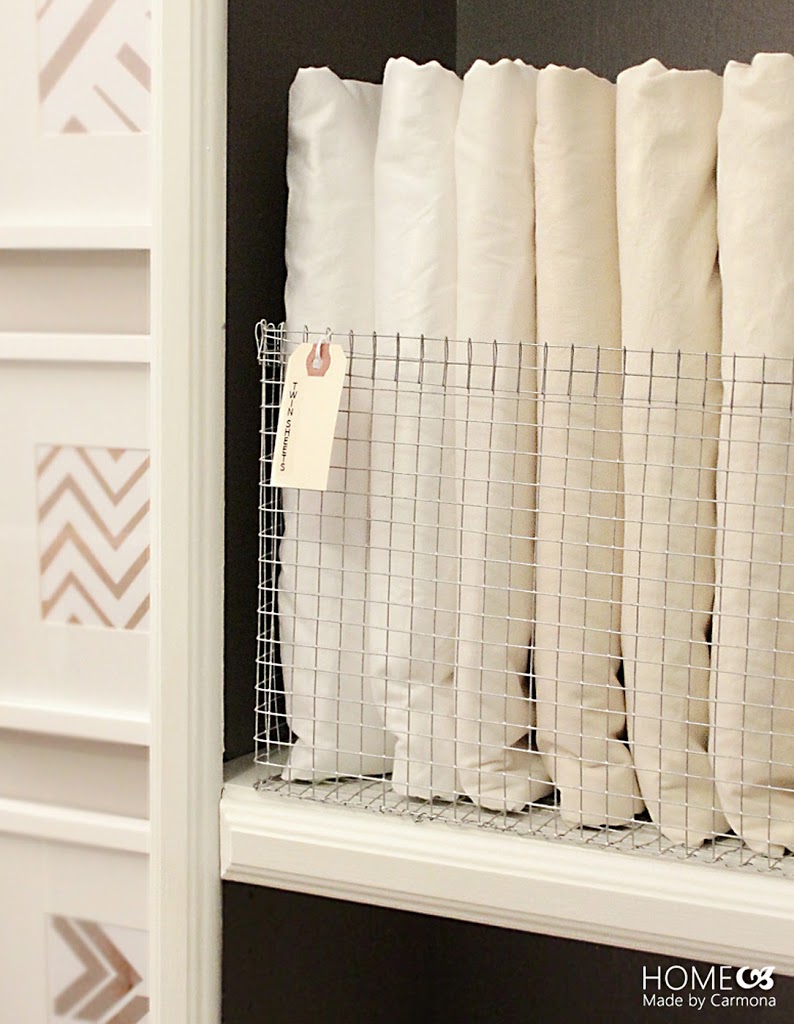
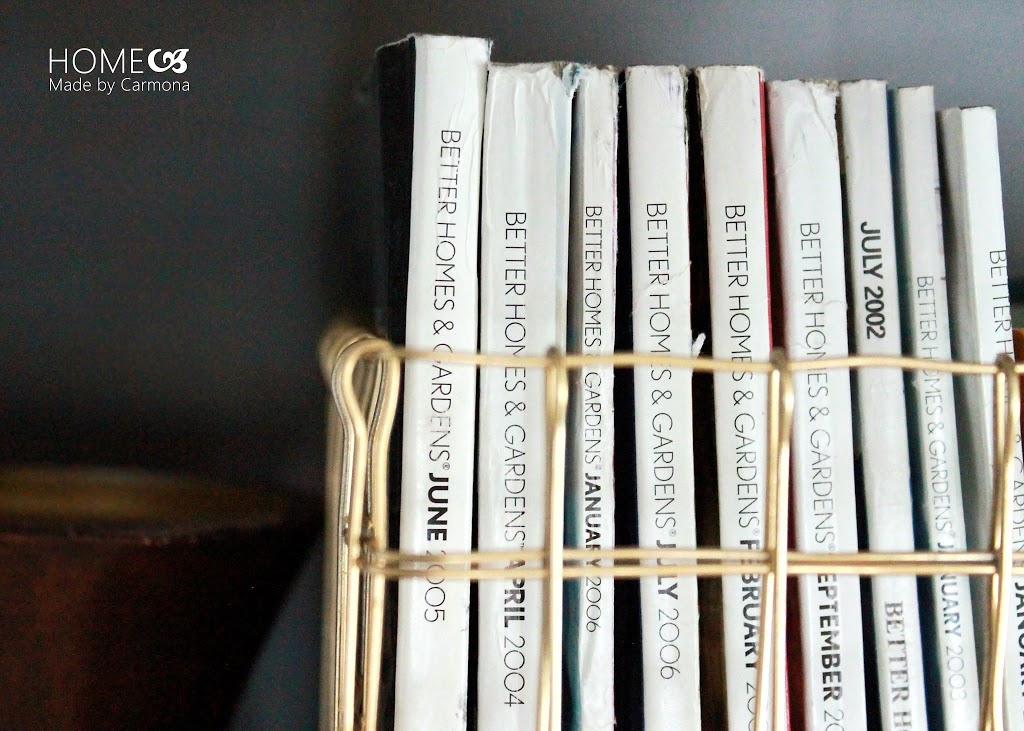
I know many of you have been waiting for this tutorial, ever since I featured my first set of baskets in the upstairs hall storage post here. Then I made gold basket above which I featured in my bookcase makeover here. So finally I’m sharing the how-to!
This tutorial is best shown, so watch my video on a simple method for making your own basket, then below you will find technique tips, and instructions to make a faux leather handle. Happy viewing!
TECHNIQUE TIPS
I first saw DIY wire baskets via Turnstyle Vogue and began making my own version. It took a while for me to share because I wanted to perfect the technique. This method reduces the number of raw edges that will be exposed. Just to help you get it right the first time, here are a few tips to aid along the way:
- Sharp Wire Cutters: Always use sharp shears, it keeps cut wire from being too jagged or frayed.
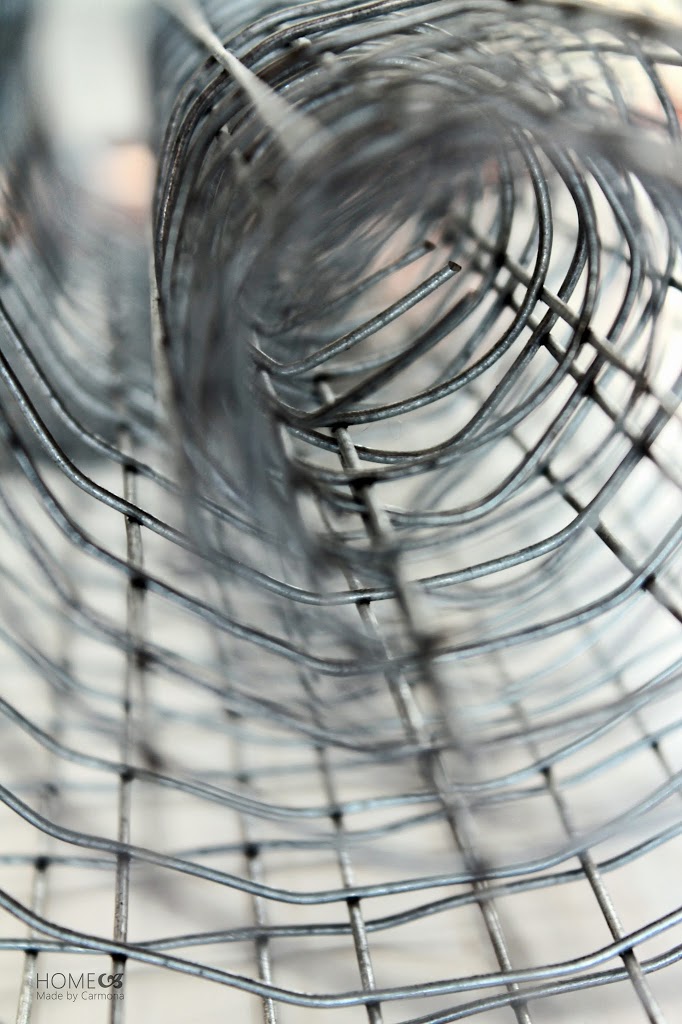
- Unfurl Wire Roll: Before cutting your pieces out, lay the roll face down and carefully straighten it out as much as possible. This will make cutting an easier process.
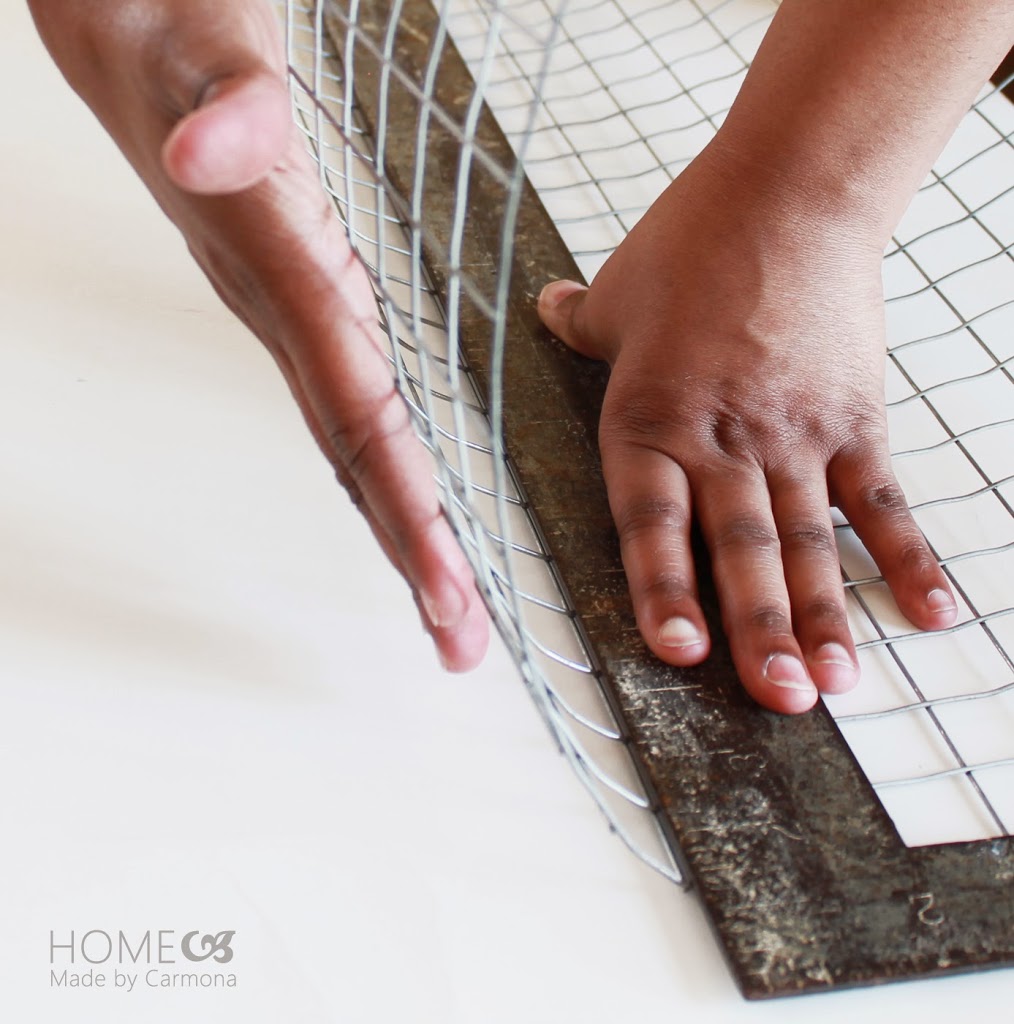
- Keep All Cuts Flush: Cut as close to the edge of spine of the criss -crossed wire as possible. This ensures no sharp wires will protrude out of your basket.
- Bend on the Spine: Every time you bend the wire, do so at a spine and not in between two rows. Always make your bend as square as possible as opposed to curved. This lends to a professional finish.
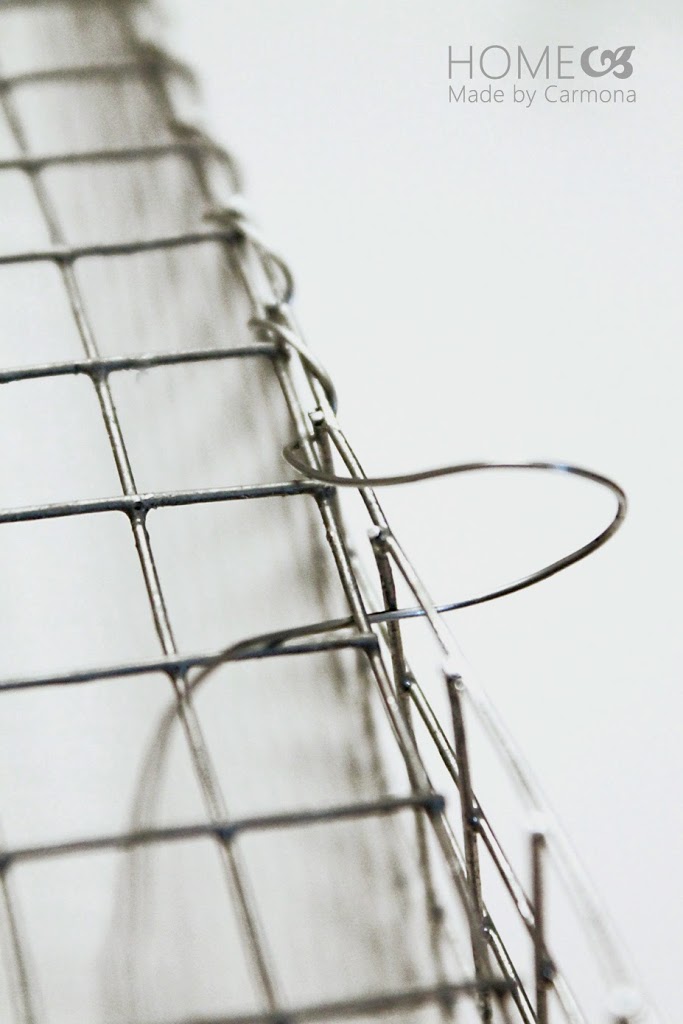
- Reinforced Top Tip: When doubling over what will be the top of your basket, be sure to bend on the spine, and make the squares line up.
- Weaving Tip: Don’t think of this quite the same as sewing. Rather than pulling your wire through by the top (as you would thread), gently guide the wire (and any kinks or loops) through by the top, then middle portion. Once you have brought the wire through the square pull taut by the base of the wire (not top).
- Take Your Time: Once you get the hang of it you can breeze through making baskets in 20 minutes, but how precise you are determines how good your basket looks!
- Spray Paint: Customize your baskets with a coat of your favorite color spray paint, and finish with a coat of clear protective spray paint.
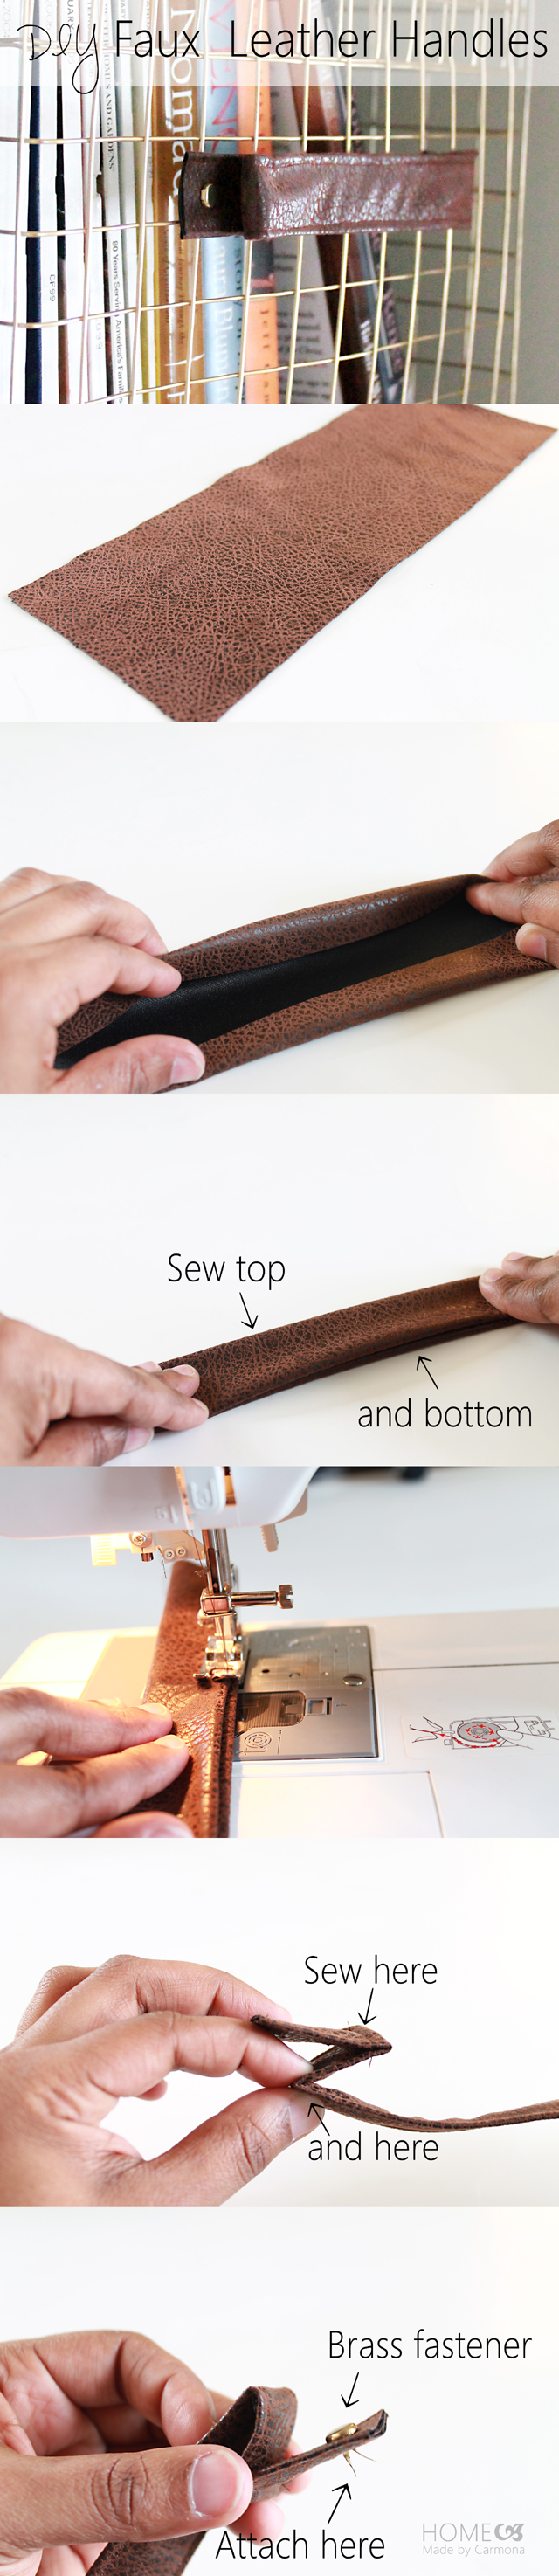
DIY LEATHER HANDLE
Follow the pictured instructions:


Hi Ursula, how much weight will these hold? For instance, would the bottom warp if full of jars or cans? Thanks!
Thank you so much for this wonderful tutorial! I can’t wait to get started on my wire basket!
Great idea. Thank you so much for sharing. Now I can save more things. Thanks again.
This is a great tutorial… many thanks for guiding us through each of the steps to make a perfect wire basket!:)
This is such an outstanding video with clear instructions! I’m SO doing this. And guess what – they are many more projects by this young lady on her blog so be SURE to check THEM all out. WOW. I’m just so impressed with what she tackles and the clear instructions on how to do it. Am adding her to my list to follow!
Hi, do you know how you can make a slimmer basket wall mountable?
Thank you! I made one today and it was so easy and cheap! Hardware cloth for $7 and wire for less than 5! No idea you could make wire baskets so easily.
Ursula, they’re wonderful! I’m going to definitely be making some of these. Just awesome.
AWESOME SAUCE!! Sharing across my social media 🙂
Aw, thanks! And thanks for the shoutout!!
This basket is seriously the cutest! Wow I just loved the video, you did such a great job explaining the process!
Thank you! Haha, glad it wasn’t too hard to follow. 😉
This is amazing! One day I dream of making some – pinned for now!!
Thank you Krista!
QUESTION: What kind of wire did you use to make the basket? Chicken wire perhaps.
I actually used hardware cloth… you’ll find it right by the chicken wire in your hardware store. 😉
OMG! Ursula, I’ve wanted those baskets too for so long. Thank you for sharing how to DIY them. Definitely pinning to my TO DO list. Will let you know how it goes.
Thanks Vidya,
I had wanted wire baskets for a long time too! 😀
Wow, these are amazing! I can’t wait to make some! And you, my friend, are a natural in front of a video camera!! 🙂 See you Sunday!
Thanks Kimm… I’m looking forward to it!!
I just LOVE this! Do you think it would be sturdy enough to hold a bunch of records?
Thank you! Yes, as long as you use the thick wire (the ones with the larger holes) and place a piece of wood at the bottom. I do this for the baskets that hold my books!
Are you able to give me an idea of what you mean by “thick wire”? What gauge wire is the wire screening that you are using?
I have actually used quite a variety of hardware cloth! From the smallest available gauge to half inch squares and up… Both baskets featured here are different sizes of hardware cloth. It’s really all about what style you are looking for. 🙂
You are so inspiring. So glad I found your blog!!!
Aw, thank you Erin, that is so sweet of you to say!
Looks great! I actually have some of this wire left over from my DIY flower tower at home. I will have to try this! See you at Haven!
Thanks! I look forward to it!!
ursula wow woman you are fantastic loved your bathroom and now these baskets are so dang cool thanks again xx
WOW! These are so cool and that leather handle is the perfect touch. Thank you, thank you for linking up with us at The Makers. 🙂 Off to pin!
Well this is awesome – I just wish I had seen it months ago! I have redone my dining room in industrial farmhouse and am currently working on a revamp of the den in the same style. I hope you will stop by http://www.anygirlcandoit.com and check out some of my stuff – dining room reveal will go live on Monday. Just added you on bloglovin too – I want to see more from you!
Stacy
http://www.anygirlcandoit.com
I absolutely will! Thank you!
This is really cool! It reminds me of an art project I did years ago where I sewed panels of wire mesh together.
I’m sure I’m one of many who found this via Centsational Girl. I love the baskets and definitely want to try them out! Your tutorial and tips are great
Thank you!
awesome…. just awesome!
THIS IS AMAZING. I LOVE how it turned out!!!
I LOVE this idea!! Great tutorial and project. Vintage Industrial Farmhouse is my favorite look.
xo,
Shannon
http://www.akadesign.ca
Thank you Shannon! Congrats on moving forward in CWTS!! You are rocking it girl!
Ursula, I love the baskets and the diy instructions. The baskets are very professional looking and are just perfect for a need I have! The youtube video was just great. Your instructions and presentation were excellent!
Ursula, I just watched your basket video. Great explanation. My fingers hurt already, though LOL! Seriously, they are lovely. Would you spray paint the hardware cloth before making the basket or after it is complete? Thanks.
Thank you! Lol, yes it can be hard on your hands, it helps to have a second person help hold it.
Definitely spray AFTER you complete the basket.
That makes sense. I was thinking about it after I asked the question and decided that if the hardware cloth was painted first the paint would probably need to be redone after all of the bending and twisting plus the wiring to hold the pieces together.