 [left]
Hello all, it’s Anna from Annabode + Co. again! I have been yearning for some modern, minimalist furniture in our new Denver home which is why I’m so excited to share this DIY side table with you. For a while now I’ve been lusting after this gorgeous bowl table from Leibal but it’s seriously out of my budget. (Whomp, whomp.) As usual, Target came to my rescue and now I can show you how to make a similar version for only $40–instead of $400![/left]
[right]

[/right]
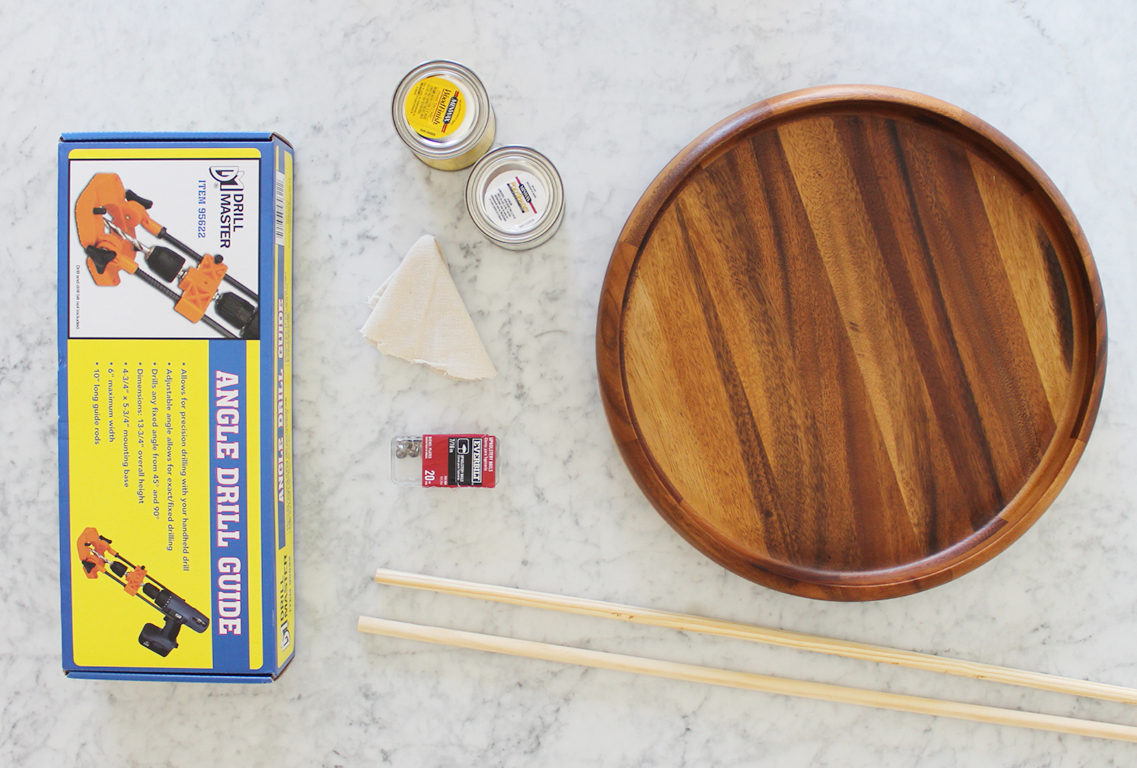
Here’s what you’ll need:
- Two ½” x 48” hardwood round dowels
- Upholstery nails, any color
- Round, wooden tray (like this Target one)
- Black spray paint
- Liquid Nails or another construction adhesive
- Length of scrap wood, at least 1/2″ thick and 8″ long
- Angle drill guide
- Graduated drill bits, up to 7/16″
- Duct tape
- Sandpaper, any grit
- Six 1.5″ screws
Optional:
- Minwax Wood Finish in “Weathered Oak”
- A rag or two
- Orbital sander with sandpaper in varying grits
- Several sandpaper sheets, from 80-220 grit
- Protractor
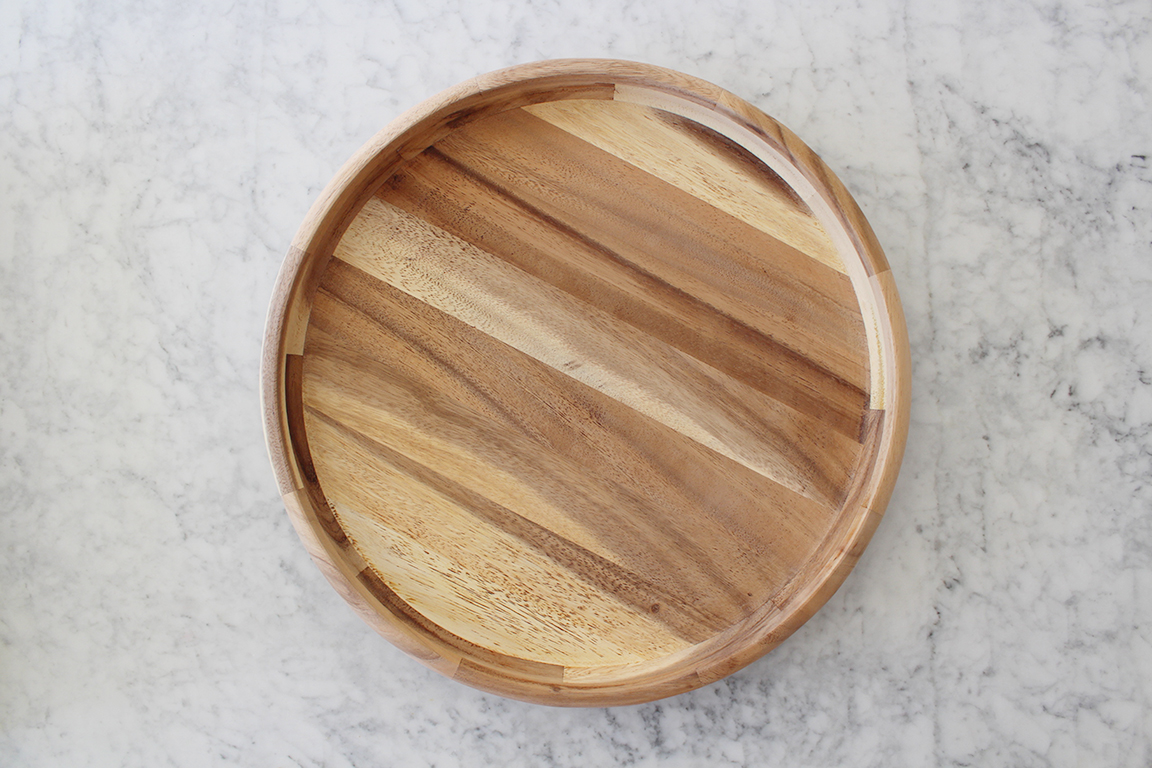
It’s up to you whether or not you want to sand the tray. I personally didn’t like the shiny finish and dark color, so decided it had to go. If you agree, it’s easiest to use an orbital sander with 80 grit paper and graduate to 220, and then sand the inner edges by hand. It’s more time consuming but I think worth it in the end. Afterwards, use the rag to apply the stain and let dry.
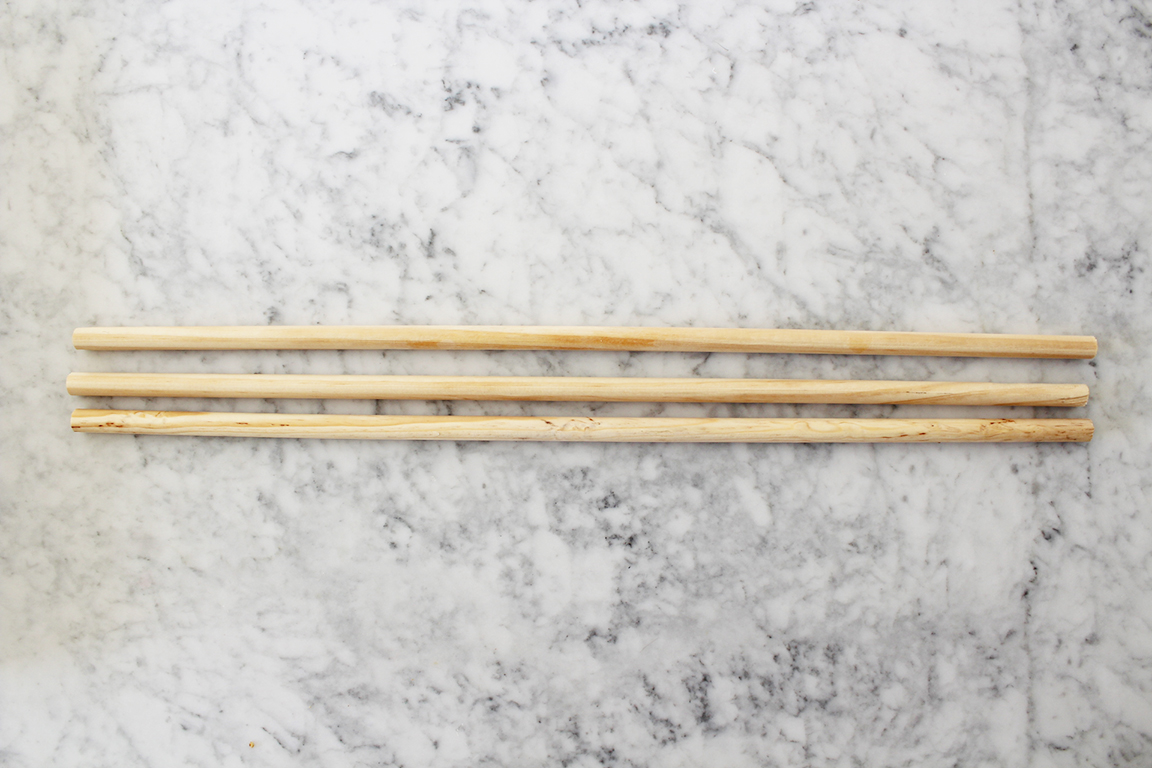
Cut your dowels so that you have three pieces, each 22″ in length.
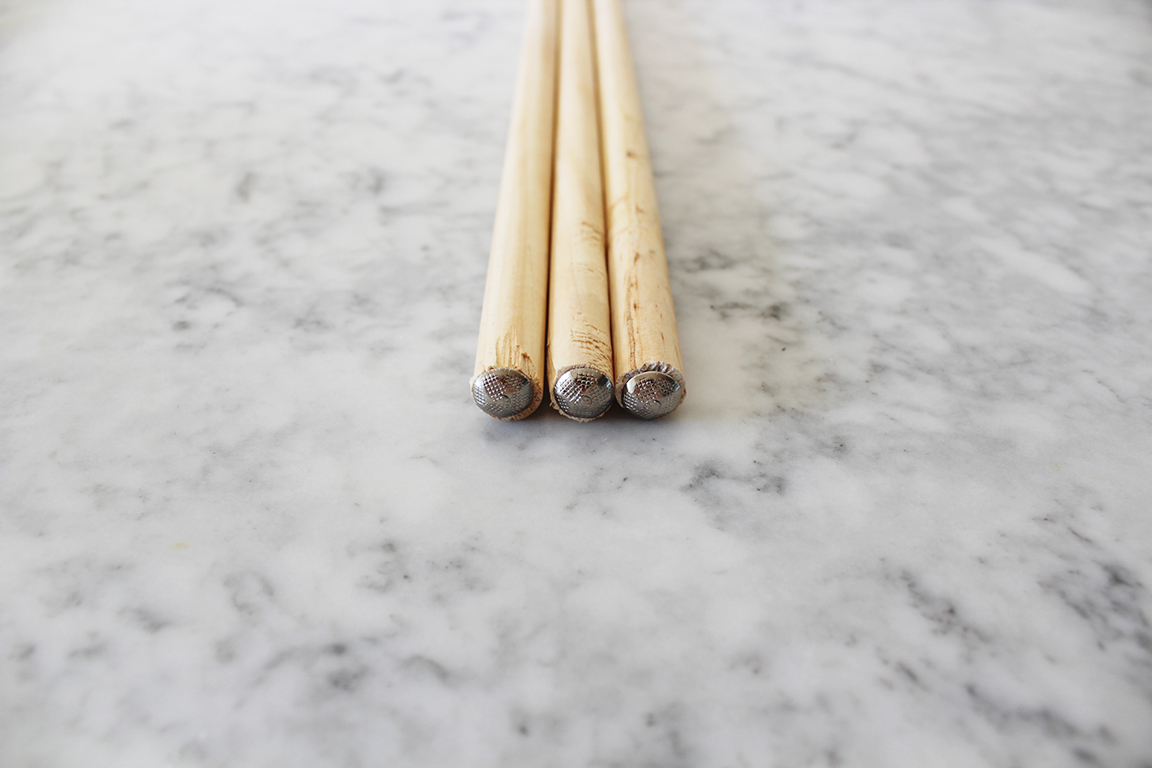
Push an upholstery tack into one end of each of the dowels.
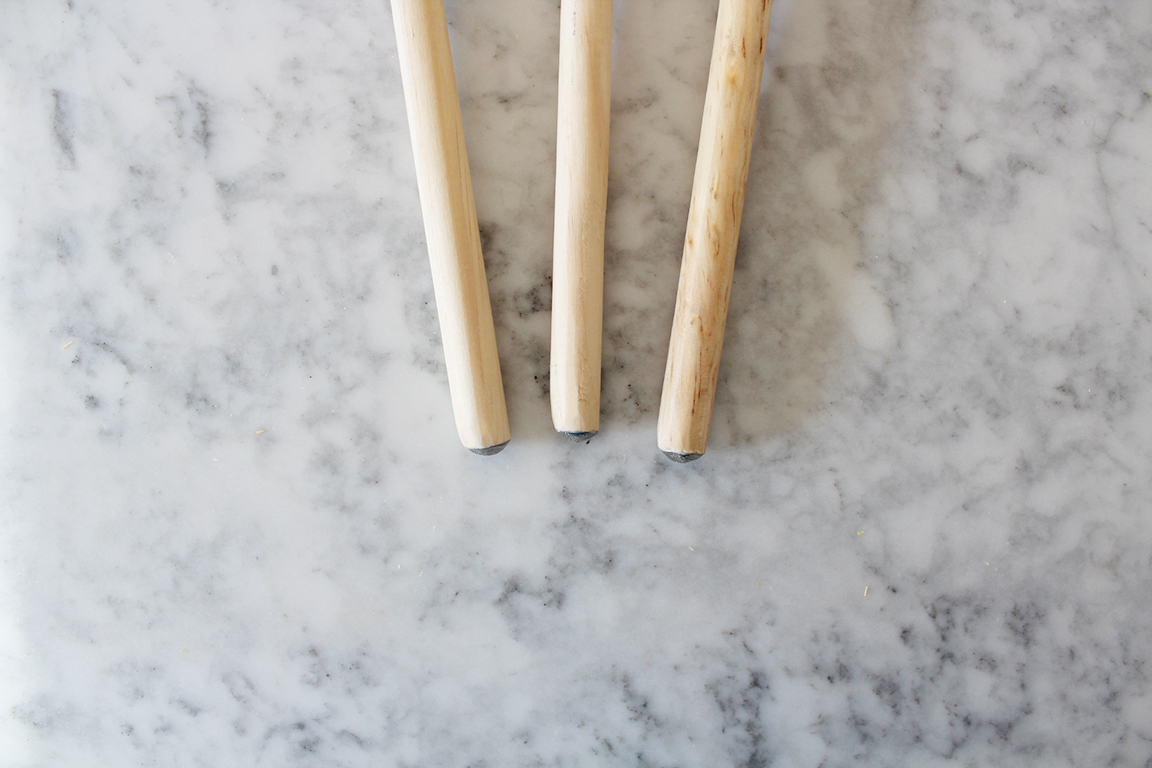
Sand each end’s edges around the thumbtack until they are rounded.
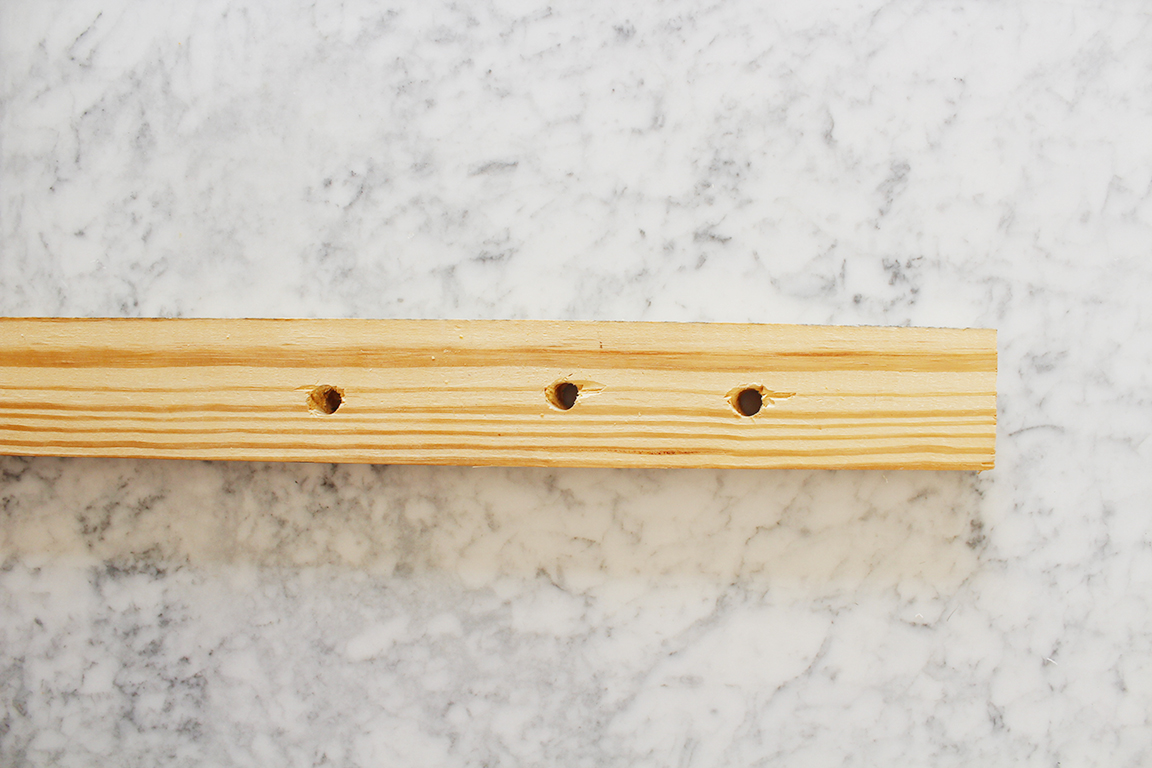
Next, use your angle drill guide set at 30 degrees to drill three holes along the center of your scrap wood, about 2-3″ apart. Begin with a small drill bit and drill pilot holes for each, and then work your way up to the 7/16″ bit.
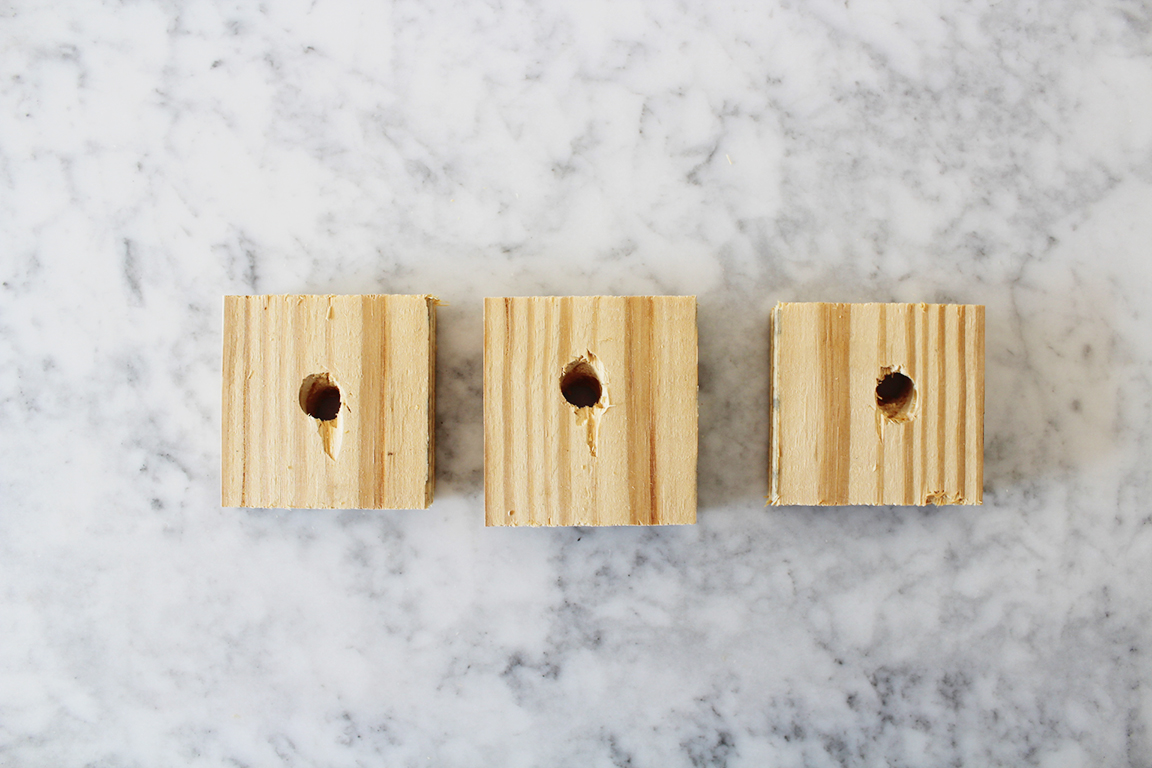
Cut the scrap wood so that you have three square-ish pieces, each with an angled hole. As you can see, I was pretty lazy about making them the same but this isn’t an integral part of the design.
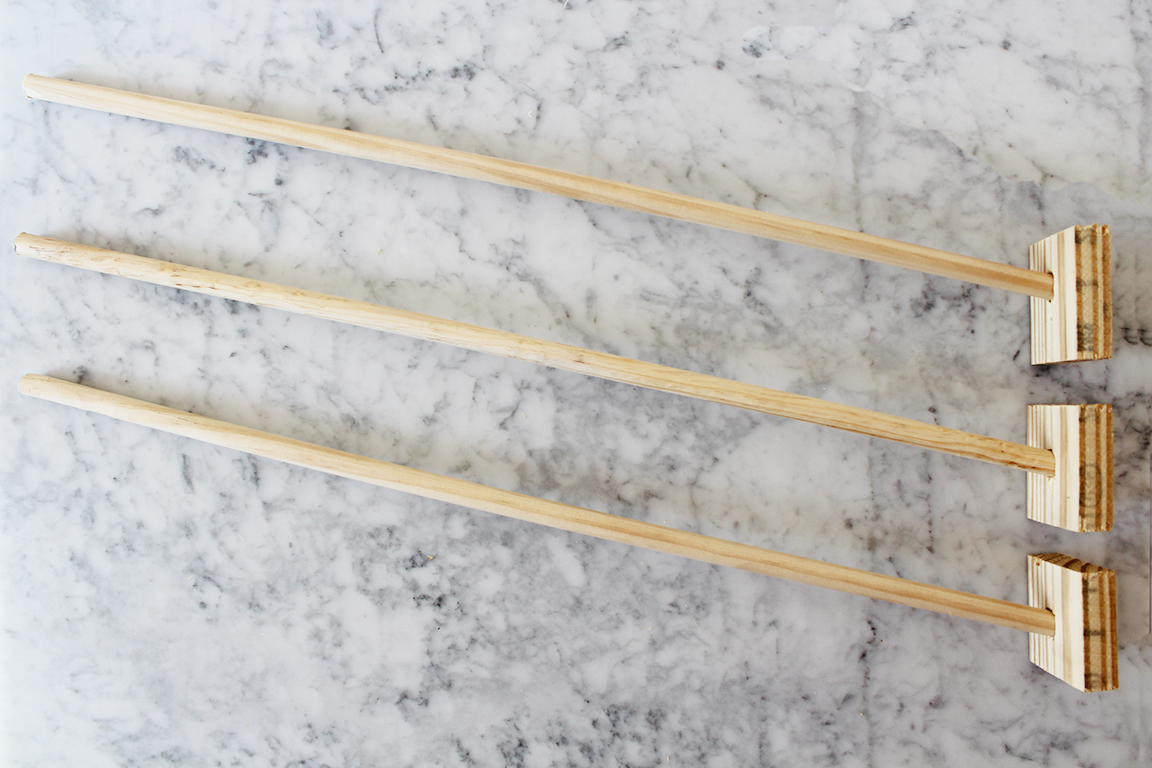
Next, put some adhesive on the insides of each of the holes. Then, take a hammer or rubber mallet and pound those babies into the pieces of scrap wood. Like, really pound them. You want them to be SNUG. Then let dry.
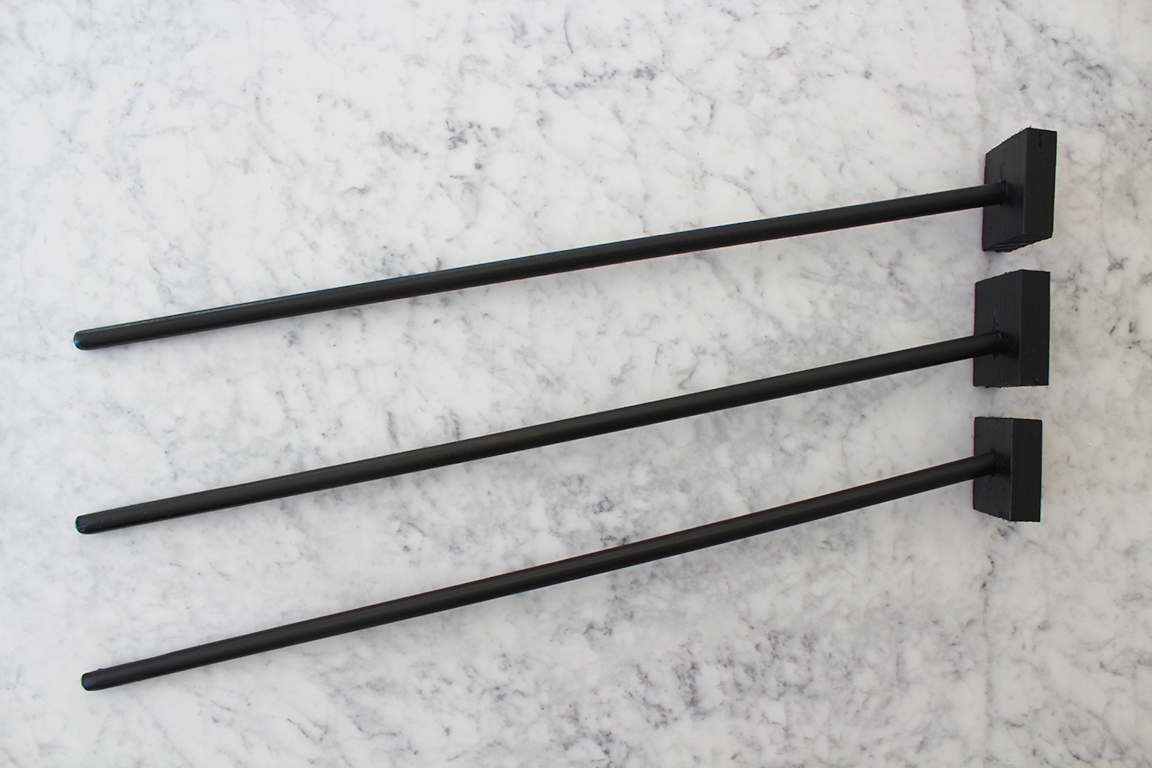
Spray paint the legs black.
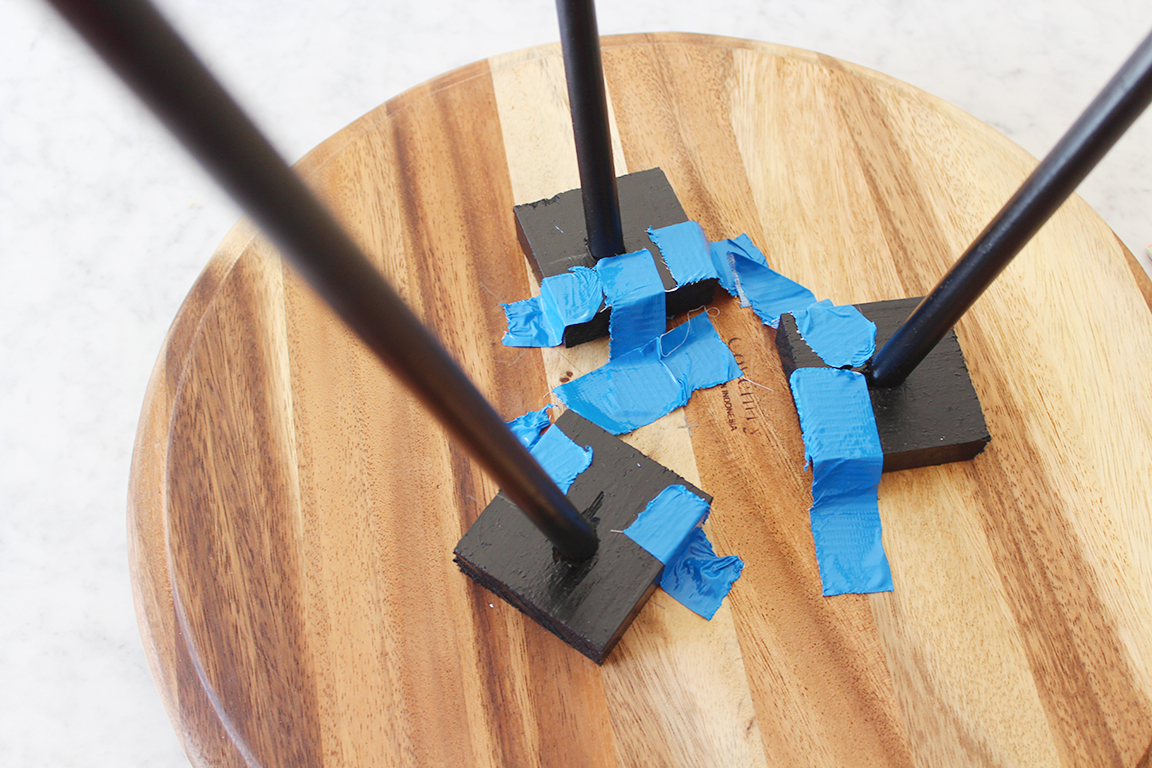
This is where it can get tricky. If you have a protractor or other angle tool you can position each leg at 120 degree angles, equal distances from the center of the bottom of the tray.
Or if you’re like me, you can duck tape the heck out of the legs and position them approximately where you think they should be, and then flip the table over a few times to check that it’s level. I think I can guess which way you’ll choose…
Once you have the legs where you like ’em, mark their spots with a pencil. Fill any space remaining between the dowel and the underside of the scrap wood with more adhesive, and then screw the legs into place. Be careful not to break through the surface of the tray!
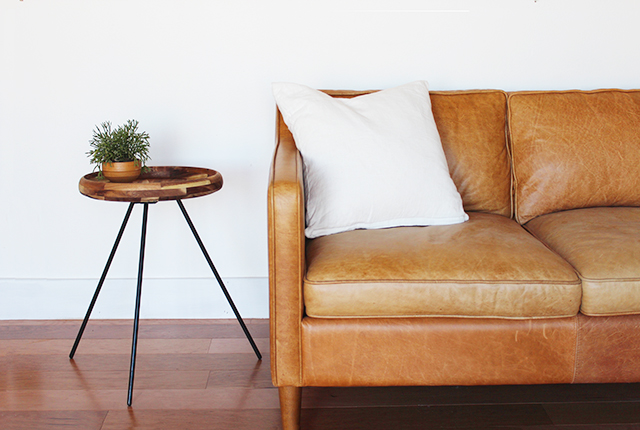
I think this could work well as a side table or even a night stand — it’s definitely a more delicate piece, but I love how thin and beautiful the legs are. What do you think?
FOLLOW ANNA HERE


I used the same tray to make mid-century plant stands (and some night stands!) It is such a versatile tray, and I definitely also went with the “tape the legs on and flip it over” method as well!
This is very cool. I need to try this. Thanks for the idea.
Sofa source please? Thanks
Hi Margaret, here is the link! http://www.westelm.com/products/hamilton-sofa-h848/
Can you tell me where your leather sofa is from? It is beautiful.
Hey Brittany, the sofa is from west elm: http://www.westelm.com/products/hamilton-sofa-h848/
Genious
I love this! Such a cute accent table. Always putting things on my to do list Anna!
Haha thanks Corinna!
You are a genius! I love this!!! I would definitely not use a protractor either. 😉 Thanks for the great idea!
Aw haha thanks Cammi! You’re very welcome 🙂