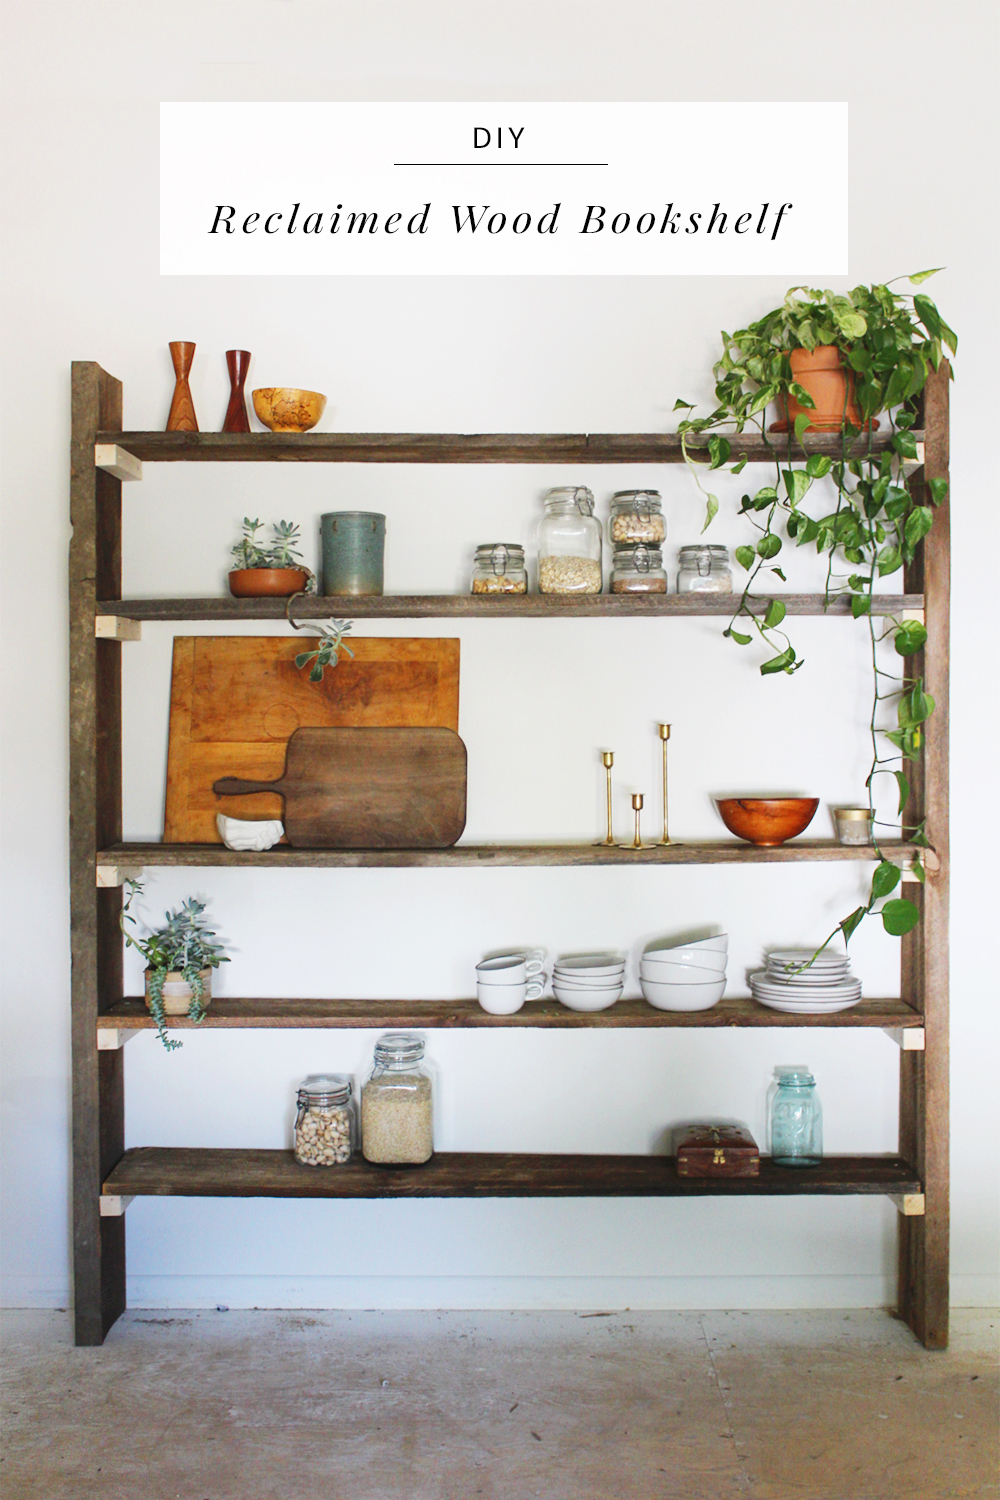
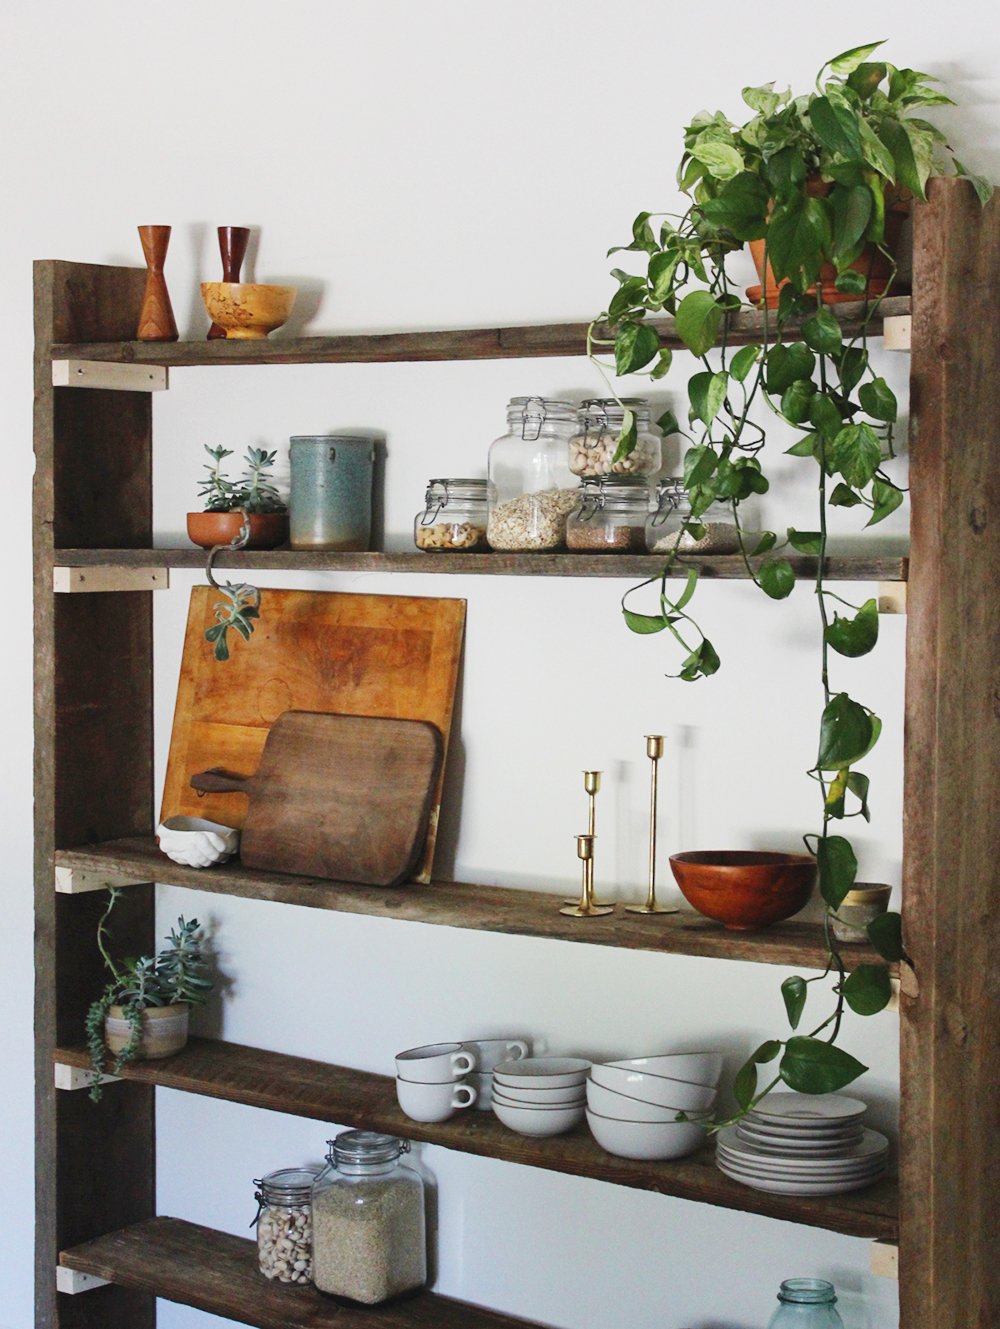
Hey there — it’s Anna from Annabode! I recently moved from DC to Denver and have been knee-deep in our 1970s fixer-upper for the past few weeks. We needed some serious storage in our soon-to-be dining room and since our place is an absolute wreck, I figured it was as good a time as any to get my hands dirty! So, today I’m showing you how to make this super easy DIY reclaimed wood bookshelf. Seriously. I am not a handy gal by any means and if I can build this, anyone can. [/left]
[right]
[/right]
If you saw Alea Joy’s home tour on Design Sponge a few months ago, you might remember the beautiful bookshelf tucked into a corner of the jungle-like dining room. It’s jam-packed with all sorts of lovely ceramics and terra cotta and looks so effortlessly chic and bohemian that I get discouraged just looking at it, it’s that cool. Even so, I knew I wanted a similar piece in our own dining room and making it myself was the only option.
(Do you follow me on Instagram? If so, you’ve probably seen this baby already — I went a little shelfie crazy after it was built but hey, I felt like wonder woman!)
Here’s what you’ll need:
- A wall. And a plan. For example, I knew I wanted the bookcase to be 6ft tall, with five, 5-ft shelves. You can modify the measurements — height, width, and depth — according to your own space.
- Two thick pieces of reclaimed wood for the supports. (Mine were 6′ x 7 3/4″ x 1 3/4″.)
- Five thinner pieces of reclaimed wood for the shelves. (Mine were 5′ x 7 3/4″ x 1″).
- A 2″ x 2″ x 8′ cut into ten lengths equal to the width of your shelves. (For example, 7 3/4″.) I picked mine up at Home Depot for $2.
- 2-4 L-brackets + drywall screws
- 2 1/2″ wood screws
- Drill + bits
- A level
- A yardstick
First thing’s first: where does one find reclaimed wood? If you’re in the Denver area, Front Range Timber sells reclaimed barn wood by the foot and the people there are super helpful (though I will say, it’s a bit pricey). Otherwise your best bet is checking out Craigslist.
Remember to look for boards that are straight and flat — two of mine were warped and although I managed to straighten them out with the screws, your best bet is to go with better boards from the beginning. Lay them on a flat surface to get an idea of their shape.
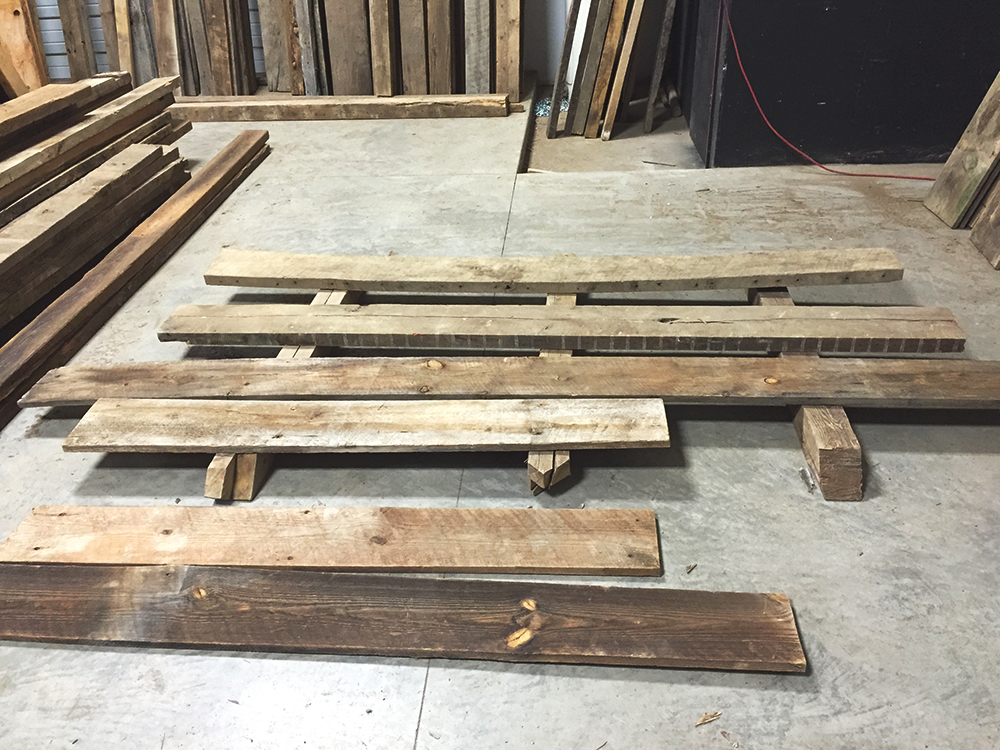
Once you have all your materials cut to size, lay the whole bookshelf out on the floor so that you can decide which sides you want to be visible, and what blemishes you’d like to hide. Those two warped boards were really dark on one side, so I made sure to have the other sides facing upward:
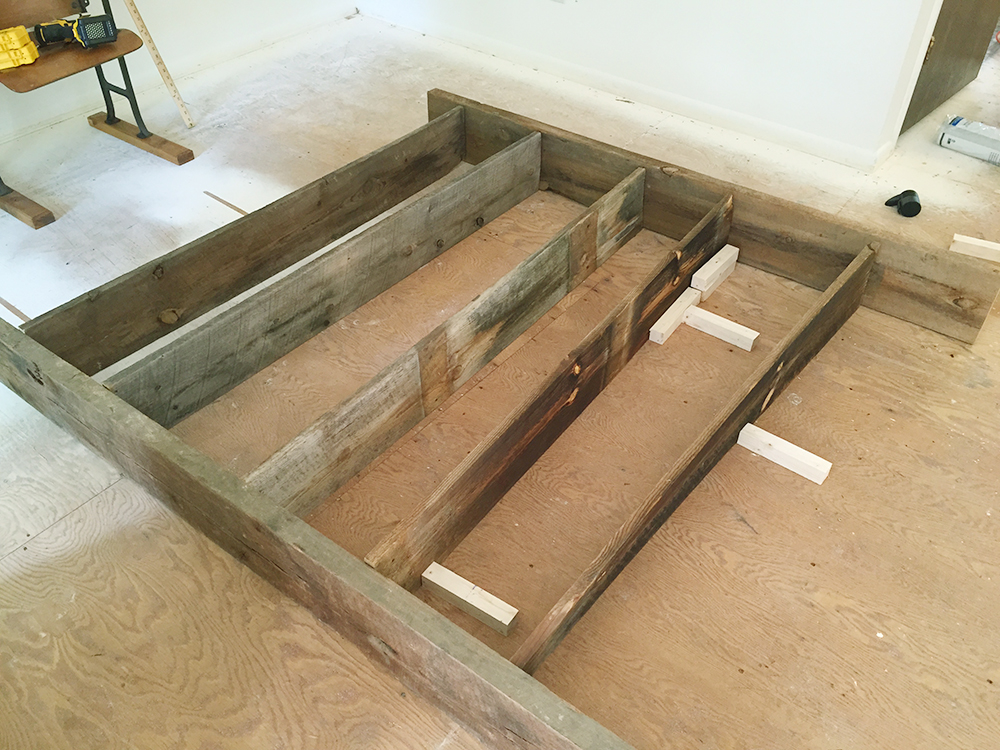
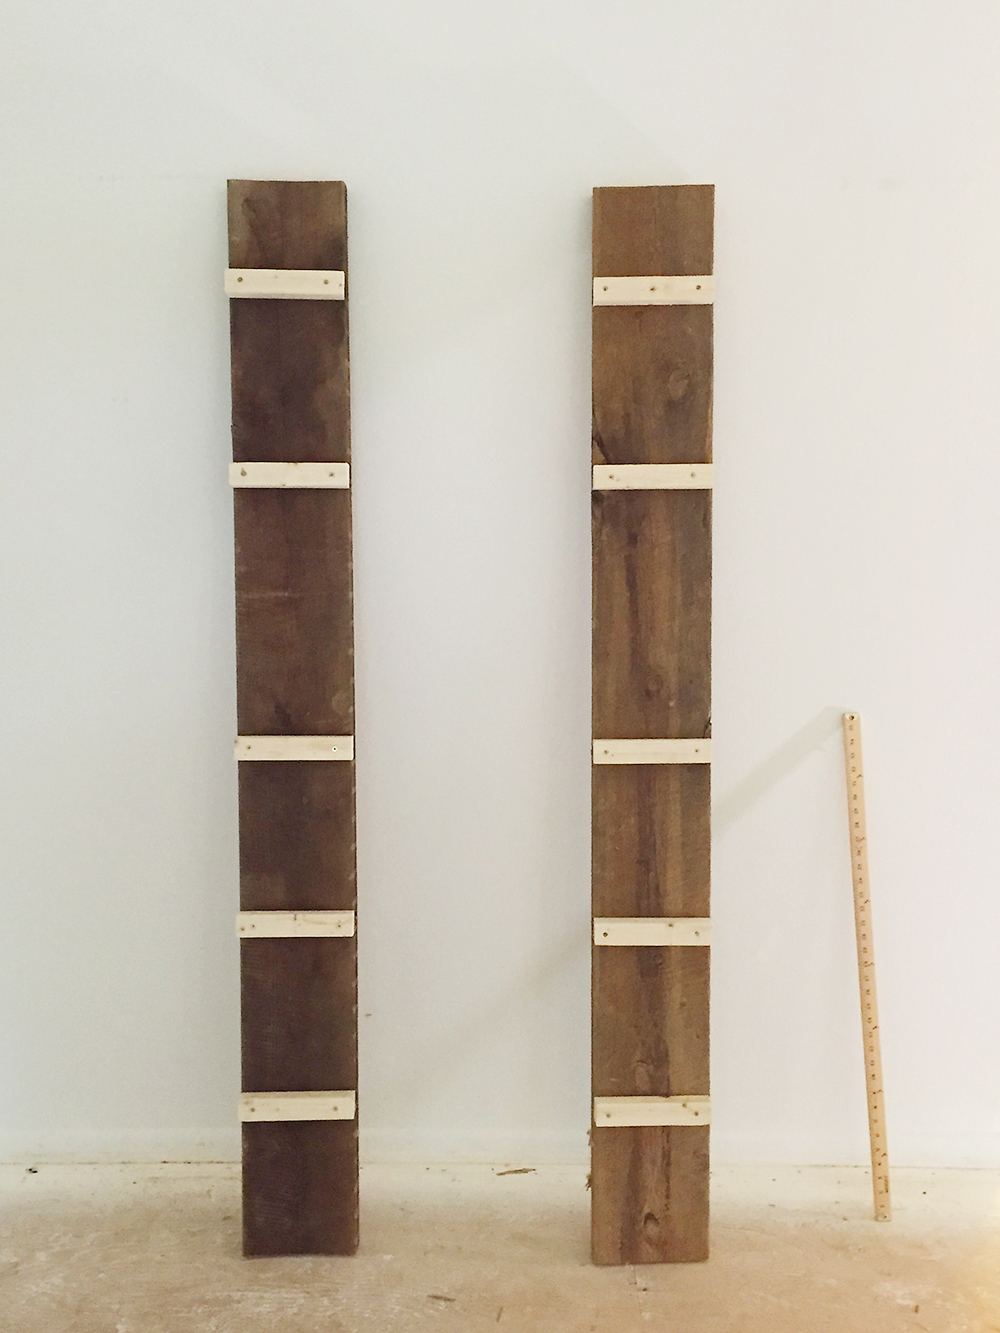
This is also helpful in determining the spacing between the shelves. Again, you can change this part, or you can do as I did and mark the following measurements down the insides of your support boards: 6″, 12″, 18″, 12″, 12″. Just make sure your support boards are of equal length and you measure from the same ends.
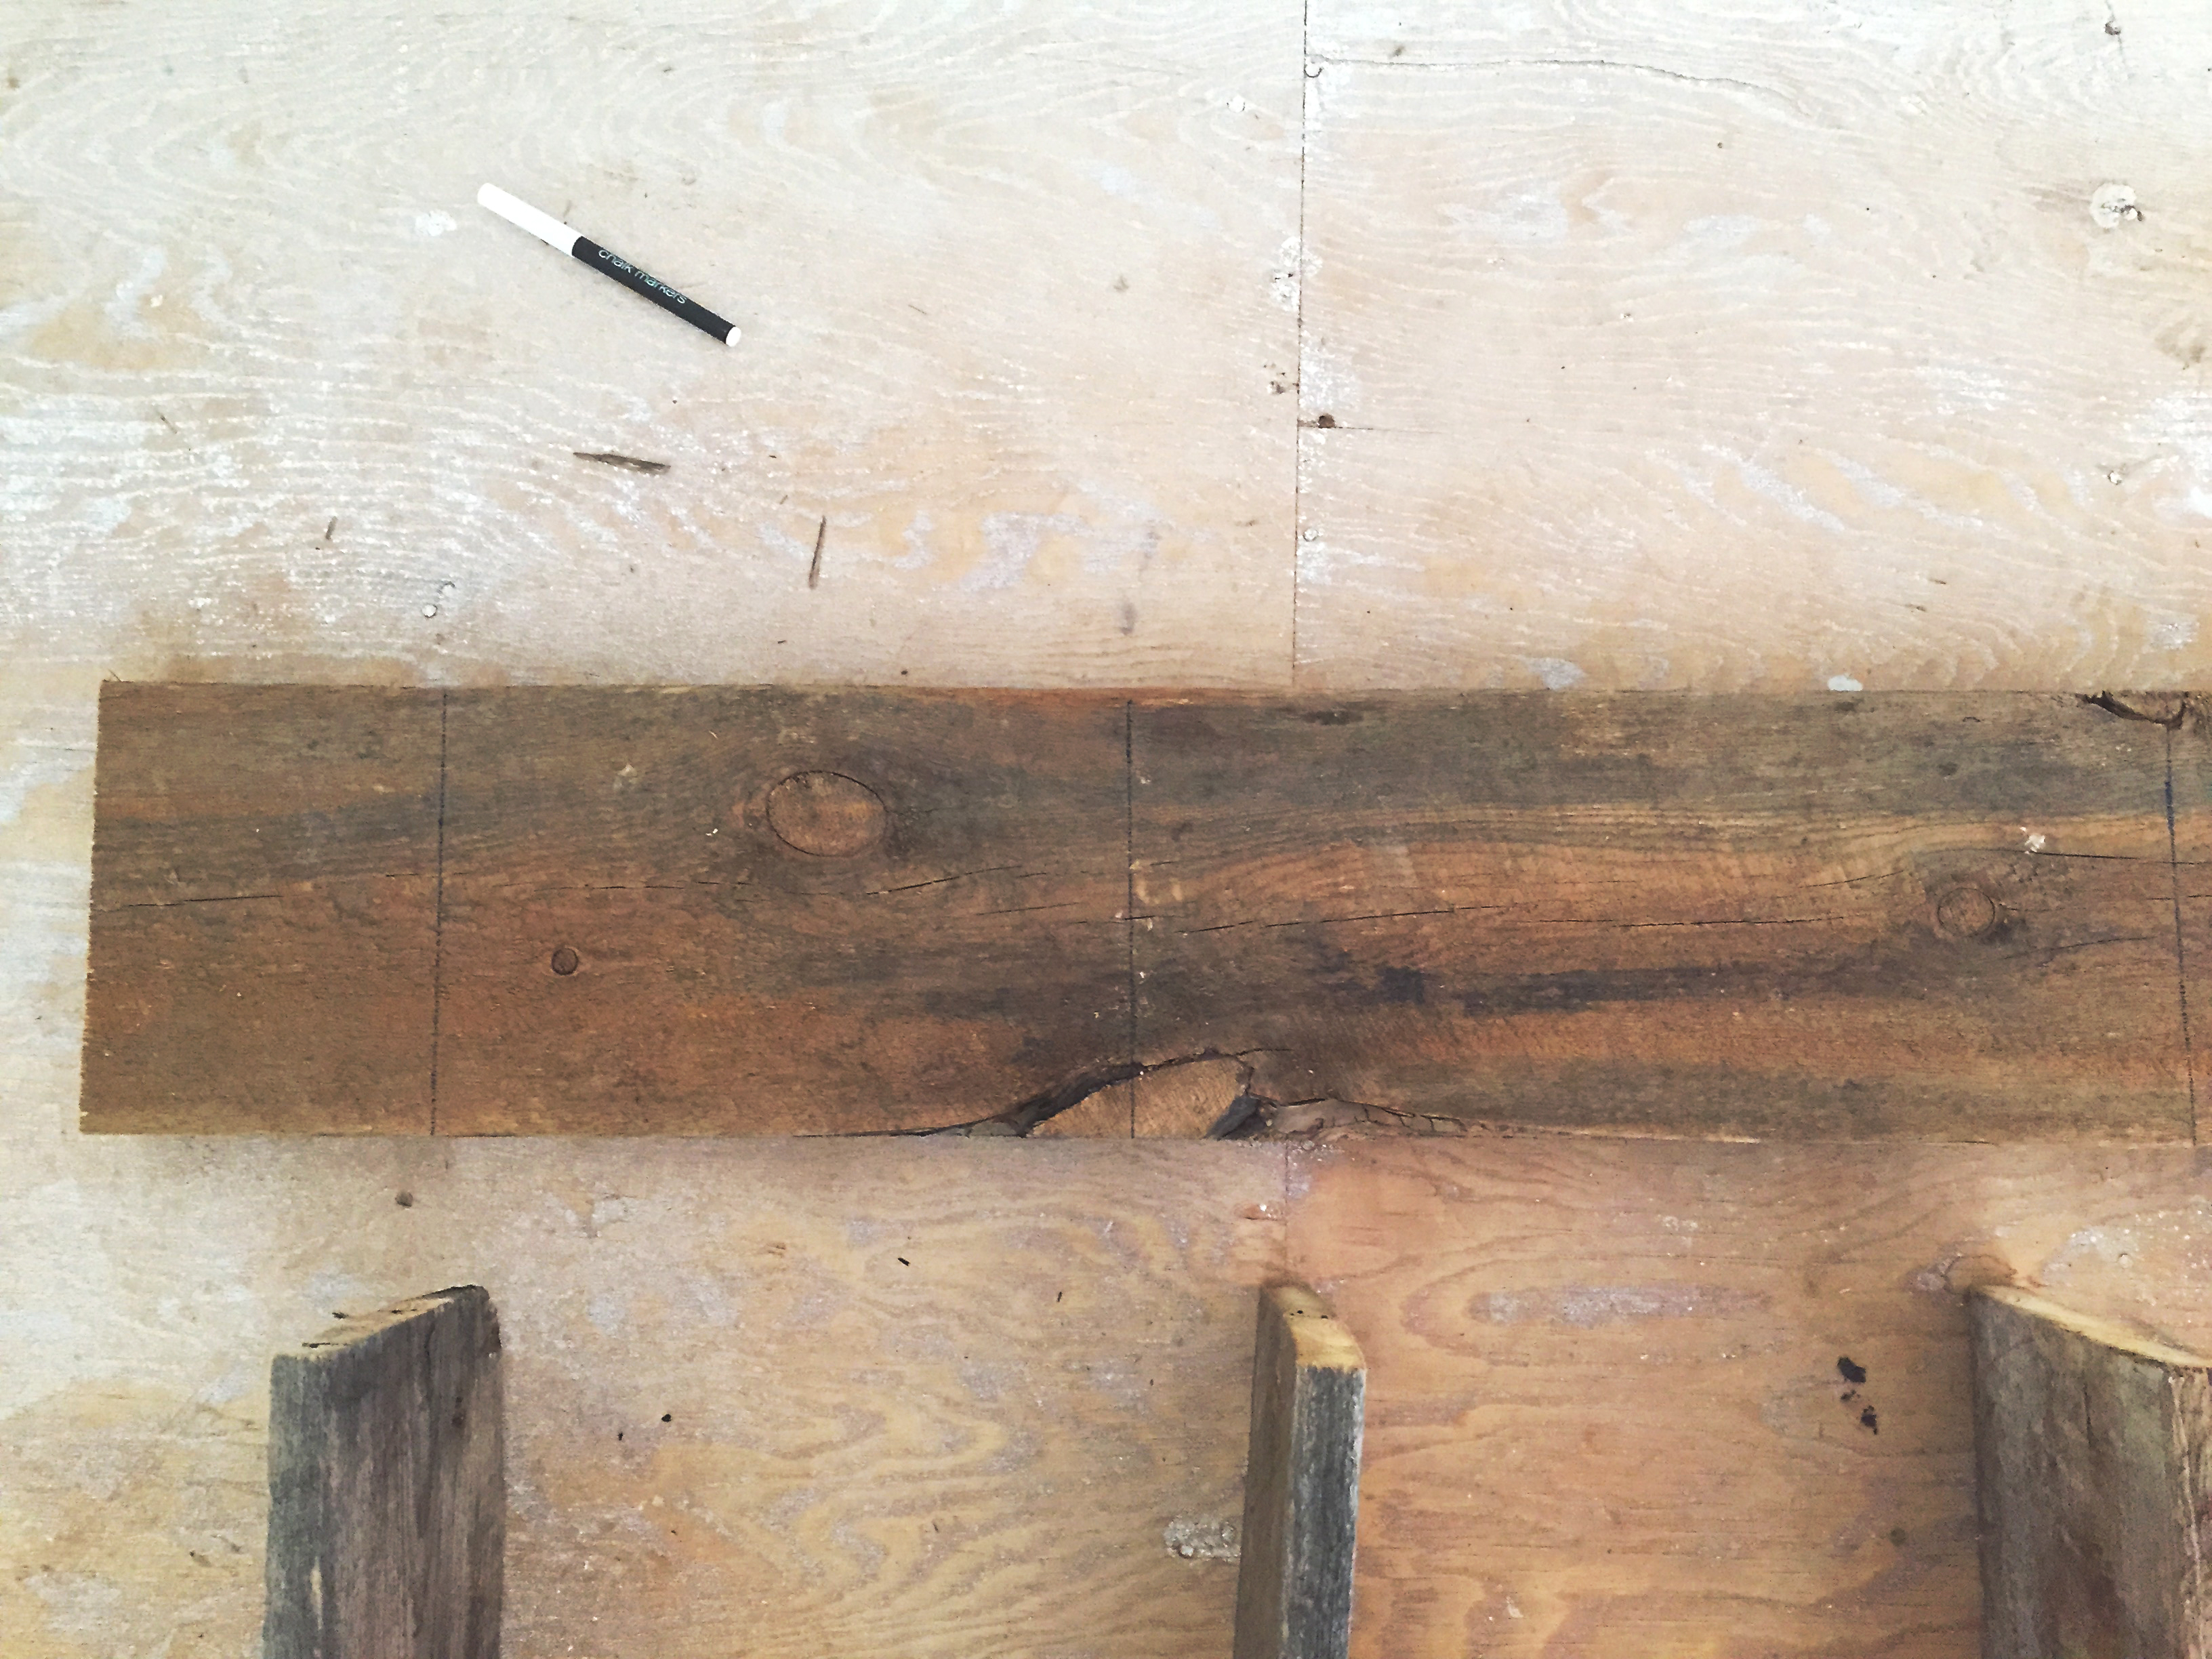
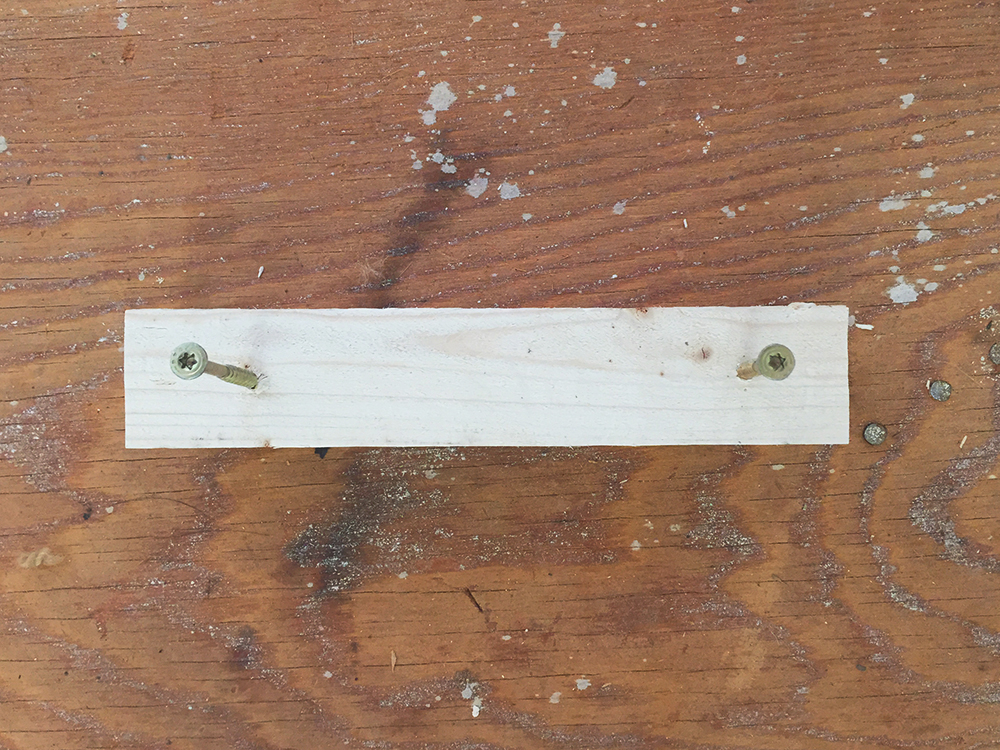
Now take all your cut pieces of 2×2 and pre-drill some holes on each end. Doesn’t have to be perfect! Start some wood screws in too.
Next, have someone hold the board upright on a flat surface, against the wall. (I did this part by myself and it’s a miracle I didn’t get smacked in the face). Take out your level and line up a 2×2 so that the top matches up with your first line.
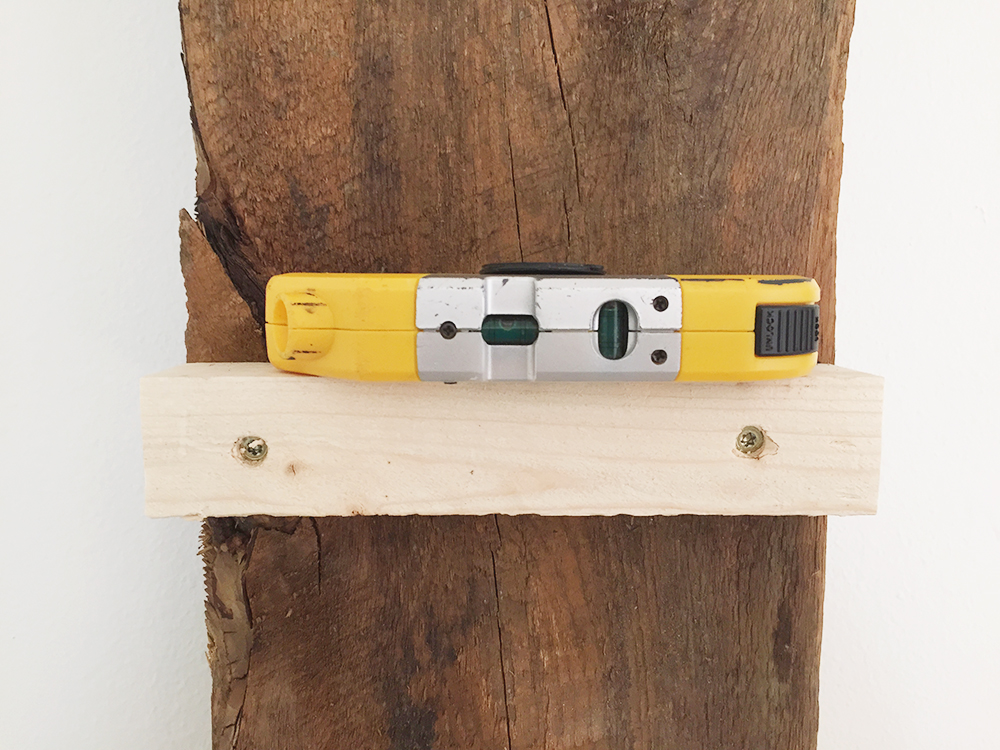
Screw the 2×2 to the board, and repeat the process with the rest of the 2x2s on both your support boards.
Now lay out your bookshelf again, with the boards resting on top of the 2x2s. I found it helpful to do this in the corner of the room, so I knew two sides were straight.
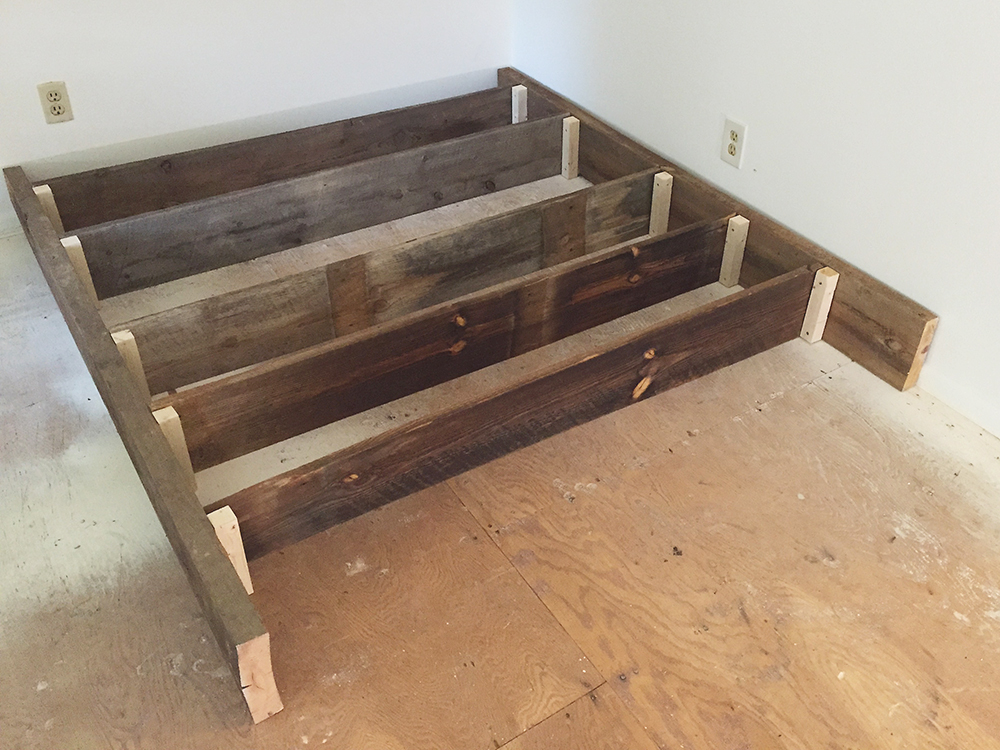
Secure all the ends of the boards to the 2x2s using wood screws, drilling from the tops of the boards downwards and making sure not to hit the screws already in place. Start this process from the bottommost board and work your way up, otherwise your drill might not fit in-between the shelves and you’ll find yourself uttering malicious bookshelf-related threats under your breath.
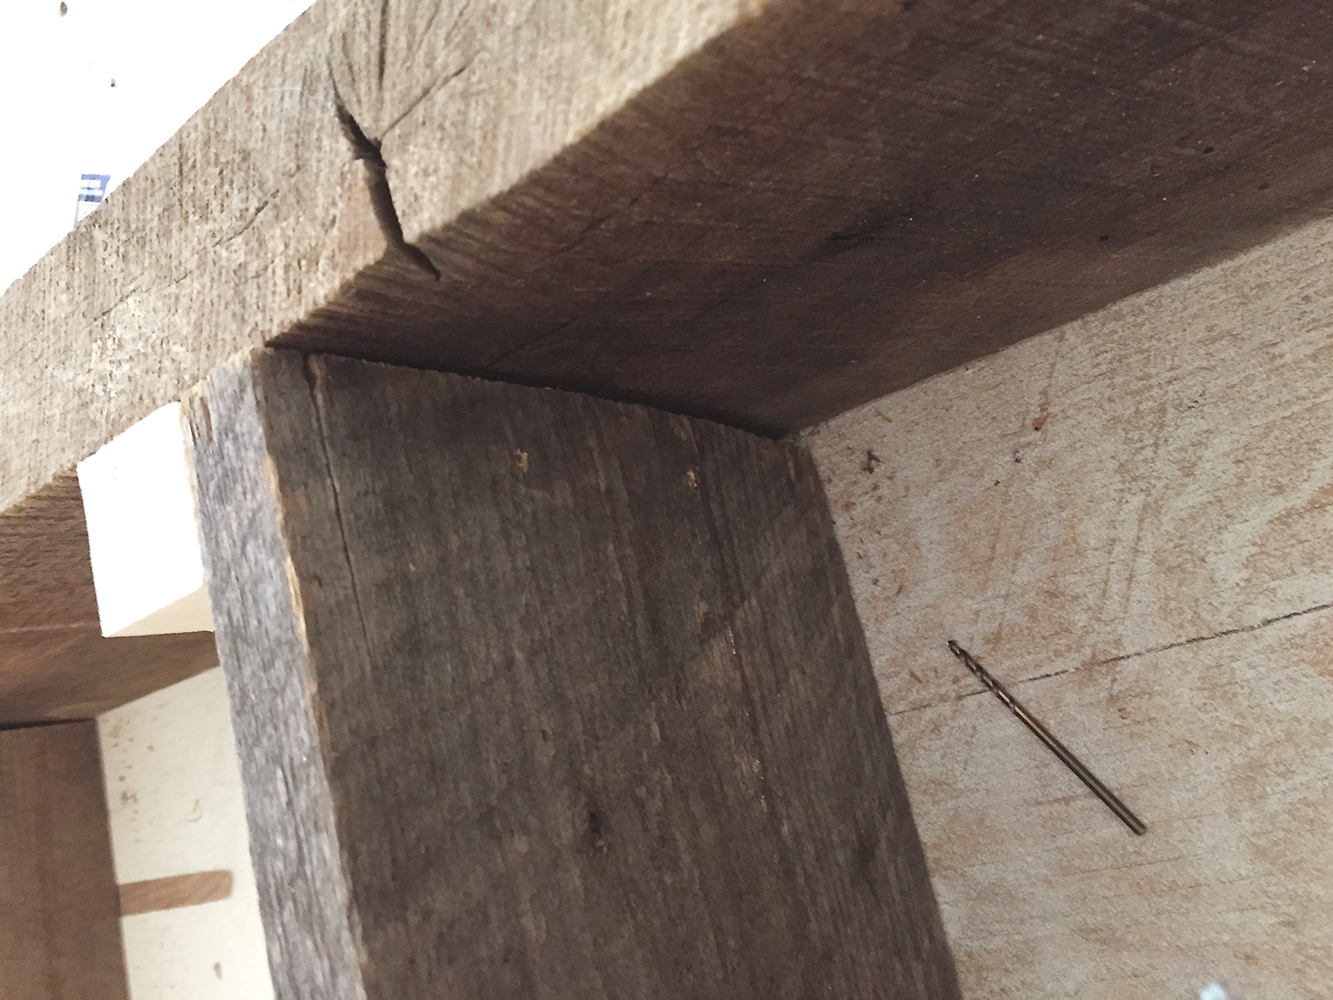
Finally, pull the whole bookshelf upright and affix the upper portion to the wall using L-brackets and drywall screws. So…okay, I haven’t done this part yet and yes I do worry about it all coming crashing down. Don’t follow my example, be safe people!
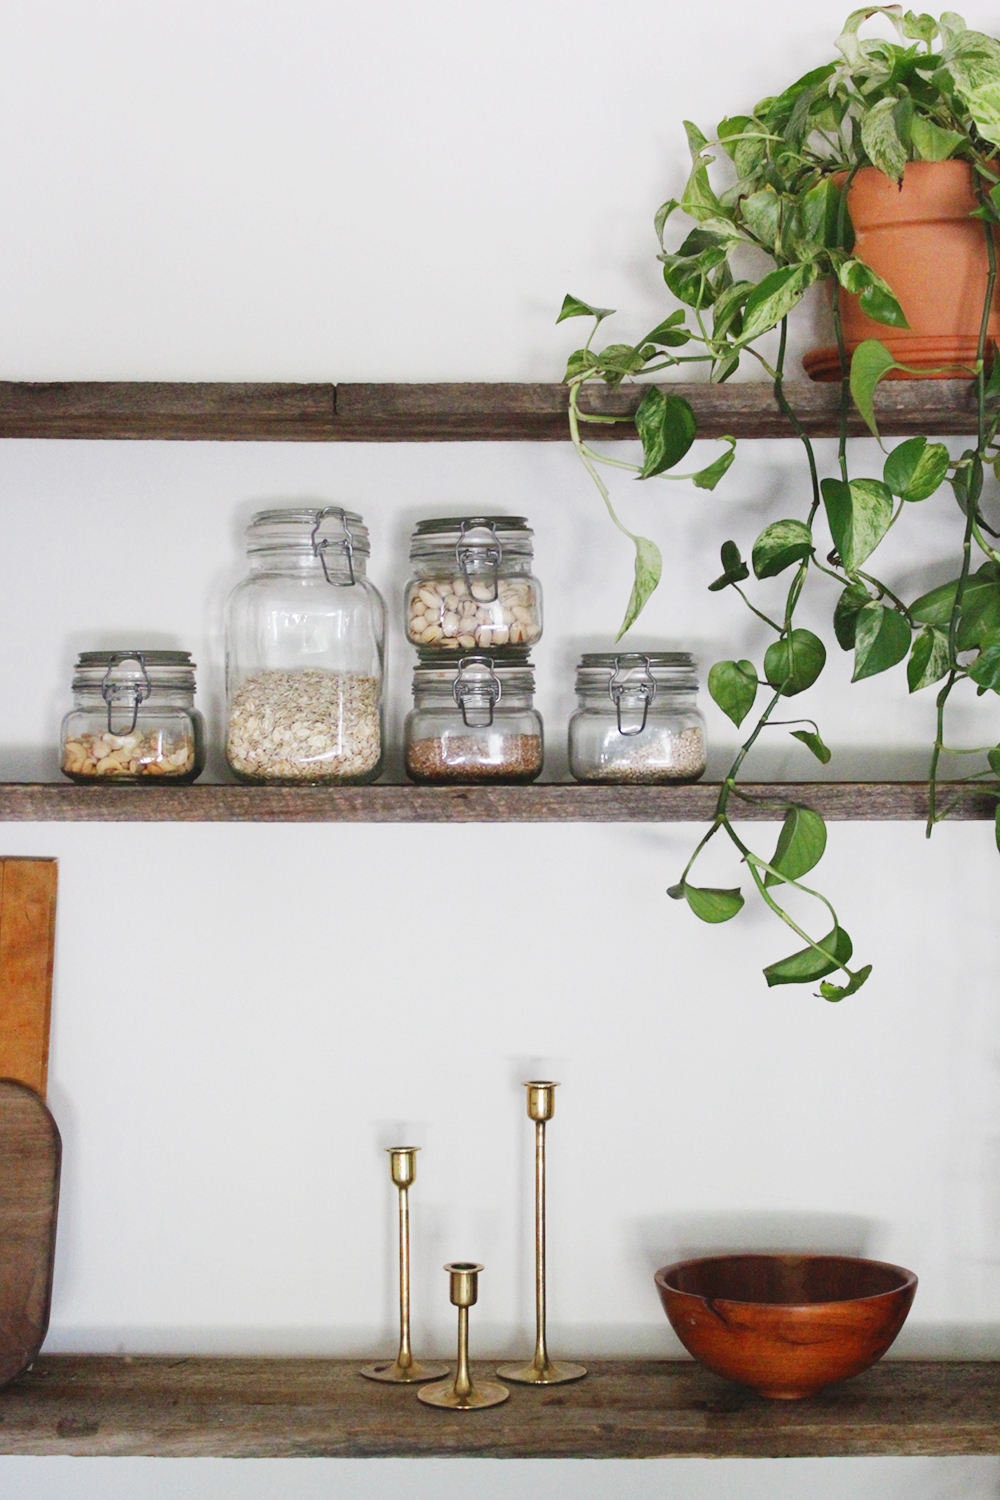
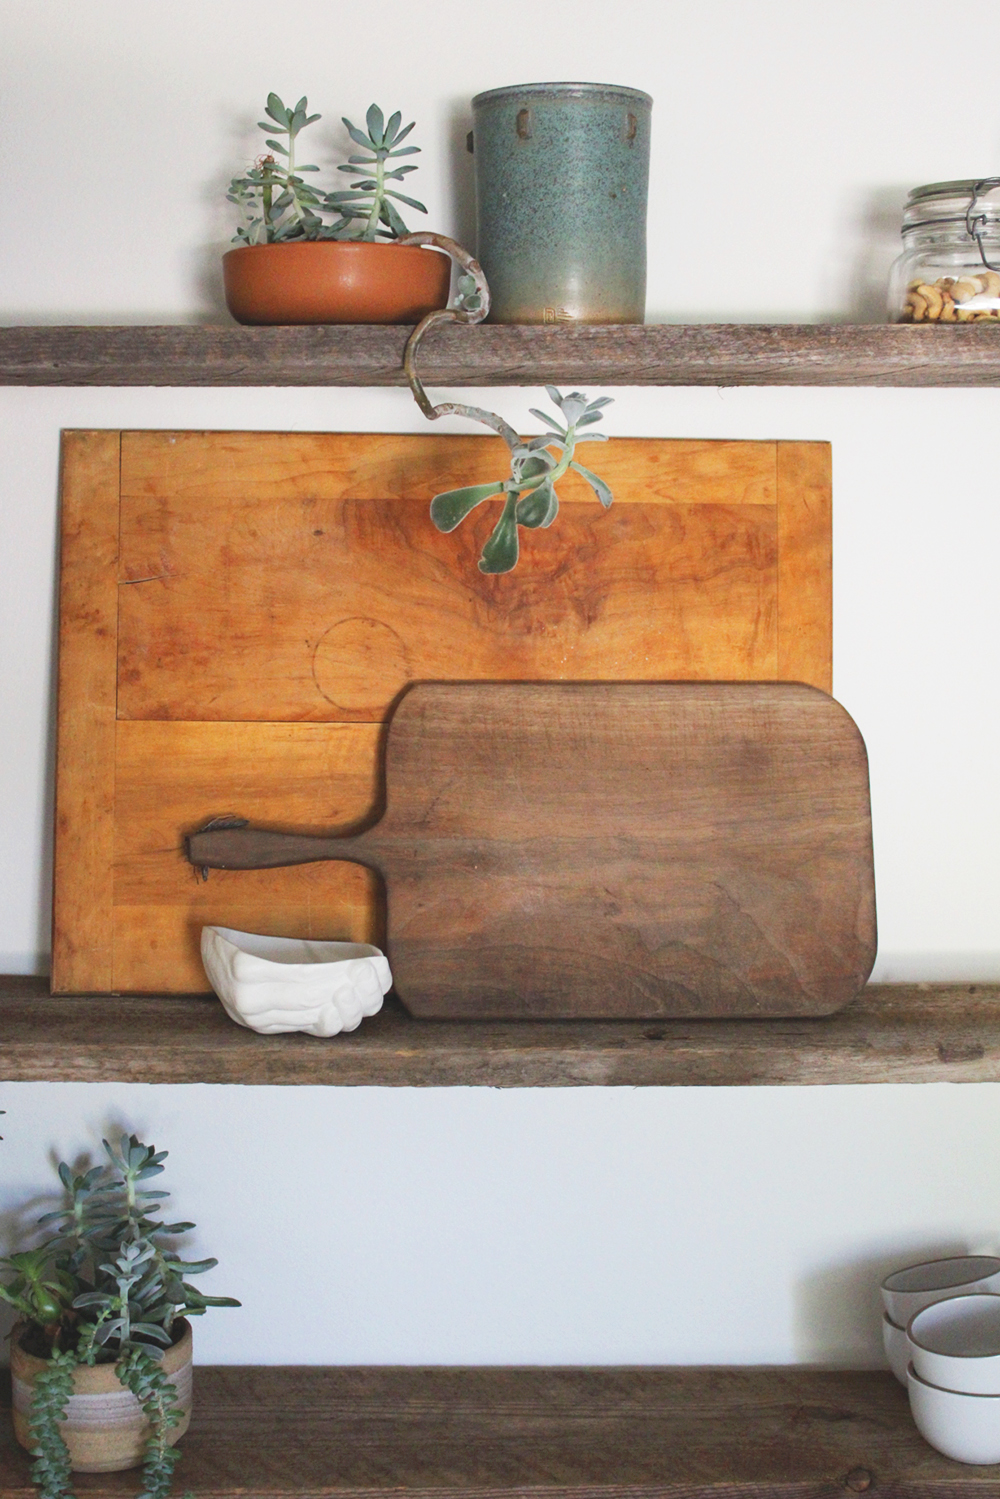
After it’s all good and secure, style it to your heart’s content. And bask in the glow of your handiness!


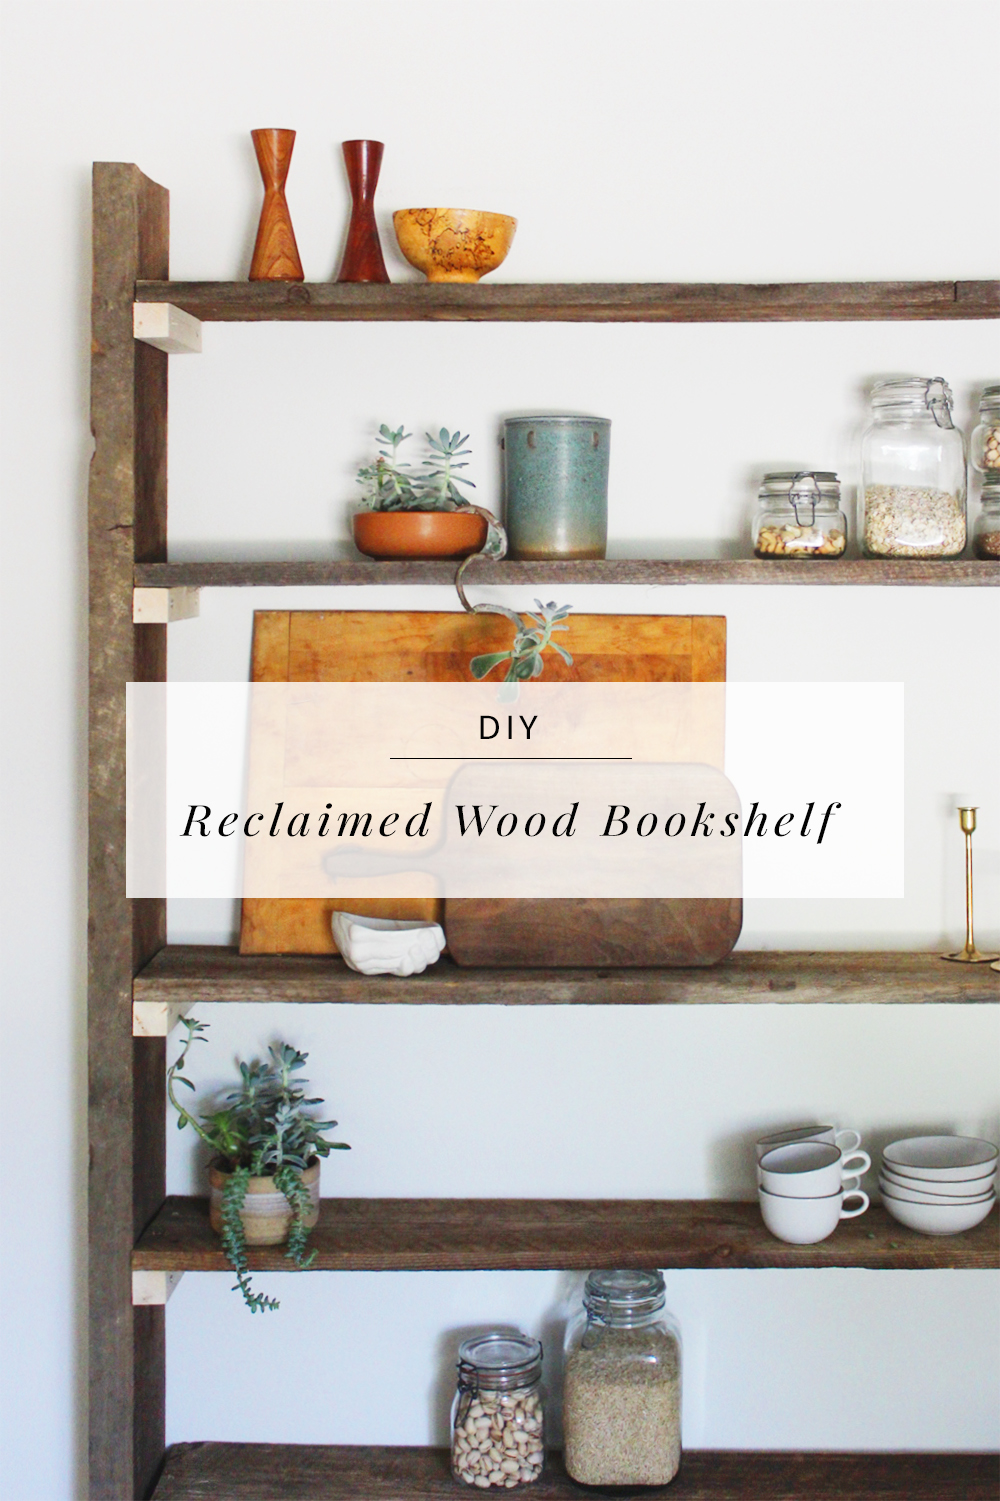


I created my own version over the weekend and I love it!! Thank you for sharing this fantastic idea!
OMG the book shelf is amazing, so creative!! Love it!!
Thanks so much Susie!
I love this! Great work. Will you keep us posted on stability over time? Does it feel super strong and sturdy now? (Looks it, but I know pieces without backs are tricky). Thanks!
Hi Sam, thank you! Here’s an update, about 5 months later — it’s perfectly fine! What we did was secure the top to the wall with L brackets, that we then hid behind objects. It’s not really a piece that you can lean up against the wall freely, especially if you have children. It’s held up great and we haven’t had any issues!
These. Are. Amazing. Love them… Anna is just the coolest. Love her style!!
Oh my gosh, I know EXACTLY which home tour you’re taking about and I immediately thought of it when I saw the teaser image for the post! Your styling is amazing, Anna!
I second that!! I’d have Anna decorate my home any day! 🙂
I love how it turned out!!
Looks amazing Anna!
Thanks so much Gilly! 🙂