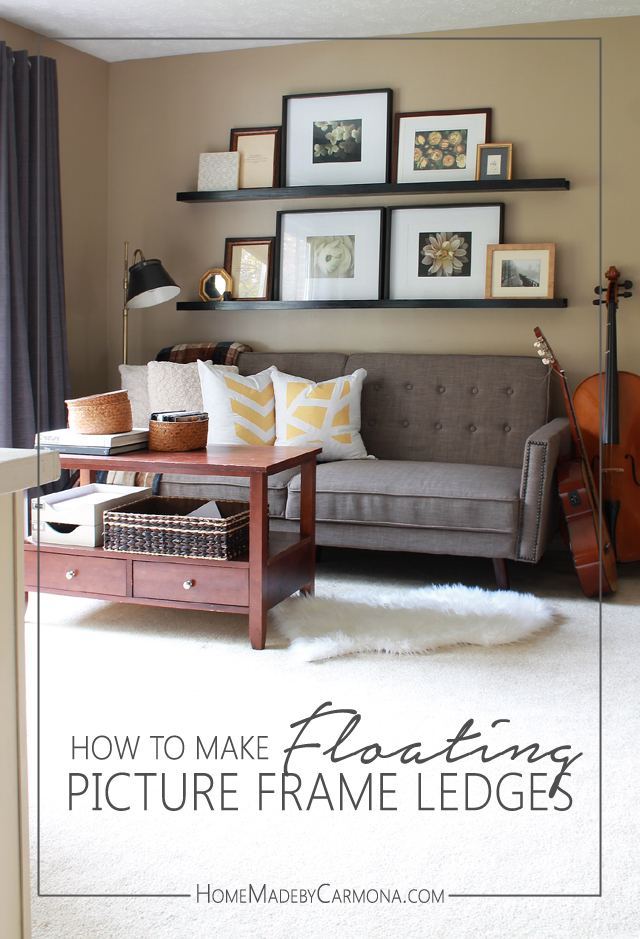
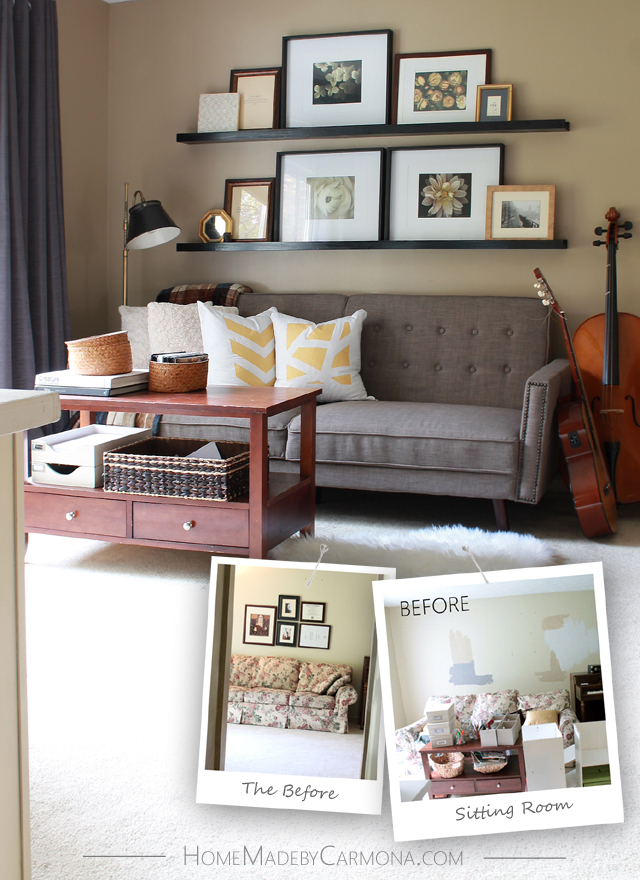
The moment I saw my new couch in this space I immediately knew that a beautiful Pottery-Barn-like picture frame ledge would be gorgeous above it and make the whole space! Needless to say my enthusiasm quickly hit a wall when I could not find the much coveted picture frame ledge of my dreams in a reasonable price. Everything seemed to be about 2 feet too short, and at least $50 too rich for my blood.
Well pull out your wood clamps, because if you know me, I usually figure I can make it bigger, better, and definitely much cheaper than I could buy it in the store. With a little help from a couple awesome products and from today’s sponsor, a brand I have always loved and used, Elmer’s brand…I was able to bring that vision to life for just $11 per ledge!
[left]
[/left][right]
The moment I saw my new couch in this space I immediately knew that a beautiful picture frame ledge would be gorgeous above it!
[/right]
Main Materials
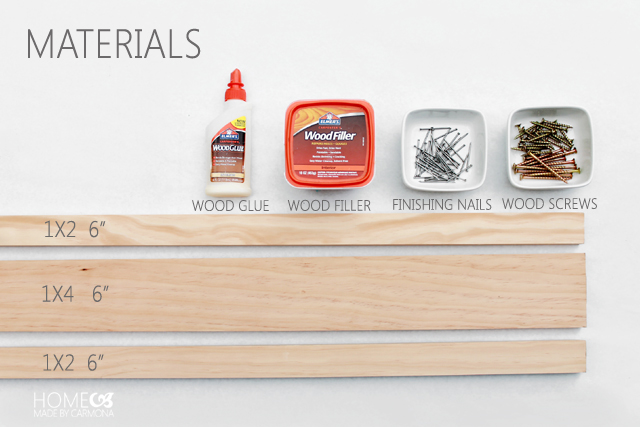
These are the materials you will probably need to purchase for this project (most DIY’ers will already own the other items). This is all I required, and spent $11 per ledge.
- 1×2 -6ft Select Pine Board, 2@$3.92 (Home Depot)(bring down the price even more by using Common board rather than Pine)
- 1×4 -6ft Common Board $2.36 (Home Depot)
The Rest of the Required Materials:
You avid DIY’ers probably already own these items, but just in case…
- Finishing nails $1.98 (Walmart)
- 2″ Gold Screws ($0.98 for a small bag at Walmart) ($6.47 for a 1lb box)
- (Optional) 3″ Gold Screws $0.98 (for a small bag of 6 at Walmart)
- Elmer’s Carpenter’s® Interior Wood Glue
- Elmer’s Carpenter’s® Interior Wood Filler- Quart (if painting) OR Carpenter’s® Color Change Wood Filler Dries White – 4oz (for paint or stain)
- (Optional) Paint or stain
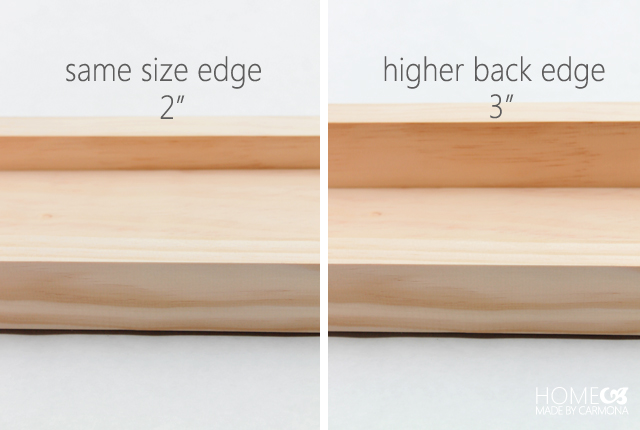
Before we get started, you should know I chose to have the front and back ledge the same height. I prefer it aesthetically…however it is easier to attach it to the wall if the back ledge is higher than the front. If this is preferred you will want 1×2 board for the front, 1×3 board for the back, and 1×4 board for the bottom. Ok, let’s get started!
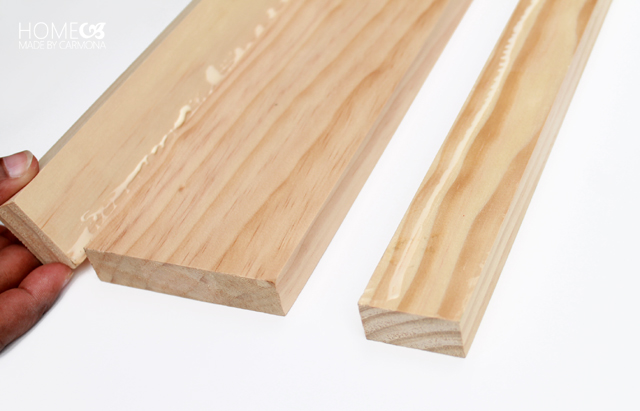
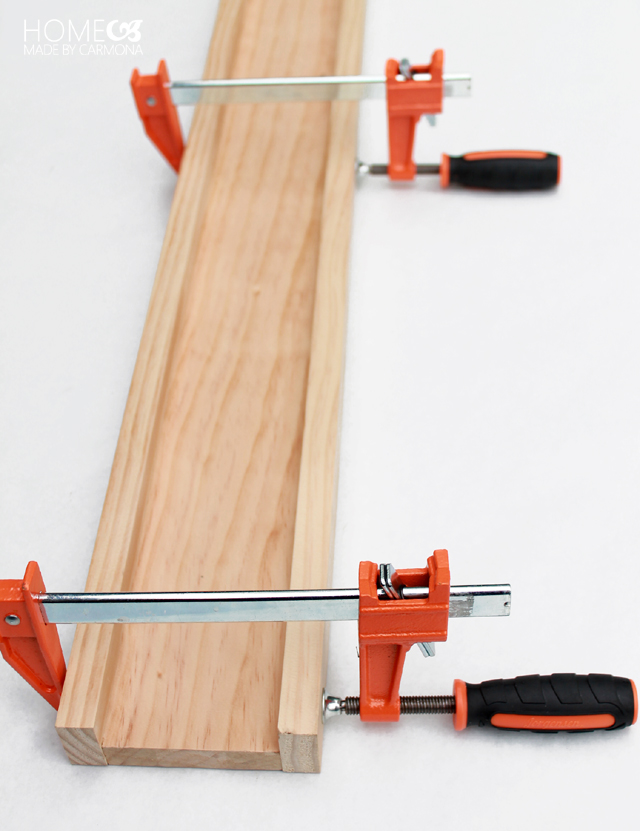
There are three pieces of wood: The front ledge (which keeps your pictures on), the back ledge (which screws into the wall), and the base. Glue the front and back ledge to the base using your Elmer’s Carpenter’s® Interior Wood Glue.
Be sure the base is flush with the back and front ledge (do this while the glue is still tacky). Clamp the three pieces together (double check that it is flush again).
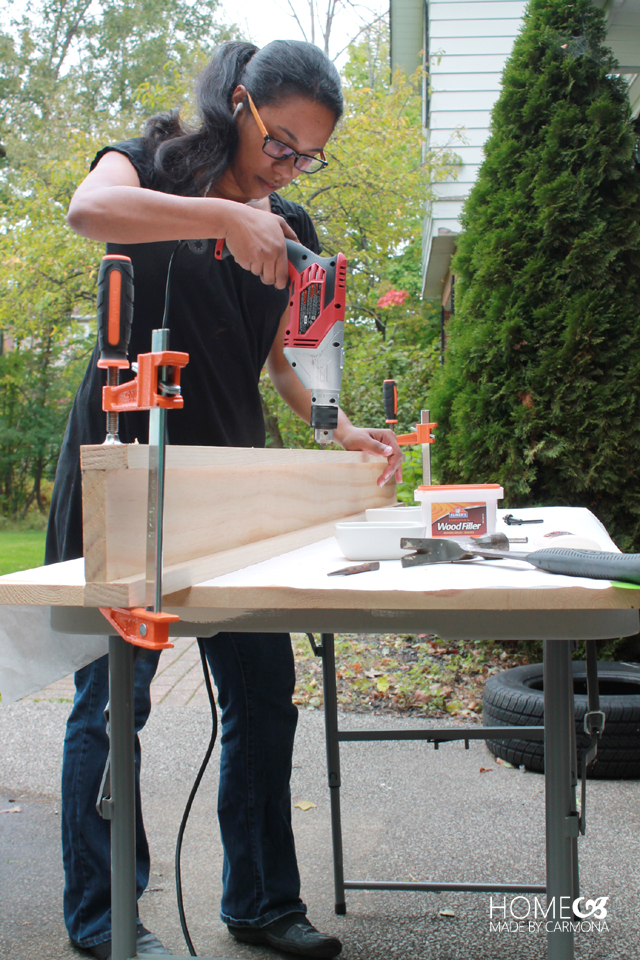
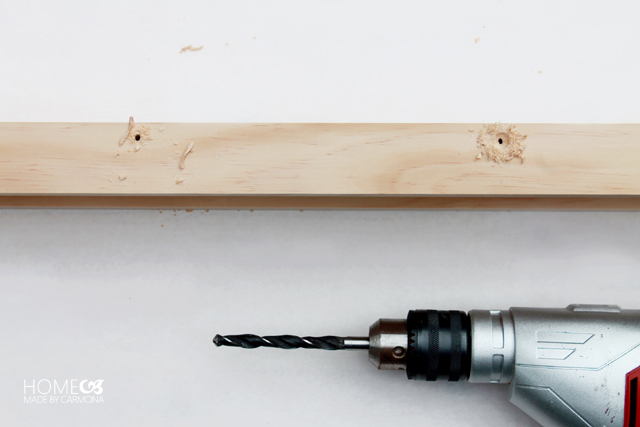
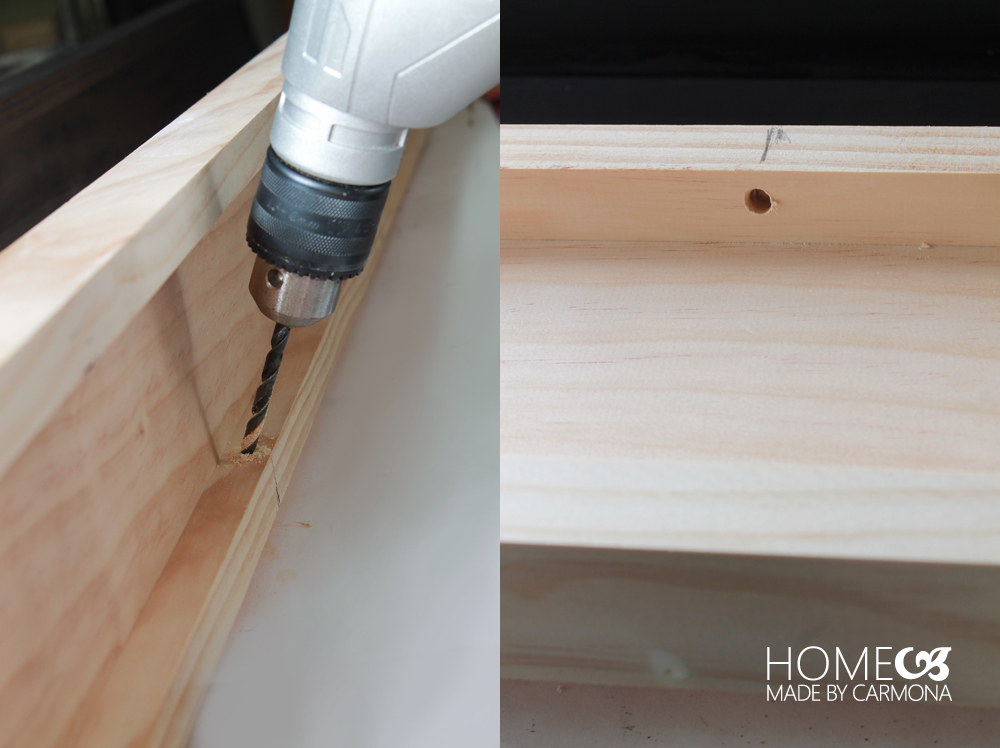
While the glue is drying (might as well save some time), you’ll screw down the back ledge to the base. Set up your work space so that the clamps can hang off of either edge while you work on it. Begin by drilling pilot holes along the back ledge into the base.
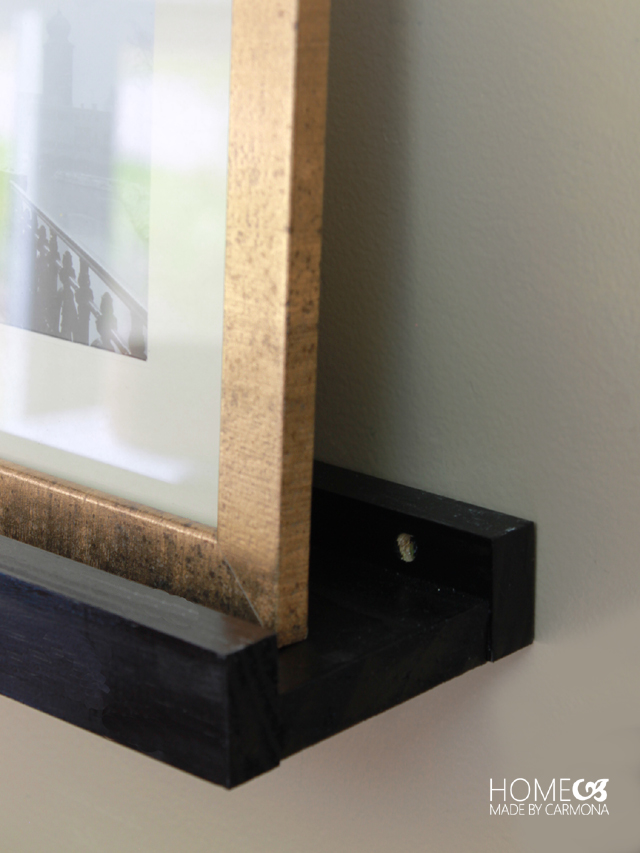
You will also want to go back across those pilot holes with your countersink bit (or just use a bigger bit) before screwing it down. It is important to be able to sink your screw heads (since that side of the ledge faces the wall), so that the ledge will lay flush with the wall. Ok, now screw it down using the 2″ gold construction screws (or your wood screws of choice).
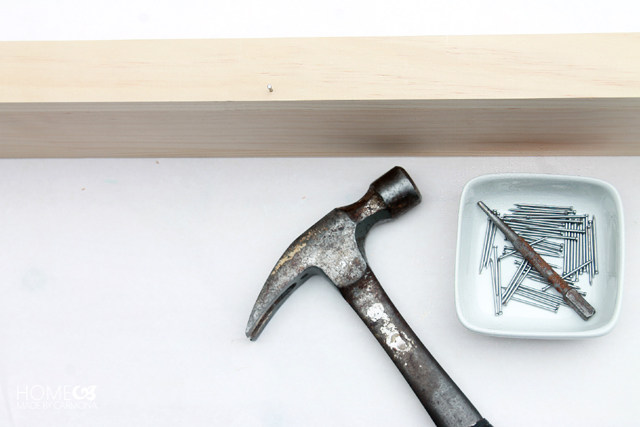
Flip the entire thing over (clamps still attached), and hammer down the front ledge to the base using finishing nails. You’ll want to sink your nail heads so they don’t show.
Alternative: If you have decided to keep the raw wood grain look (rather than painting or staining it), (or you are just lazy about extra work and prefer to let the glue dry completely before moving to the next step) you will skip step 4. The Elmer’s Carpenter’s® Interior Wood Glue you used will do just fine. We are only using a few finishing nails so we can charge through this project at top speeds! 😀 #confessions
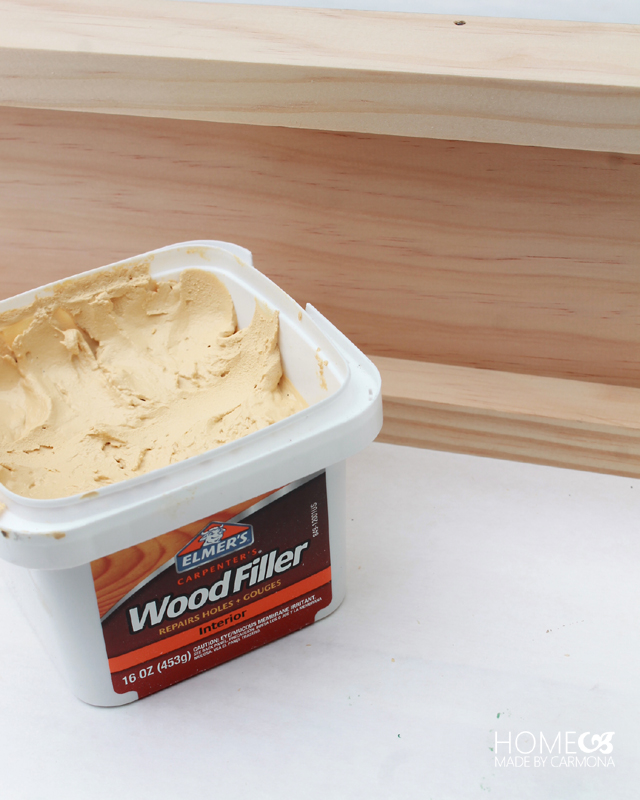
If you chose to use the nails you will go ahead and fill those holes using Elmer’s Carpenter’s® Interior Wood Filler.
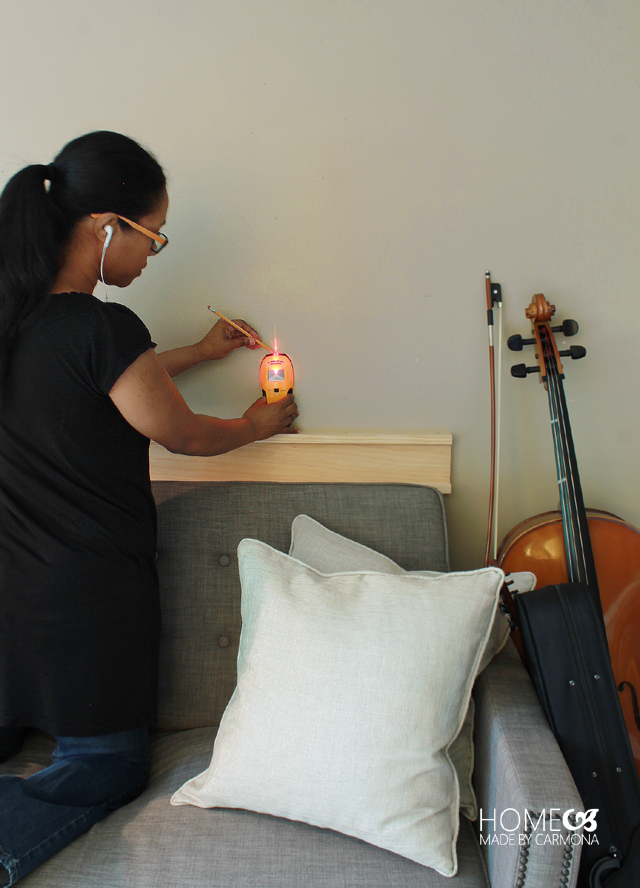
Now that the front and back ledges are attached, remove the clamps and take it to the wall you plan to secure it to. Use your stud finder (yes, you should totally move it across your spouse and make a beeping sound…hey, extra brownie points are great!), and locate the studs along the area the ledge will ultimately be secured.
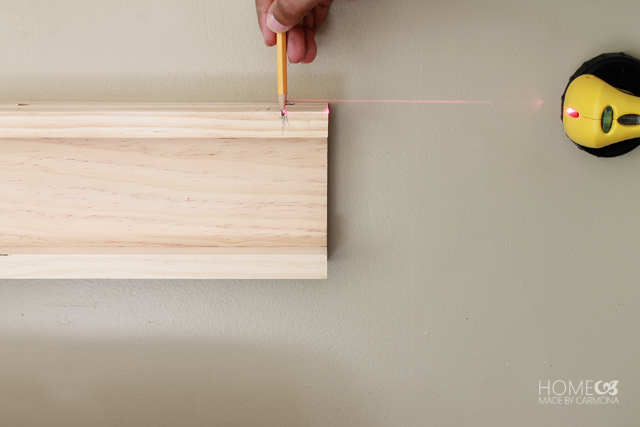
Tip: if you have a laser level, mark the studs in the wall along where you want the top of the ledge to sit. This makes things easier for the next step! If you can’t do that, it’s ok…just eyeball your marks going across as level as possible for now (with an erasable pencil).
You’ll need a second pair of hands for this step. Line your picture frame ledge up with the marks on the wall (centered where you ultimately want the ledge to hang…but it doesn’t have to be perfectly level yet), and transfer the location of those marks to the back of the ledge. This is where you will drill holes for the screw that will go into the wall…we want it securely embedded in the studs.
Take the picture frame ledge back to your work shop and drill holes where you have marked. The hole has to be wide enough for the securing screw to fit through. You will want to sink these screw heads, so use your counter sink bit (or a larger bit atop).
Note: if you chose to have your front and back ledge the same height (like I did), then you will need to drill on an angle.
(Optional 8th Step)
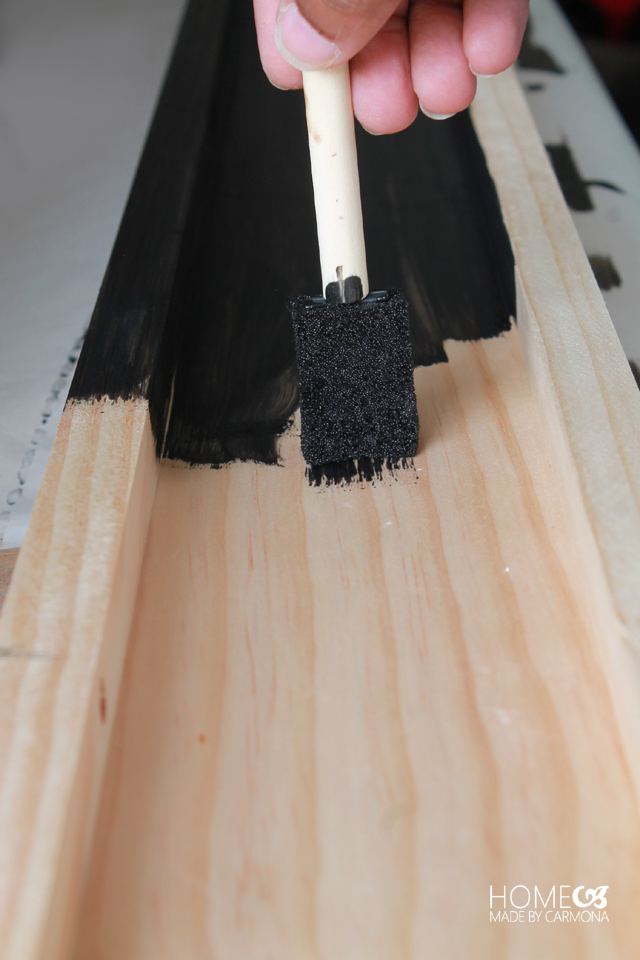
Finally paint or stain your picture frame ledge. Once it is dried completely (overnight if you choose stain), then it is ready to be secured to the wall!
You’ll need that other pair of hands again to hold it while you secure it to the wall. You will either use the 2″ or 3″ screws…it all depends on the depth of your studs.
Here’s a little trick when securing it to the wall: either use a laser level to line it up just below where you marked the studs as being located, OR place a level in the middle of your ledge. Now line up the holes you have drilled with the stud marks on the wall. Get the ledge perfectly level, then screw one side into the wall, then the opposite end. Your holding partner can let go at this point as you continue to secure the rest of the screws into each available stud.
Since you secured into the studs, these bad boys are quite secure! However…
[warning]
Imagine having a dinner party and some kids snatching the pictures off, or if you are in earthquake country imagine the disaster that could ensue. The solution? Attach the frame tops to the wall using some picture frame command strips…it is ALWAYS better to be safe than sorry! You can even attach frames to each other (if one sits in front of another), or by the base of the picture frame.
[/warning]
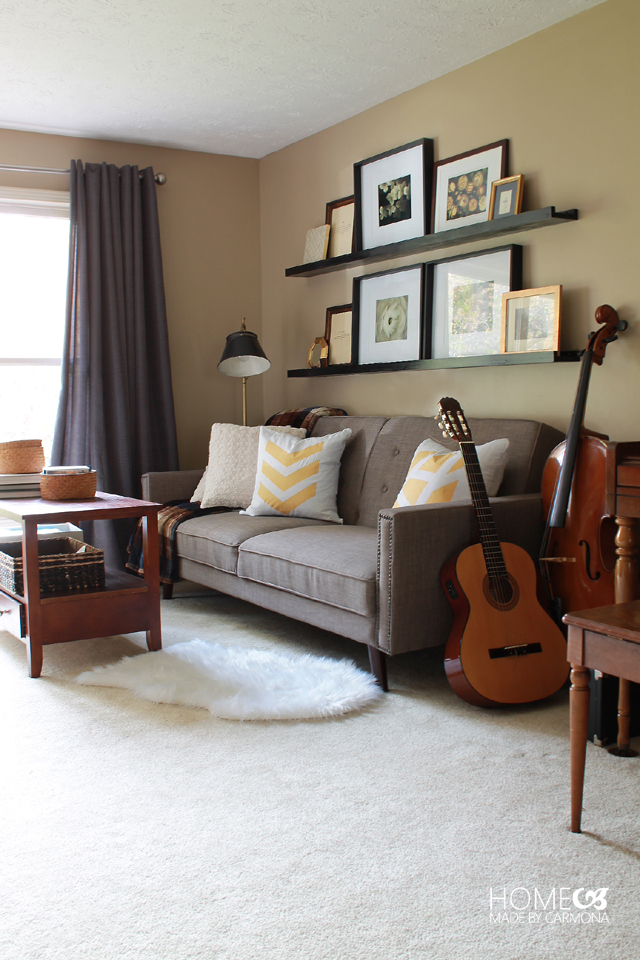
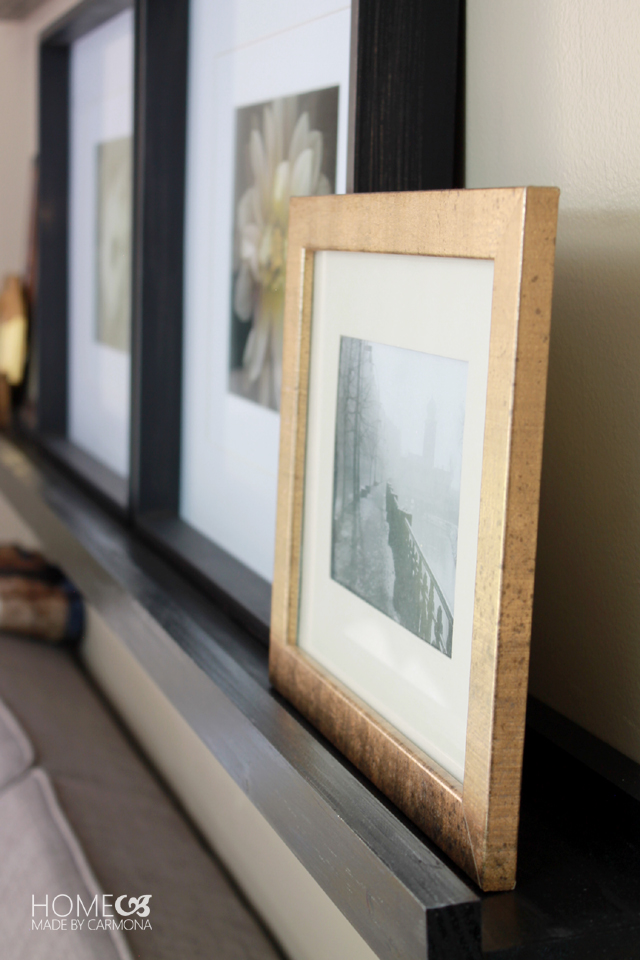
Guys, I am SO in love with my picture frame ledges! If I had bought these at a store it would have been smaller, and cost so much more. I got a high end style for a minimal price! It really makes the space, don’t you think?
[left]
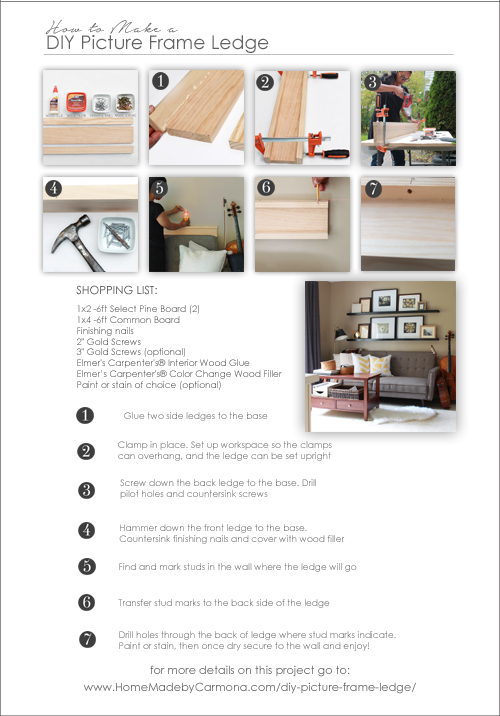
Looking to download a printable version of this project? Click on the image to the right for a PDF summary!
A HUGE thank you to Elmer’s for sponsoring this post (would it be unprofessional to give them a great big virtual hug? I just love using this brand around the DIY workshop, as well as in the school room with my kids!). Be sure to follow Elmer’s on Facebook, Twitter, and Pinterest for other DIY projects. Another great way to follow is to sign up for Elmer’s DIY newsletter!
[/left]
[right]
[/right]
*I received compensation for this post. As always, all opinions, projects and ideas are based on my own experience.
[go_portfolio id=”diy_gallery”]












Carmona!!! My husband made your bench and the picture ledges. Both turned out beautiful! Thank you! You are awesome! I just posted the picture ledges on Pinterest (my acct) under walls miscellaneous.
Love this tutorial. Thanks.
You do not need to publish this comment:
On the “Materials” picture, the measurement info on the wood should be 6′ rather than 6″ presuming you want the 1x2s and the 1×4 to be 6 feet long and not 6 inches long.