[left]
Hola!
Stephanie again from Casa Watkins! Spring cleaning is upon us and I don’t know about you, but it’s not a fantastic time of the year for us. There is just so much to clean, sort, decide what to keep, etc…etc… So, one of the ways that I stay motivated to clean is to have new organizing goodies. Sometimes you need to buy new things, and other times you can spruce up what you already have. Today, I’d love to share how you can revamp new or old canvas bins to help you in your spring cleaning.
[/left]
[right]
First, let me emphasize that this tutorial is best for canvas or fabric bins. Please do NOT try this tutorial on plastic bins…you don’t want to deal with melted plastic.
I originally used this technique to make t-shirts for my sorority in college. When you live on a college budget, $50 for a sewn applique t-shirt is just not going to happen. So, we used this technique to make our own shirts! You can use this tutorial for other fabric surfaces and it holds up great in the wash too!
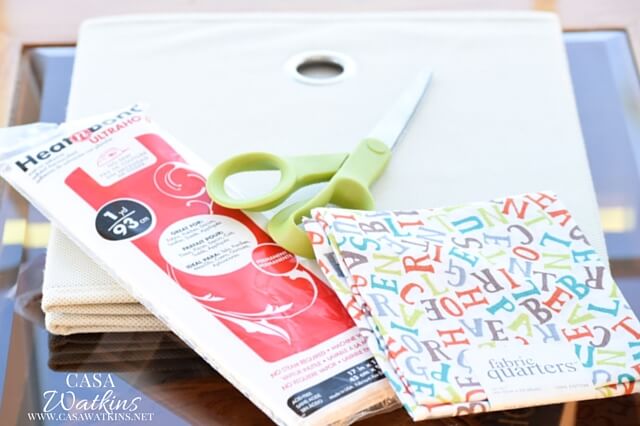
For your no sew applique labeled canvas bins, you will need:
1. Canvas bins
2. Iron on fabric adhesive
3. Fabric
4. Scrap cardboard
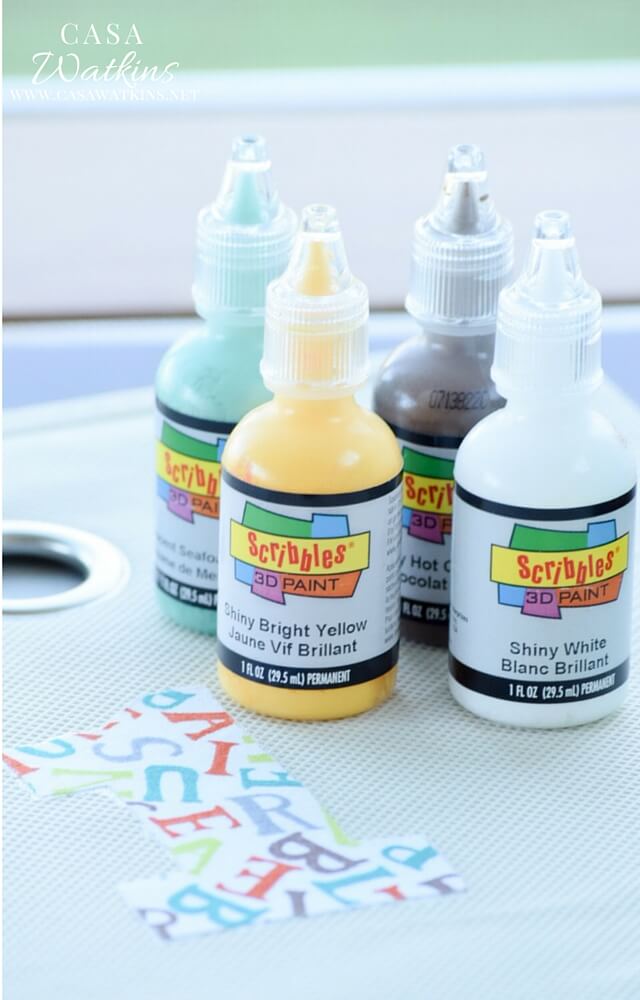
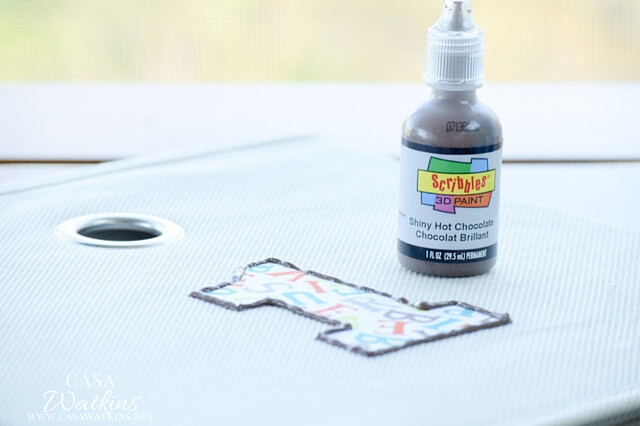
5. Puffy fabric paint
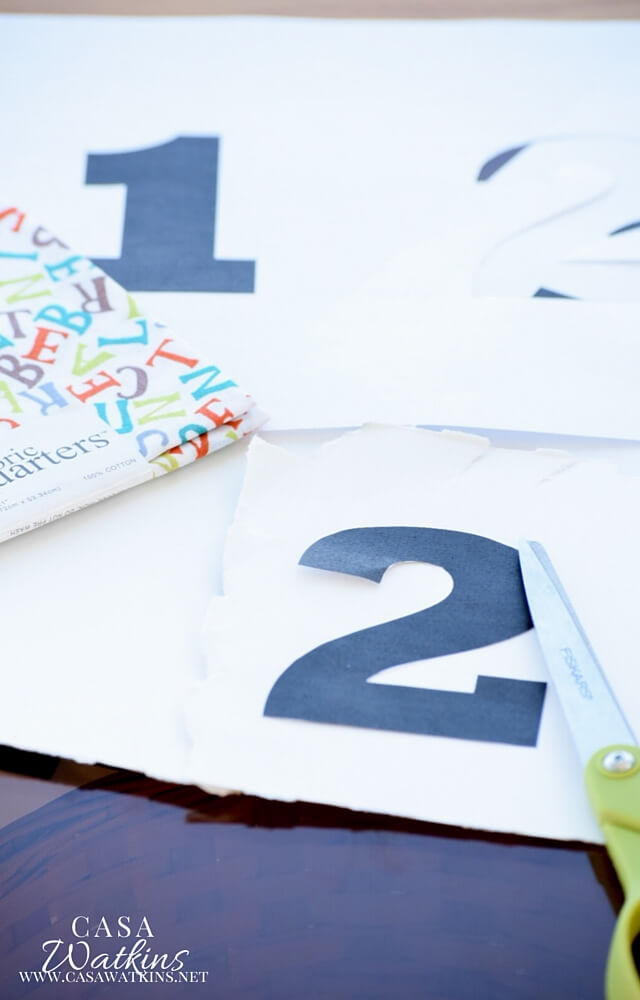
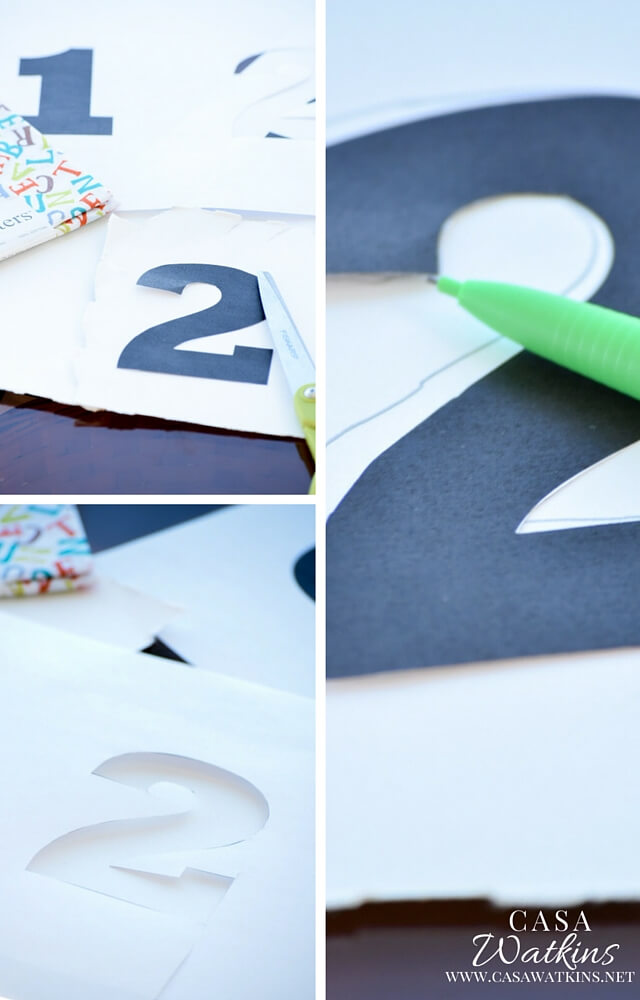
First, you will need a number template. Just print out your numbers (or if you prefer to make letters on your bins that’s great too!) on printer paper, cut out, and trace onto some scrap cardstock or cardboard. I used a portion of a empty snack box to make mine.
If you have a steady hand, you can even trace out the number using the cut out portion of the printer paper….unfortunately, I don’t.
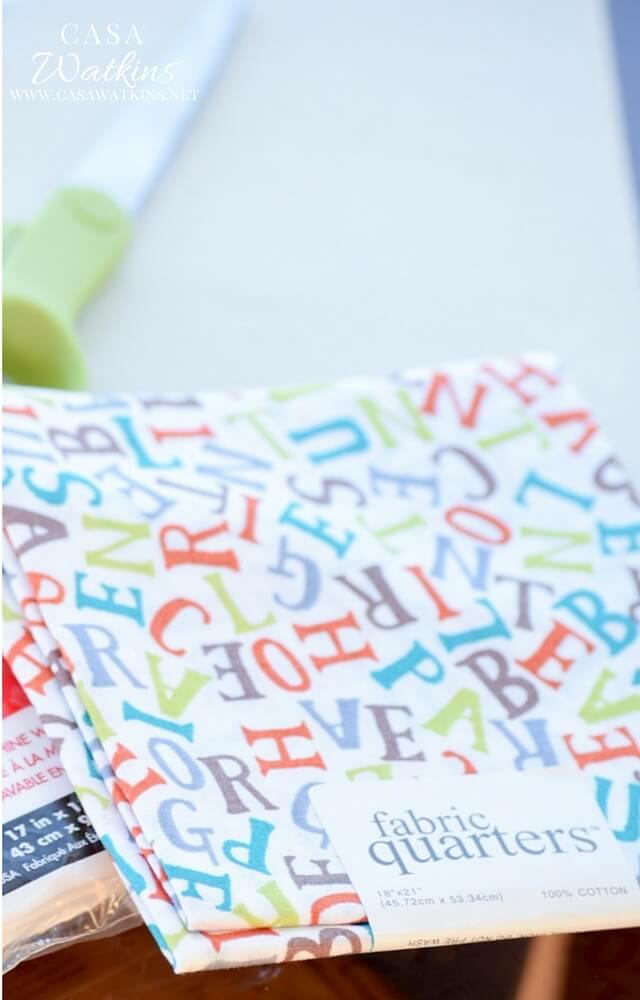
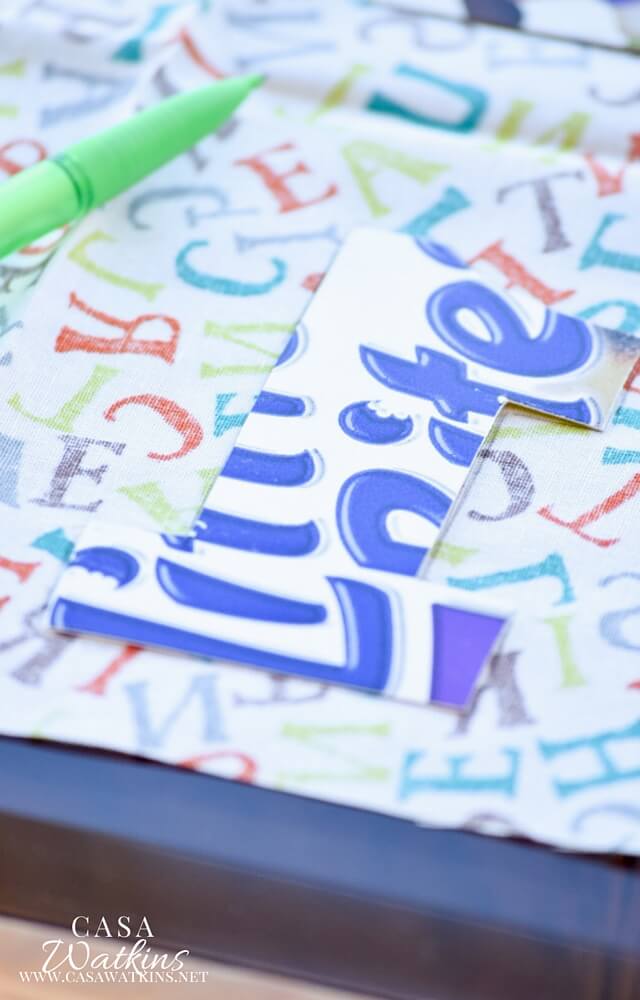
Flip the template and trace out the numbers onto the BACK side of the fabric. I chose to use a small fabric square pack, which are available at most fabric stores. They are inexpensive and come in so many different patterns!
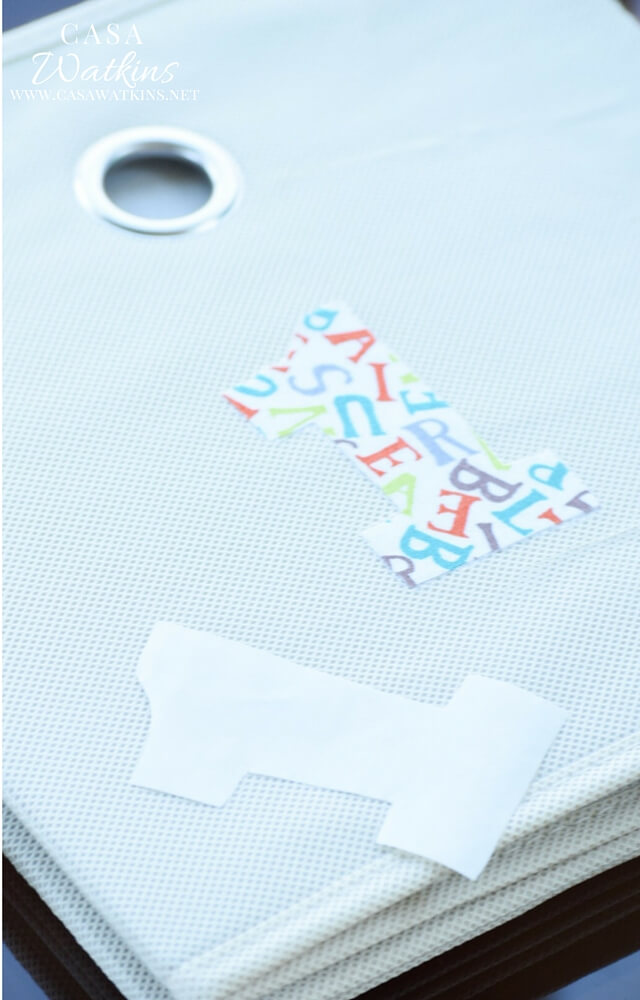
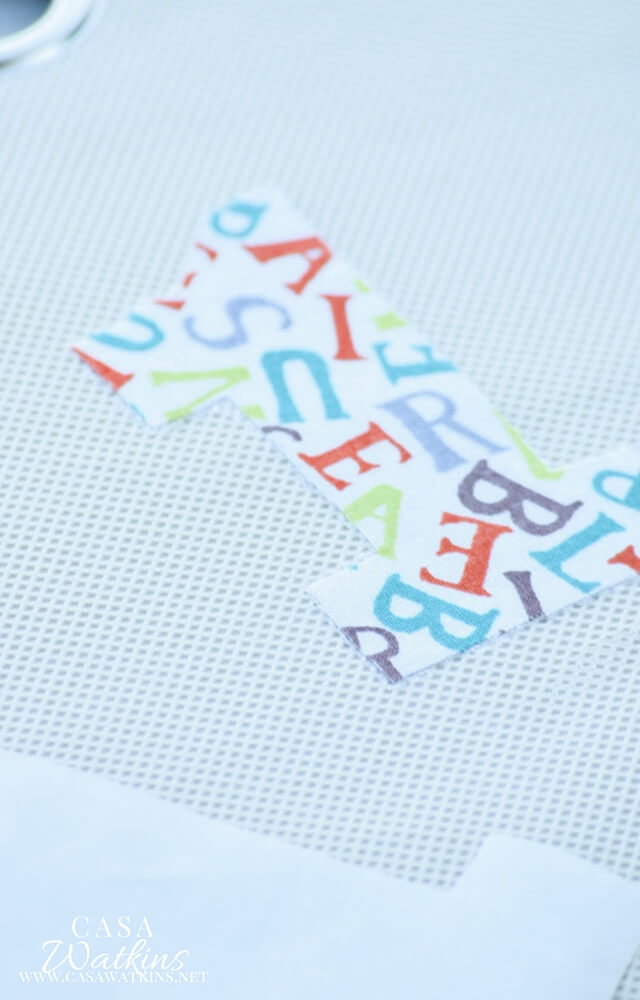
Once you have your cut out fabric number, it is time to make it into an applique. Since each bonding brand has different instructions, be sure to follow the directions on the package. Here is what I did for my appliques. Lay the number onto the your iron on adhesive sheet and snip the adhesive sheet as close to the fabric number as possible. Leave just the smallest bit of the bonding sheet to help adhere the number to the canvas bin later. Iron on the adhesive by placing the iron onto the paper side of the fabric adhesive. Protect your surface and iron by using scrap cloths or old towels on your surface and between the adhesive paper and iron.
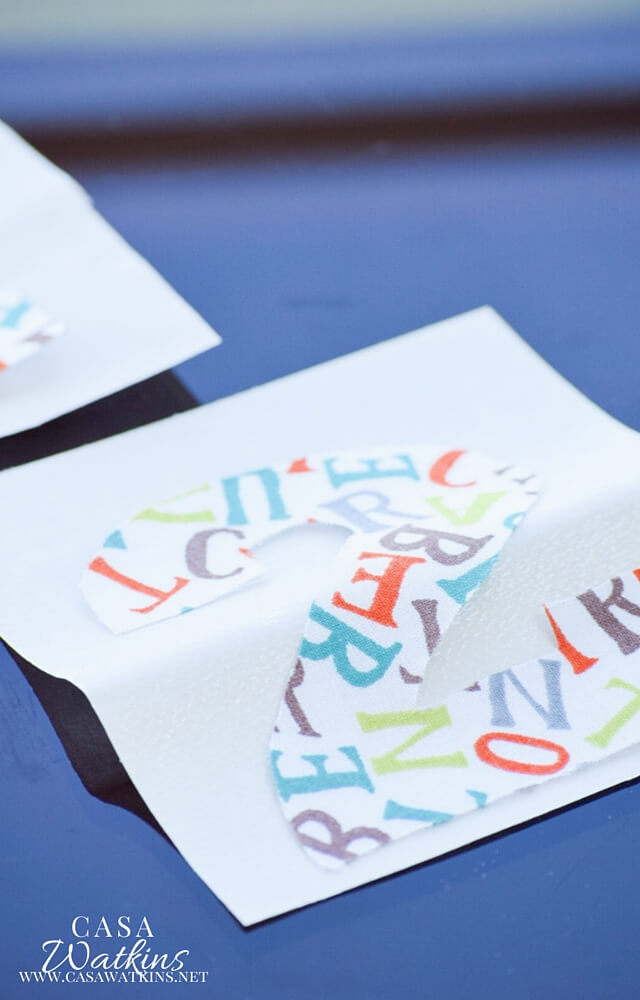
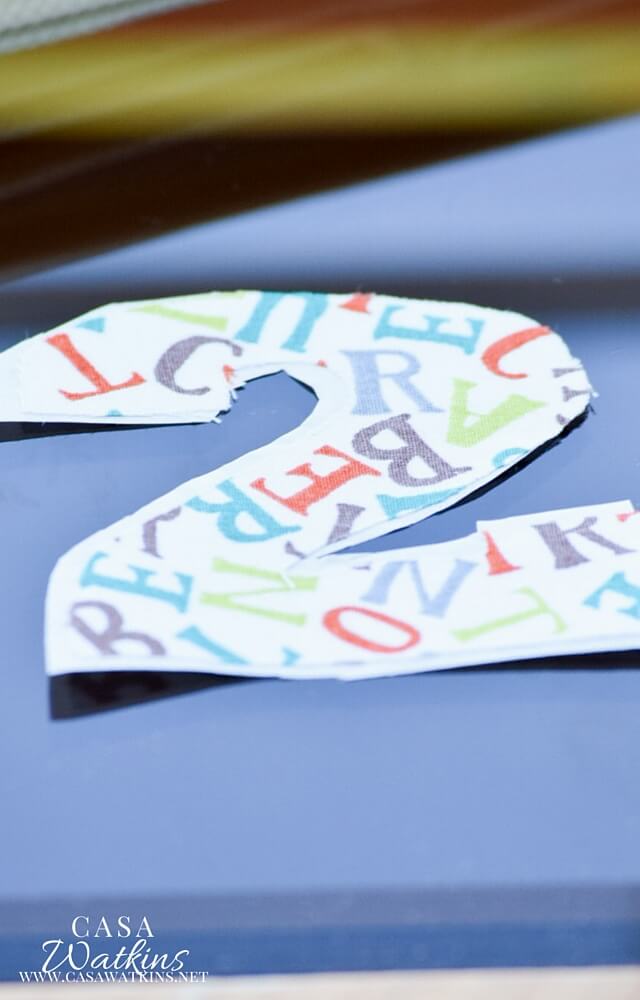
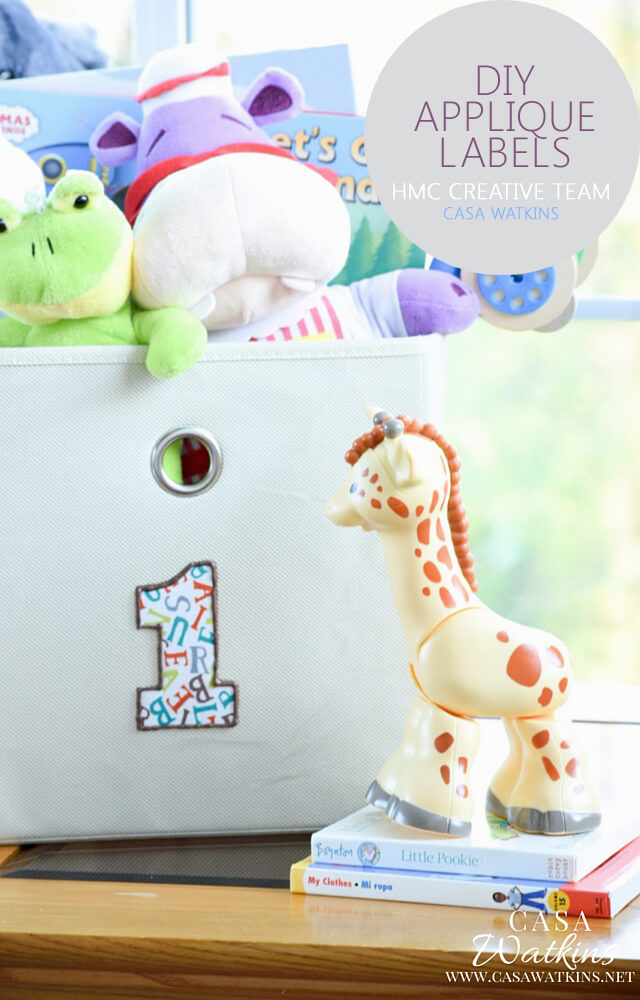
Once you have adhesive ironed onto the back of the number, remove the paper backing and use your iron on medium low heat to iron on the applique. This is exactly why you don’t want to use a plastic bin as it would melt. Use puffy paint to trace out the design to add a sewn-on appeal that looks great against the design. Let the puffy paint dry overnight before using your canvas bin.
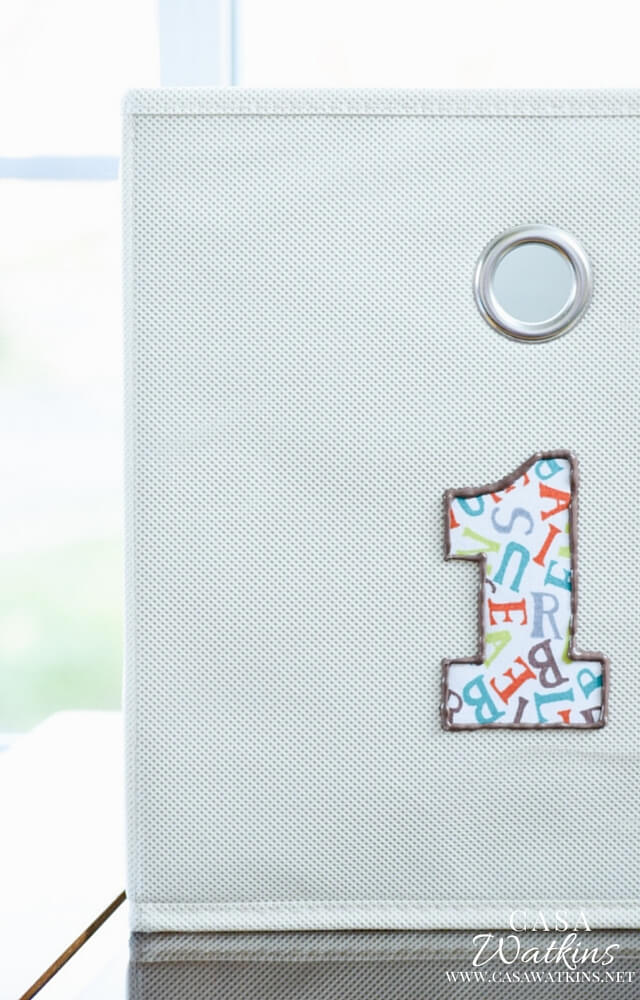
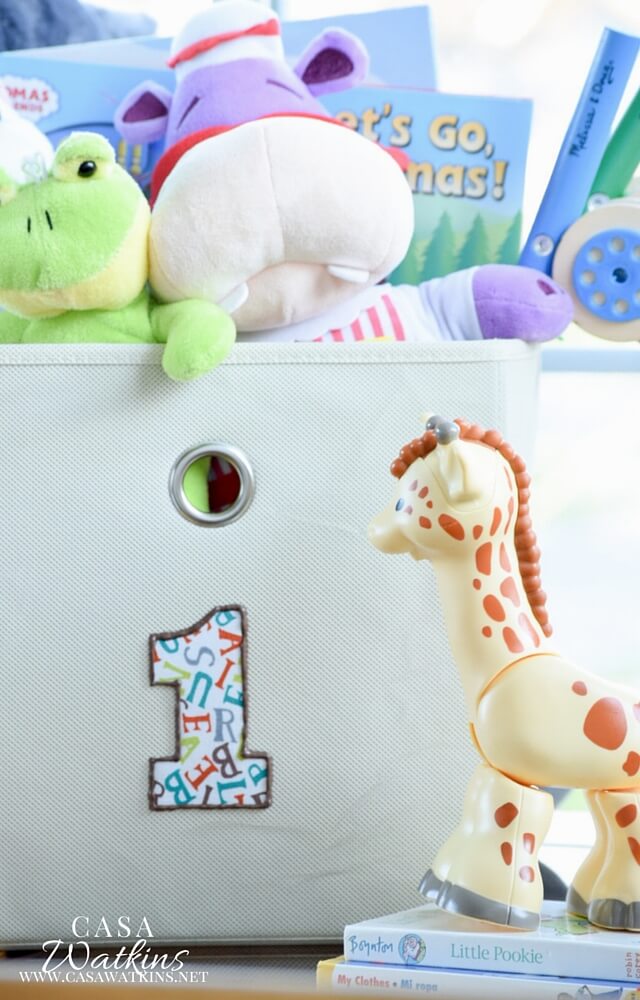
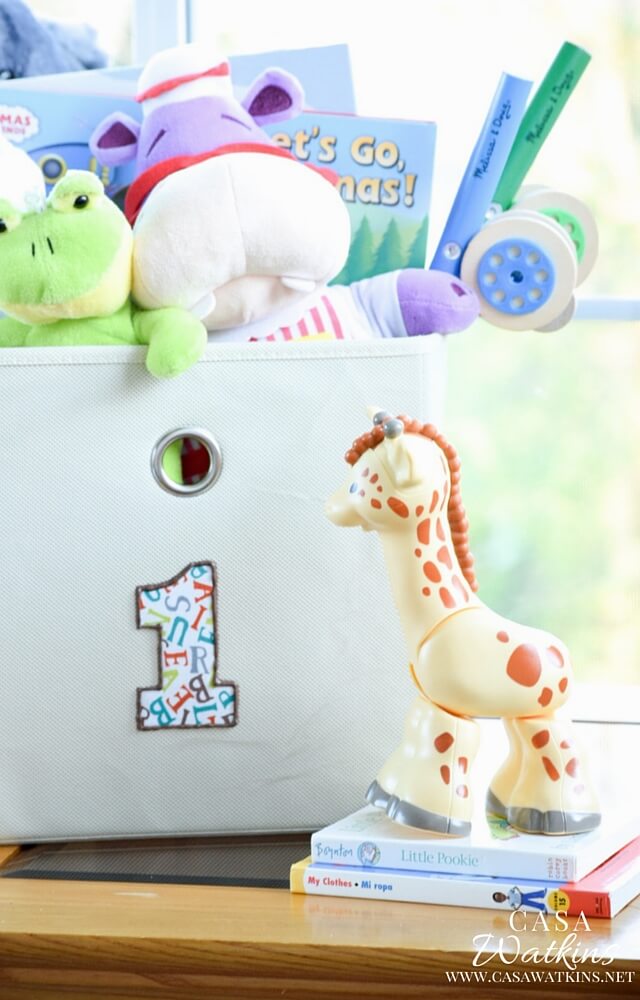
Repeat the steps to make a collection of canvas bins to store toys, books, blankets, and so much more! I used mine in our playroom, but how great would these look in a linen closet?! Use fabric that coordinates with your room decor and you can use these beauties in any area of your home.






Nice idea Stephanie. Fabric paint really gives it the finish.